

Page 1

BENQ_ESG103QG_E.book Page i Tuesday, July 30, 2002 8:45 PM
Table of Contents
Introducing ESG103 / ESG104 Broadband Router . . . . . . . . . . . . . . . . . . . . . . . . . . . 1
System Requirements. . . . . . . . . . . . . . . . . . . . . . . . . . . . . . . . . . . . . . . . . . . . . . . . . . 1
Package Contents. . . . . . . . . . . . . . . . . . . . . . . . . . . . . . . . . . . . . . . . . . . . . . . . . . . . . 1
Front Panel . . . . . . . . . . . . . . . . . . . . . . . . . . . . . . . . . . . . . . . . . . . . . . . . . . . . . . . . . . 1
Back Panel. . . . . . . . . . . . . . . . . . . . . . . . . . . . . . . . . . . . . . . . . . . . . . . . . . . . . . . . . . . 2
Setup Your ESG103/ESG104 . . . . . . . . . . . . . . . . . . . . . . . . . . . . . . . . . . . . . . . . . . . . 2
Before Setting Your ESG103/ESG104 . . . . . . . . . . . . . . . . . . . . . . . . . . . . . . . . . . . . . 3
Connect to Your ISP . . . . . . . . . . . . . . . . . . . . . . . . . . . . . . . . . . . . . . . . . . . . . . . . . . 6
i
Page 2

BENQ_ESG103QG_E.book Page ii Tuesday, July 30, 2002 8:45 PM
ii
Page 3
BENQ_ESG103QG_E.book Page 1 Tuesday, July 30, 2002 8:45 PM
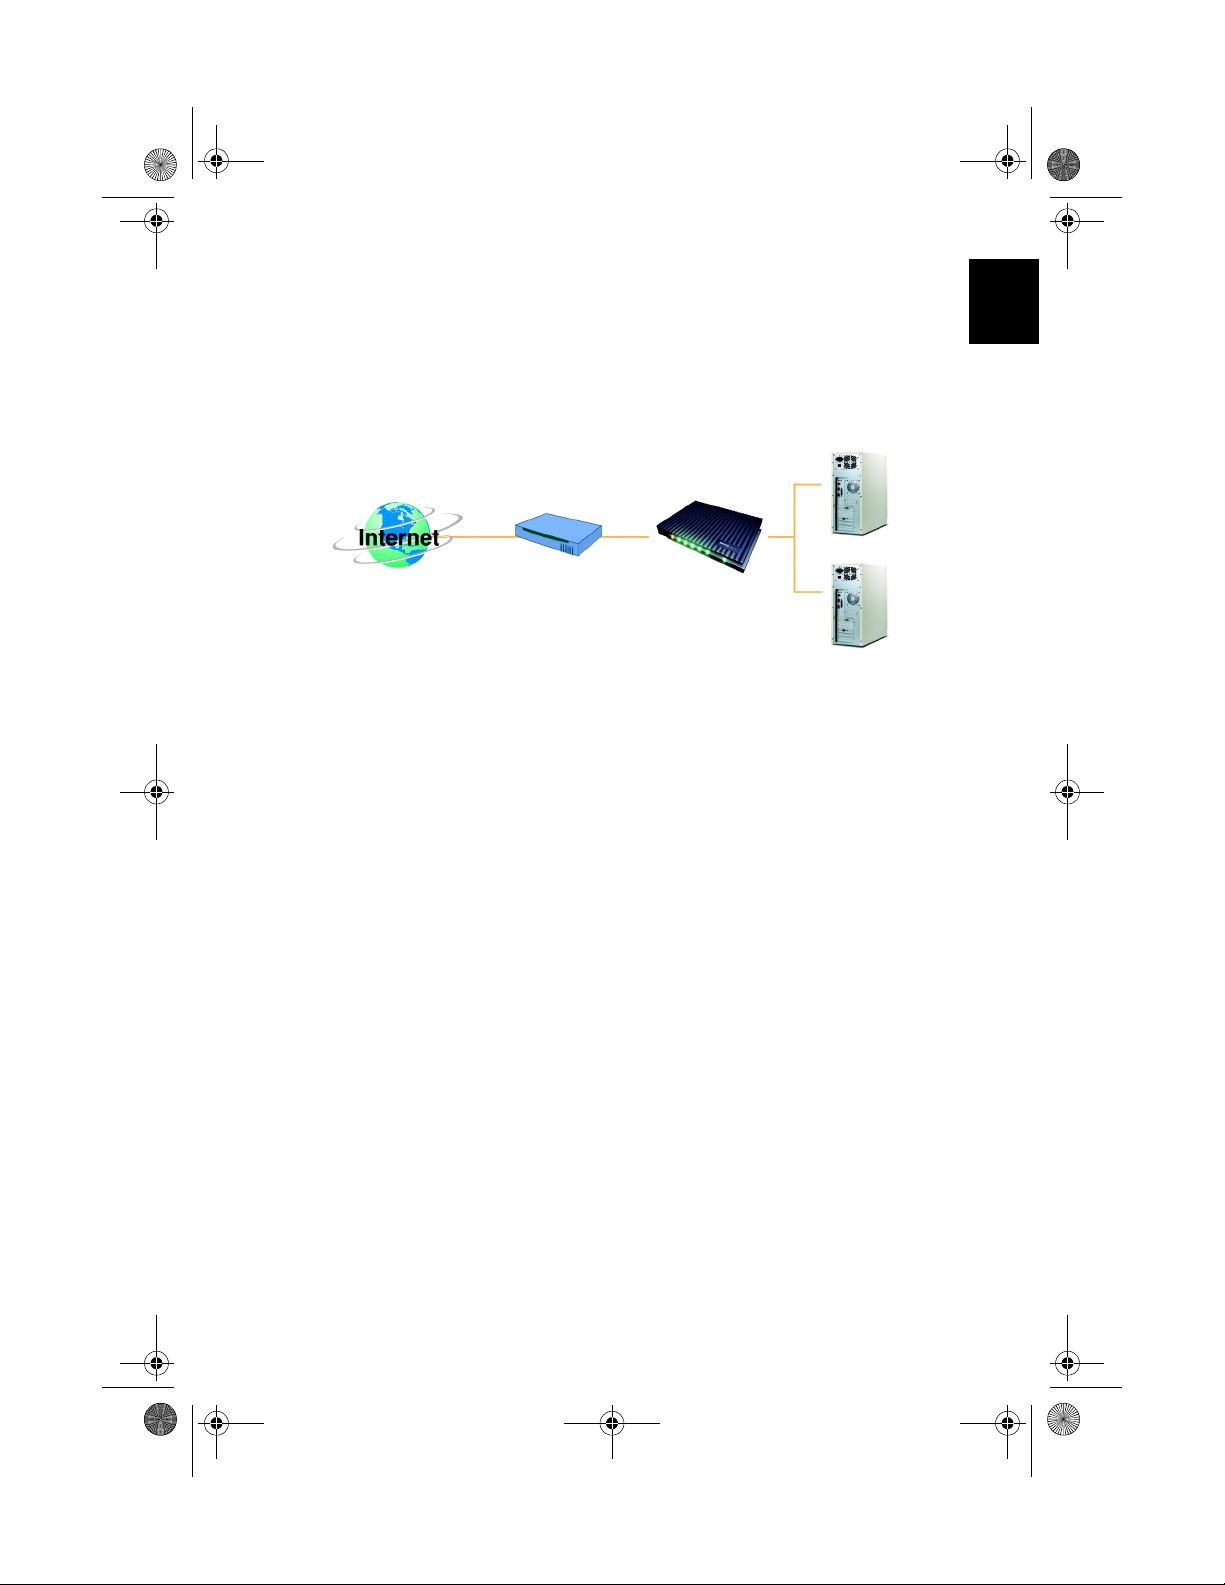
Introducing ESG103 / ESG104 Broadband Router
Congratulation on your purchase of the BenQ ESG103 broadband routers / ESG104 Security
Gateway. With ESG103/ESG104 you will be able to share a single Internet connection with
multiple network-connected laptops and desktop computers. Its built-in firewall provides a safe
environment via NAT (ESG103/ESG104), DoS, SPI and Filters (ESG104 only). While easy to
setup, the ESG103/ESG104 broadband routers processes powerful features that give users the
richest Internet experience.
PC
ADSL/Cable Modem
ESG103/ESG104
PC
System Requirements
• Broadband Internet access device (ADSL/cable modem).
• UTP Cat-5 cable for linking ADSL/cable modem and ESG103/ESG104.
• 10 Base-T or 10/100 Base-TX network card.
• Web browser (Internet Explorer 5.0 or higher, or Netscape Navigator 4.5 or higher).
Package Contents
English
• ESG103/ESG104 broadband routers
• Quick Installation Guide
• User's Manual
• UTP Cat-5 Cable
•Power Adapter
Front Panel
1. Power ( g reen ) - Shows a steady green light when the power is on.
2. LAN1/ LAN2/ LAN3/ LAN4 (green) - When an NIC card, switch, or hub is
connected the 1st, 2nd, 3rd, or 4th RJ-45 port on the back panel, the corresponding LED
lights up. The LED flashes when there is incoming or outgoing data traffic.
3. WAN (green ) - Lights up when the WAN port on the back panel is connected to an
ADSL/cable modem or Ethernet LAN. Flashes to indicate incoming or outgoing data traffic.
1
Page 4
BENQ_ESG103QG_E.book Page 2 Tuesday, July 30, 2002 8:45 PM
4. Status (orange) - A steady orange light indicates that the ESG103/ESG104 is operating
normally. The status LED dies out when the system failure.
English
4
3
2
1
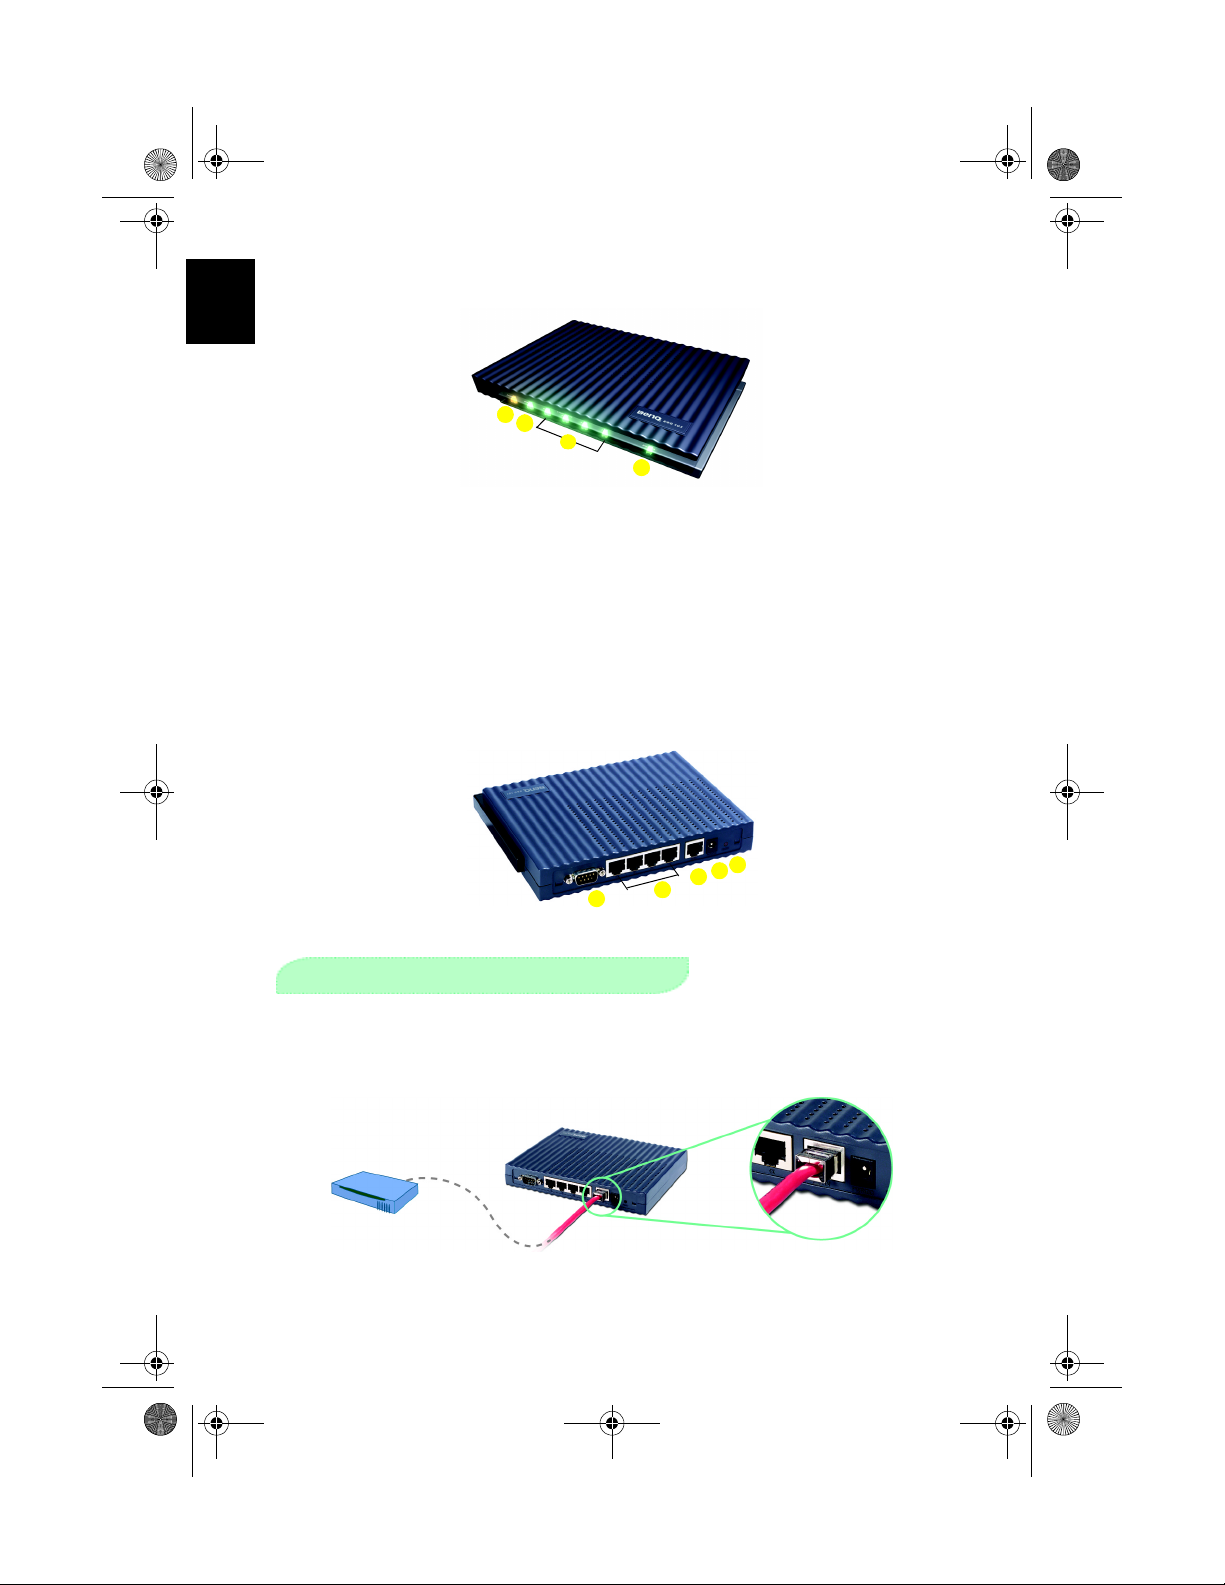
Back Panel
1. Reset - Press this button to reboot in case of a system failure.
2. PWR /DC - Power supply to ESG103/ESG104 through the power adapter. Use only the
power adapter in the package.
3. WAN - Connects the ESG103/ESG104 to an ADSL/cable modem or Ethernet LAN via an
RJ-45 cable.
4. LAN1/LAN2/LAN3/LAN4 - Connect ESG103/ESG104 to client devices such as NIC
cards, switches, hubs, and modems via an RJ-45 cable.
5. COM - Connects your 56K/V.90 modem to serve as a backup Internet access device in
case of the broadband access fails.
1
2
3
A
(Connecting your ADSL/cable modem, ESG103/ESG104, and PC.)
1. Turn on your PC and ADSL / Cable modem.
2. Use one RJ-45 Category-5 cable to connect the ADSL / cable modem's LAN port to the
Setup Your ESG103/ESG104
ESG103/ESG104's WAN port.
ADSL/Cable Modem
5
4
2
Page 5

BENQ_ESG103QG_E.book Page 3 Tuesday, July 30, 2002 8:45 PM
3. Use another RJ-45 Category-5 cable to connect one of the ESG103/ESG104's LAN ports
and the Ethernet port to your PC.
4. Plug in ESG103/ESG104 power adapter and connect the power supply to the PWR/DC
port on the back panel. ESG103/ESG104's power LED should be green then blink in this
sequence: WAN, 1X, 2X, 3x, and 4X. Finally, the orange status LED will remain on.
5. Proceed to the next section. Follow the instructions to make sure settings are correct and
restart your PC.
English
B Before Setting Your ESG103/ESG104
(Please make sure your PC can obtain an IP address automatically.)
For Win98/ME Users
1. Click Start > Settings > Control Panel. The Control Panel window will appear
2. Double-click on Network icon. The Network dialog box will pop up.
3
Page 6

BENQ_ESG103QG_E.book Page 4 Tuesday, July 30, 2002 8:45 PM
3. Under the Configuration tab, select the TCP/IP of your network card and click on the
Properties button to bring up the TCP/IP Properties dialog box.
English
4. Click the IP Address tab.
5. Select Obtain an IP address automatically.
6. Click OK to close the TCT/IP Properties window.
7. Click OK again to save the configuration, and reboot your PC.
For Windows 2000/NT Users
1. Click Start > Settings > Network and Dial-up Connections. The Network and
Dial-up Connections window will appear.
2. Find the Local Area Connection (LAN) icon and right-click. A dialog box will pop up..
Select Proper ties from the bottom of the pop-up menu. The Local Area Connection
Proper ties dialog box will appear.
4
Page 7

BENQ_ESG103QG_E.book Page 5 Tuesday, July 30, 2002 8:45 PM
3. In the Local Area Connection Properties window, click Internet Protocol (TCP/IP)
then click Properties at the bottom of the window.
4. Click the IP Address tab.
5. Select Obtain an IP address automatically.
6. Click OK to close the TCT/IP Properties window.
7. Click OK again to save the settings and reboot your PC.
English
For Windows XP Users
1. Click Start >Control Panel. The Control Panel window will appear.
2. Double-click the Network and Internet Connection icon. The Network and
Internet Connection window will pop up.
3. Double-click the Local Area Connection icon at the bottom of the window. The Local
Area Connection window will pop up.
5
Page 8

BENQ_ESG103QG_E.book Page 6 Tuesday, July 30, 2002 8:45 PM
4. Right-click on the Local Area Connection Enabled icon and a pop-up menu will
appear. Select the Properties item at the bottom of this pop-up menu. The Local Area
English
Connection Properties window will appear.
5. Select Internet Protocol (TCP/IP) and click on the Properties button below it. The
Internet Protocol (TCP/IP) Proper ties window will pop up.
6. Select Obtain an IP address automatically.
7. Click OK to close the TCP/IP Properties windows.
8. Click OK to close the Local Area Connection Properties window and reboot your
PC
C Connect to Your ISP
1. After rebooting your PC, start up a web browser such as the Internet Explorer or the
Netscape Communicator, and type 192. 168. 1. 1 in the address bar. A welcome web page
will be shown in your browser as an indication that your PC and the ESG103/ESG104
might not be able to communicate with your PC normally. Please refer to Appendix D in
the User's Guide.
Note: If you connect to the Internet through a proxy server, please remember to remove
the proxy server settings from your web browser. Otherwise, the ESG103/ESG104
may not be able to communicate with your PC normally. Please refer to Appendix D
in the User's Guide.
6
Page 9

BENQ_ESG103QG_E.book Page 7 Tuesday, July 30, 2002 8:45 PM
2. A login dialog box will appear, asking you to key in an administrator's ID and password.
Please use the word admin as the administrator's ID and password.
3. Click the Quick Installation Wizard hyperlink appearing in the menu listing on the left
or in the main text to start configuring the ESG103/ESG104 for connection to your ISP.
After choosing one connection type, proceed with the configuration steps.
English
4. To configure the IP settings, you must know what type of broadband connections you have
- ADSL, cable modem, or fixed IP mode. Then follow the instructions accompanying the
pictures below. The type of connection should be chosen accordingly, by selecting the
proper choice for the Mode field in the IP Parameters Section.
7
Page 10

BENQ_ESG103QG_E.book Page 8 Tuesday, July 30, 2002 8:45 PM
For cable modem users (or others using DHCP connections)
English
Please check the first box, the DHCP mode.
For Fixed IP Users ONLY
Please check the second box, the Fixed IP mode. Then key in the settings for IP
Address, Netmask, and Default Gateway provided by your Internet access provider.
For ADSL users (and others using PPPoE connections)
i. Please select the third item, the PPPoE mode.
8
Page 11

BENQ_ESG103QG_E.book Page 9 Tuesday, July 30, 2002 8:45 PM
ii. Go down to the next section, PPPoE Parameters. Key in the dial-up user name and
password provided by your ADSL provider.
5. After selecting the type of Internet connection you are using, as described above, scroll
down the page to the bottom. Locate and click the Apply button at the bottom of the
page.
English
9
Page 12

BENQ_ESG103QG_E.book Page 10 Tuesday, July 30, 2002 8:45 PM
6. Click Save Setting in the menu listing on the left. Then click Apply at the bottom of the
web page. When the process is finished, a message will appear.
English
7. Click the Reboot button at the bottom of the web page to complete the setup process.
8. After about 10 seconds, the router will restart automatically and the whole installation
process is complete.
9. Go to your favorite website to confirm that the installation has completed successfully. If
you cannot yet view the website, please repeat the procedures described in section C.
10
 Loading...