

Page 1
Installation, Operation
and Service Manual
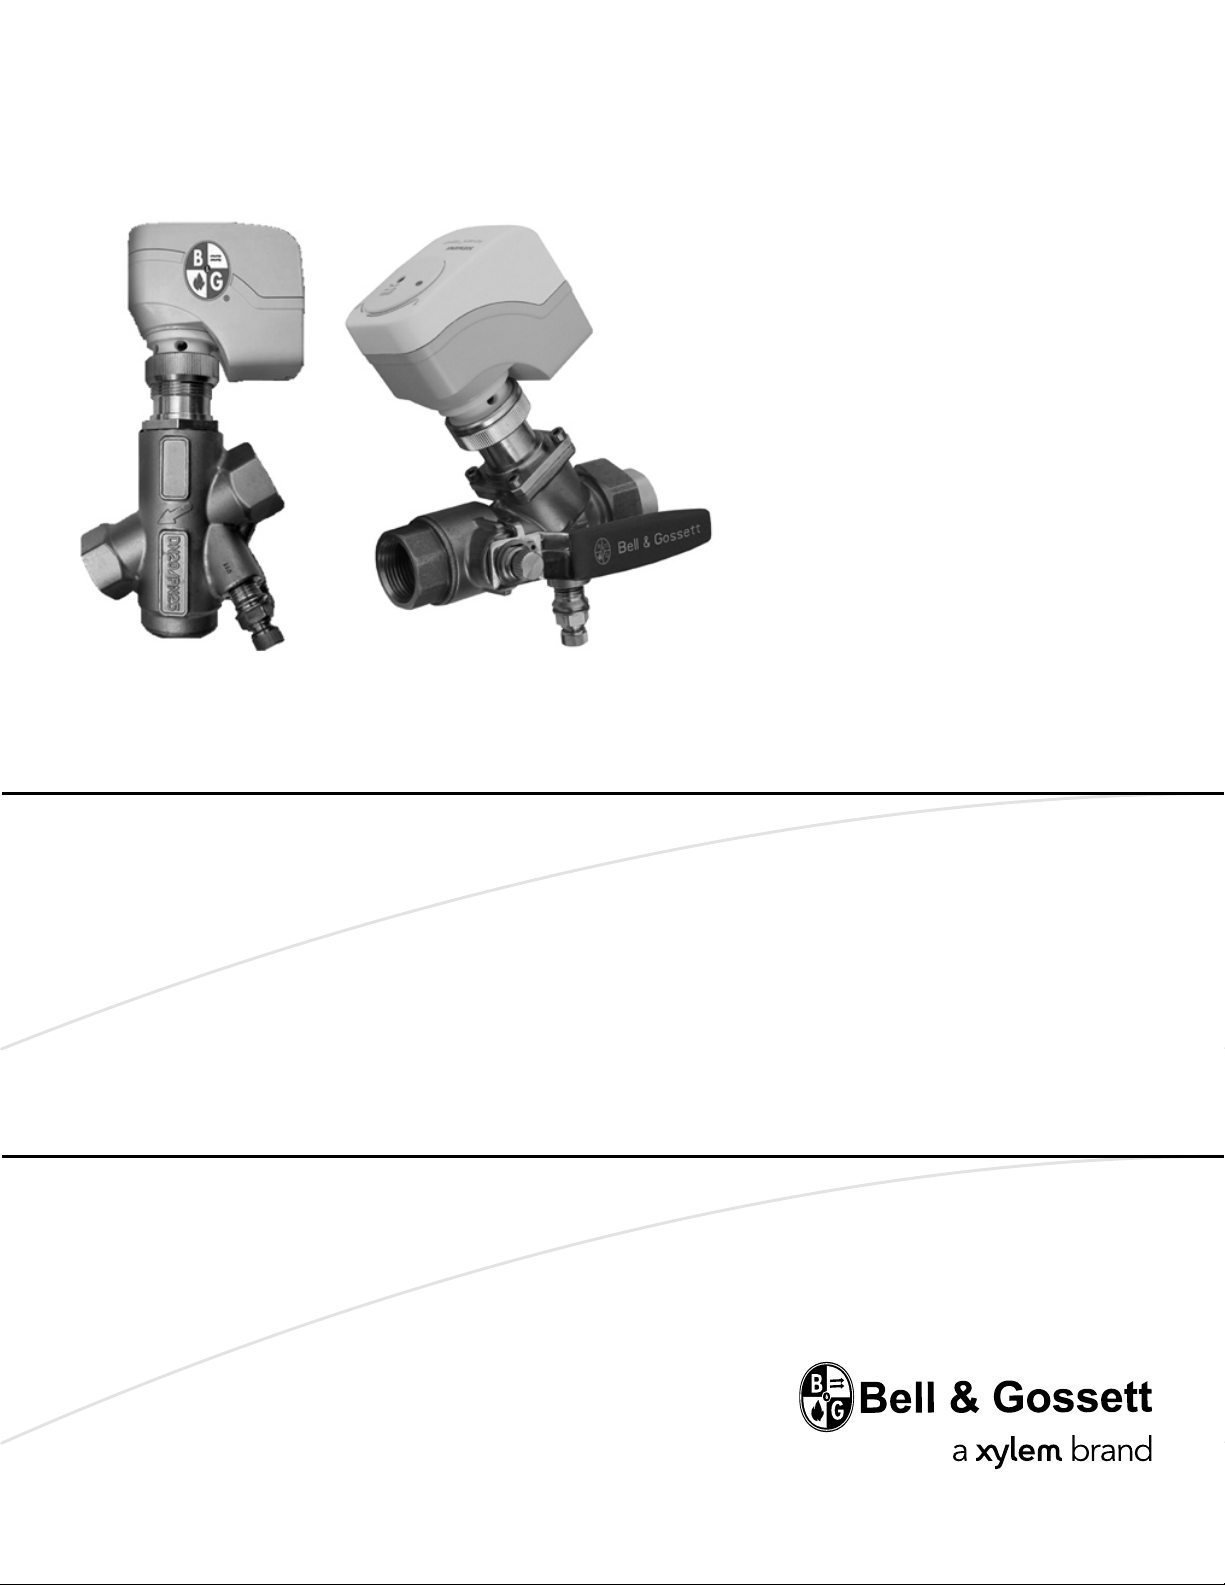
Ultra Setter
Pressure Independent
Control Valves
™
Page 2

Page 3

Table of Contents
Introduction and Safety.........................................................................................................................2
Introduction..........................................................................................................................................2
Safety.....................................................................................................................................................2
Safety message levels......................................................................................................................2
User safety.........................................................................................................................................3
Wash the skin and eyes....................................................................................................................4
Environmental safety...........................................................................................................................4
Recycling guidelines........................................................................................................................4
Product warranty.................................................................................................................................5
Transportation and Storage..................................................................................................................6
Inspect the delivery.............................................................................................................................6
Inspect the package.........................................................................................................................6
Inspect the unit..................................................................................................................................6
Product Description...............................................................................................................................7
General description............................................................................................................................7
Operational limits.............................................................................................................................7
Table of Contents
Installation...............................................................................................................................................9
Installation precautions.......................................................................................................................9
Install NPT connection........................................................................................................................9
Install sweat connection......................................................................................................................9
Install the actuator.............................................................................................................................10
Install as flow limiting valve compact only.....................................................................................11
Attach insulation................................................................................................................................12
Operation..............................................................................................................................................13
Operate the valve..............................................................................................................................13
Maintenance.........................................................................................................................................14
Precautions.........................................................................................................................................14
Valve inspection................................................................................................................................14
Service cartridge caps and drain caps...........................................................................................14
Reseal the valve.................................................................................................................................15
Ultra Setter™ Pressure Independent Control Valves Installation, Operation and Service Manual 1
Page 4
Introduction and Safety
Introduction and Safety
Introduction
Purpose of this manual
The purpose of this manual is to provide necessary information for:
• Installation
• Operation
• Maintenance
CAUTION:
Read this manual carefully before installing and using the product. Improper use of the
product can cause personal injury and damage to property, and may void the warranty.
NOTICE:
Save this manual for future reference, and keep it readily available at the location of the
unit.
Safety
WARNING:
• The operator must be aware of safety precautions to prevent physical injury.
• Any pressure-containing device can explode, rupture, or discharge its contents if it is
over-pressurized. Take all necessary measures to avoid over-pressurization.
• Operating, installing, or maintaining the unit in any way that is not covered in this manual
could cause death, serious personal injury, or damage to the equipment. This includes
any modification to the equipment or use of parts not provided by Xylem. If there is a
question regarding the intended use of the equipment, please contact an Xylem
representative before proceeding.
• This manual clearly identifies accepted methods for disassembling units. These methods
must be adhered to. Trapped liquid can rapidly expand and result in a violent explosion
and injury. Never apply heat to impellers, propellers, or their retaining devices to aid in
their removal.
• Do not change the service application without the approval of an authorized Xylem
representative.
CAUTION:
You must observe the instructions contained in this manual. Failure to do so could result in
physical injury, damage, or delays.
Safety message levels
About safety messages
It is extremely important that you read, understand, and follow the safety messages and
regulations carefully before handling the product. They are published to help prevent
these hazards:
• Personal accidents and health problems
• Damage to the product
• Product malfunction
2 Ultra Setter™ Pressure Independent Control Valves Installation, Operation and Service Manual
Page 5
Definitions
Introduction and Safety
Safety message level Indication
NOTICE:
DANGER:
WARNING:
CAUTION:
Electrical Hazard:
A hazardous situation which, if not avoided, will result in
death or serious injury
A hazardous situation which, if not avoided, could result
in death or serious injury
A hazardous situation which, if not avoided, could result
in minor or moderate injury
The possibility of electrical risks if instructions are not
followed in a proper manner
• A potential situation which, if not avoided, could
result in undesirable conditions
• A practice not related to personal injury
User safety
General safety rules
Safety equipment
These safety rules apply:
• Always keep the work area clean.
• Pay attention to the risks presented by gas and vapors in the work area.
• Avoid all electrical dangers. Pay attention to the risks of electric shock or arc flash
hazards.
• Always bear in mind the risk of drowning, electrical accidents, and burn injuries.
Use safety equipment according to the company regulations. Use this safety equipment
within the work area:
• Hard hat
• Safety goggles, preferably with side shields
• Protective shoes
• Protective gloves
• Gas mask
• Hearing protection
Ultra Setter™ Pressure Independent Control Valves Installation, Operation and Service Manual 3
Page 6

Introduction and Safety
• First-aid kit
• Safety devices
Electrical connections
Electrical connections must be made by certified electricians in compliance with all
international, national, state, and local regulations. For more information about
requirements, see sections dealing specifically with electrical connections.
Wash the skin and eyes
NOTICE:
Never operate a unit unless safety devices are installed. Also see specific information
about safety devices in other chapters of this manual.
Follow these procedures for chemicals or hazardous fluids that have come into contact
with your eyes or your skin:
Condition Action
Chemicals or hazardous
fluids in eyes
Chemicals or hazardous
fluids on skin
Environmental safety
The work area
Always keep the station clean to avoid and/or discover emissions.
Waste and emissions regulations
Observe these safety regulations regarding waste and emissions:
• Appropriately dispose of all waste.
• Handle and dispose of the processed liquid in compliance with applicable
environmental regulations.
• Clean up all spills in accordance with safety and environmental procedures.
• Report all environmental emissions to the appropriate authorities.
WARNING:
Do NOT send the product to the Xylem manufacturer if it has been contaminated by any
nuclear radiation. Inform Xylem so that accurate actions can take place.
1. Hold your eyelids apart forcibly with your fingers.
2. Rinse the eyes with eyewash or running water for at least 15 minutes.
3. Seek medical attention.
1. Remove contaminated clothing.
2. Wash the skin with soap and water for at least 1 minute.
3. Seek medical attention, if necessary.
Electrical installation
For electrical installation recycling requirements, consult your local electric utility.
Recycling guidelines
Always follow local laws and regulations regarding recycling.
4 Ultra Setter™ Pressure Independent Control Valves Installation, Operation and Service Manual
Page 7

Product warranty
Coverage
Xylem undertakes to remedy faults in products from Xylem under these conditions:
• The faults are due to defects in design, materials, or workmanship.
• The faults are reported to an Xylem representative within the warranty period.
• The product is used only under the conditions described in this manual.
• The monitoring equipment incorporated in the product is correctly connected and in
use.
• All service and repair work is done by Xylem-authorized personnel.
• Genuine Xylem parts are used.
• Only Ex-approved spare parts and accessories authorized by Xylem are used in Exapproved products.
Limitations
The warranty does not cover faults caused by these situations:
• Deficient maintenance
• Improper installation
• Modifications or changes to the product and installation made without consulting
Xylem
• Incorrectly executed repair work
• Normal wear and tear
Xylem assumes no liability for these situations:
• Bodily injuries
• Material damages
• Economic losses
Introduction and Safety
Warranty claim
Xylem products are high-quality products with expected reliable operation and long life.
However, should the need arise for a warranty claim, then contact your Xylem
representative.
Ultra Setter™ Pressure Independent Control Valves Installation, Operation and Service Manual 5
Page 8

Transportation and Storage
Transportation and Storage
Inspect the delivery
Inspect the package
1. Inspect the package for damaged or missing items upon delivery.
2. Note any damaged or missing items on the receipt and freight bill.
3. File a claim with the shipping company if anything is out of order.
If the product has been picked up at a distributor, make a claim directly to the
distributor.
Inspect the unit
1. Remove packing materials from the product.
Dispose of all packing materials in accordance with local regulations.
2. Inspect the product to determine if any parts have been damaged or are missing.
3. If applicable, unfasten the product by removing any screws, bolts, or straps.
For your personal safety, be careful when you handle nails and straps.
4. Contact your sales representative if anything is out of order.
6 Ultra Setter™ Pressure Independent Control Valves Installation, Operation and Service Manual
Page 9

Product Description
General description
The Ultra Setter and Ultra Setter Compact are pressure independent combination
temperature control, balance, and commissioning valves for use in HVAC systems.
WARNING:
California Proposition 65 warning! This product contains chemicals known to the state of
California to cause cancer and birth defects or other reproductive harm.
NOTICE:
This product is not intended for potable water applications.
Ultra Setter features
• Internal automatic balancing cartridge
• External control actuator
• 1/4” NPT readout port
• Threaded NPT end connections
Product Description
Ultra Setter Compact features
• Internal automatic balancing cartridge
• External control actuator
• Union end connection upstream
• Threaded NPT end connection downstream
• One 1/4” NPT readout port in the valve body
• One readout port through the stem of the integral isolation valve
• Compact can also be used as a pressure independent flow limiting valve when used
without an actuator.
Actuator
Ultra Setter 0–10 VDC Analog 3–Position Tri-State
Ultra Setter Compact 0–10 VDC Analog 3–Position Tri-State 24 V On/Off
Operational limits
Valve
Ultra Setter and Ultra Setter
Compact
Model Actuator
Maximum Limitations
Temperature ºF (ºC) Max. working pressure PSI (kPa)
32ºF (0ºC) to 250ºF (120ºC) — Fluid
NPT
34ºF (1ºC) to 122ºF (50ºC) — Ambient
Sweat Based on solder type ASTM Std. B16.18
360 PSI (2500 kPa)
Ultra Setter™ Pressure Independent Control Valves Installation, Operation and Service Manual 7
Page 10

Product Description
Type Solder
95–5 Tin-Antimony
Maximum Limitations ½”-1”
Maximim Limitations 1¼”-2”
Pressure PSI (kPa) Temp. ºF (ºC) Pressure PSI (kPa) Temp. ºF (ºC)
300 (2069) 200 (93) 300 (2069) 175 (79)
250 (1724)
200 (1379)
225 (107) 250 (1724) 200 (93)
250 (121) 175 (1207) 250 (121)
8 Ultra Setter™ Pressure Independent Control Valves Installation, Operation and Service Manual
Page 11

Installation
Installation precautions
CAUTION:
• The valve can be damaged if improper sweating (soldering) is used with the union
connection. Before sweating the union connection to the valve, remove the union nut
and O-ring from the valve body, then sweat the union tailpiece with union nut into place.
• Make sure that all connecting pipe work is water tight.
NOTICE:
• The valve body may be damaged if you overtighten when using PTFE pipe compound
or PTFE tape on pipe threads.
• Avoid damaging the valve operating mechanism by using too much joint compound.
Apply compound sparingly to male threads only.
Install NPT connection
1. Apply pipe compound conservatively to male connecting fittings only.
Installation
NOTICE:
Do not overtighten when using Teflon® impregnated pipe compound and Teflon tape
on pipe threads. Doing so may damage the valve body.
2. Check connections for leaks.
Install sweat connection
CAUTION:
• Heat associated with the use of silver solder may damage valve components and void
the product warranty. Do not use silver solder.
• Excessive use of solder or flux may result in damage to the internal valve components.
Do not use excessive solder or flux.
1. Clean tube ends and valve connections thoroughly with a fine grade emery cloth or
fine grit sandpaper.
2. Adjust the valve to the full open position.
3. Wrap the valve in a cool wet rag.
4. Direct the flame being careful to avoid subjecting the valve to excessive heat.
5. Allow the valve to cool before touching or operating.
6. Check the soldered connection for leaks.
Ultra Setter™ Pressure Independent Control Valves Installation, Operation and Service Manual 9
Page 12

Installation
Install the actuator
NOTICE:
To install an actuator on a valve already in line, close the shutoff valves (upstream first, then
downstream) in the piping or turn off the pump. This procedure allows the differential
pressure in the valve to drop.
1. Remove the protective cover from the valve stem.
2. Loosen knurled nut.
3. Set the required flow rate setting.
4. Retighten the knurled nut by hand.
5. Assemble actuator to valve and wire connections per actuator manufacturer's
instructions.
10 Ultra Setter™ Pressure Independent Control Valves Installation, Operation and Service Manual
Page 13

Install as flow limiting valve compact only
The UltraSetter Compact valve can be used as a flow limiting valve when not used with an
actuator.
1. Remove the protective cover from the valve stem.
2. Loosen knurled nut.
Installation
3. Make the required setting.
4. Retighten the knurled nut by hand.
5. Replace protective cap and tighten until the bottom of the protective cap is lined up
with the bottom of the threads on the valve housing.
Continued tightening of the cap restricts the flow in the valve.
Ultra Setter™ Pressure Independent Control Valves Installation, Operation and Service Manual 11
Page 14

Installation
Attach insulation
For maximize energy savings, attach insulation to the valve after the system has been
balanced. Tape or other acceptable means can be used to secure the insulation to the
valve.
12 Ultra Setter™ Pressure Independent Control Valves Installation, Operation and Service Manual
Page 15

Operation
Operate the valve
WARNING:
• Burn hazard. Water temperatures higher than 100°F (38°C) can be dangerous. Take all
necessary precautions to prevent water or steam leakage.
• Hot water leakage can occur from readout valves during probe insertion and during
hookup of readout kit. Follow the safety instructions supplied with readout probes and
readout kits.
CAUTION:
Avoid pipe strain. This can cause breakage and water loss over time.
1. Ensure that the valve is fully open.
2. Using Bell & Gossett Model RP250–B Readout Probes, attach a Bell & Gossett
differential pressure readout kit to the readout valves on the desired valve.
3. Measure the pressure differential across the readout valves (P/T ports) in the valve
body, or in the valve body and through the valve handle. Confirm that the value
obtained is greater than the minimum value indicated in the valve submittal. If it is not,
then investigate the causes and if necessary, report to the designer.
4. Adjust the flow setting dial to the specified design flow rate. Lock the dial-in position
and record settings.
5. Repeat the process for all valves on the branch.
6. Measure the flow rate indicated at the flow measurement device on the branch.
Confirm that the value recorded is equal to the sum of the flows that are set at
downstream valves. If it is not, then investigate the causes and if necessary, report to
the designer.
When a flow measurement device is not present on the branch, measure the
differential pressure across the valve and verify the minimum differential pressure
listed in the submittal to achieve desired flow rate.
7. Repeat this procedure until all valves in the system have been set and their summated
flows checked against upstream flow measurement devices or differential pressure
verification.
8. Measure the differential pressure across the valve on the system index terminal (usually
the most remote terminal from the pump). Adjust the pump speed until the pressure
differential across this valve is equal to the minimum value indicated in the submittal.
9. Determine the pressure differential at the sensor location. Set the pump speed to
control such that the value indicated at the sensor is maintained constant under all
conditions.
10. Measure and record the total flow rate, pressure differential, and energy consumption
at the pump.
11. Run all two port valves to their closed positions. Measure and record the total flow rate,
pressure differential, and energy consumption at the pump. Calculate and report the
overall energy saving that is achieved between full load and minimum load operation.
Operation
Ultra Setter™ Pressure Independent Control Valves Installation, Operation and Service Manual 13
Page 16

Maintenance
Maintenance
Precautions
WARNING:
• All procedures must be performed by qualified personnel.
• When the process fluid is hazardous, thermal (hot or cold), or corrosive, take extra
precautions. Employ the appropriate safety devices and be prepared to control a
process media leak.
• Always wear protective clothing and equipment to safeguard the eyes, face, hands, skin,
and lungs from the particular fluid in the line.
Valve inspection
Periodically inspect the valve for signs of leakage or corrosion.
WARNING:
Risk for property damage, serious personal injury or death. You must replace the valve if
corrosion or leakage is found.
Service cartridge caps and drain caps
Any field adjustment of factory installed drain caps or cartridge caps affects the
compression of the seal and can cause leakage. This adjustment necessitates the removal,
cleaning, and resealing of those parts per the following instructions.
1. Remove the cap from the valve. Do not damage the valve, cap threads, or O-ring seal.
2. Perform the necessary service on the valve or system.
If the valve or any of the components appear to have been damaged, replace them.
3. Make sure that the male threads of the cap and the female threads of the valve are
clean and that there is no debris present.
4. Make sure that the O-ring seal is seated on the cartridge cap.
NOTICE:
Do not use any thread sealant or lubricant when assembling the cartridge or drain cap
as it can prevent the O-ring seal from sealing properly.
5. Thread cap into the valve until it is finger tight.
6. Tighten cap to the following specification:
Component Seal Torque
Cartridge cap — all sizes O-ring 25.0 ft-lbs. + 7.0 ft-lbs. / 0
14 Ultra Setter™ Pressure Independent Control Valves Installation, Operation and Service Manual
Page 17

Reseal the valve
The P/T readout ports and drain plugs come pre-assembled with a leading industrial
thread sealant, Loctite, and are tightened to appropriate levels. Any field adjustment of
factory installed components breaks the original thread seal and could cause leakage. This
adjustment necessitates the removal, cleaning, and resealing of those parts per the
following instructions.
1. Remove the desired component from the valve.
2. Clean off all of the old thread sealant using a wire brush and gentle abrasion if
necessary.
If the component or valve appears to have been damaged, replace it.
3. Starting with the second thread of the NPT male valve component, apply a 360º bead
of Loctite 567 thread sealant/lubricant as shown. Follow Loctite handling precautions
as noted on the product label.
Maintenance
4. If Loctite is not available, it is recommended that you use RectorSeal No. 5 pipe thread
sealant for all non-glycol based applications, or any PTFE thread sealing tape. Be sure
to follow the manufacturer-specific handling precaution and application instructions as
noted on the product label.
5. Thread component into the valve until it is finger tight.
6. Apply torque to the following specification:
Size Type Torque
1/4” NPT P/T Readout Port, drain plug 9.0 ft-lbs. + 3.0 ft-lbs. / 0
NOTICE:
The use of thread sealants and lubricants on threads also provides lubricity. Overapplication of torque can damage to the valve port or component.
7. Properly assembled valve components will immediately seal to moderate pressure
(100 PSI or less). For maximum pressure resistance, allow the Loctite 567 or RectorSeal
No. 5 thread sealant to cure for 24 hours. PTFE tape typically does not require curing
to achieve maximum pressure resistance.
Ultra Setter™ Pressure Independent Control Valves Installation, Operation and Service Manual 15
Page 18

Page 19

Page 20

Xylem |’zīləm|
1) The tissue in plants that brings water upward from the roots
2) A leading global water technology company
We're 12,000 people unified in a common purpose: creating
innovative solutions to meet our world's water needs. Developing new
technologies that will improve the way water is used, conserved, and
re-used in the future is central to our work. We move, treat, analyze,
and return water to the environment, and we help people use water
efficiently, in their homes, buildings, factories and farms. In more than
150 countries, we have strong, long-standing relationships with
customers who know us for our powerful combination of leading
product brands and applications expertise, backed by a legacy of
innovation.
For more information on how Xylem can help you, go to xyleminc.com
Xylem Residential &
Commercial
8200 N. Austin Avenue
Morton Grove, IL 60053
USA
Tel. 1-847-966-3700
Fax 1-847-966-9052
www.xyleminc.com/brands/
bellgosset
Visit our Web site for the latest version of this document and
more information
The original instruction is in English. All non-English
instructions are translations of the original instruction.
©
2011 Xylem Inc
V1000520
 Loading...