

Wireless Desktop Network Card
F5D6001
150000014200E R01
1
wireless networking
table of contents
Introduction • • • • • • • • • • • • • • • • • • • • • • • • • • • • • • • • • • • • • • • 2
Features • • • • • • • • • • • • • • • • • • • • • • • • • • • • • • • • • • • • • • • • • • 2
Product Specifications
• • • • • • • • • • • • • • • • • • • • • • • • • • • • • • • • • 3
System Requirements • • • • • • • • • • • • • • • • • • • • • • • • • • • • • • • • • • 3
Contents of Package • • • • • • • • • • • • • • • • • • • • • • • • • • • • • • • • • • 3
Knowing Your Belkin Wireless Desktop Network Card • • • • • • • • • • • • • • 4
Optional Desktop Antenna • • • • • • • • • • • • • • • • • • • • • • • • • • • • • • 5
Installing and Setting Up the Card
• • • • • • • • • • • • • • • • • • • • • • • • • 6
Step 1—Software and Driver Installation • • • • • • • • • • • • • • • • • 6-7
Step 2—Installing the Card into Your PC
for Windows 98, Me, 2000, and XP
• • • • • • • • • • • • • • • 7-8
Step 3—Finishing the Installation • • • • • • • • • • • • • • • • • • • • • • • 9
Uninstalling the Software and Drivers • • • • • • • • • • • • • • • • • • • • • • • 9
Using the Card • • • • • • • • • • • • • • • • • • • • • • • • • • • • • • • • • • • 10-13
Windows XP • • • • • • • • • • • • • • • • • • • • • • • • • • • • • • • • • • • •
10
Windows 98, Me, 2000 • • • • • • • • • • • • • • • • • • • • • • • • • • • •
13
Link Status Tab
• • • • • • • • • • • • • • • • 14-15
Configuration Tab • • • • • • • • • • • • • • 16
Using Profiles
• • • • • • • • • • • 17-18
Network Name Box • • • • 18-19
Operating Mode • • • 19-20
Transmit Rate • • • • • • • 21
Encryption • • • • • • • • • 22-24
Site Monitor Tab
• • • • • • • • • • • • 25
Wireless Networking Using 802.11b • • • 26
Peer-to-Peer (Ad-Hoc) Network • • • • • • • • • • • • • 26
Infrastructure Network (Access Point)
• • • • • • • 27
Roaming
• • • • • • • • • • • • • • • • • • • • • • • • • • • • • • • • • • • • • • • 28-29
Glossary of Wireless Networking Terms
• • • • • • • • • • • • • • • • • • • • 30-33
FCC/CE/Warranty Information
• • • • • • • • • • • • • • • • • • • • • • • • • • 34-36
wireless networking
2
Introduction
Thank you for purchasing the Belkin Wireless Desktop Network Card (the
Card). This high-speed Card provides you with an innovative wireless
networking solution that is easy to set up and use. The Card transmits at
a rate of 11, 5.5, 2 or 1Mbps to let you share files and printers on the
network—without the hassle and inconvenience of connecting wires!
Operating in the ISM band using Direct Sequence Spread Spectrum (DSSS)
transmission, the Card implements the IEEE 802.11b standard and supports
Windows© 98, 2000, Me, or XP operating systems.
Features
The Card complies with the IEEE 802.11b standard in order to communicate
with other 802.11b-compliant wireless devices.
• 2.4GHz ISM (Industrial, Science, and Medial) band operation
• Includes an easy-to-use profile manager for storing multiple wireless
network settings for work, school, home, etc.
• Wireless interface compliance with the IEEE 802.11b standard
• PCI interface, complies with PCI specification 2.1
• 64- or 128-bit Wired Equivalent Privacy (WEP) wireless encryption, for
the same security and privacy levels available in a wired LAN
• Wireless access to networked resources
• Support for both Infrastructure and Ad-Hoc (Peer-to-Peer)
networking modes
• Data rate of up to 11Mbps
Supports 11, 5.5, 2 or 1Mbps rates (Auto-Rollback)
• Easy to install and use
• External detachable antenna
• LED link indicator
3
Product Specifications
Host Interface: 32-bit, PCI 2.x-compliant
Power Consumption: 300mA (Max.)
OS Support: Windows 98, 2000, Me, or XP
Certification: FCC Class B, CE Mark, C-Tick
Operating Temperature: 0˚ C to 55˚ C
Storage Temperature: –25˚ C to 70˚ C
Typical Operating Range: Indoor: 160' (50m) @11Mbps, 260'
(80m) @5.5Mbps or lower
Outdoor: 490' (150m) @11Mbps, 980'
(300m) @ 5.5Mbps or lower
System Requirements
• PC with available PCI expansion slot
• PC running Windows 95, 98 SE, 2000, NT®, Me, or XP
• CD-ROM drive (for loading software)
Contents of Package
• Belkin Wireless Desktop Network Card
• External Antenna
• Software CD
• Quick Installation Guide
• User Manual
wireless networking
5
wireless networking
wireless networking
4
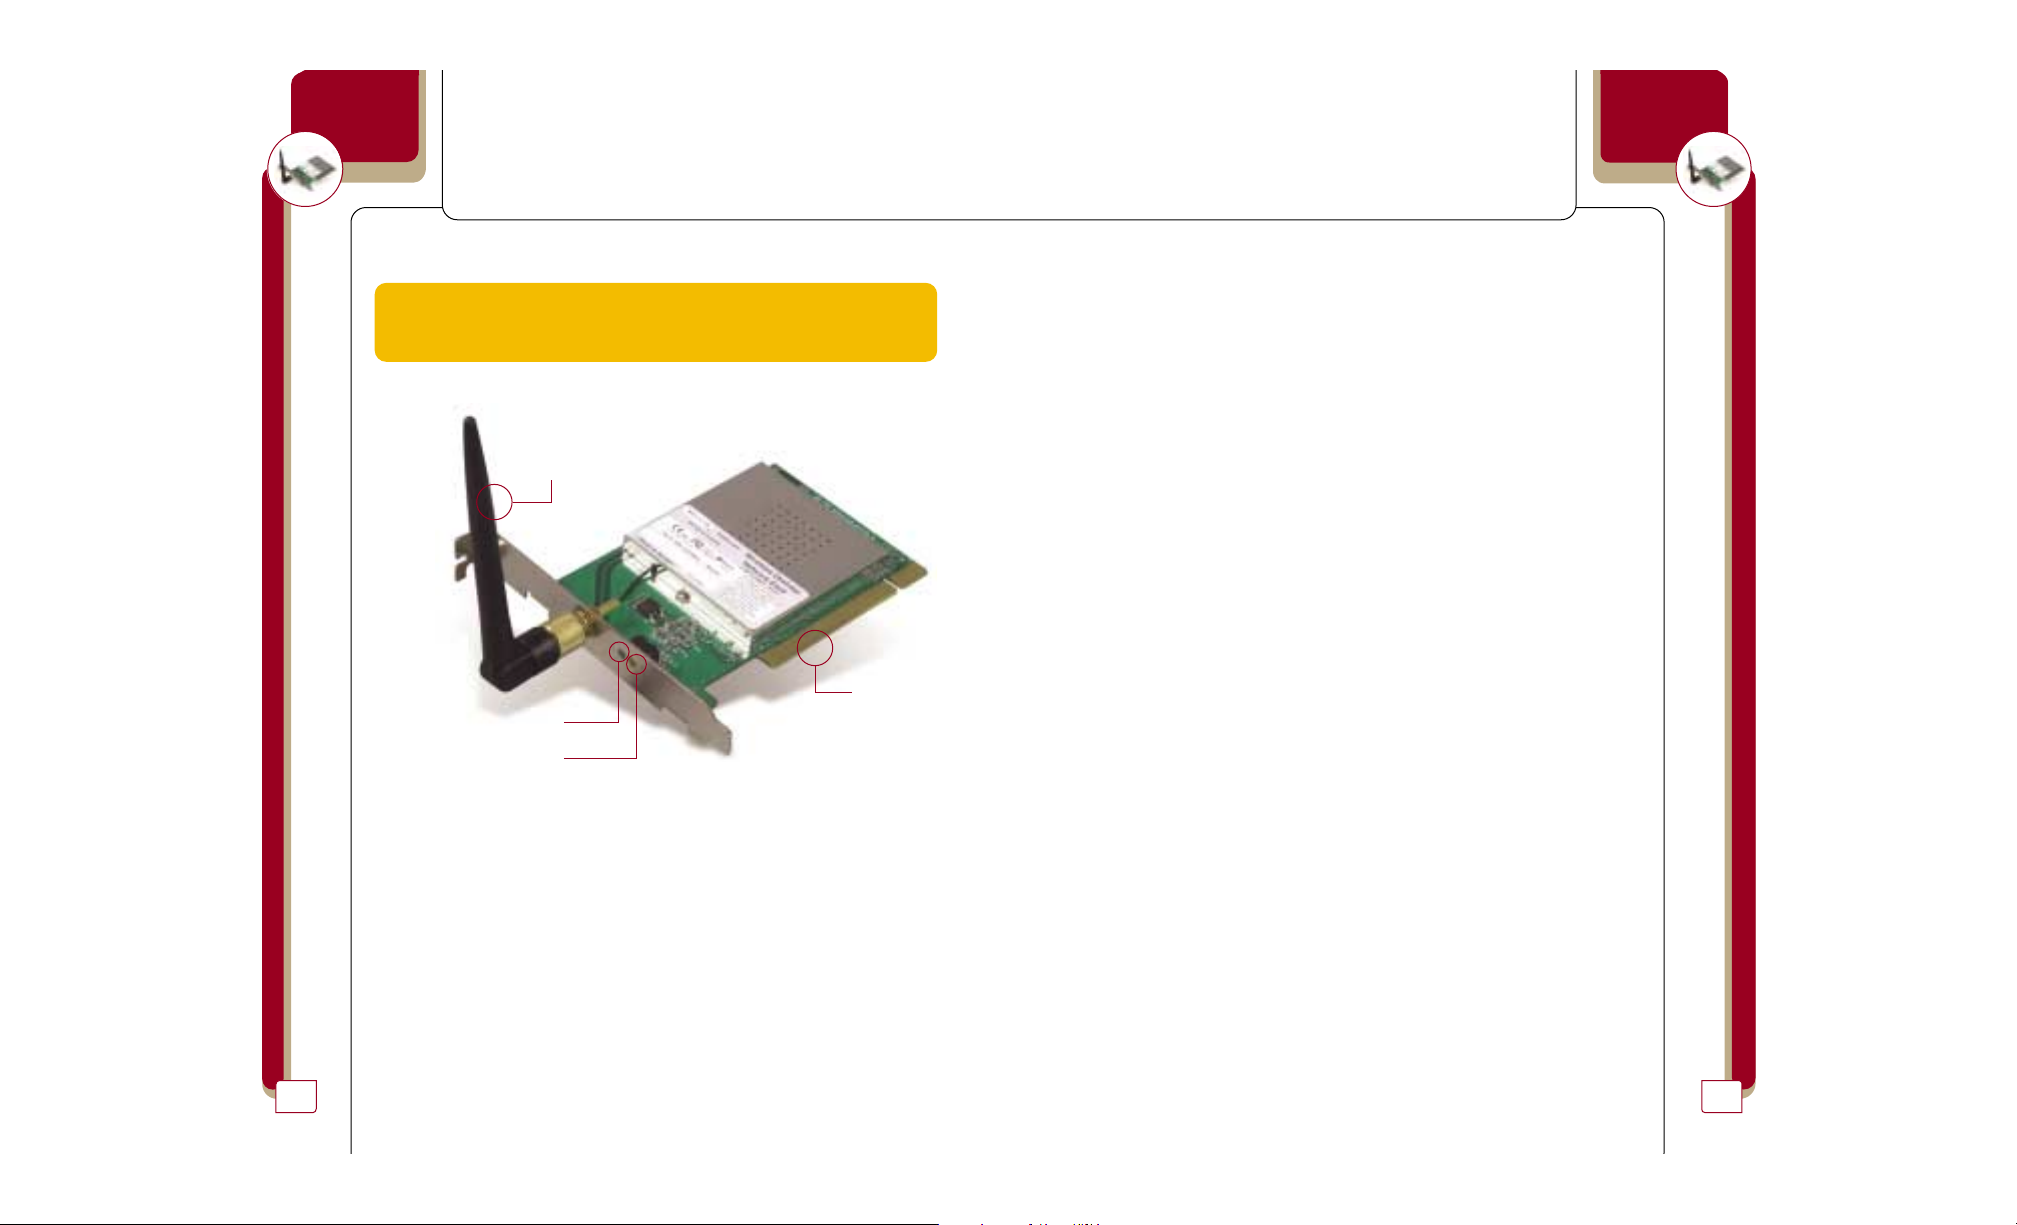
Knowing Your Belkin Wireless Desktop Network Card
Warning! Your Card is sensitive to static electricity. Handle the Card by
the edges and avoid touching the PCI edge connector or any of the
components on the green printed circuit board.
Power LED
Solid: Power is on
Off: Power is off
Link LED
Solid: Linked to the wireless network
Blinking: Scanning for a wireless network
Antenna
Power
Link
PCI Edge
Connector
7
4. The Wireless Desktop Network Card installer will automatically copy all
of the needed files to your computer. When prompted, click “Finish” to
complete the copy process.
5. Remove the CD from the CD-ROM drive and shut down your computer.
Note: Be sure to properly exit your Windows OS by clicking “Start” >
“Shut Down”.
6. Follow the directions in Step 2 to install the Card inside of
your computer.
Step 2: Installing the Card into Your PC for Windows 98,
Me, 2000, and XP
1. POWER OFF THE COMPUTER AND DISCONNECT THE POWER CORD.
2. Remove the screws that secure the computer cover and remove
the cover.
3. Touch any metal part of the case. This will discharge any static
electricity that could damage your product or your computer.
4. Locate an empty PCI expansion slot.
5. Confirm that the Card will fit into the slot you have chosen. Keep in
mind that the included antenna needs to be oriented with the top
pointing up. If there are cables and other connectors in the way, try
to pick the PCI slot that has the fewest obstructions to the correct
positioning of the antenna.
6. Remove the port cover from the back of the PC that corresponds to the
PCI slot you selected. If there is a screw, place it in a safe place as you
will be using it to attach the Card to the computer chassis later.
7. Push the Card firmly into the PCI slot that you have chosen. Apply
pressure as needed until the connector is fully seated.
8. Now secure the Card with the screw that you previously placed in a
safe place.
wireless networking
wireless networking
6
Installing and Setting Up the Card
Installing your Card is done in three easy steps.
1. Install the software FIRST. If you install the Card inside of your PC
before you install the software, it will not work until you install
the software.
2. Install the Card inside of your PC.
3. Turn on your PC and let Windows operating system (OS) finish installing
the Card.
NOTE: INSTALL THE SOFTWARE FIRST BEFORE YOU INSTALL THE CARD
INTO YOUR PC
Step 1: Software and Driver Installation
1. Insert the CD into your CD-ROM drive.
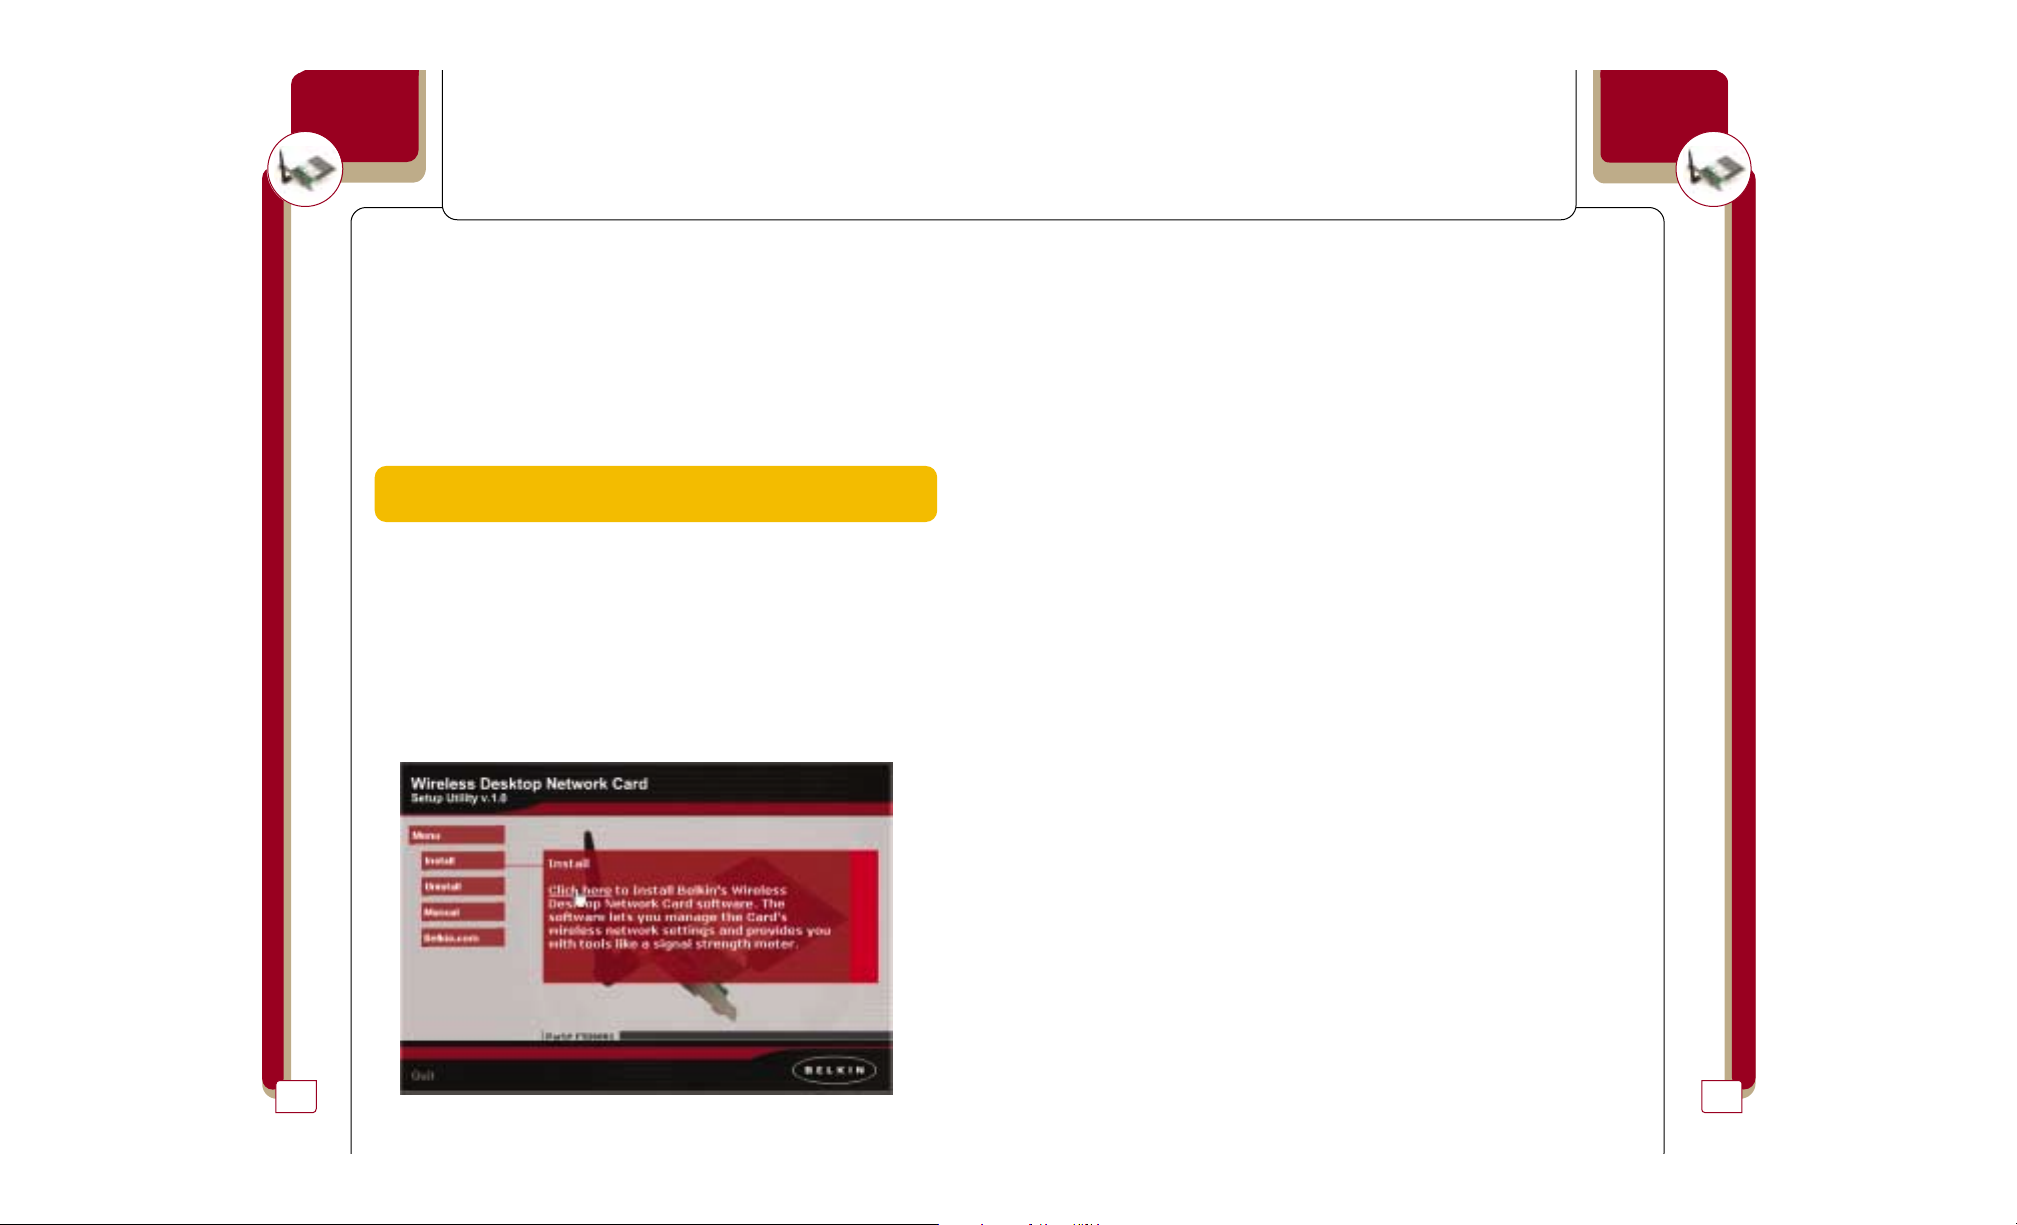
2. The “Wireless Desktop Network Card Setup Utility” screen should
automatically appear. If it does not appear within 15–20 seconds,
then select your CD-ROM drive and double-click on the folder named
“Files”. Next double-click on the icon named “LAN_UTILITY.exe”.
3. In the utility screen, drag your mouse over the “Install” button, then
select “Click here” to start the software installation program.

9
Step 3: Finishing the Installation
1. Turn your computer on.
2. Depending on your operating system, Windows OS may detect the Card
and launch the “Found New Hardware” wizard. Click “Next”.
3. Your Windows OS may ask you where the drivers are located. Make no
changes and click “Next”.
4. If you are using Windows 2000 or XP, you will get a message telling you
that the drivers are not “signed” by Microsoft. This does not mean there
is a problem. Click “Continue”.
5. Your Windows OS will find the correct driver files and complete the
installation. Windows OS may tell you that the hardware is installed.
Click “Finish” if asked to.
6. Windows OS may ask you to restart the computer. If it does, click “Yes”
or “Restart”.
7. When the computer restarts, an icon will appear in the bottom right-
hand corner of your screen. See below:
Windows 98, Me, 2000 Windows XP
8. Installation is complete. Go to the next section called “Using the Card”.
Uninstalling the Software and Drivers
If you need to remove the software and drivers for any reason, you can
accomplish this easily in one of two ways. You can insert the software CD
and click on the “Uninstall” option in the menu, or you can go to the
Windows Control Panel and select the “Add/Remove Programs” option. The
Belkin Wizard will walk you through the removal process.
wireless networking
wireless networking
8
9. Carefully screw the antenna onto the threaded connector on the Card.
Turn the antenna until it is vertical and pointing up.
10. Replace the computer’s cover.
11. Now that the Card is installed, you can replace the cover to your
computer, reconnect all of the cables, and turn it back on. Proceed
to Step 3.
 Loading...