

Page 1
Parts:
-base assembly
-2 long bars (bottom cross) to support dowels
-1 center post with hanger bolts in each end
-2 short bars (top cross) to hold dowels
-1 washer and knob with metal inset
-4 dowels
-4 adhesive-backed rubber feet
Assembly Instructions:
Step 1)
Place the base assembly on a table top or floor,
with the solid wood piece up (fig. 1). Position the
long bars so their center notches interlock. Orient
them above the base assembly so the holes near
each end face up. Insert the hanger bolt in one
end of the center post through the cross bars and
engage the metal insert in the base assembly; do
not tighten—see next step.
Yarn Swift
Fig. 1
Step 2)
Holding the center post, orient the assembly so
the base is above the post and cross bars (fig. 2).
Position the center post so it engages the shallow
notch where the cross bars intersect. Turn the
base assembly so the hanger bolt tightens into the
metal insert in the base. Snug the cross bars
against the base.
Attach a rubber foot to the bottom side of each
base assembly cross piece, about an inch from the
end. Press to secure the adhesive.
Step 3)
Re-position the base on a table or floor, so the
center post sticks up. You can position the cross
bars against the base assembly as shown; specific
positioning does not effect function as long as the
bars are snug to the surface of the base assembly.
Fig. 2
Fig. 3
Beka, Inc. • 542 Selby Avenue • St. Paul, Minnesota 55102 • USA
1-888-999-2352 • www.bekainc.com • 651-222-3965 fax
Page 2
Step 4)
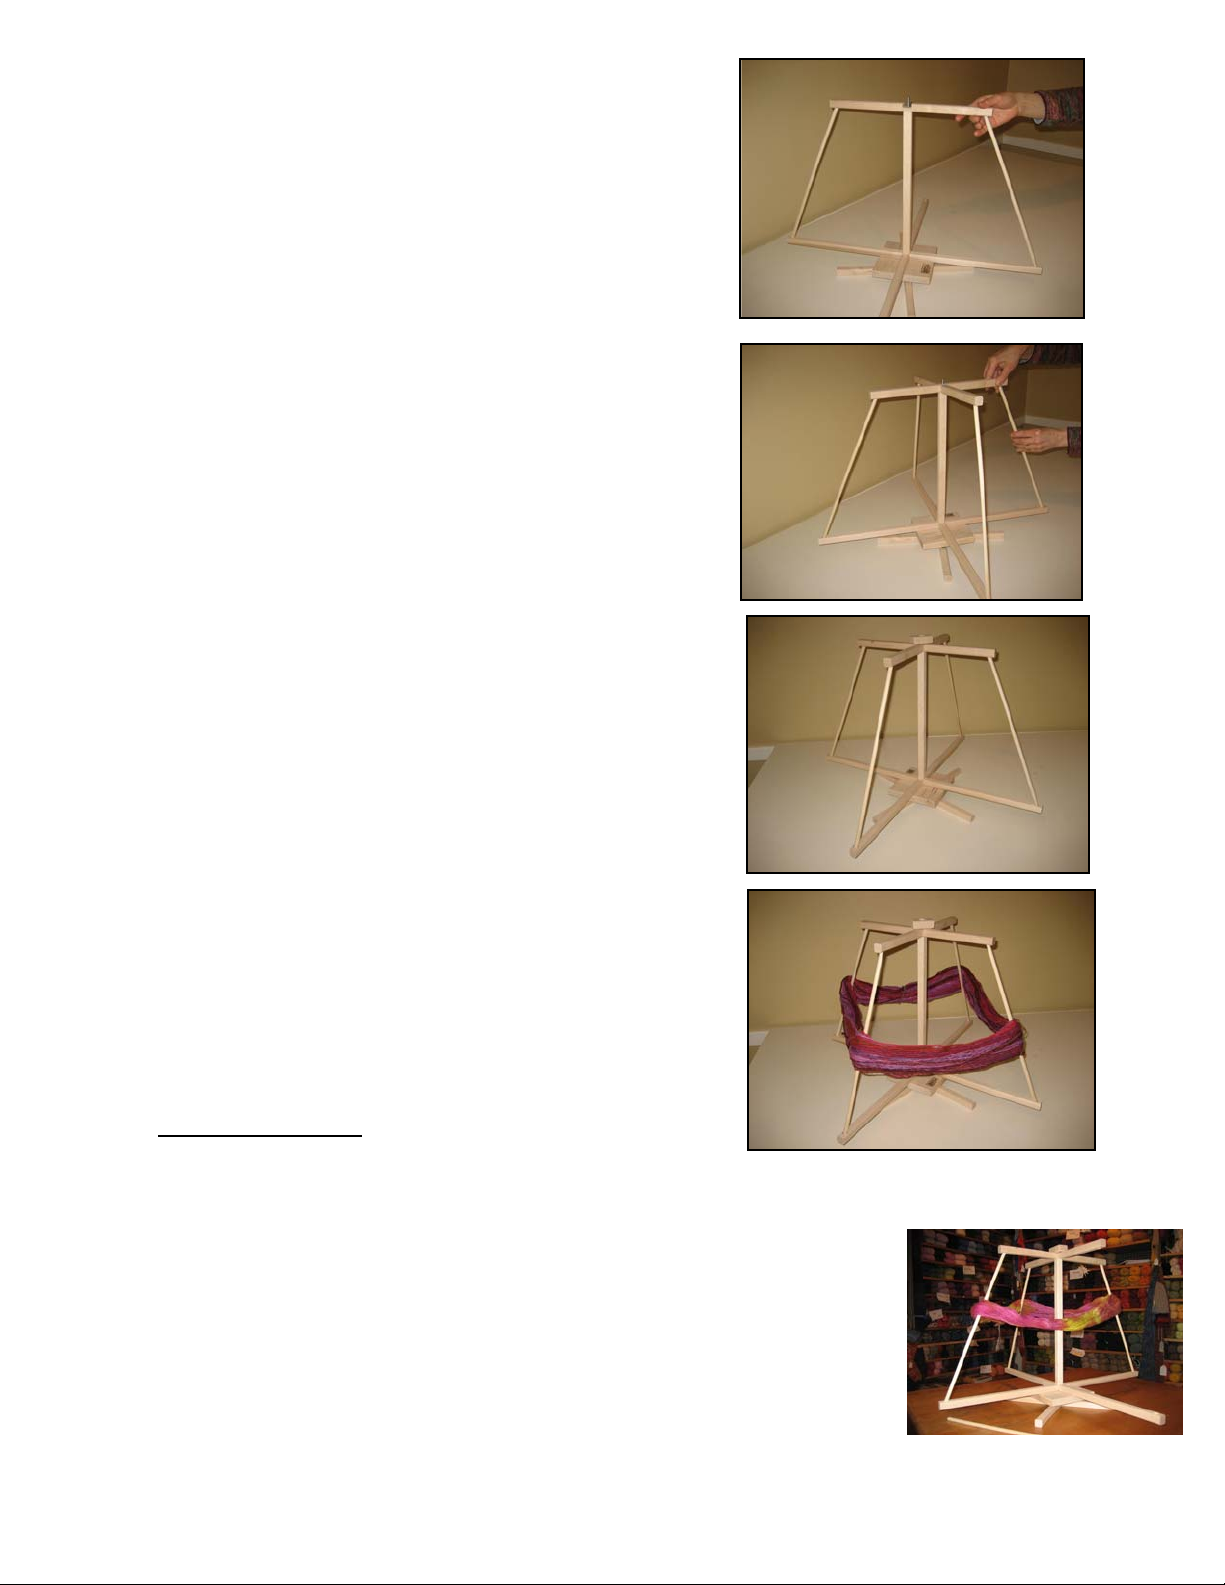
Orient the short cross bars so they interlock with
their holes down. Slide the lower one into place
over the hanger bolt in the top of the center post.
Position it so the shallow notch engages the top of
the center post; the post’s end will sit flat against
the bottom of the notch. Insert two of the dowels,
placing one end into a hole on the long bottom bar
and the other end into a hole in the corresponding
top bar. (fig. 4)
Step 5)
Position remaining short cross bar over the hanger
bolt, engaging the notch in the lower piece. Add
the last two dowels, placing one end into a hole in
a long bottom bar and sliding the other end into
the hole in the corresponding top piece. Holes are
large enough for easy installation. (fig. 5)
Step 6)
Place washer over bolt, use wooden knob to hold
the swift assembly in place. Orient knob so large
flat metal surface is up. Metal insert in knob is
visible from above when knob is in place. Do not
over-tighten! (fig. 6)
Fig. 4
Fig. 5
Fig. 6
Your swift is now assembled and ready to use.
The bearings do not need any maintenance, and
will allow the swift to turn easily and smoothly
during use. If you choose, apply a small amount
of light weight machine oil—a drop is plenty—to
reduce any noise you may hear. Be aware that
adding oil may lead to dust collecting around the
metal bearings, potentially effecting how well the
swift turns.
Instructions for Use
Your Beka Yarn Swift is designed to accommodate a wide variety of skein
sizes (45” - 80” with all four dowels). Position yarn over the top of the
swift, allowing it to settle into place. For small skeins (30” - 45”), remove
a dowel and drape the yarn onto the swift as shown (Fig. 7).
Untie and remove threads holding the skein together, so you can wind yarn
smoothly into a ball, winding by hand or with a “crank” ball winder.
(Winding with an electric ball winder is not recommended.) Position yarn
so an “end” is on the outside, grasping and rolling the skein as needed to
“wind off” from the outside of the skein. If your swift begins to slide during use, your yarn probably needs to be re-oriented to avoid tangles.
Your Beka Yarn Swift does not require clamping to a table, so may be used
anywhere! ~Enjoy!
Fig. 7
 Loading...