

Page 1
User Manual
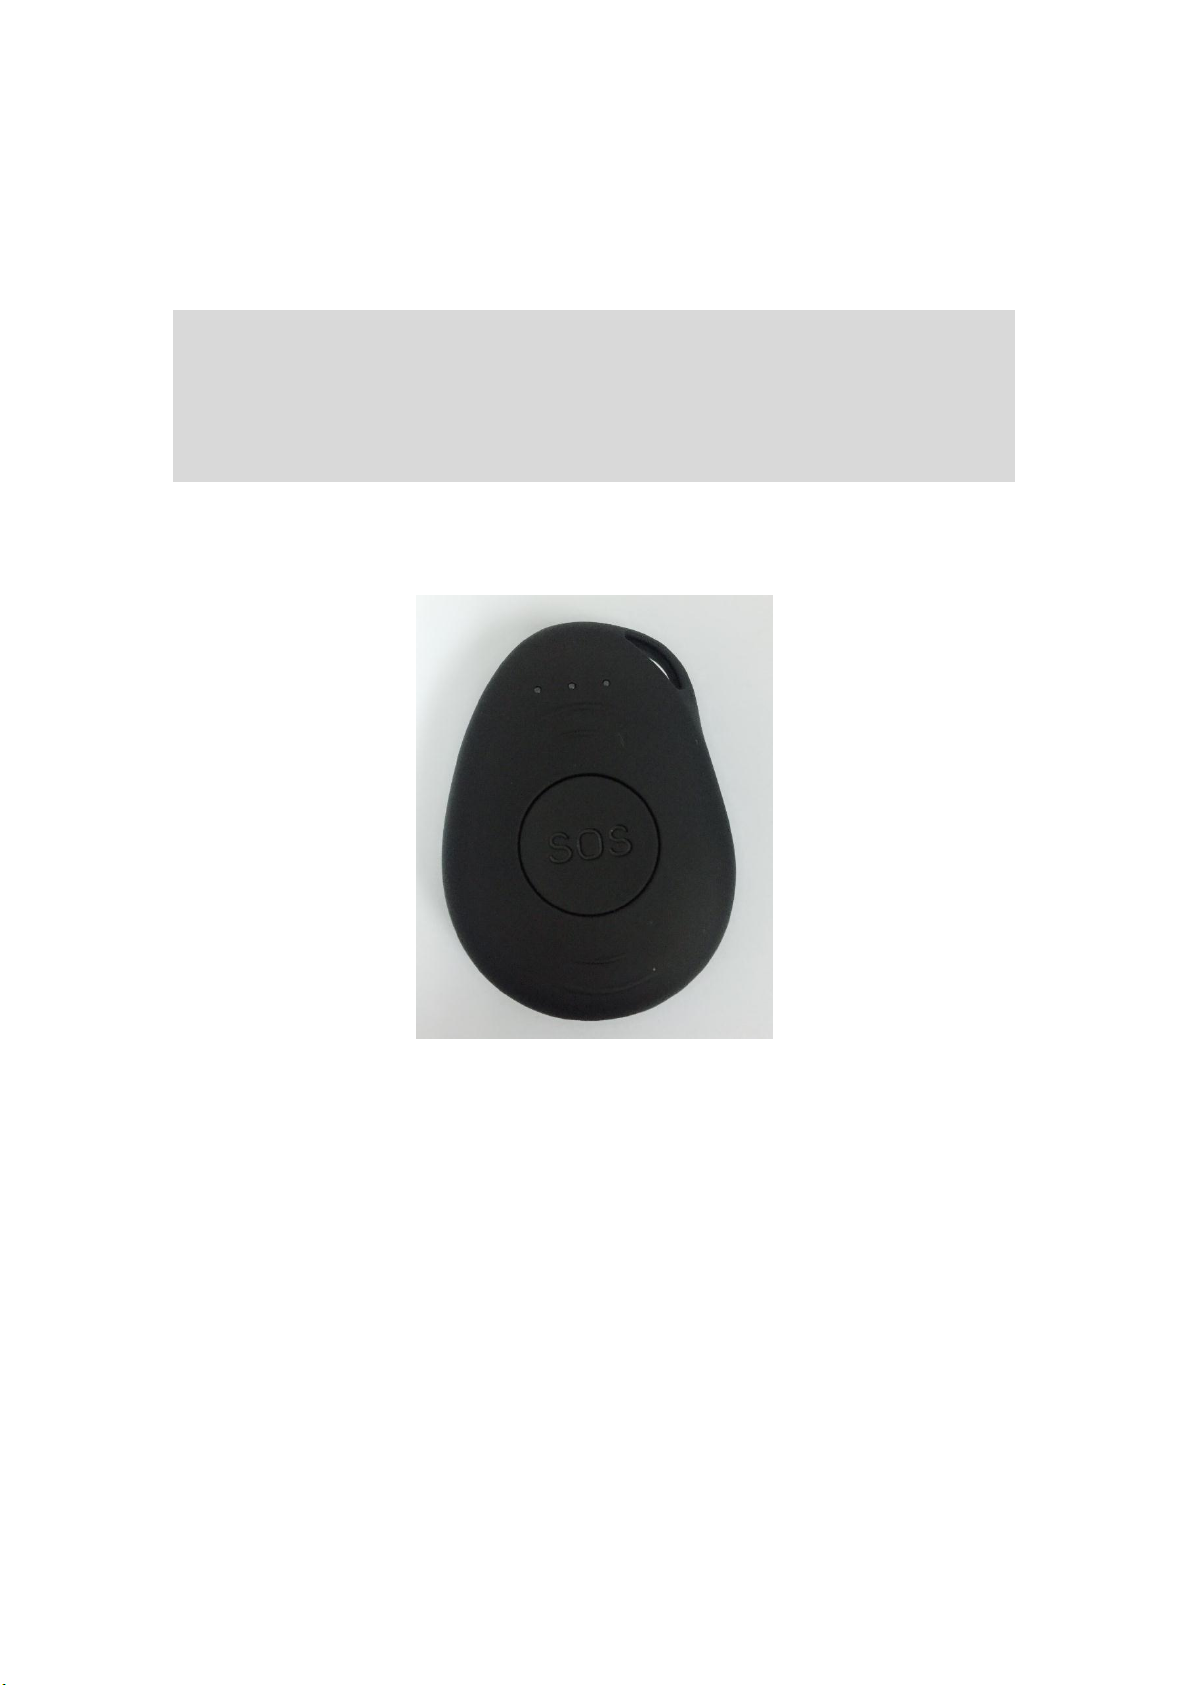
The Intelligent Personal Safety Alarm
iHelperSOS-a10
iHelperSOS®
Manufacturer:Beijing Intelligent RoadMap information Technology Co., Ltd. China
© 2017 iRoadMap. All rights Reserved
Page 2
Included in package
1
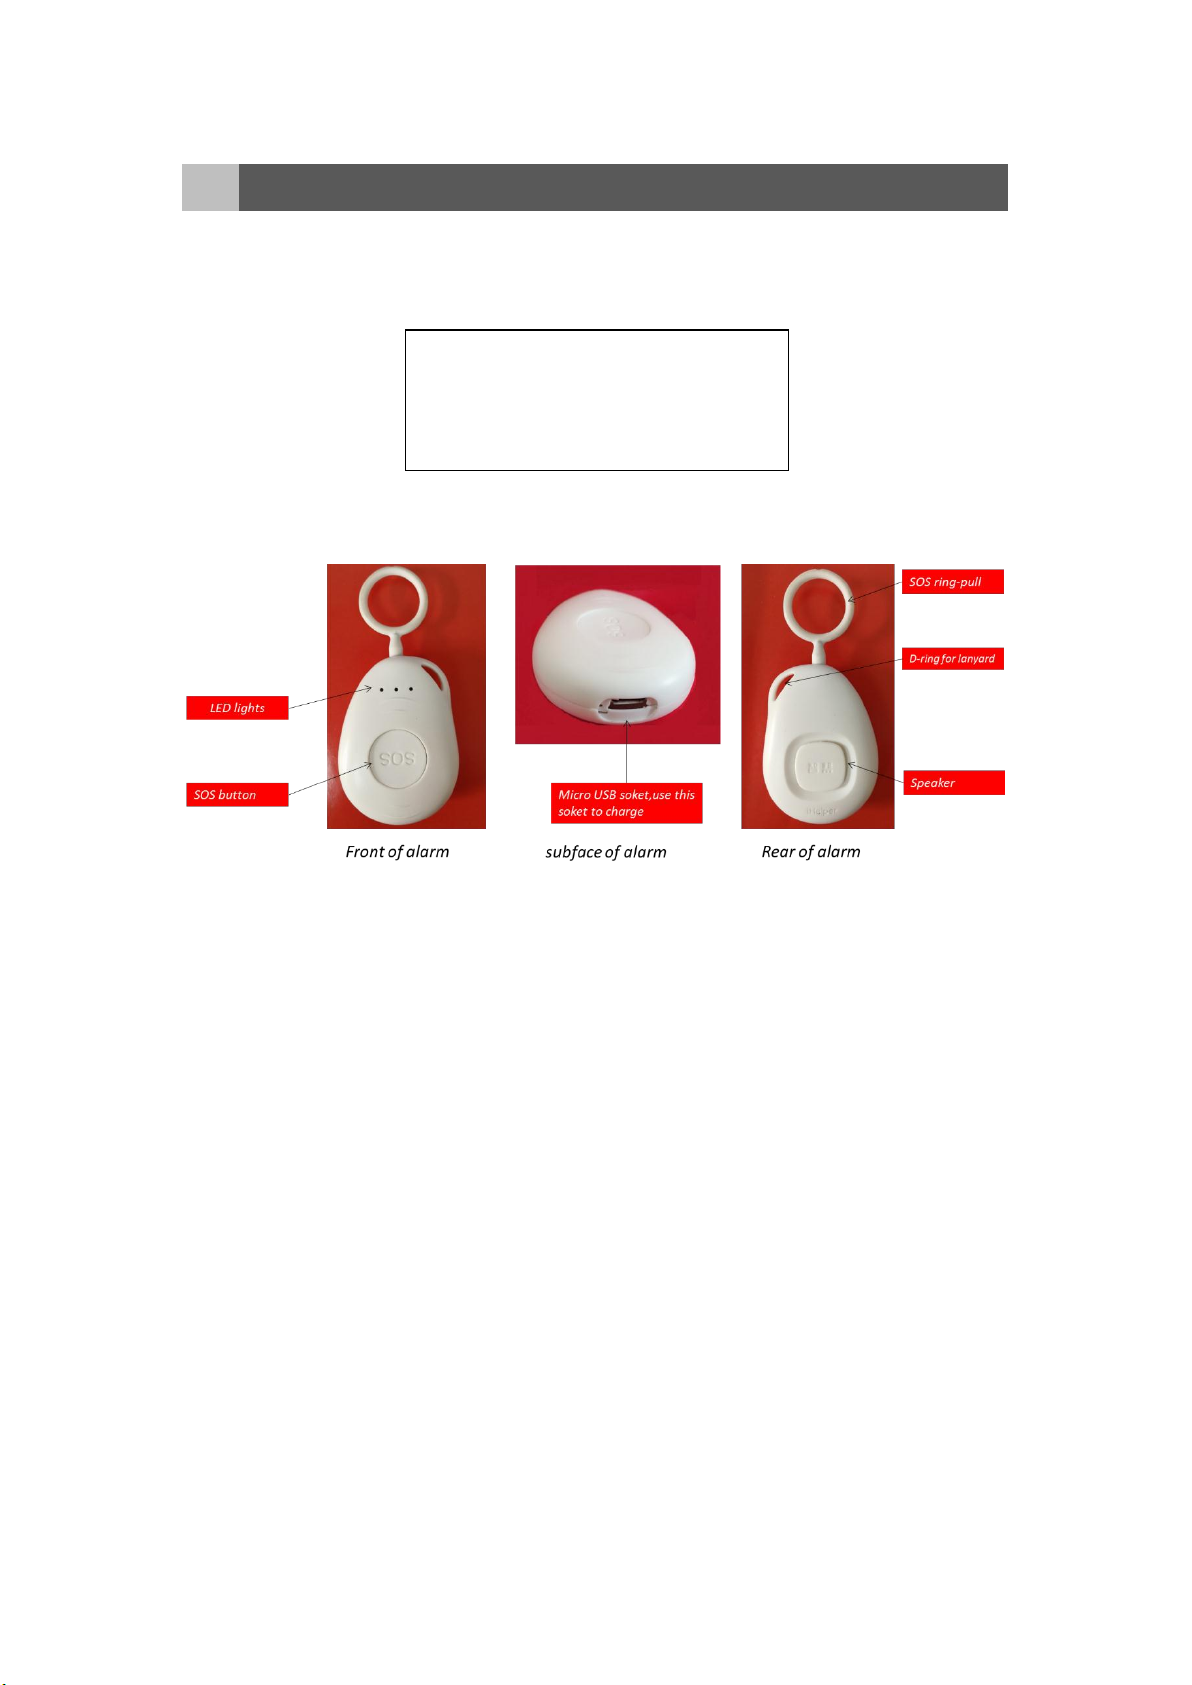
1 x Mobile alarm device
1 x Power cable (USB)
1 x Lanyard
1 x User manual
Included in package
Overview of device
The product shall be connected to a USB interface of version USB2.0 or above.
Page 3
Turning on and off
Basic operation
2
CAUTION: RISK OF EXPLOSION IF
BATTERY IS REPLACED BY AN INCORRECT
TYPE. DISPOSE OF USED BATTERIES
ACCORDING TO THE INSTRUCTIONS.
charge can last from 30 days to 180 days
Turning the device on
When you take the device out of the box it
will be turned off. To turn it on, hold down the
‘SOS button’ till it buzzed about 2 second.
The green LED will flash three times and the
device will begin to start up.
When to turn the device off
There is no need to turn the device off unless
you will not be using it for a prolonged period
of weeks or months.
To turn it off, hold down the SOS button till it
buzzed for about 5 seconds.
depending on use.
Low battery warning
The blue led light flash when the battery level
in the device falls to around 15%.
Charging via the USB cable
You can recharge the device by plugging the
USB cable directly into the micro USB socket
on the bottom of device and the other end into
the power adapter.
Activating your alarm
Charging your device
Type of battery
The mobile alarm uses a lithium ion battery.
Using your device for the first time
When you receive your mobile alarm it will
probably have a fair amount of charge, you
should charge it up though the USB power
cable for around an hour before use.
How long it takes to recharge
The battery should only take around 45
minutes to fully charge if it is low. A full
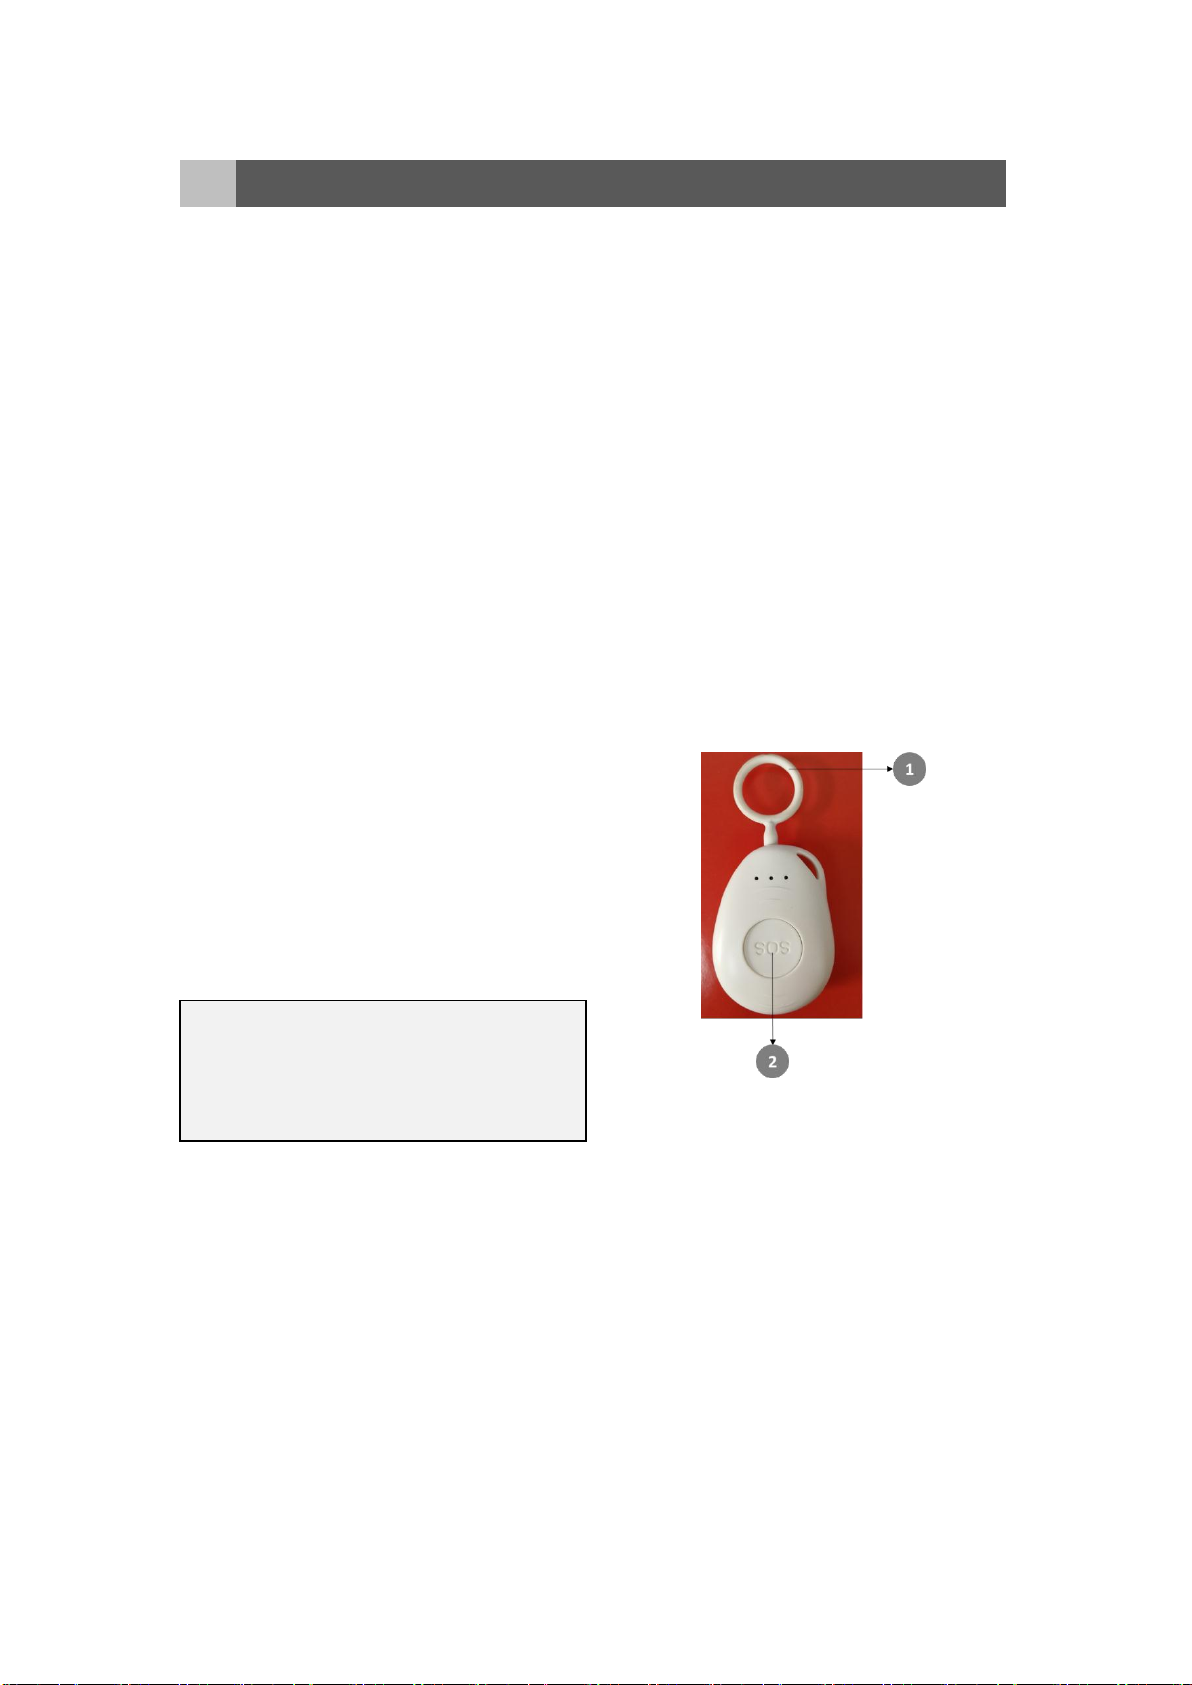
①When you need help, want the device make
loud sound to frighten bad guys off or getting
people's attention. You can pull the SOS ringpull, the loudspeaker of device will make
alarm sound about 120 decibels. Besides, the
help message will send to your contacts.
If you want to stop the alarm sound, you can
reinsert the SOS ring-pull into hole of device.
②When you need help and want send
Page 4
message to your contacts without being
noticed by bad guys, you can quick press the
SOS button down twice, that the green led
light brighten for 3-5seconds then went out
indicates the help message have send to your
contacts. If the red led light is on indicates it’s
failed the help message send out.
The alarm conditions
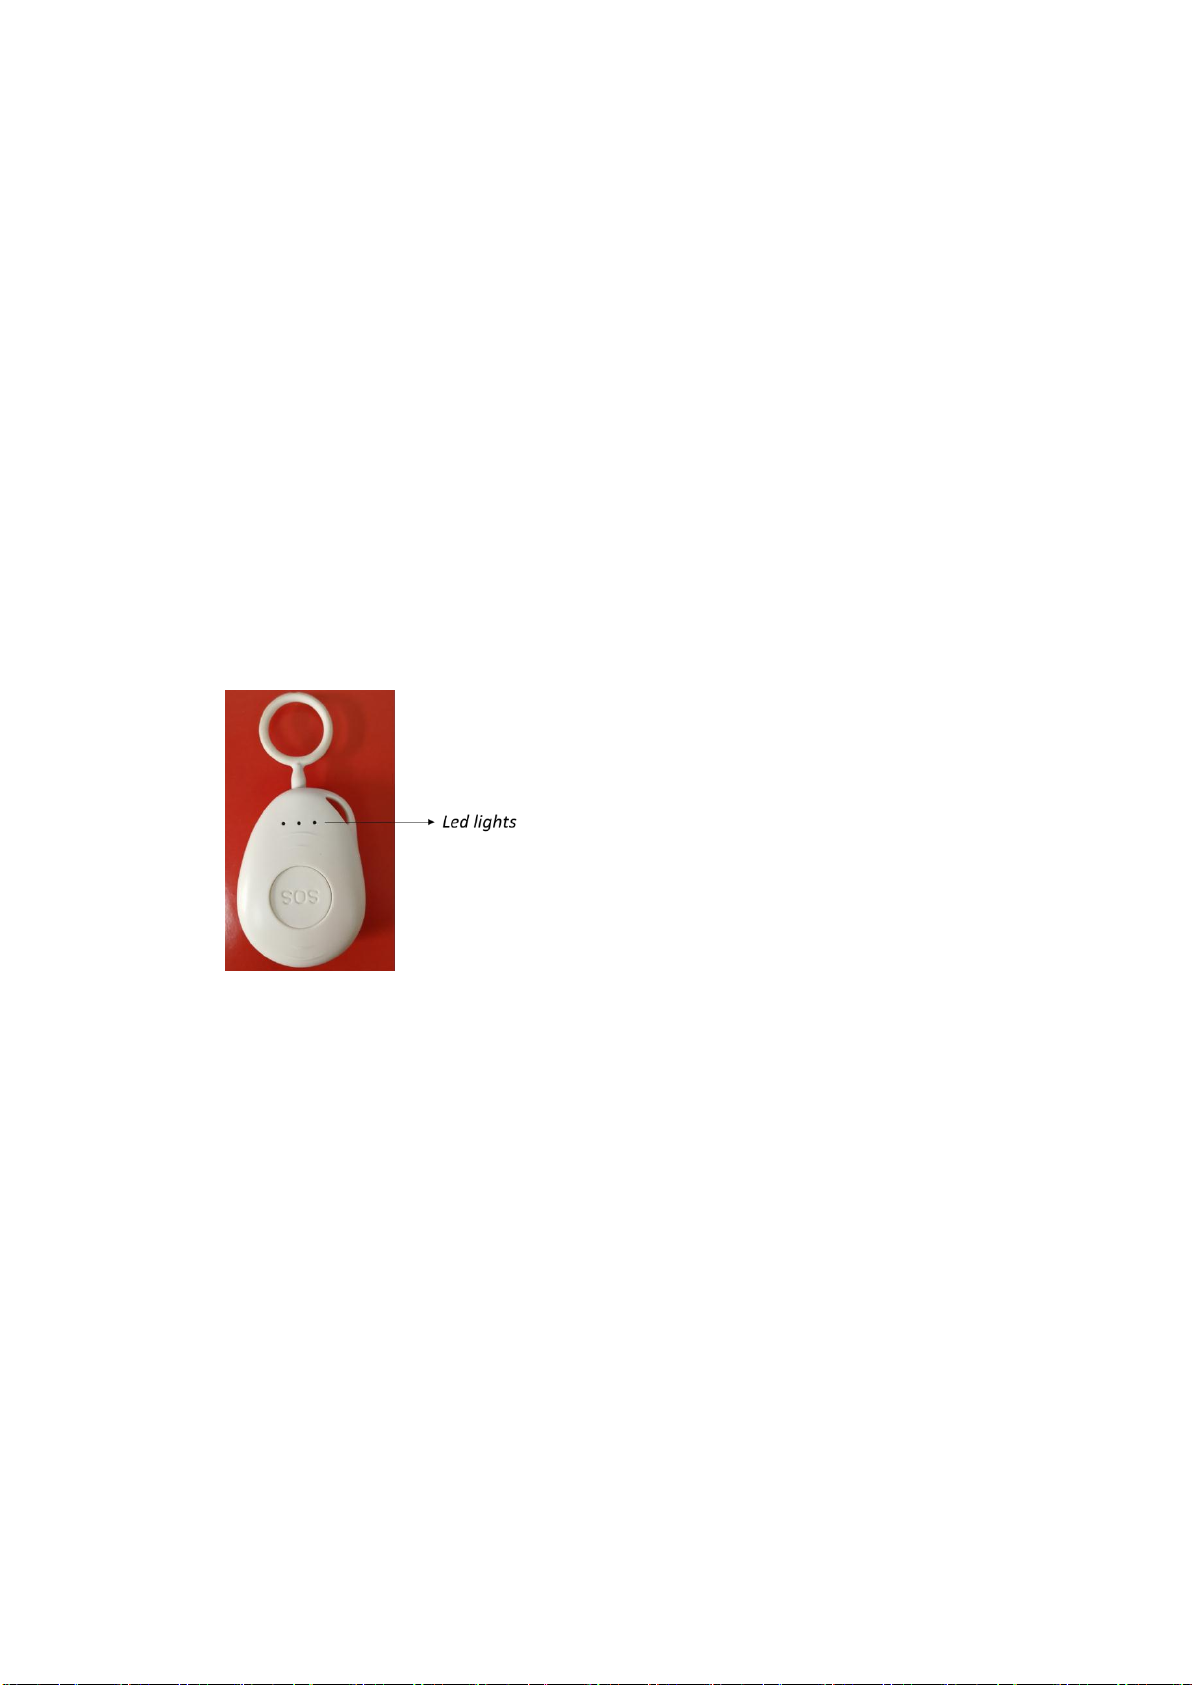
There are three colors led light of alarm
indicates device different states.
You can press SOS button down once, when
the green led is light, it indicates the alarm is
connected to the iHelperSOS APP, if the red
led is light flash three times, it indicates it is
not connected to the APP.
The red light on is a sign of alarm error, you
need reboot the device.
The blue led light is flash indicates the alarm
is charging.
Once the alarm is charged, the blue led light is
brighten.
Page 5

Operating temperature
Other information
3
The device operating temperature is:
-10℃ to + 70℃
The device storage temperature is:
-40℃ to + 80℃
The device humidity rating is:
5% to 95% non-condensing
Page 6

FCC Statement:
FCC Statement
4
This equipment has been tested and found to comply with the limits for a Class B
digital device, pursuant to part 15 of the FCC Rules. These limits are designed to
provide reasonable protection against harmful interference in a residential installation.
This equipment generates, uses and can radiate radio frequency energy and, if not
installed and used in accordance with the instructions, may cause harmful interference
to radio communications.
However, there is no guarantee that interference will not occur in a particular
installation. If this equipment does cause harmful interference to radio or television
reception, which can be determined by turning the equipment off and on, the user is
encouraged to try to correct the interference by one or more of the following
measures:
• Reorient or relocate the receiving antenna.
• Increase the separation between the equipment and receiver.
• Connect the equipment into an outlet on a circuit different from that to which the
receiver is connected.
• Consult the dealer or an experienced radio/TV technician for help.
Caution: Any changes or modifications to this device not explicitly approved by
manufacturer could void your authority to operate this equipment.
This device complies with part 15 of the FCC Rules. Operation is subject to the
following two conditions: (1) This device may not cause harmful interference, and (2)
this device must accept any interference received, including interference that may
cause undesired operation.
The device has been evaluated to meet general RF exposure requirement. The device
can be used in portable exposure condition without restriction.
 Loading...