

Page 1
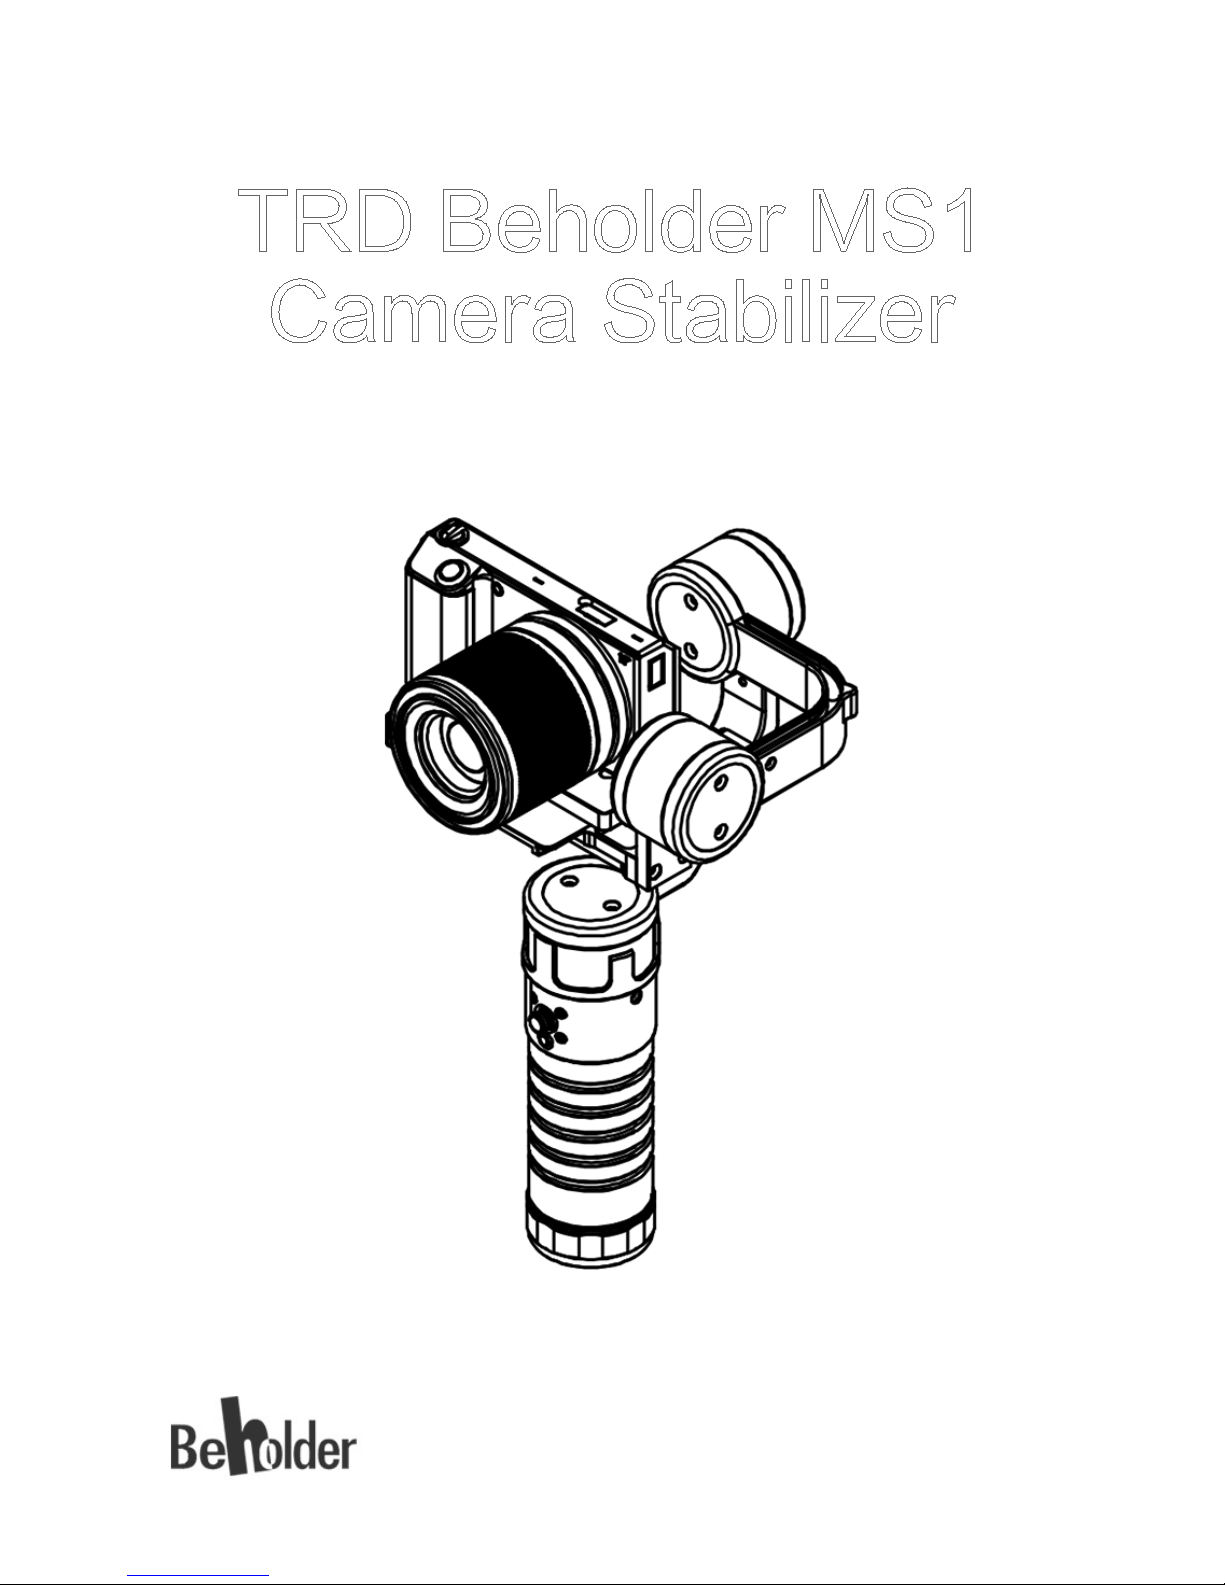
TRD Beholder MS1
Camera Stabilizer
Page 2

1
© 2015 Beholder All Rights Reserved
Table of Content
Product Description
Kit Includes
Battery Setup and Charging
Camera Setup and Balancing
How to Use
Other Features
Supported Cameras
Licensing and Trade Mark
Specifications
1
2
2
4
5
6
8
6
7
Product Description
The Beholder MS1 Camera Stabilizer is designed to support
professional videographers of all levels. The stabilizer is easy to use and
small enough to travel with. The Beholder MS1 Stabilizer is intuitive and
offers a greater range of camera movement.
Attention
7
Page 3
Battery Setup and Charging
Battery Setup
a. Install batteries positive side up into battery holder. Connect the Micro
USB cable to the Battery Holder Micro USB port. Connect USB cable
to 1.5- 2 amp power supply.
b. Battery Charging time 4- 5 hours.
c. Green light means fully charged. Red light means charging. Flashing
Red and Green lights means almost fully charged.
d. Warning using a charger that does not support 1.5- 2 amps will result
in batteries failing to charge.
2
© 2015 Beholder All Rights Reserved
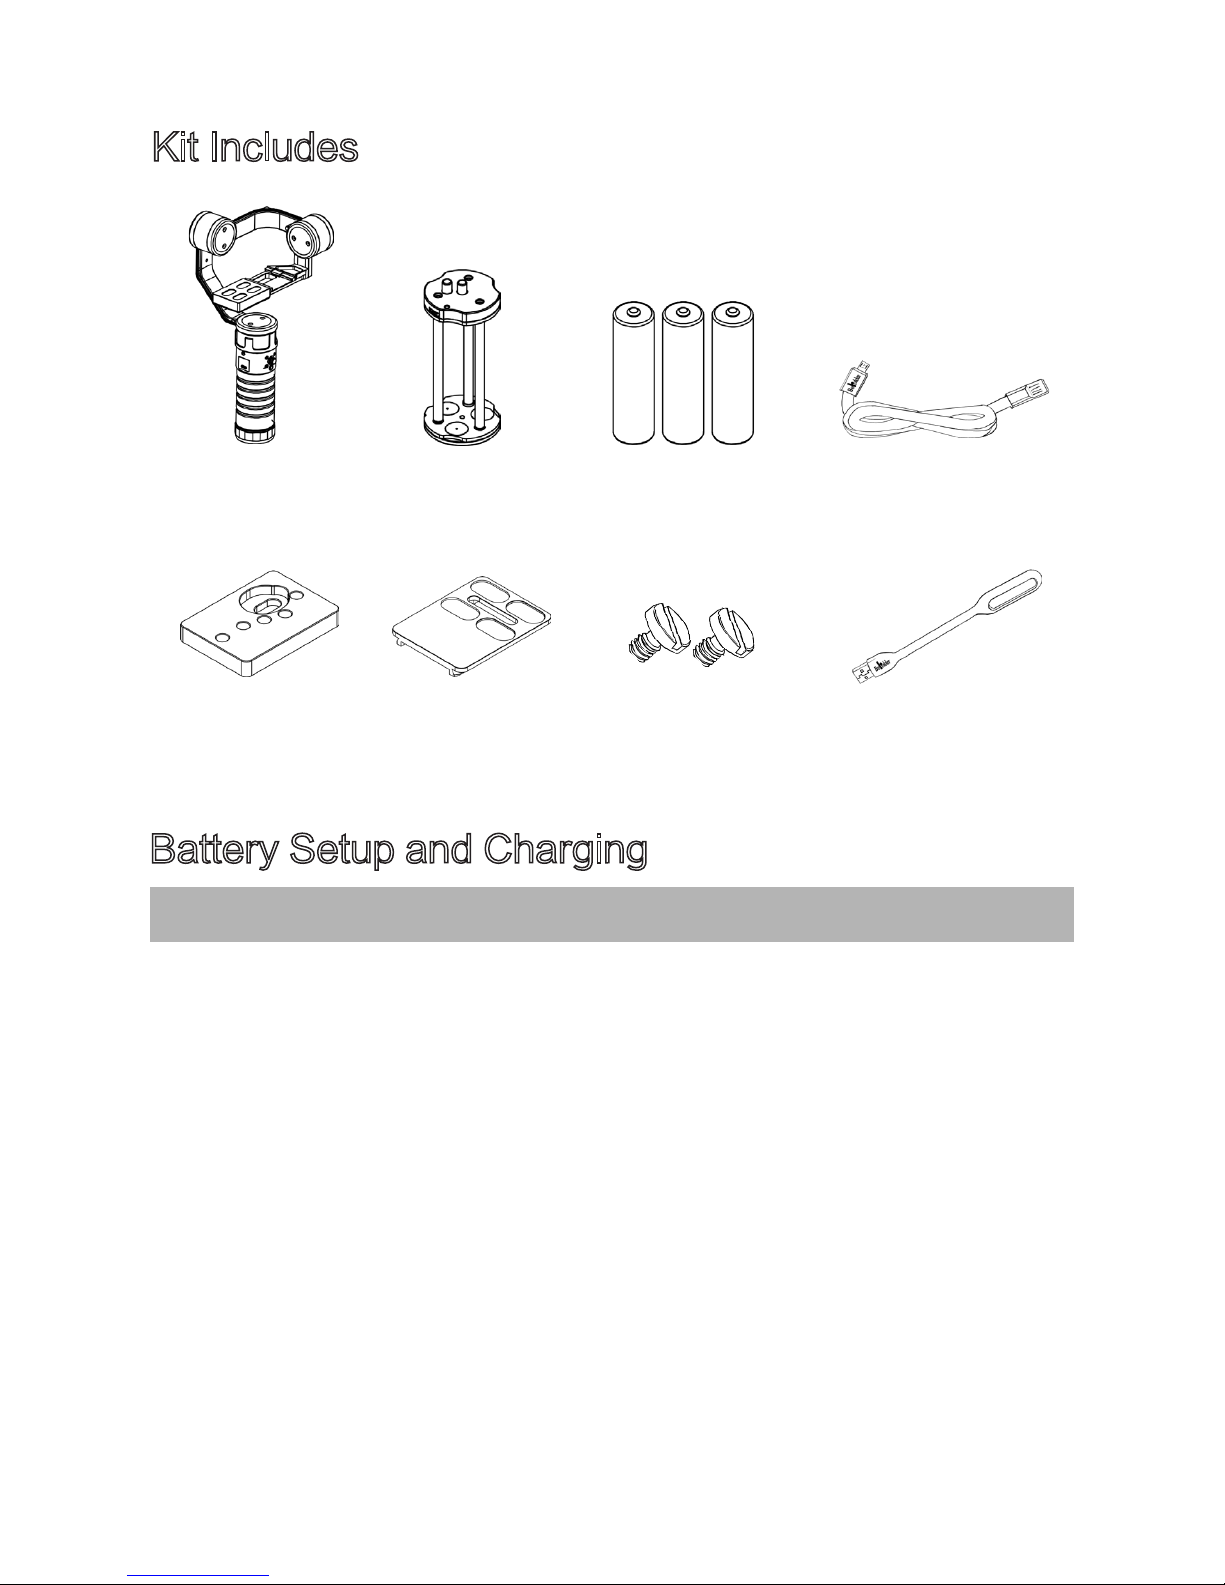
Kit Includes
MS1
Adapter plate Quick Release Plate
Two 1/4 Lanyard
USB- LED Light
Battery Holder
Three Batteries 18650 Micro USB Cable
Page 4
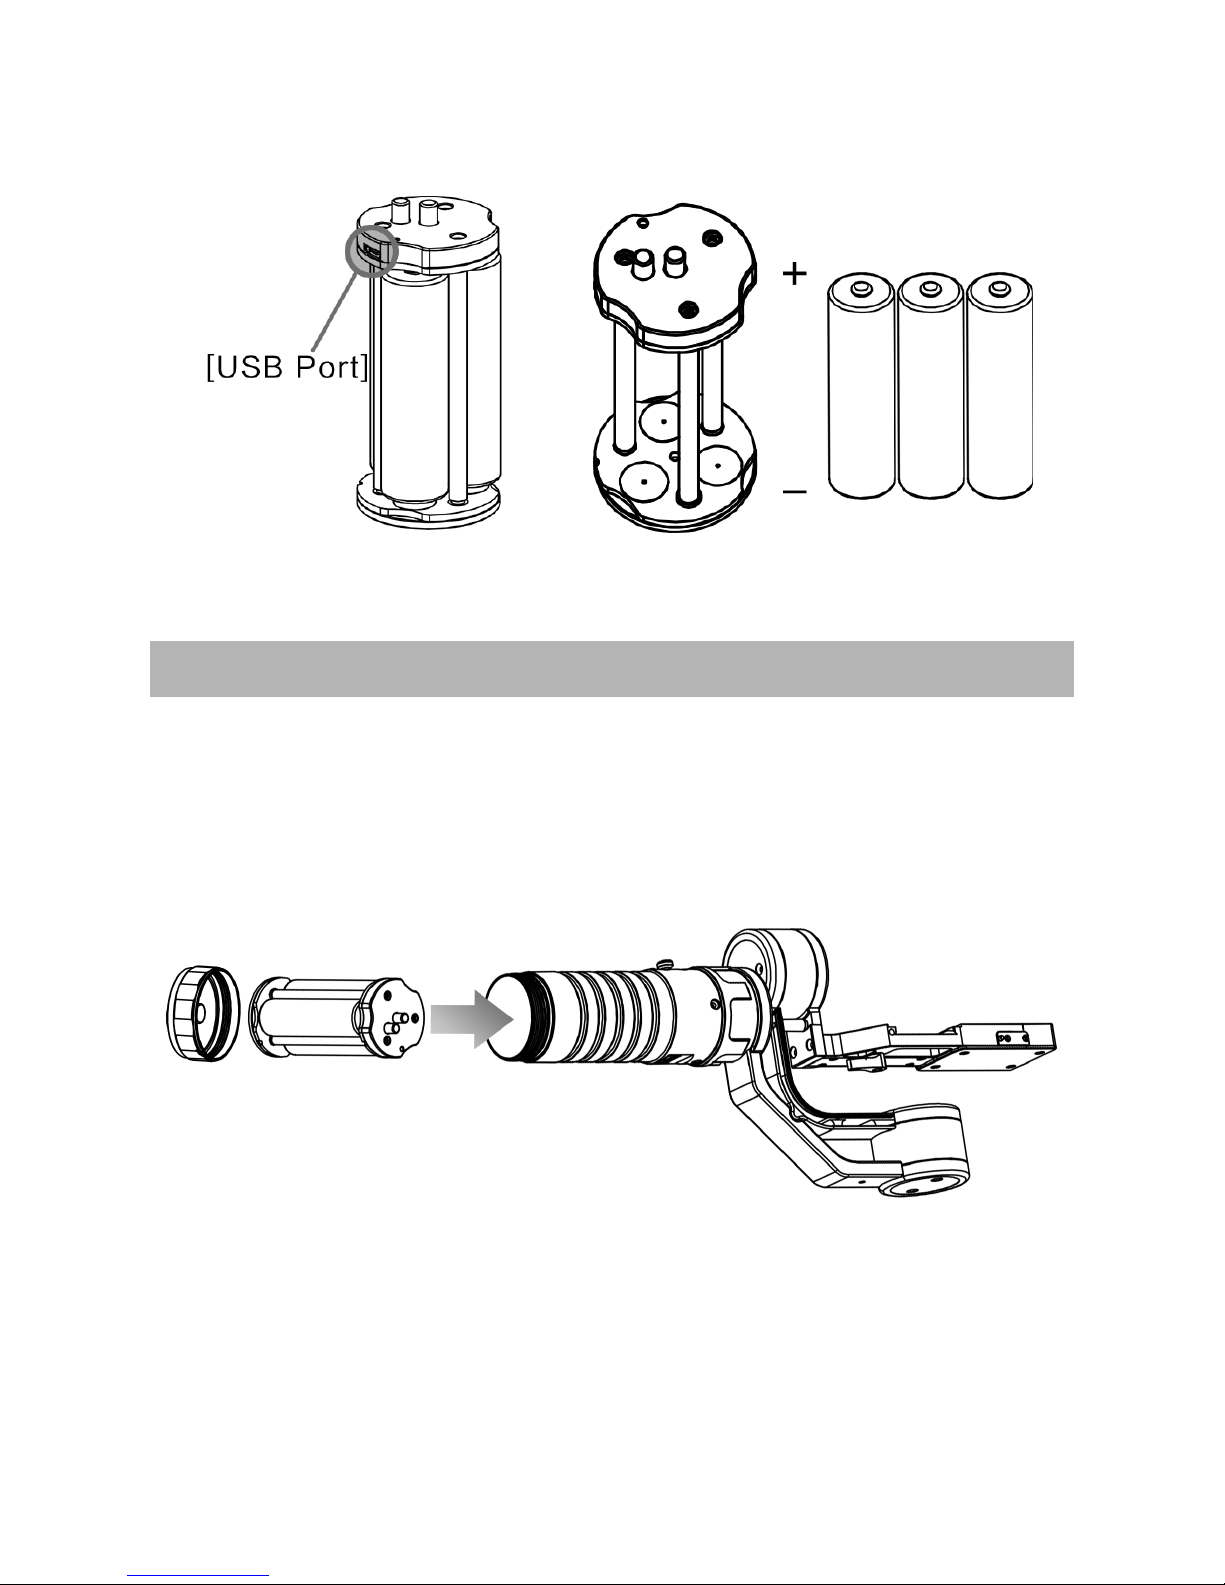
Battery Holder
a. Battery Holder positive side up.
b. Insert Battery Holder into handle, positive side first.
c. Screw on battery cap and make sure the cap is secured snuggly.
3
© 2015 Beholder All Rights Reserved
Page 5
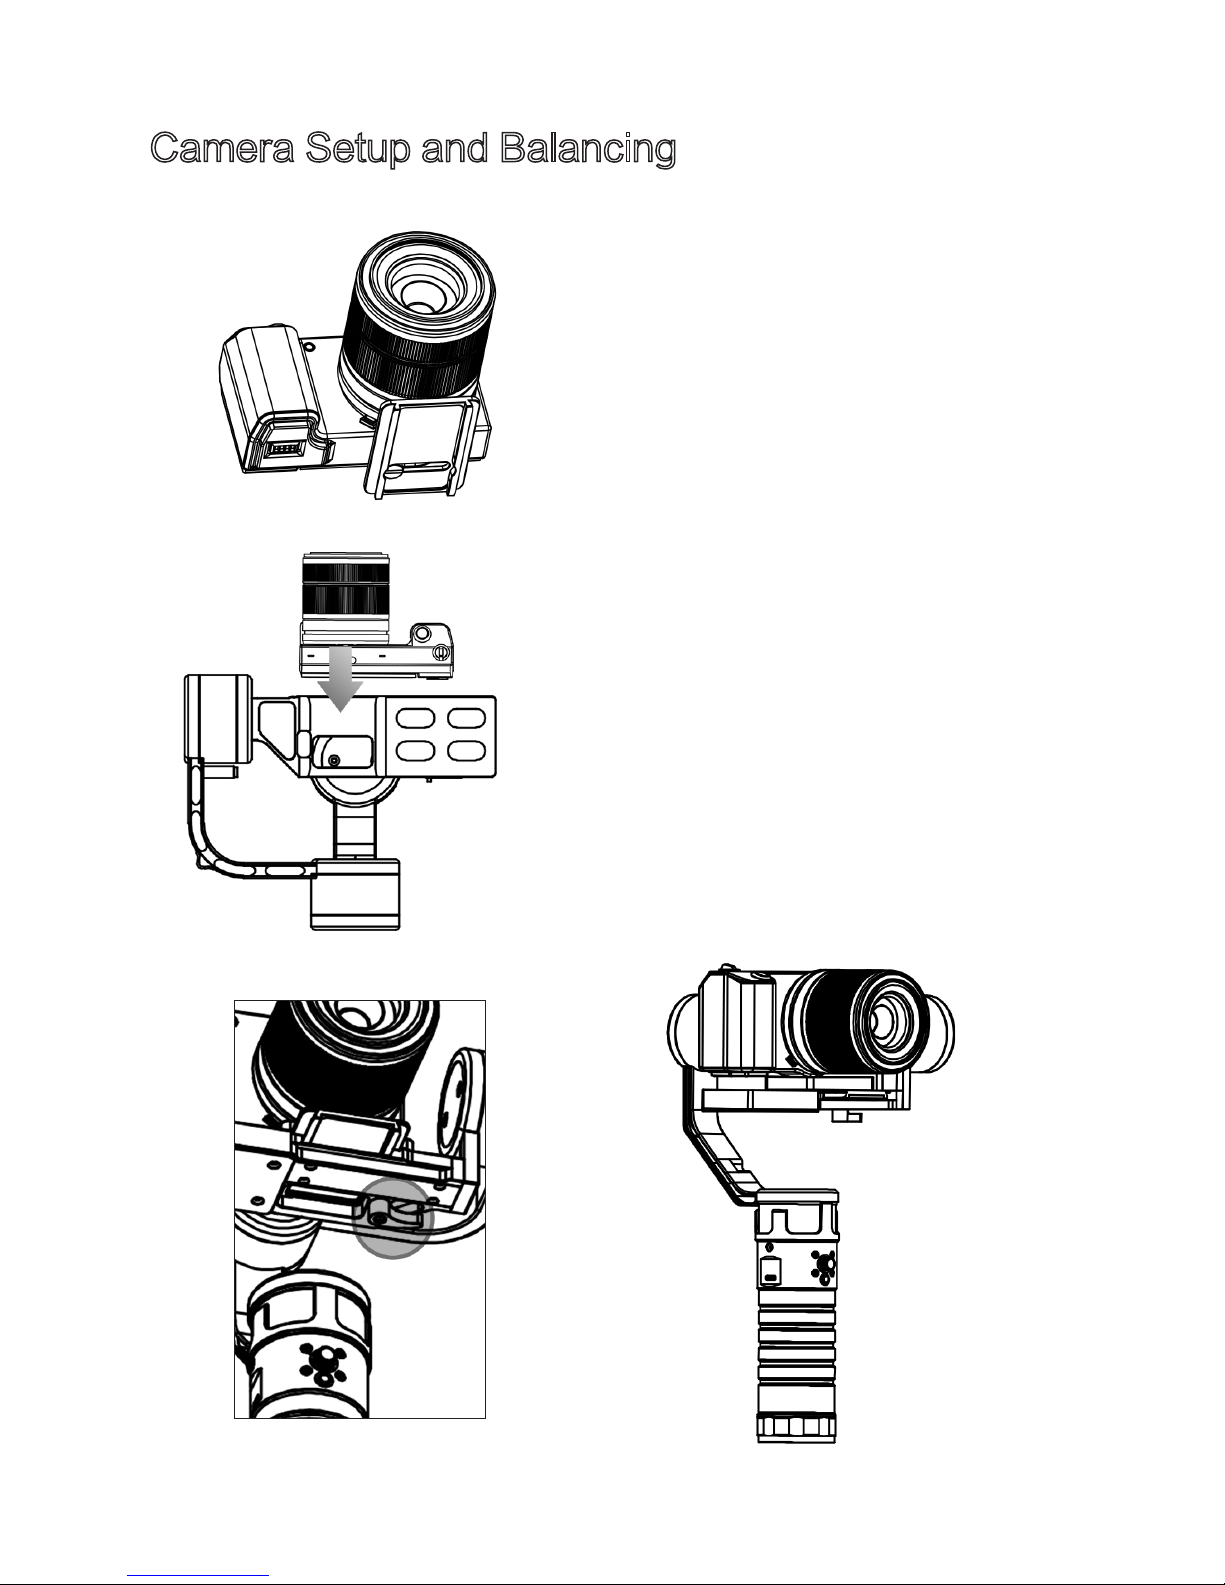
Camera Setup and Balancing
1. Attach the quick release plate as
shown with the longest slide pointing
out towards the direction of the lens.
Snuggly tighten the camera screw.
4. Adjust the front and rear balance.
Once gimbal is balanced, tighten
the quick release lock. If the camera
does not balance perfectly, don’t
worry the MS1 will usually be able to
maintain stability.
4
© 2015 Beholder All Rights Reserved
2. Attach the camera with plate to
stabilizer. Adjust the camera’s
position so that the gimbal remains
level.
3. Adjust the left-right balance of the
camera. Small adjustments maybe
needed.
Page 6
How to Use
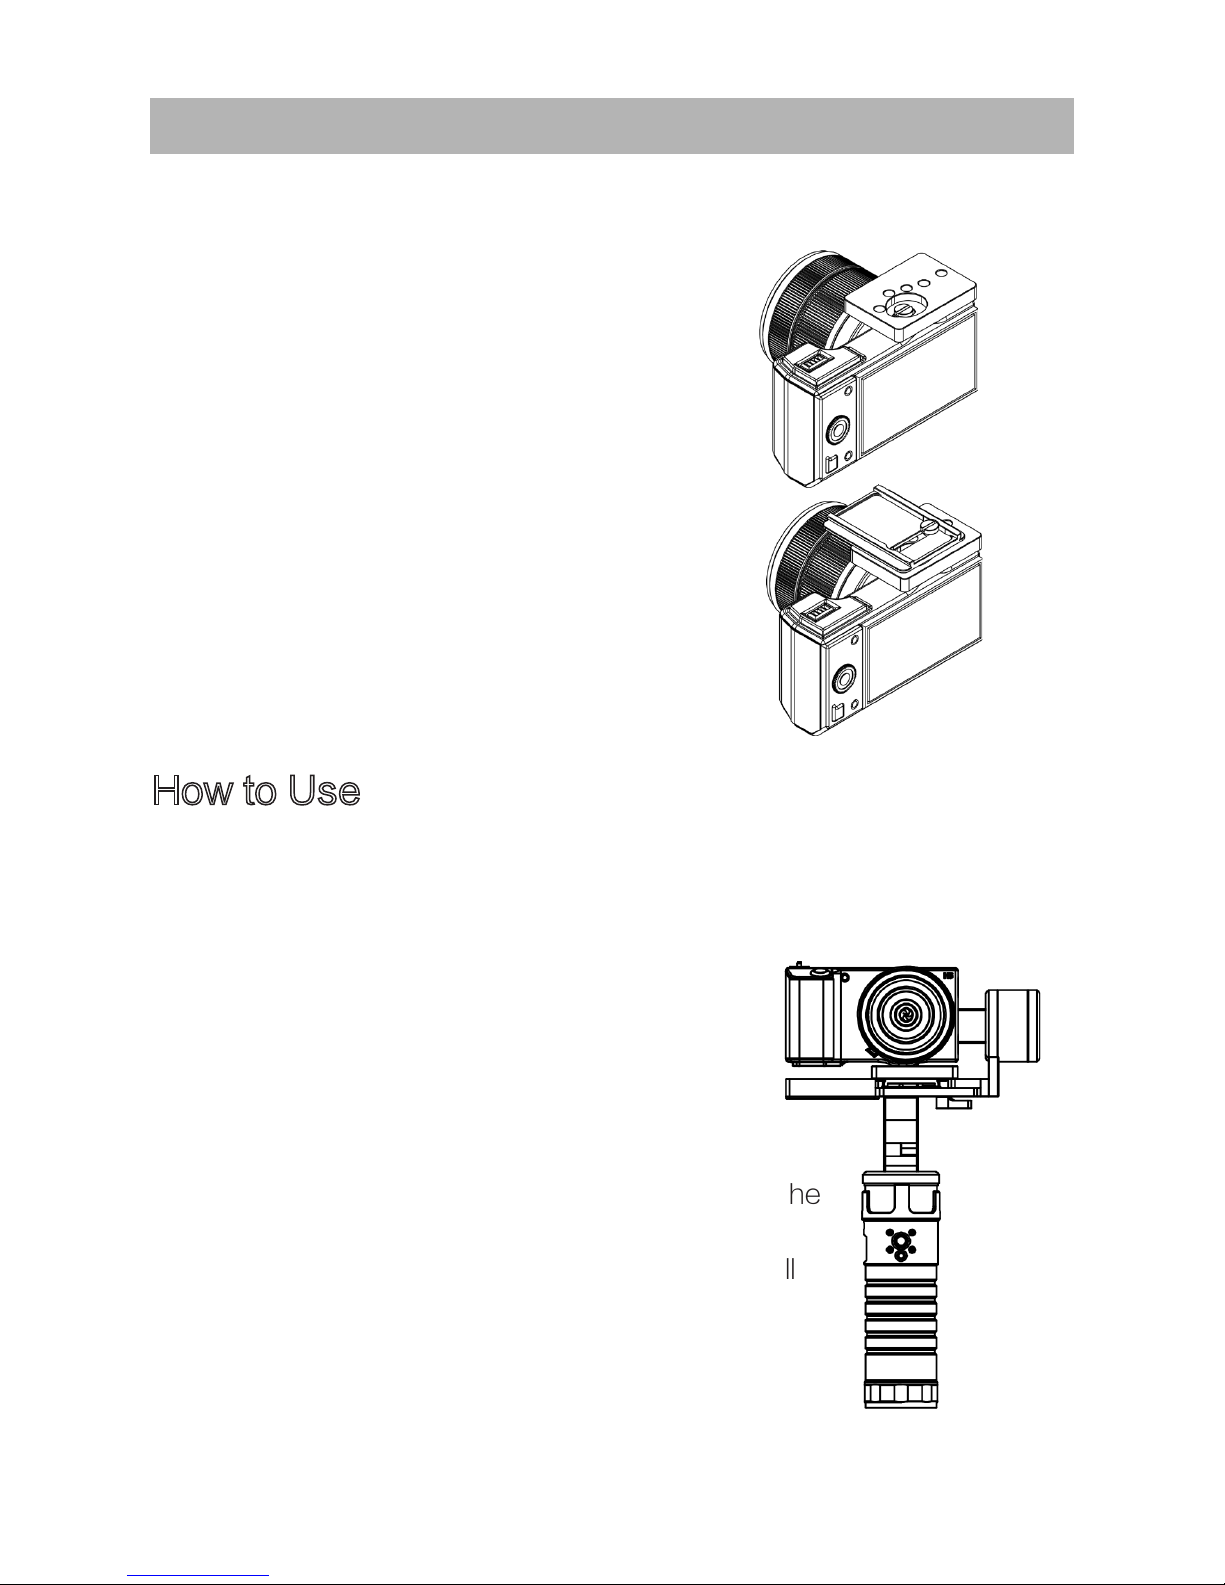
A: To start the stabilizer with the camera and gimbal level on a flat
surface at 90 degrees and then press the power button.
Note: Starting the stabilizer in a
position other than 90 degrees will
result in performance issues.
B . Joystick mode selection.
a. Press once for Lock Mode this mode will make the
stabilizer hold a position.
b. Press again to change to Follow Mode which will
make the stabilizer follow the pan and tilt of your
hand.
5
© 2015 Beholder All Rights Reserved
Installation for small cameras
Camera less than 400g such as Sony NEX5R and BMPCC will need an
adapter plate. The adapter plate will allow cameras that cannot mount
properly to be mounted on the gimbal.
Installation steps:
1. Put the adapter plate on the camera,
then tighten the screw.
2. According to your camera select an
appropriate mounting position.
3.Check the position of the adapter plate,
ensure the camera does not come in
contact with the gimbal.
Page 7
Battery Status
Other Features
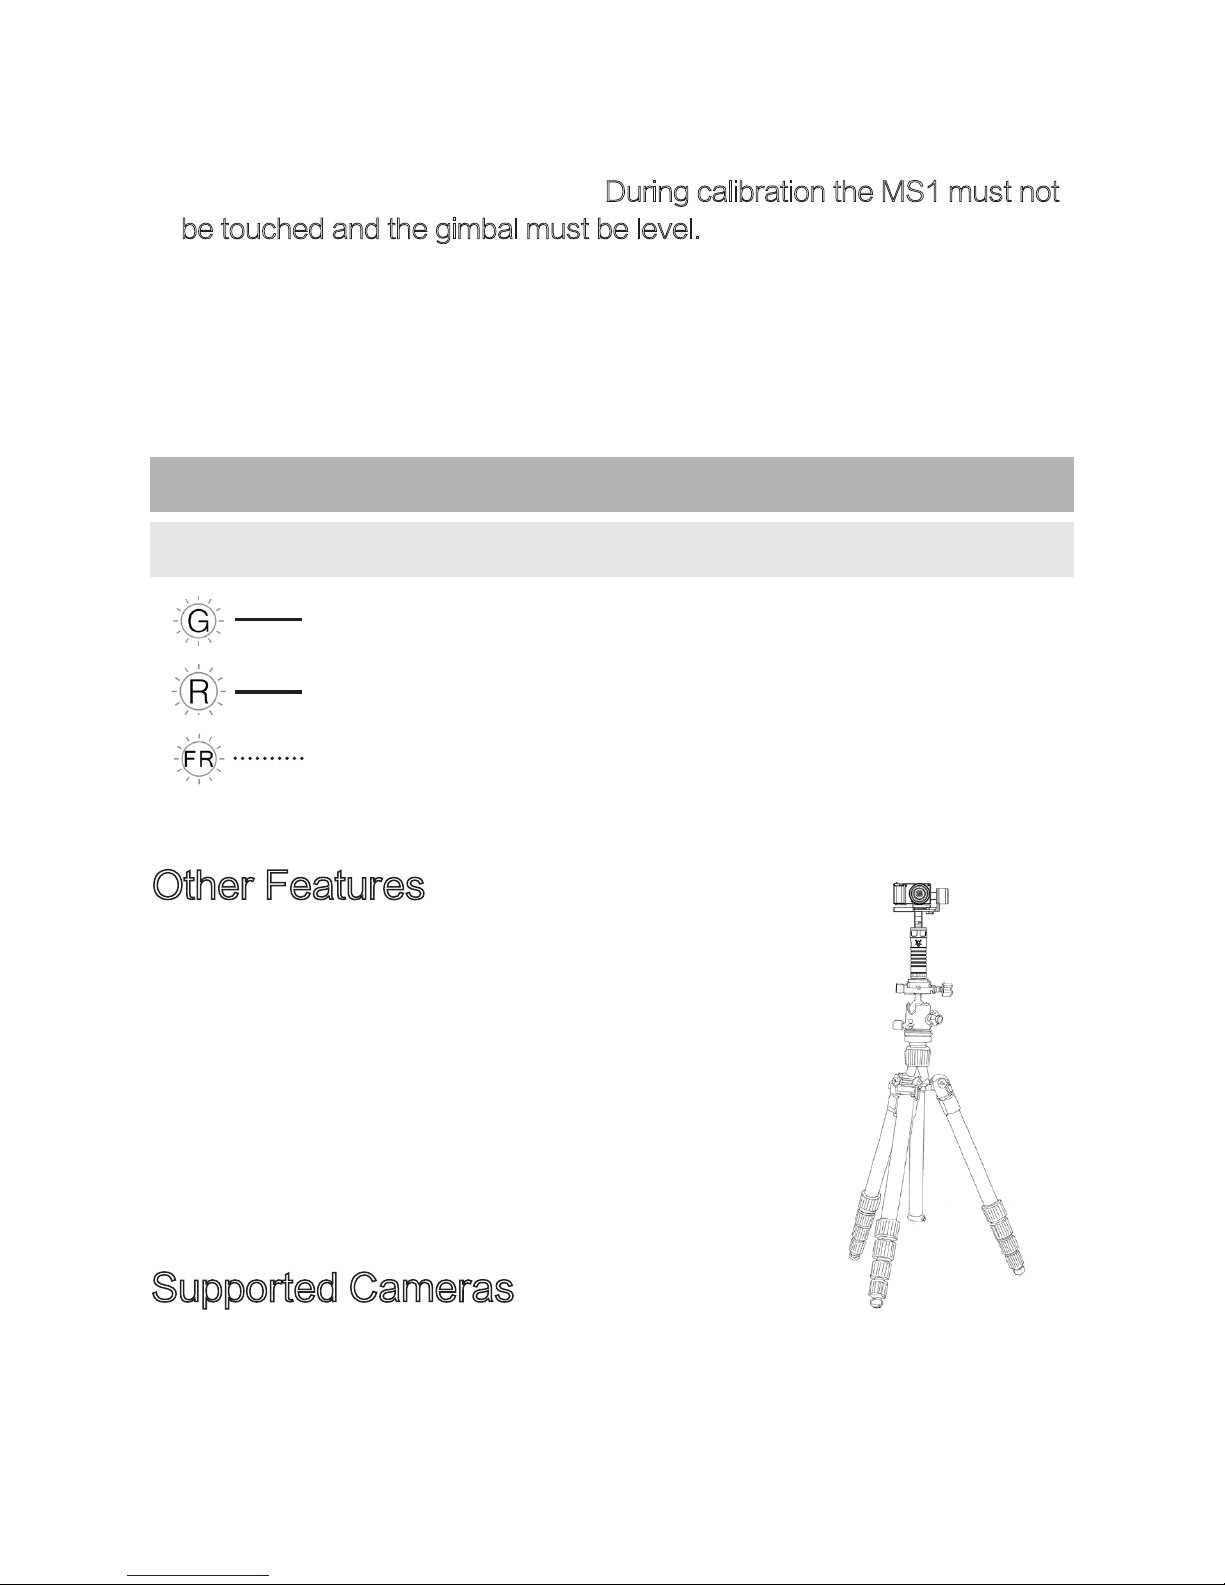
A.The stabilizer can be mounted to a tripod, selfie
stick, and more.
B. LED USB light is great for shooting at night.
C.Charge a cellphone from stabilizer. Note stabilizer
must be off.
Supported Cameras
Sony A7S, NEX series, Panasonic DMC, GH4, BMPCC, RX100, A6000,
Canon G7x, A7ii, and more.
6
© 2015 Beholder All Rights Reserved
d. Use the joystick to pan and tilt the camera.
c. Press and hold the joystick for 3 seconds to calibrate the gyro. The
gyro controls the horizontal level. During calibration the MS1 must not
be touched and the gimbal must be level.(When the system Automatic
movement or unbalance use this function. Just keep the system
steady on the table during the calibration process and prevent any
movement or vibration.)
Power LED Indicator Status
Solid Green
Solid Red
Red Flashing
Normal
Low battery
Batteries need to be charged. Also
the MS1 will shut down to protect
the batteries.
Page 8
Licensing and Trade Mark
Beholder® is the licensed trademark of TRD Beholder.
Website: http://www.teamrebeldesign.com/
Email: [email protected]
7
© 2015 Beholder All Rights Reserved
Attention
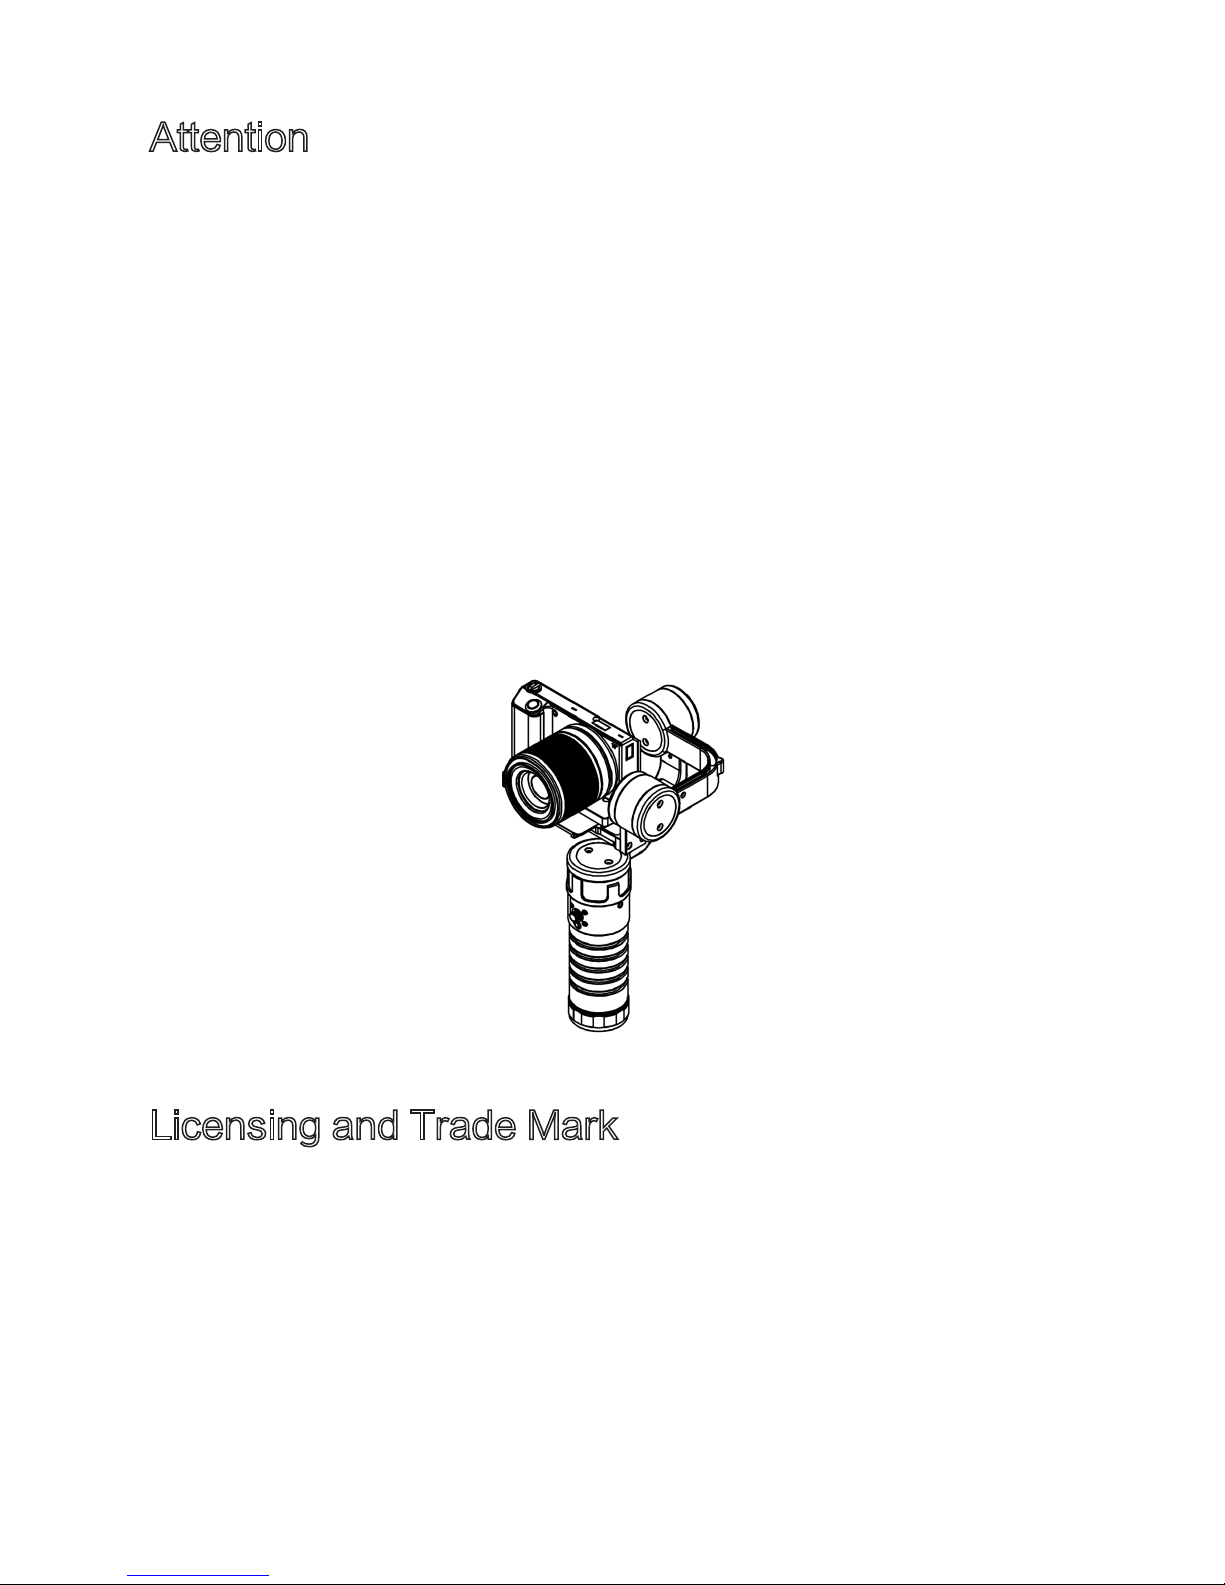
A. It need you Gyro Calibration if your MS1 Automatic movement or
unbalance. Gyro calibration: Place the MS1 on a flat surface. Make
sure the camera is balanced in the gimbal. Press and hold the joystick
in for 3 sec. If balance is not correct try again calibrating. Keep the
MS1 steady on the table during the calibration process and prevent
any movement or vibration.
B. USB Ports:
The USB located on the handle is a 5V 0.5A power output.
The Micro USB located on the handle is for remote control.
The Mini USB located on the gimbal is for accessing the 8- Bit board
PID settings through Simple BGC 8- Bit 2.40b7.
Page 9

8
© 2015 Beholder All Rights Reserved
Height:
Width: 123mm 4.8 Inches.
Yah:
Roll:
Weight W Battery:
Packaging Dimensions:
Battery Life:
168mm 6.6 Inches.
Weight W/O Battery: 720g
Unit with Packaging: 1580g
Maximum Supported
Camera Weight:
Range of Motion: 90-180°
P i t c h :
Battery: 3* 3.7v Li-ion 18650 2600mAh
E l e c t r o n i c s :
268mm 10.5 Inches.
860g
355+-180°
355+-60°
3 Hours.
355°
8-Bit board 2.40b7: 3-Axis
Stabilizer gyro system
Supported Camera Models:
Specifications:
Length:
Sony A7S, NEX series,
Panasonic DMC, GH4,
BMPCC, RX100, A6000,
Canon G7, A7ii, and more.
1000g
390x200x100mm,
15.4x7.9x3.9 Inches.
 Loading...