

Page 1
HIGH PERFORMANCE
FURNITURE FOR YOUR
H O M E
2/2008
TM
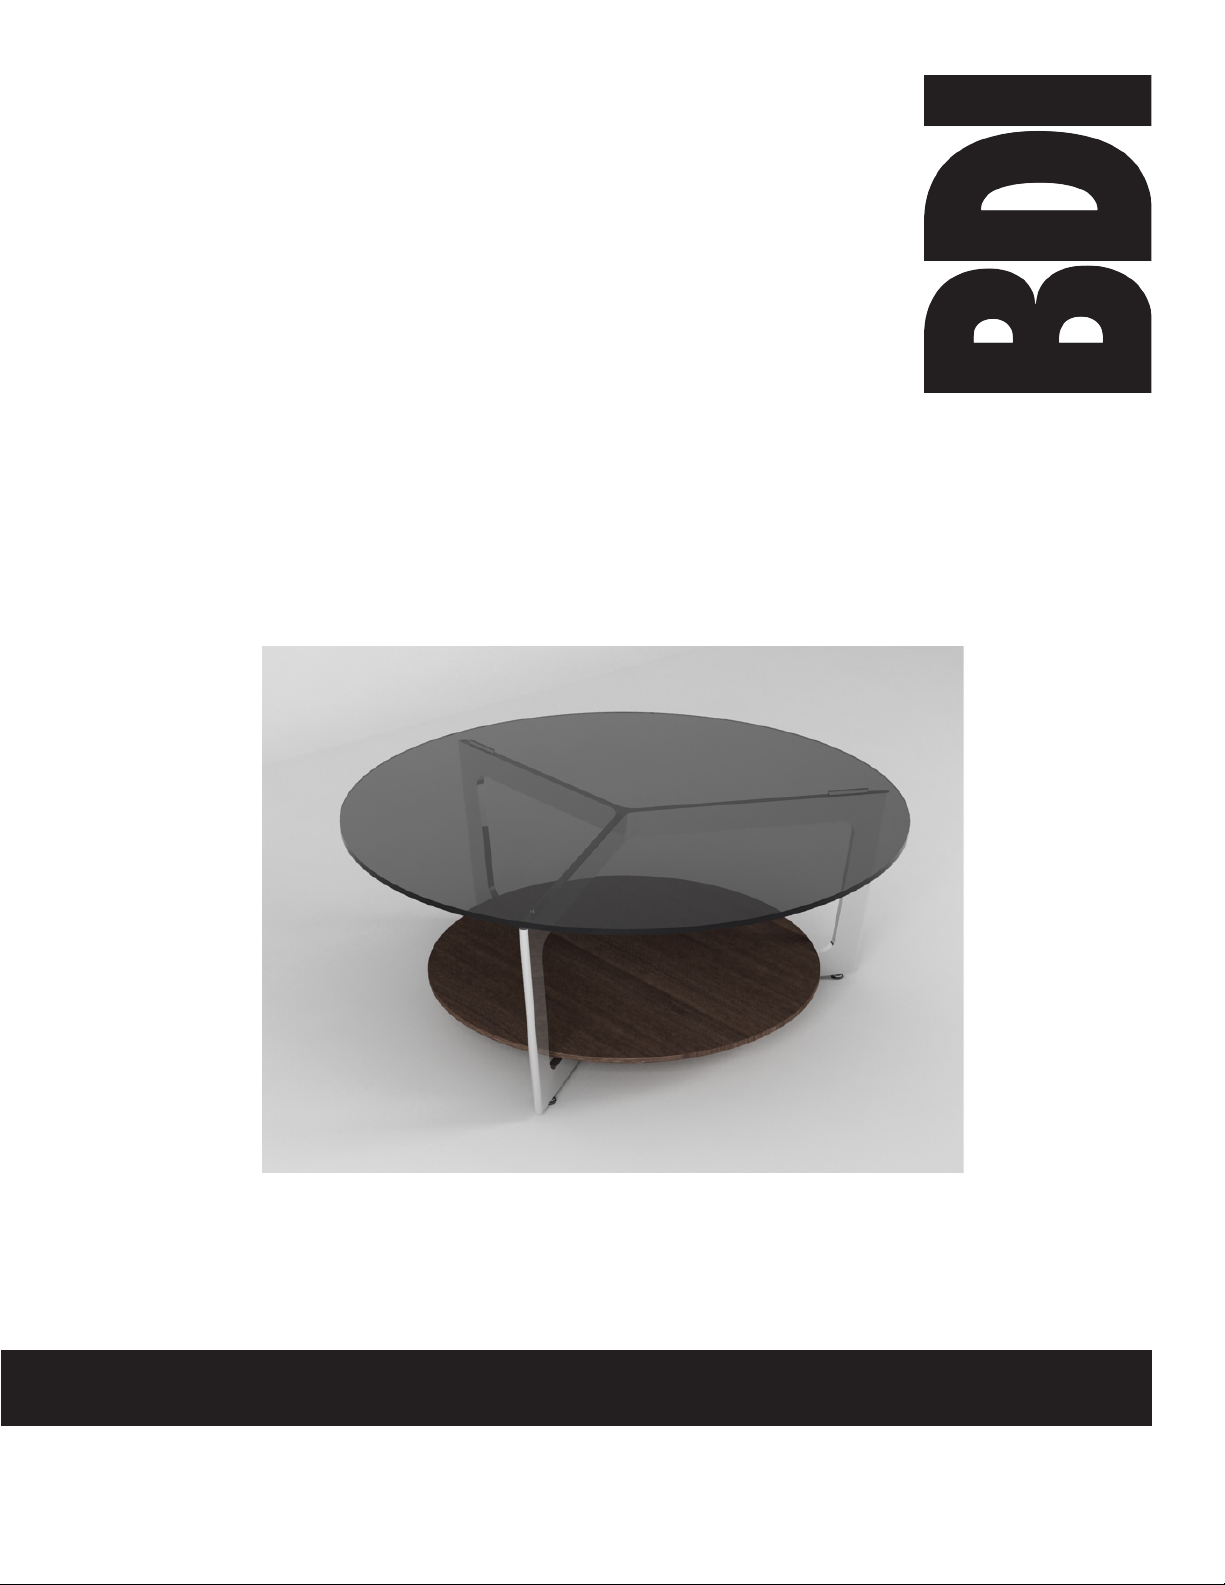
Trevano
2503
Assembly Instructions
Page 2
Trevano™ Home Furniture
Placement and Maintenance
Trevano™ Home Furniture is designed for indoor
use on level floors. Clean glass with glass cleaner,
and steel parts and wood veneer with a moist
cloth.
Your Trevano™ Home Furniture is engineered for easy
assembly. Carefully follow this procedure to prevent
any damage.
BDI strongly recommends two (2) people
for successful product assembly.
Designed by Matthew Weatherly.
‘Trevano’ is a trademark of Becker Designed, Inc. All rights
reserved. ©2008 Becker Designed, Inc.
2 Person Task
www.bdiusa.com
customerservice@bdiusa.com
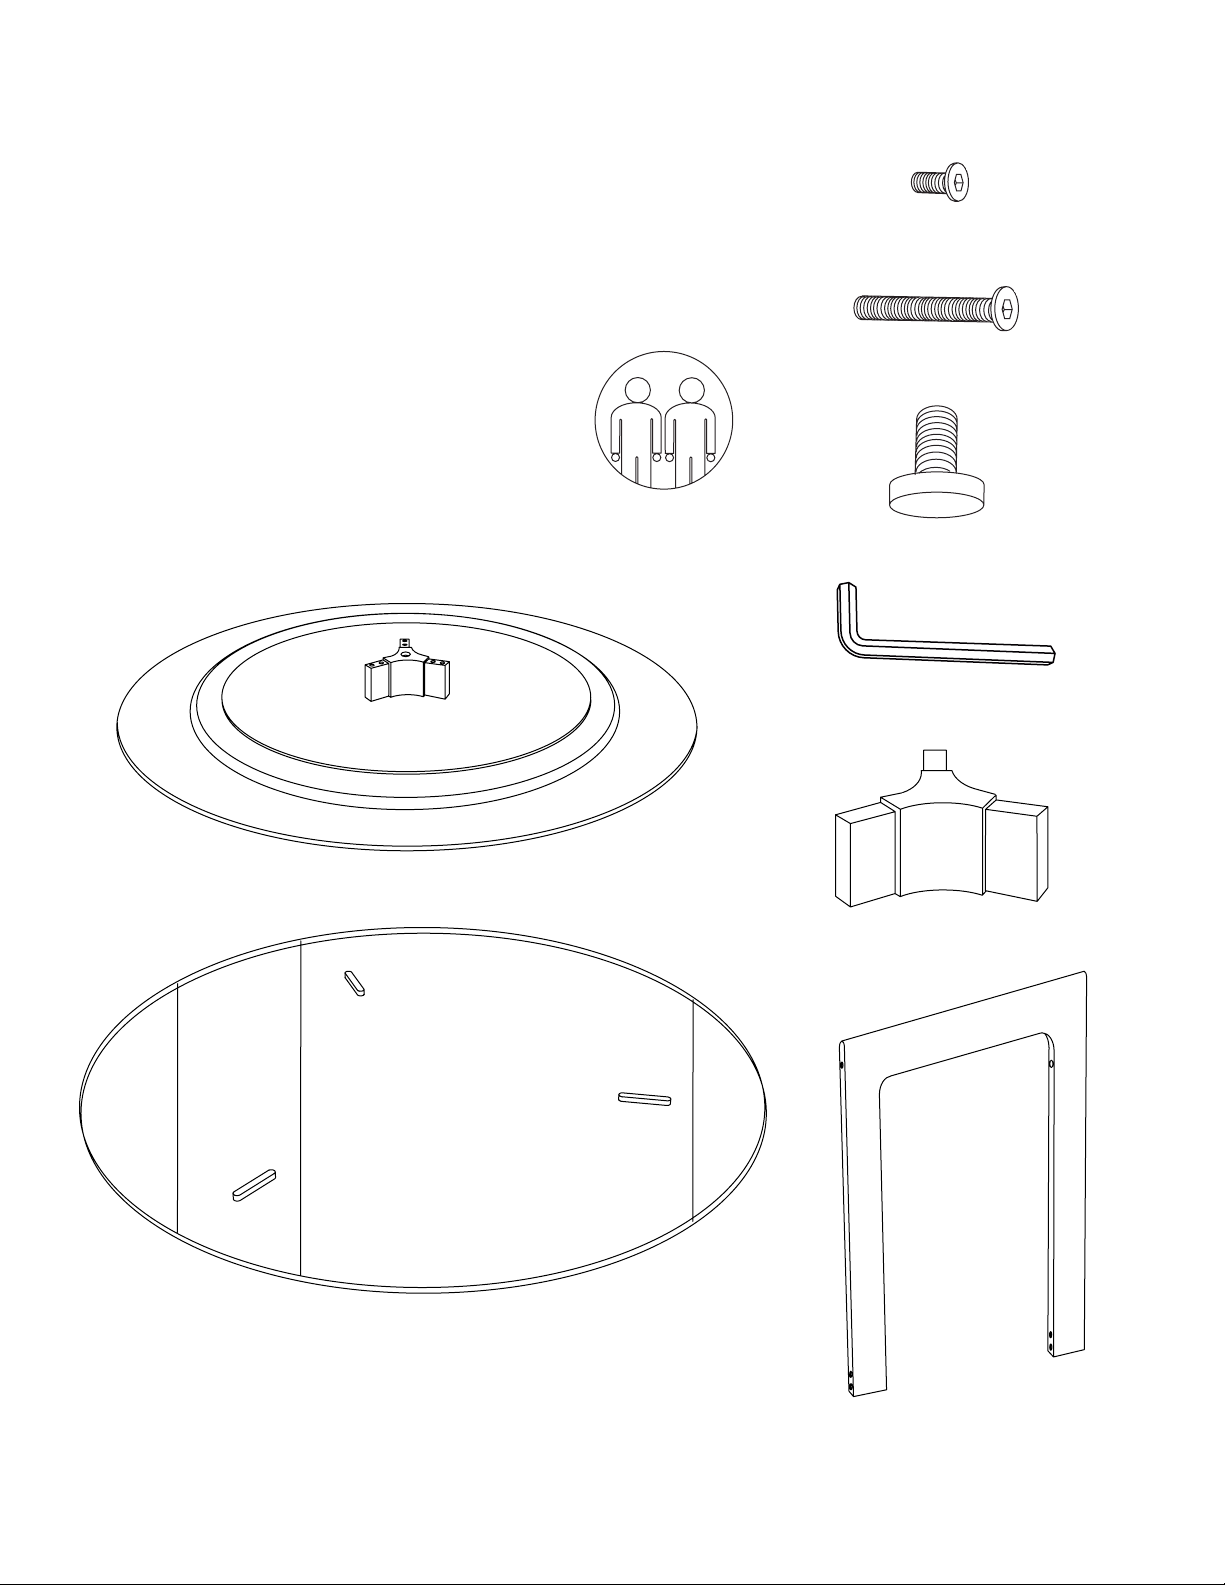
C - Short Screw x 12
D - Long Screw x 3
E - Leveler Glide x 3
(Pre-Installed)
A - Shelf Assembly x 1
F - Hex Wrench x 1
G - Hub x 1
B - Glass Shelf x 1
Step 1
H - Leg x 3
Unpack and identify the parts listed on this page.
The assembly workspace should be a non-marring surface such as carpet. For missing hardware pieces, please contact
BDI Customer Service at: customerservice@bdiusa.com For all other concerns please contact your local BDI Retailer.
2
Page 3
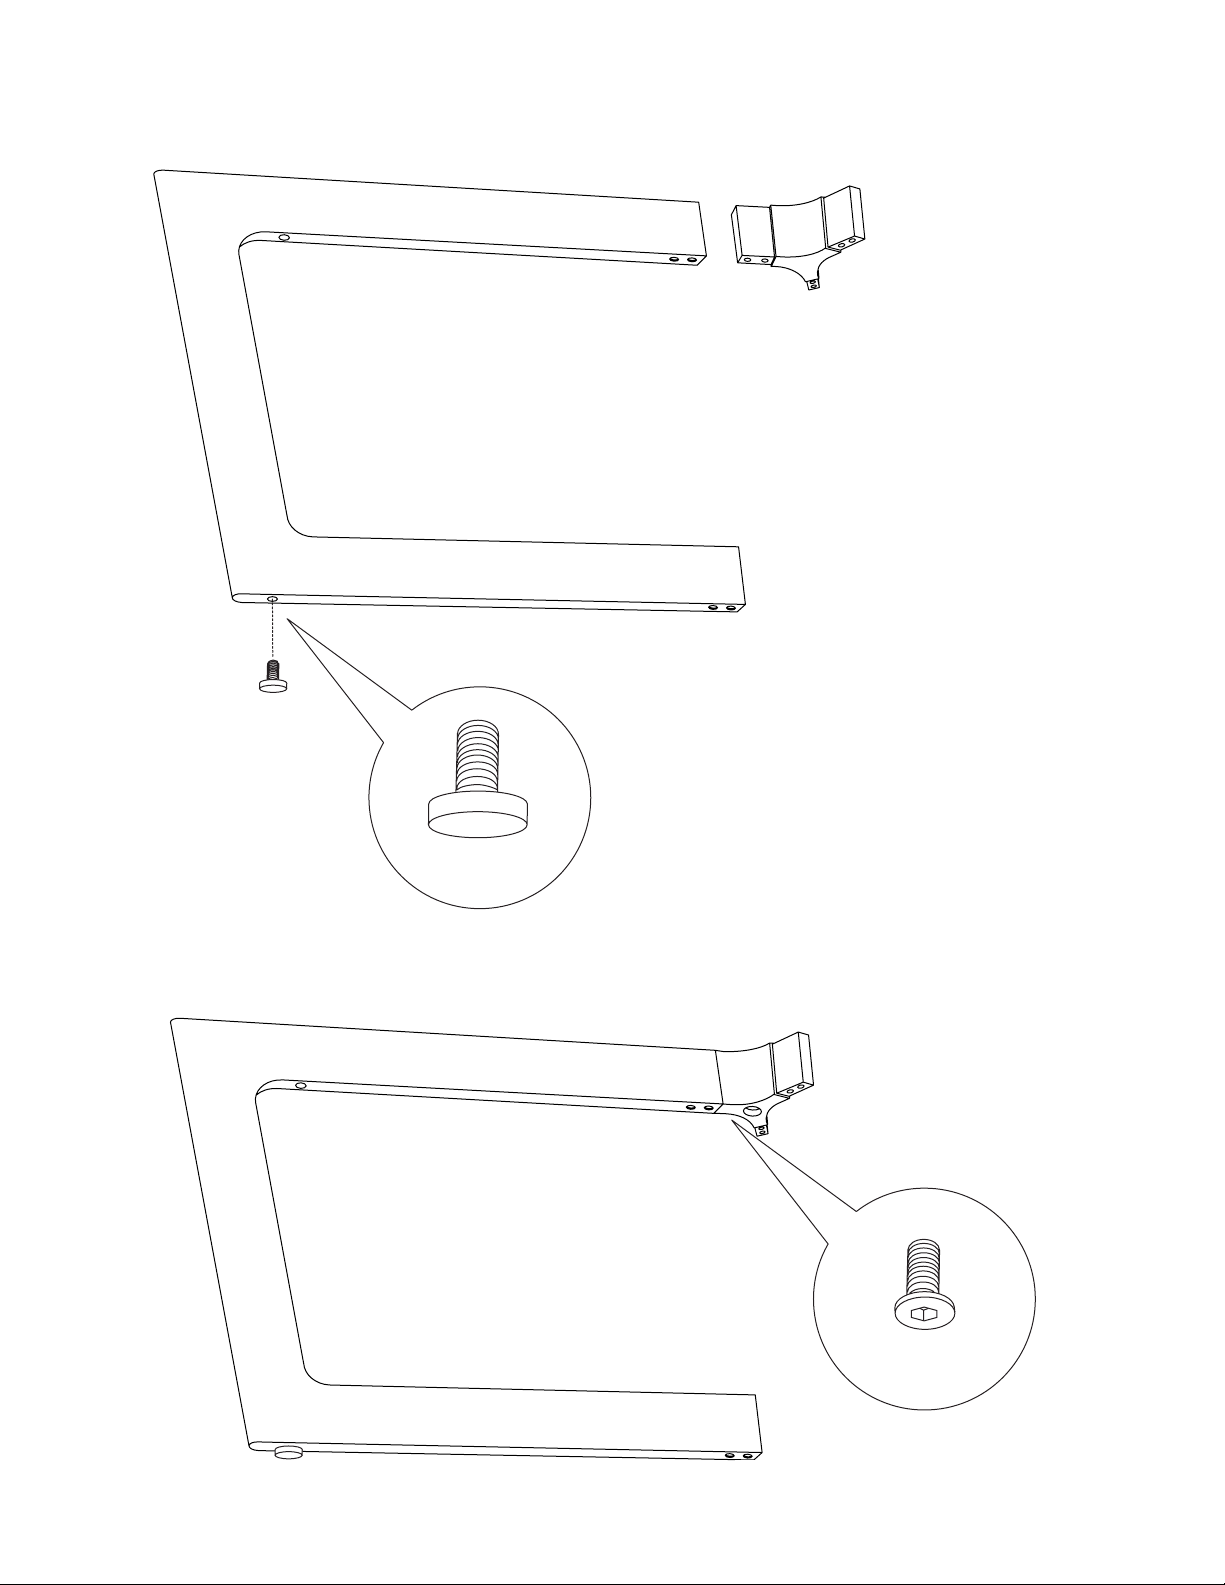
Step 2
Install Hub (G) to upper section of only one leg (H).
G
H
E x 3
Step 3
Once hub is installed, fasten using two screws (C) with hex wrench (F). Do not install second leg until after Step 4.
G
C x 2
3
Page 4
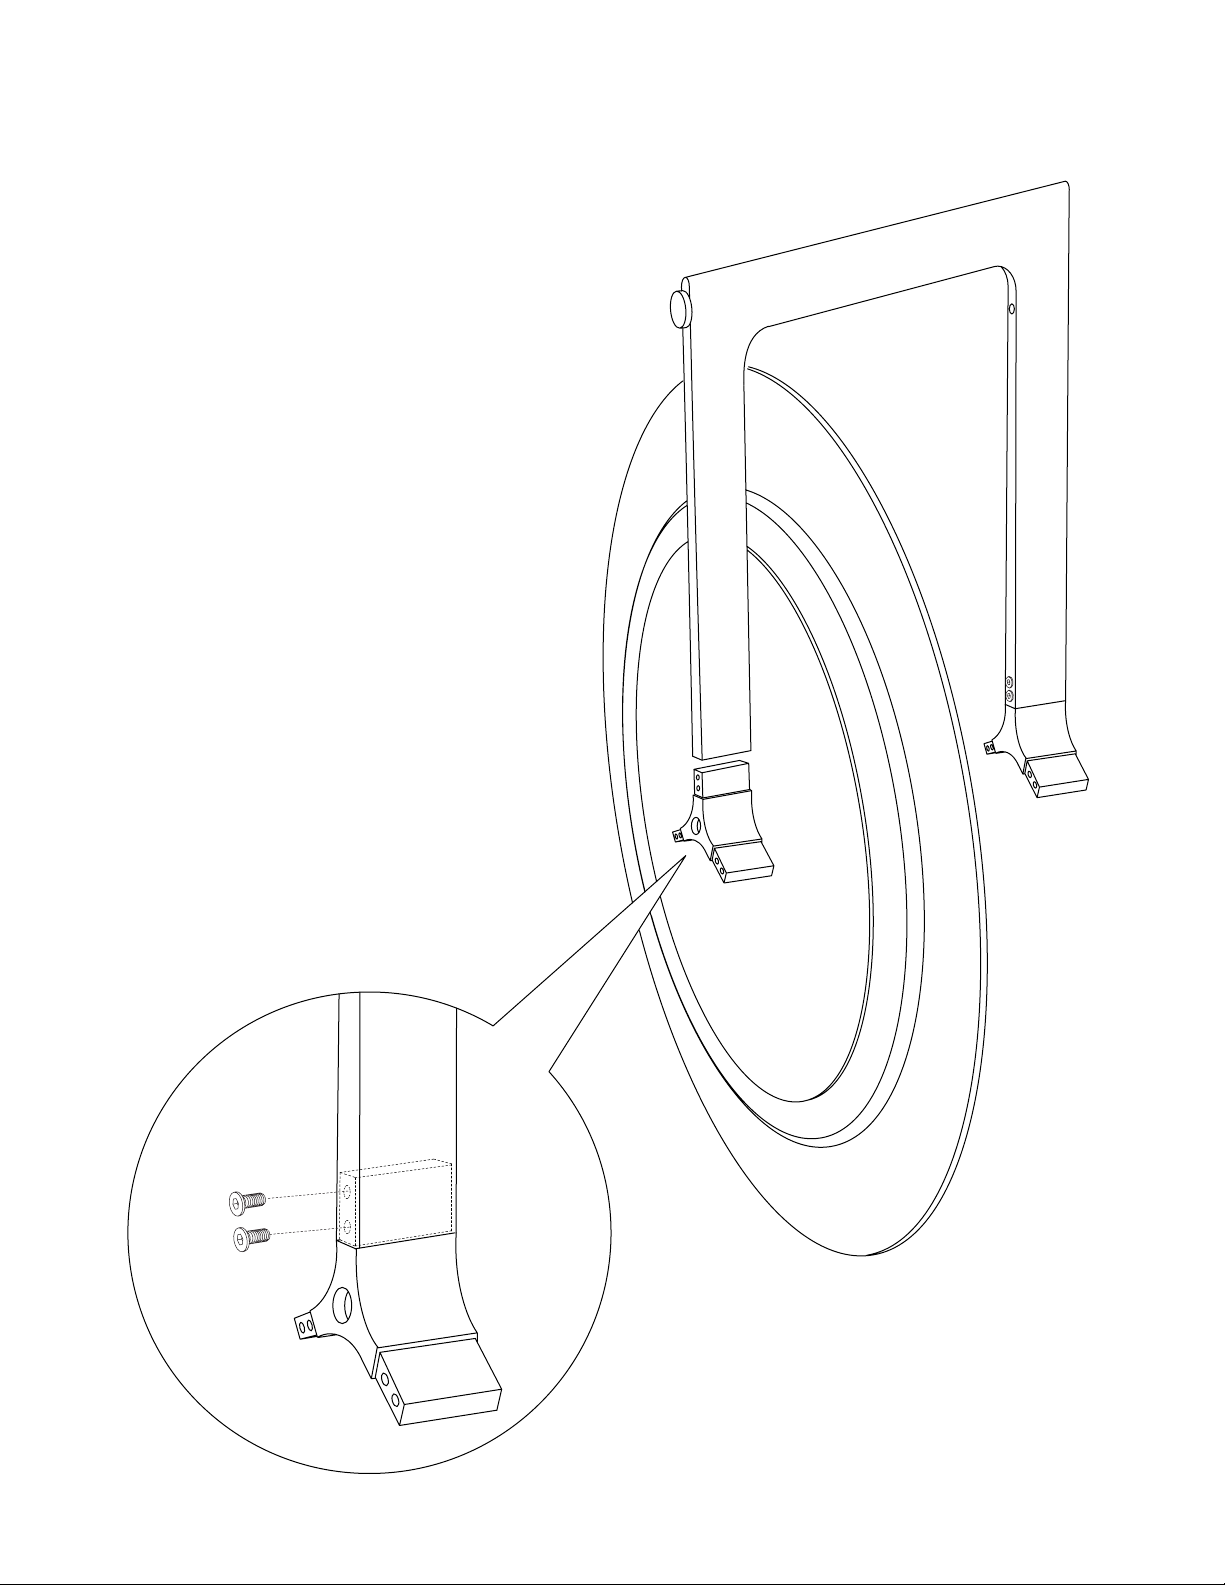
Step 4
Attach the one leg assembly to bottom side of the shelf assembly (A) using hex wrench (F).
Assembly may be easier with shelf set vertically.
C x 2
A
NOTE:
The bottom-rotating shelf may be adjusted using the hex
wrench (F) at the center of the hub. For more resistance, turn
screw clockwise.
For less resistance, turn screw counter clockwise. Evenly
distributing weight across the surface of the lower shelf will
ensure smoothest swiveling action.
4
Page 5
Step 5
Install remaining two leg (H) assemblies as shown. Fasten using screws (C) to the underside of the hub (G).
G
C x 4
5
Page 6

Step 6
Accompanied by a second person holding the opposite end of the shelf, carefully lower glass shelf
(B) onto frame assembly.
2 Person Task
6
Page 7

Step 7
Once glass shelf is in position, tighten screw (D) using hex wrench (F) underneath glass shelf.
D
F
7
Page 8

HIGH PERFORMANCE
FURNITURE FOR YOUR
H O M E
1/2008
TM
Trevano
2510
Assembly Instructions
Page 9

Trevano™ Home Furniture
Placement and Maintenance
Trevano™ Home Furniture is designed for indoor use on level floors. Clean glass with
glass cleaner, and steel parts and wood veneer with a moist cloth.
Your Trevano™ Home Furniture is engineered for easy assembly. Carefully follow
this procedure to prevent any damage.
Designed by Matthew Weatherly.
‘Trevano’ is a trademark of Becker Designed, Inc. All rights reserved.
©2008 Becker Designed, Inc.
D - Short Screw x 12
E - Glass Shelf Screw x 3
F - Wood Shelf Screw x 3
www.bdiusa.com
customerservice@bdiusa.com
A - Glass Shelf x 1
B - Wood Shelf x 1
G - Leveler Glide x 3 (pre-installed)
H - Hex Wrench x 1
C - Metal Leg x 3
I - Hub x 2
Step 1
Unpack and identify the parts listed on this page.
The assembly workspace should be a non-marring surface such as carpet. For missing hardware pieces, please contact
BDI Customer Service at: customerservice@bdiusa.com For all other concerns please contact your local BDI Retailer.
2
Page 10

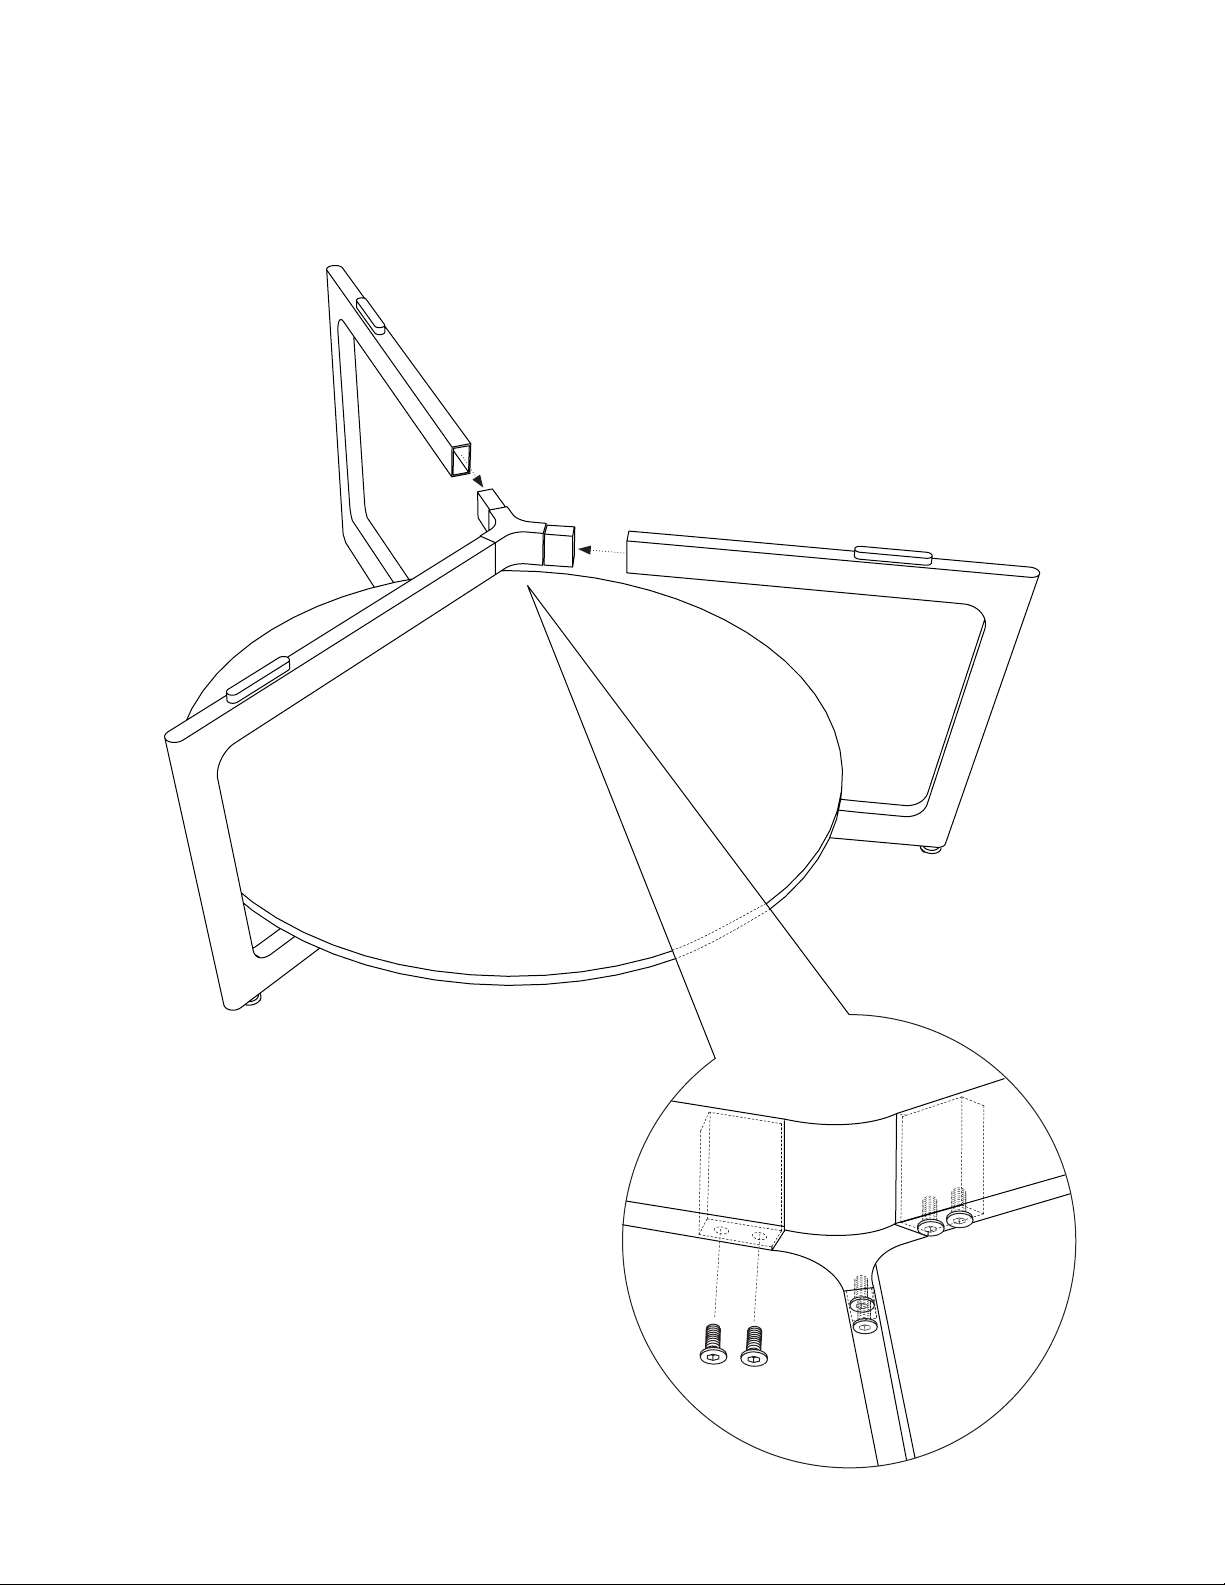
Step 2
Assemble Metal Leg (C) to Hub (I) as shown below.
C x 3
I x 2
3
Page 11

Step 3
Tighten Short Screws (D) to Hub (I) using Hex Wrench (H).
I
D x 6
4
Page 12

Step 4
Leveler Glides (G) are pre-installed.
G x 3
5
Page 13

Step 5
Lower Wood Shelf (B) and attach using Wood Shelf
Screws (F) and Hex Wrench (H). Note: Assembly
must be positioned upside down for this step.
B
F x 3
H
6
Page 14

Step 6
Lower Glass Shelf (A) on to table assembly and
attach Glass Shelf Screws (E) using Hex Wrench
(H).
A
E x 3
H
7
 Loading...