

Page 1
BD FACSAria II Quick Reference Guide
Use this quick reference guide once you are familiar with the procedures in
the BD FACSAria II User’s Guide.
Starting Up the Cytometer
Follow these steps to start up your BD FACSAria™ II cytometer. For more
details, refer to Chapter 4 in the user’s guide.
1 Start up the computer.
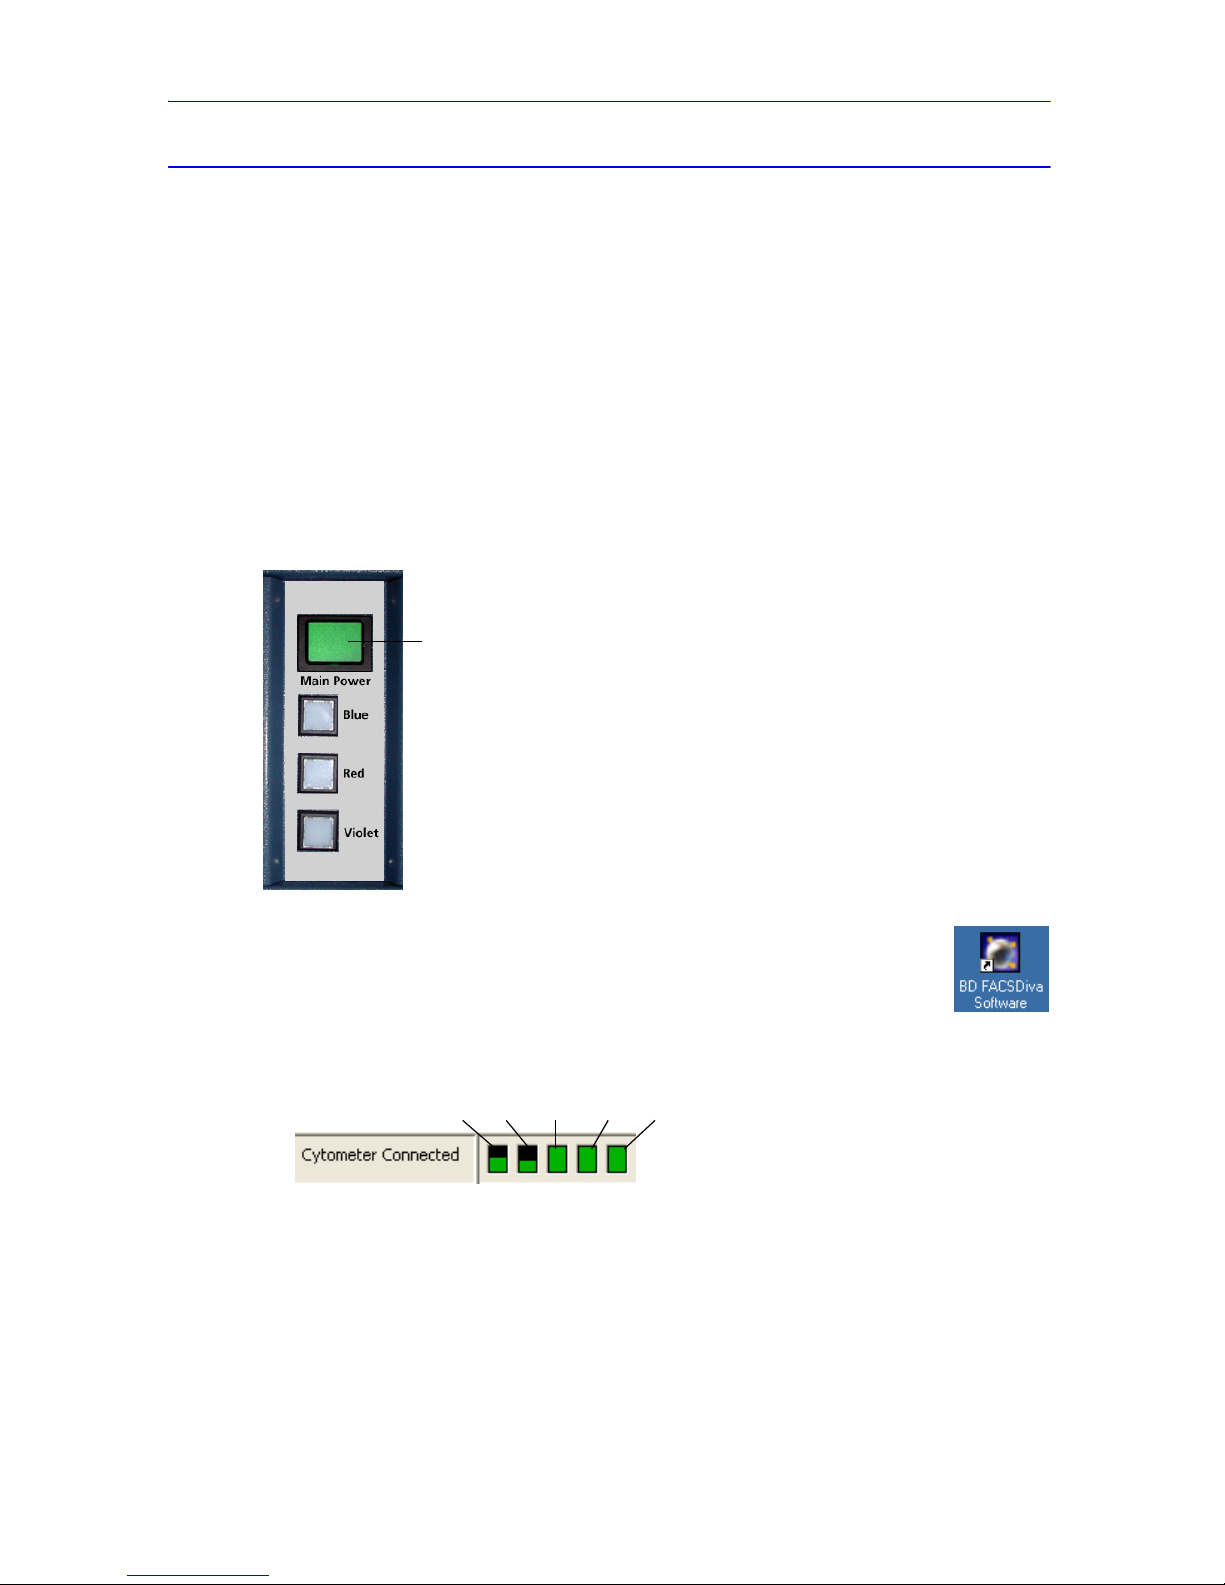
2 Turn on the cytometer main power and the lasers. Wait 30 minutes for
the lasers to warm up.
main power
;Tip If you are using temperature
control, start heating or cooling the
sample injection chamber or the
recirculating water bath while the
lasers are warming up.
3 Start BD FACSDiva™ software and log in with your user
name and password.
4 Verify fluidics levels in the Cytometer window. Replenish
fluids or empty the waste, if needed.
sheath waste bleachDI ethanol
5 Select Cytometer > Fluidics Startup.
6 Follow the instructions in the Fluidics Startup wizard to complete the
process.
Verify that the air and fluid lines are connected to the sheath tank, then
click Done.
1
Page 2
Caution: Do not run fluidics startup with the air and fluid lines
connected to the ethanol shutdown tank. This can cause damage to
the system. Always verify the lines are connected to the sheath tank.
7 Start the stream.
a Click the Sorting button ( ) on the Workspace toolbar to display
the Breakoff and Side Stream windows.
b Click the Stream button ( ) in the Breakoff window to turn on the
stream.
8 Check the stream position in the waste aspirator and inspect the stream
image in the Breakoff window.
If you see any dripping or spraying or the stream appears abnormal,
turn off the stream and refer to Troubleshooting the Stream in
Chapter 7 in the user’s guide.
9 Select a new Sort Setup mode, if necessary.
Sort Setup Nozzle (micron) Default pressure (psi)
70 micron 70 70
85 micron 85 45
100 micron 100 20
130 micron 130 10
10 Adjust the Amplitude to achieve fast-merging satellites within 6 drops.
For troubleshooting assistance, see Troubleshooting the Breakoff on
page 5 or refer to Sorting Troubleshooting in Chapter 7 in the user’s
guide.
11 Enter the generated value as the Drop 1 target.
12 Turn on the Sweet Spot when the drop pattern is stable.
2
Page 3
Sorting Setup
Do the following to set up for sorting. For more details, refer to Chapter 5
in the user’s guide.
1 Check the laser delay and area scaling factors for your sheath pressure.
Refer to Checking Performance with Cytometer Setup and Tracking in
Chapter 4 in the user’s guide or perform quality control as described in
Appendix E.
2 Optimize cytometer settings for the sample to be sorted.
Refer to Data Collection in Chapter 4 in the user’s guide.
3 Install the required collection device and set up the side streams.
4 Use BD FACS™ Accudrop to calculate the drop delay.
5 Run the sample to be sorted. Use gating tools and subsetting methods
to define the population(s) of interest.
NOTICE Snap-to gates cannot be used for sort gates.
6 Define a sort layout for the tube containing the defined sort
populations.
Sorting
1 Install the collection tubes, plate, or slide.
2 Install the sample tube onto the loading port and click Load.
3 Verify that the current tube pointer is set to the appropriate tube in the
Browser and click Sort.
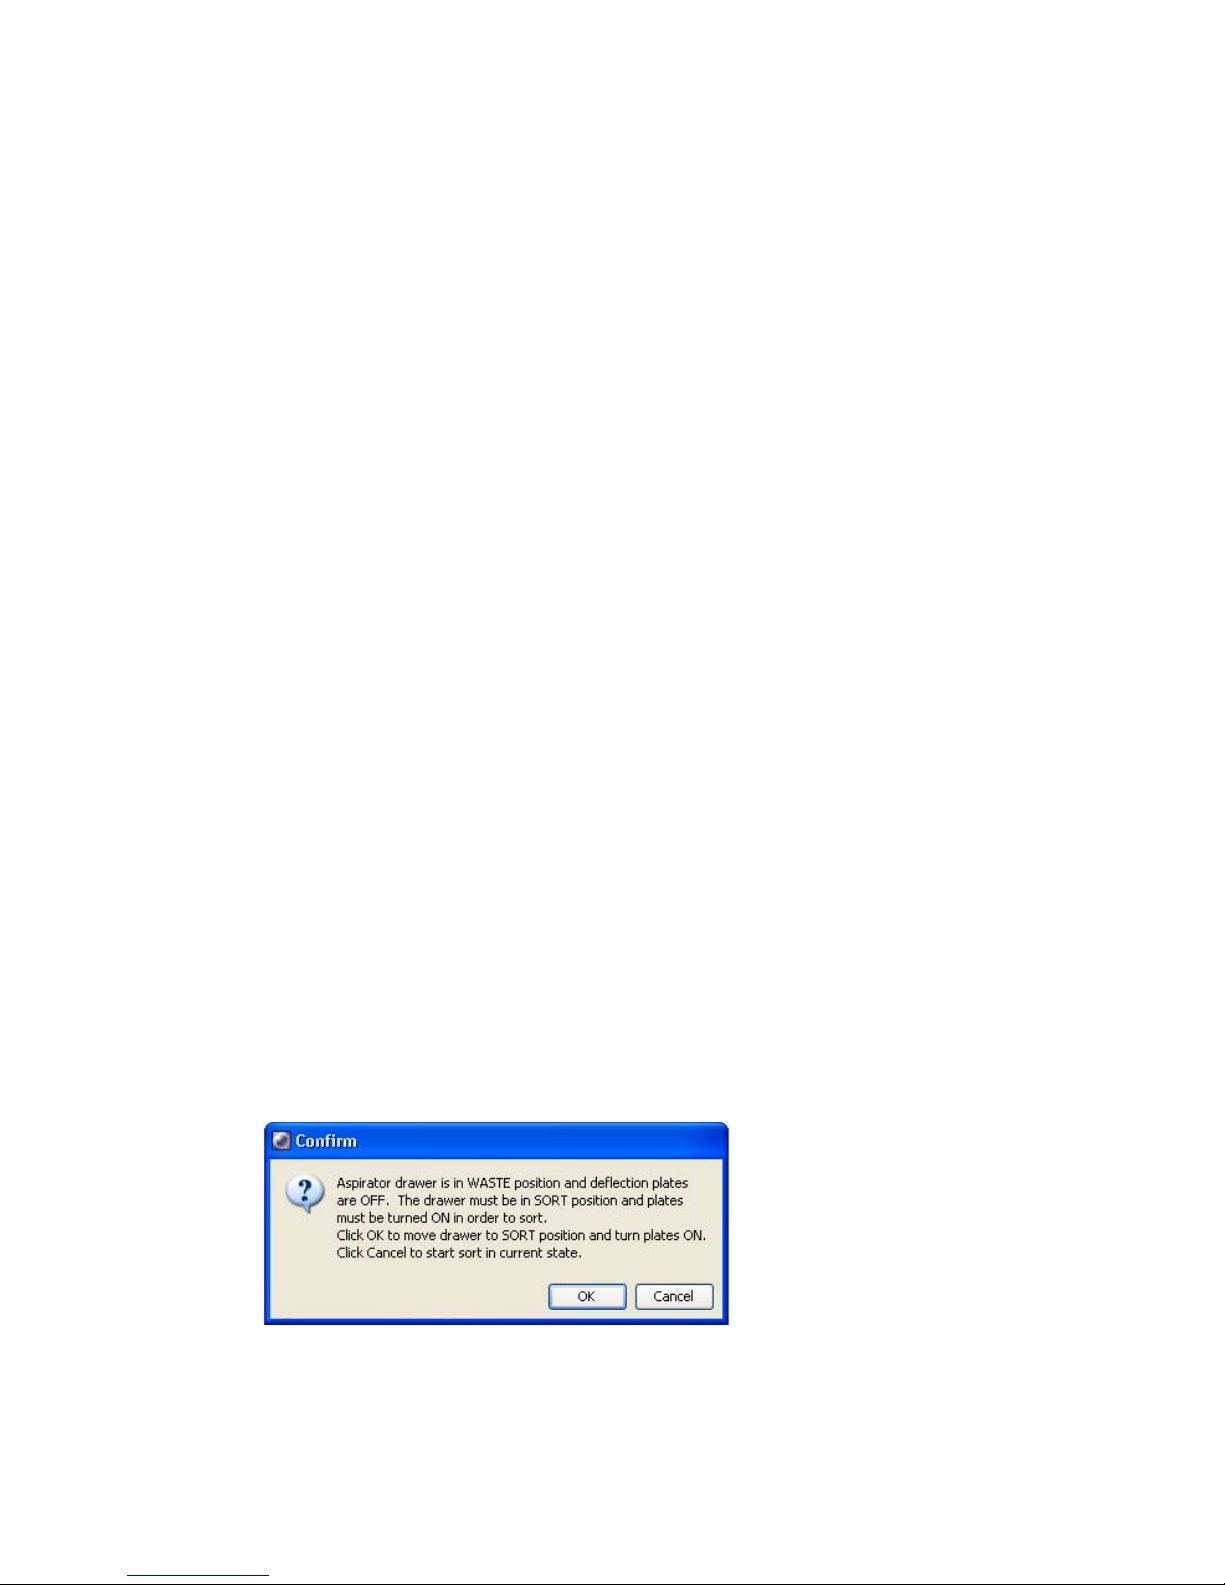
4 Click OK if you are prompted to open the aspirator drawer or turn on
the deflection plates.
3
Page 4

Sorting continues until the required number of cells has been sorted. If
the number of Target Events is set to Continuous, sorting continues
until you manually stop sorting by clicking the Stop Acquiring button
or the Sort button.
; Tip Click Record Data to save data for the tube. Acquisition and
sorting continue when the required number of events has been recorded.
Shutting Down the Cytometer
1 Turn off the stream.
2 Remove the nozzle and install the closed-loop nozzle.
3 Select Cytometer > Cleaning Modes > Clean Flow Cell.
4 When prompted, install a tube containing approximately 3 mL of 15%
Contrad® 70 cleaning solution, then click OK.
The cytometer loads the tube and fills the flow cell with the cleaning
fluid.
5 Click OK when the completion dialog appears.
6 If this is part of a daily shutdown, perform these steps.
• Turn off the cytometer main power.
• Exit BD FACSDiva software and shut down the computer.
For instructions on running a complete fluidics shutdown, refer to the
Fluidics Shutdown section in the BD FACSAria II User’s Guide.
4
Page 5
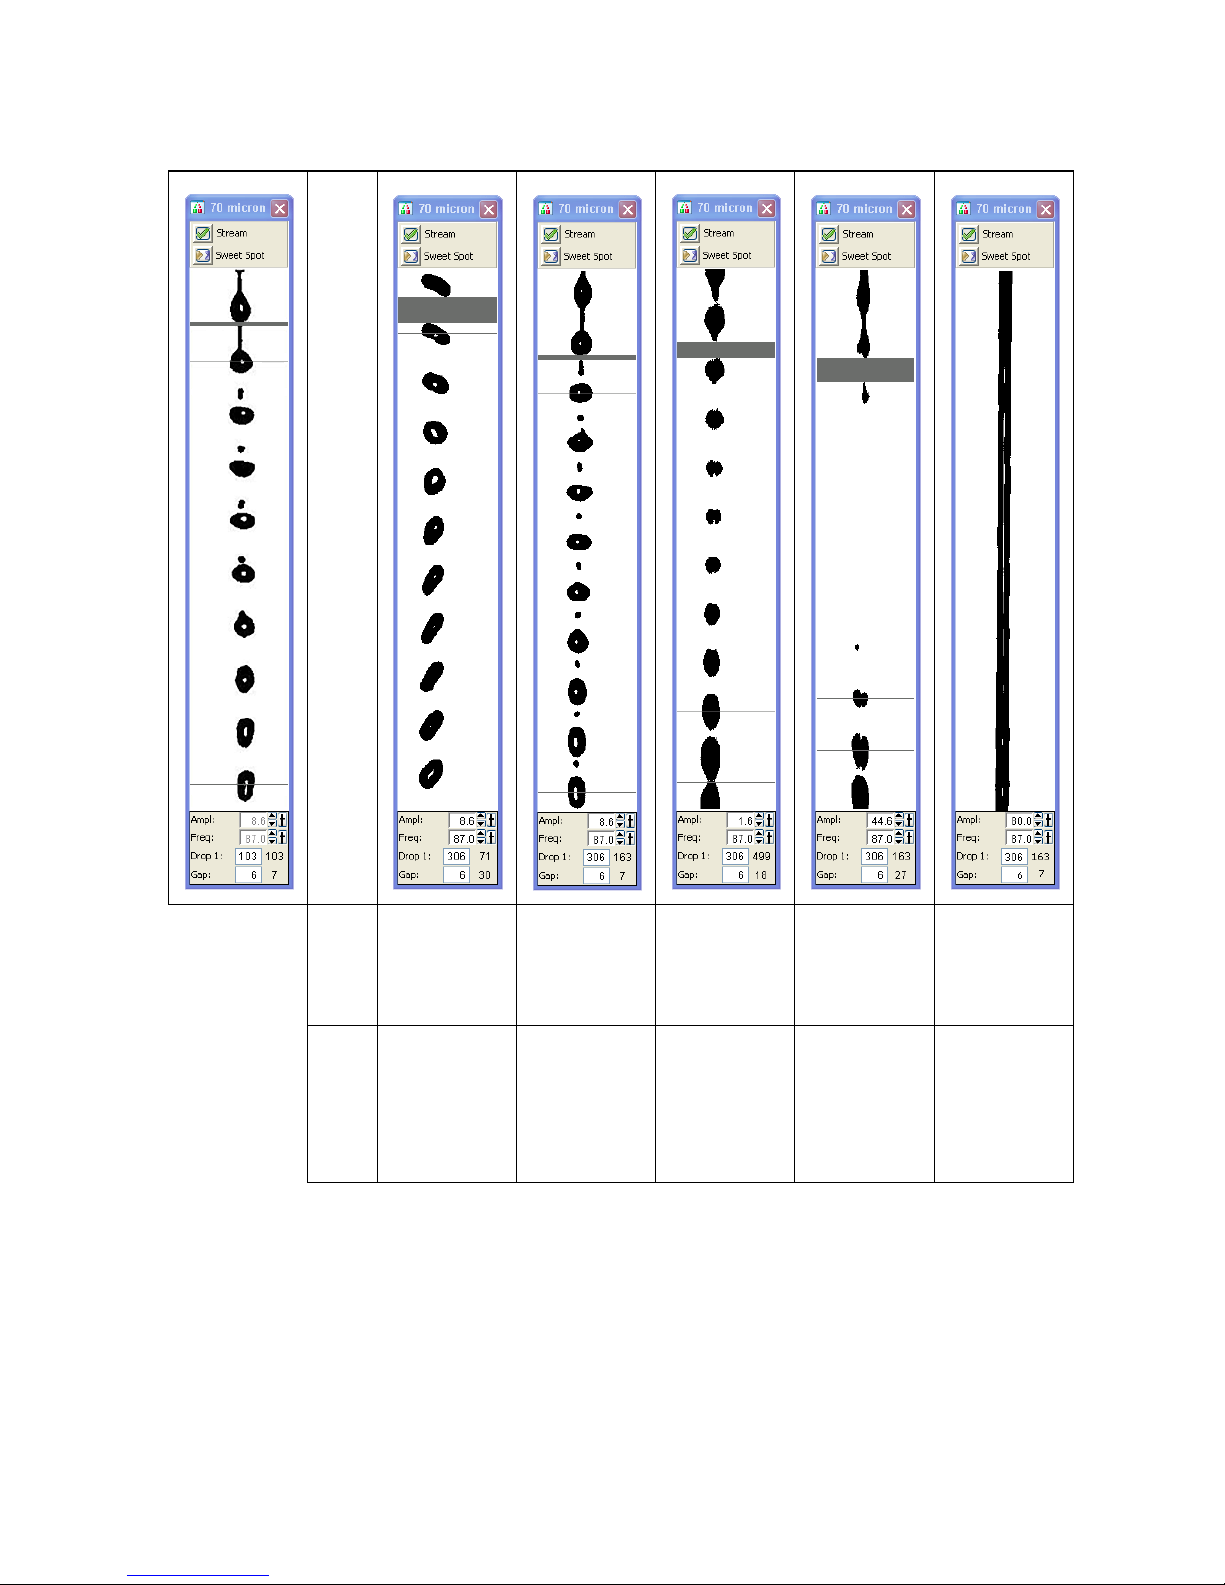
Troubleshooting the Breakoff
Abnormal Stream Image
Normal stream
image
Nozzle inserted
improperly
Possible
Causes
Remove the
nozzle and
re-insert it.
Recommended
Solutions
Nozzle inserted
improperly or
orifice off
center
Remove the
nozzle and
re-insert it.
Partial clog Wet or dirty
strobe lens
Remove the
nozzle, clean it,
and re-insert it.
5
Clean the lens
as described in
the user’s
guide.
Attenuation on
at the wrong
pressure
Turn off
attenuation
in the Side
Stream
window.
Page 6
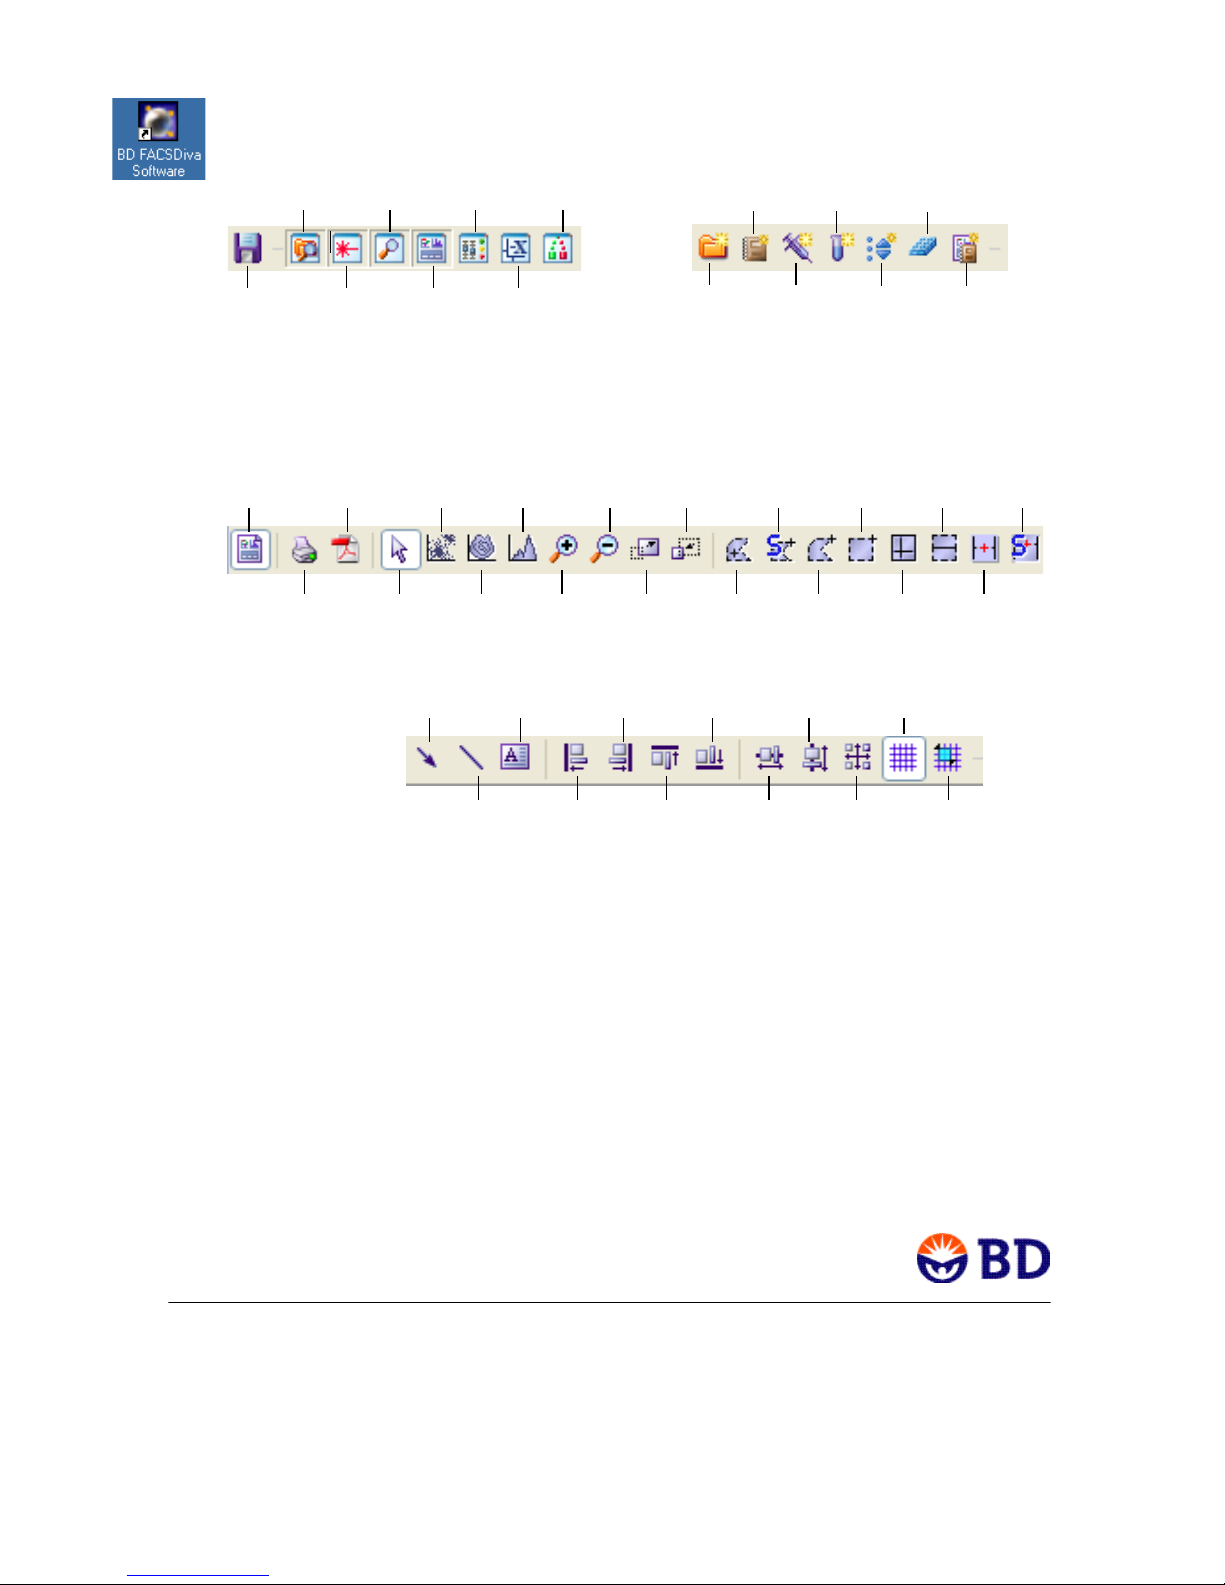
BD FACSDiva Software Toolbars
Browser
Save
Cytometer Worksheet Biexp. Editor
Worksheets
View
Print
Acq.
Inspector
Dashboard
Workspace toolbar
Select
Dot
Plot
Contour
Save as
PDF
Plot
Arrow
Sorting
Histogram
Zoom
In
Text
New Expt
New Folder New Global
Worksheet toolbar
Zoom
Out
Increase
Plot Size
Align
Right
Decrease
Plot Size
Autopolygon
Gate
Align
Bottom
New Tube
New
Specimen
Browser toolbar
Snap-To
Rectangle
Gate
Polygon
Gate
Distribute
Vertically
New Sort
Layout
New Cytom.
Settings
Interval
Gate
Quadrant
Gate
Show
Grid
Worksheet
Gate
Autointerval
Snap-To
Interval
Gate
Gate
Line
bdbiosciences.com
BD Biosciences Brazil
San Jose, CA 95131-1807
USA
Tel (877) 232-8995
Fax (800) 325-9637
[email protected]
Asia Pacific
Tel (65) 6-861-0633
Fax (65) 6-860-1593
Align
Left
Align
Top
Tel (55) 11-5185-9995
Fax (55) 11-5185-9895
Japan
Nippon Becton Dickinson Company, Ltd.
Toll Free 0120-8555-90
Fax 81-24-593-5761
Distribute
Horizontally
Make
Same
Size
Snap-To
Grid
Canada
Toll Free (888) 259-0187
Tel (905) 542-8028
Fax (888) 229-9918
[email protected]
Mexico
Toll Free 01-800-236-2543
Tel (52) 55 5999 8296
Fax (52) 55 5999 8288
BD, BD Logo and all other trademarks are property of Becton, Dickinson and Company. © 2007 BD
643246 Rev A
 Loading...