

Page 1
QUICK START GUIDE
for
Serial I/O Cards™
Overview
The Socket Serial I/O Cards make it easy to add a serial communications
port to your Windows or DOS-based mobile computer, so you can connect
your favorite serial peripheral when and where you need it. Common serial
peripherals include modems, printers, writers for court reporting, bar code
scanners, magnetic stripe readers, GPS receivers, and digital cameras.
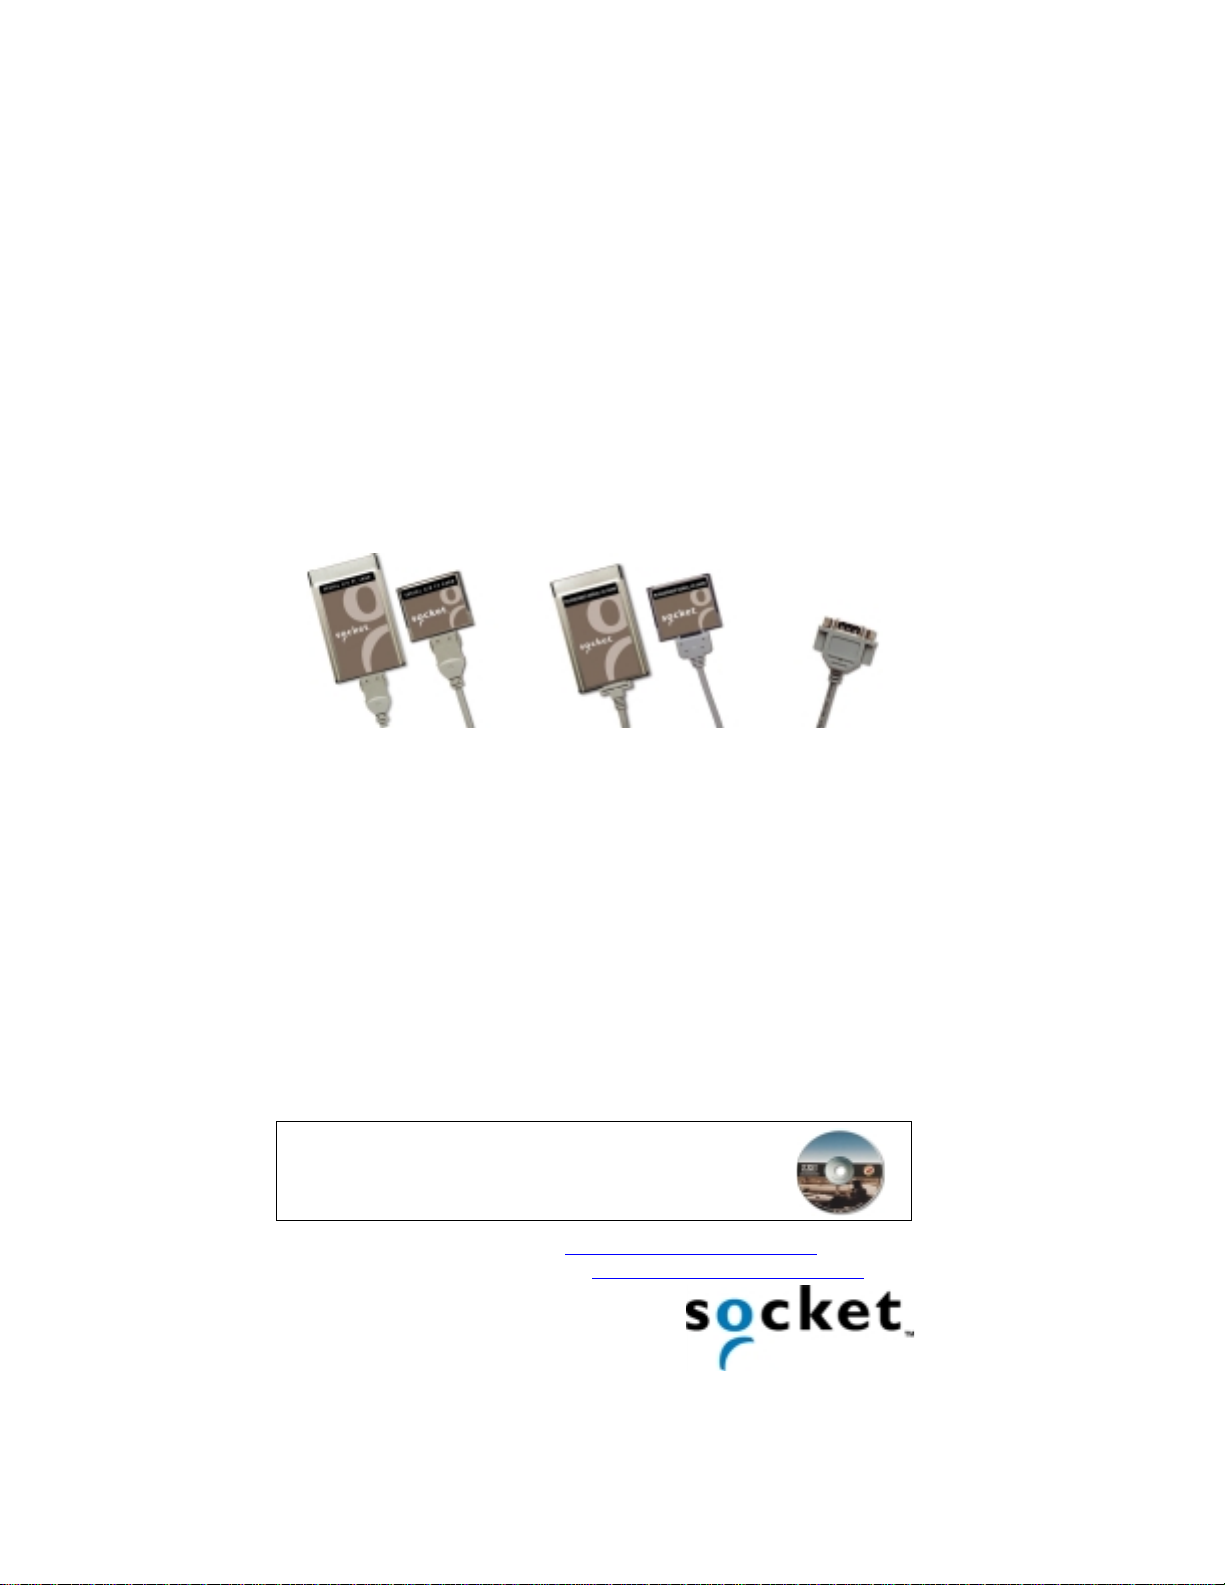
Standard Cards Ruggedized Cards Connector
The standard Serial I/O Card (S-I/O), with removable cable, and
Ruggedized Ser i al I/O Card (R-I/O), with non-removab le cable, ar e both
available in PC Card and CompactFlash form factors. All cables have an
industry-standard male DB-9 connector.
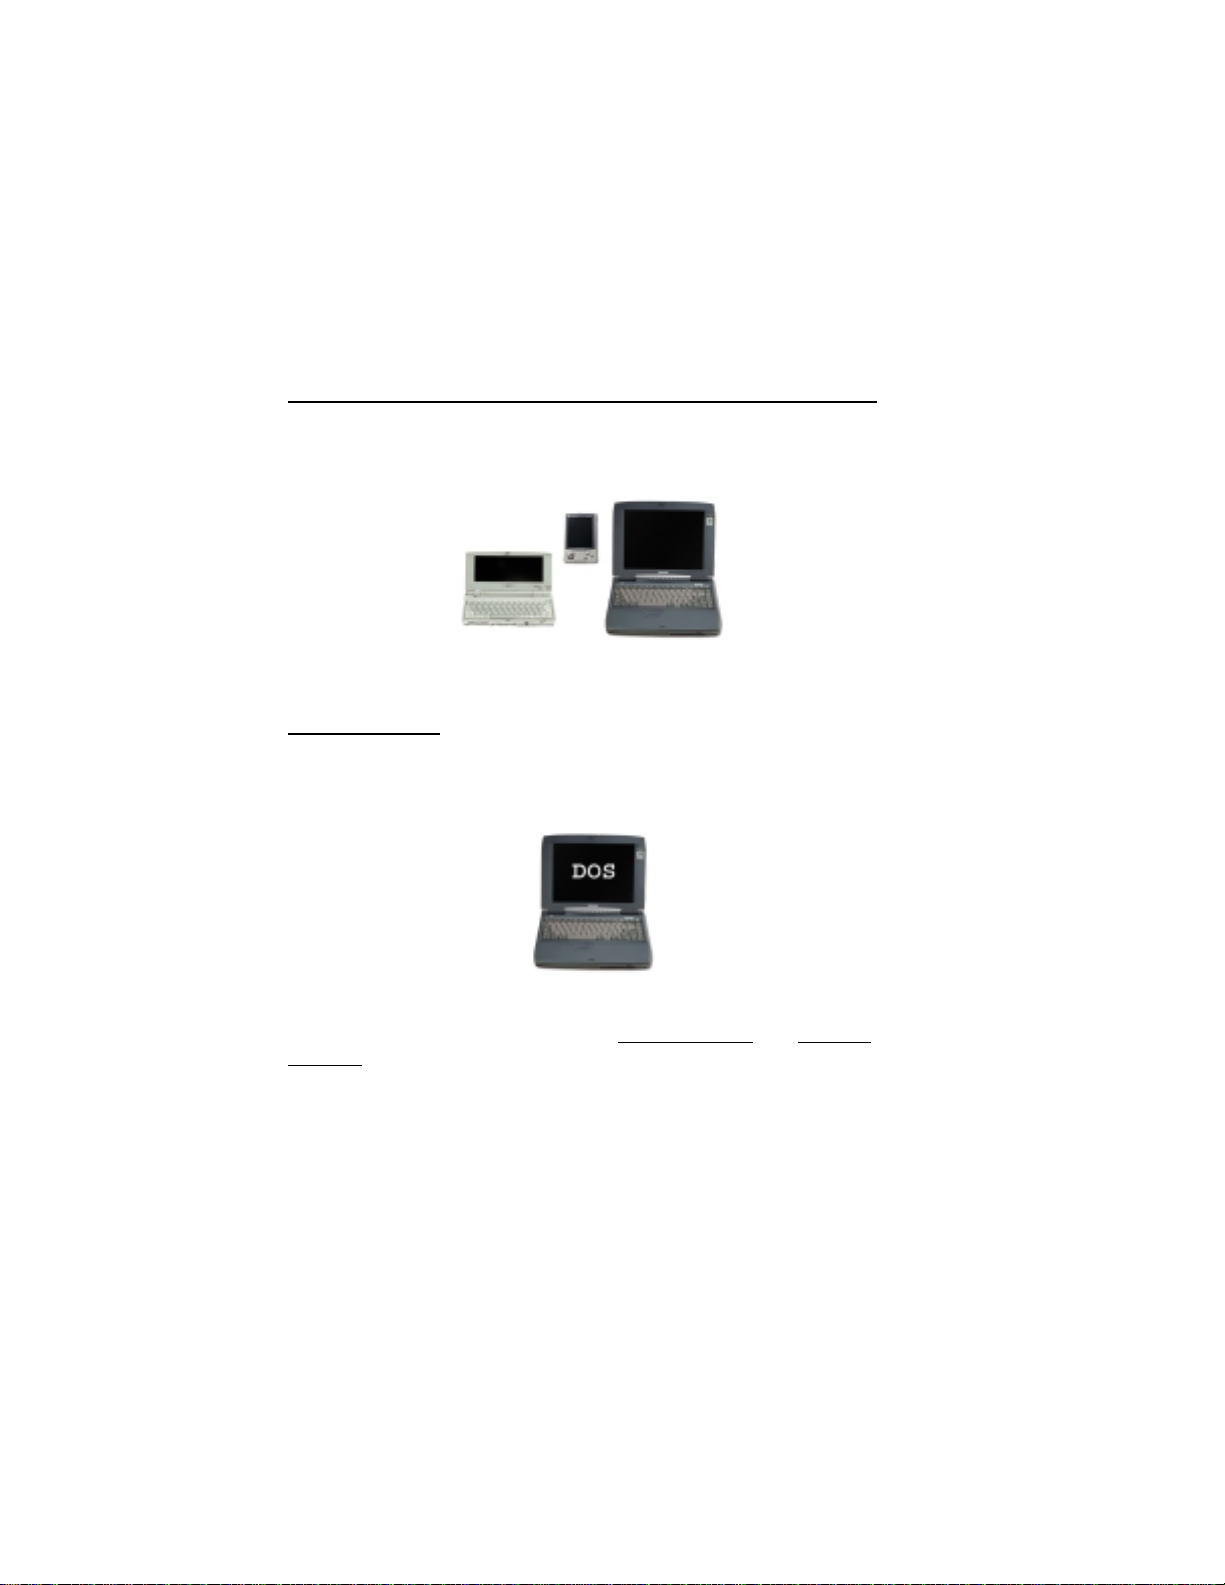
The cards work with the following mobile computers:
• Windows Powered Pocket PCs
• Windows CE-based Palm-size PCs, Handheld PC Pros, and pen tablets
• Windows 9x/Me/2000/NT 4.0 notebooks
• DOS notebooks
This Quick Start Guide briefly shows how to install the Serial I/O Cards.
Unless otherwise noted, “Serial I/O Card” will refer to both Standard and
Ruggedized versi ons of the card. For technical support, see the back page.
For more detailed information, refer to the User’s Guide,
in Adobe Acrobat PDF format in the Docs folder on the
Serial I/O Installation Disc.
For software updates, please visit: www.socketcom.com/serial.htm
To register your product online, visit: www.socketcom.com/prodreg.htm
Page 2
Installation Steps Summary
Installing the Serial I/O Card takes just a few easy steps that vary depending
on the version of your card and the operating system of your mobile
computer.
Pocket PCs, Other Windows CE Devices, Windows Notebooks
STEP 1: If using the standard S-I/O, attach the cable to the card.
STEP 2: Insert the card into your mobile computer.
STEP 3: If necessary, install the software.
DOS Notebooks
STEP 1: If using the standard S-I/O, attach the cable to the card.
STEP 2: Install the software.
STEP 3: Insert the card.
Note: If you want to use the S-I/O with a DOS application
notebook, in most cases you only need to install the S-I/O for your Windows
version, not for DOS. Refer to the guidelines on the back page for “Using a
DOS Application on a Windows Notebook.”
on a Windows
Page 3
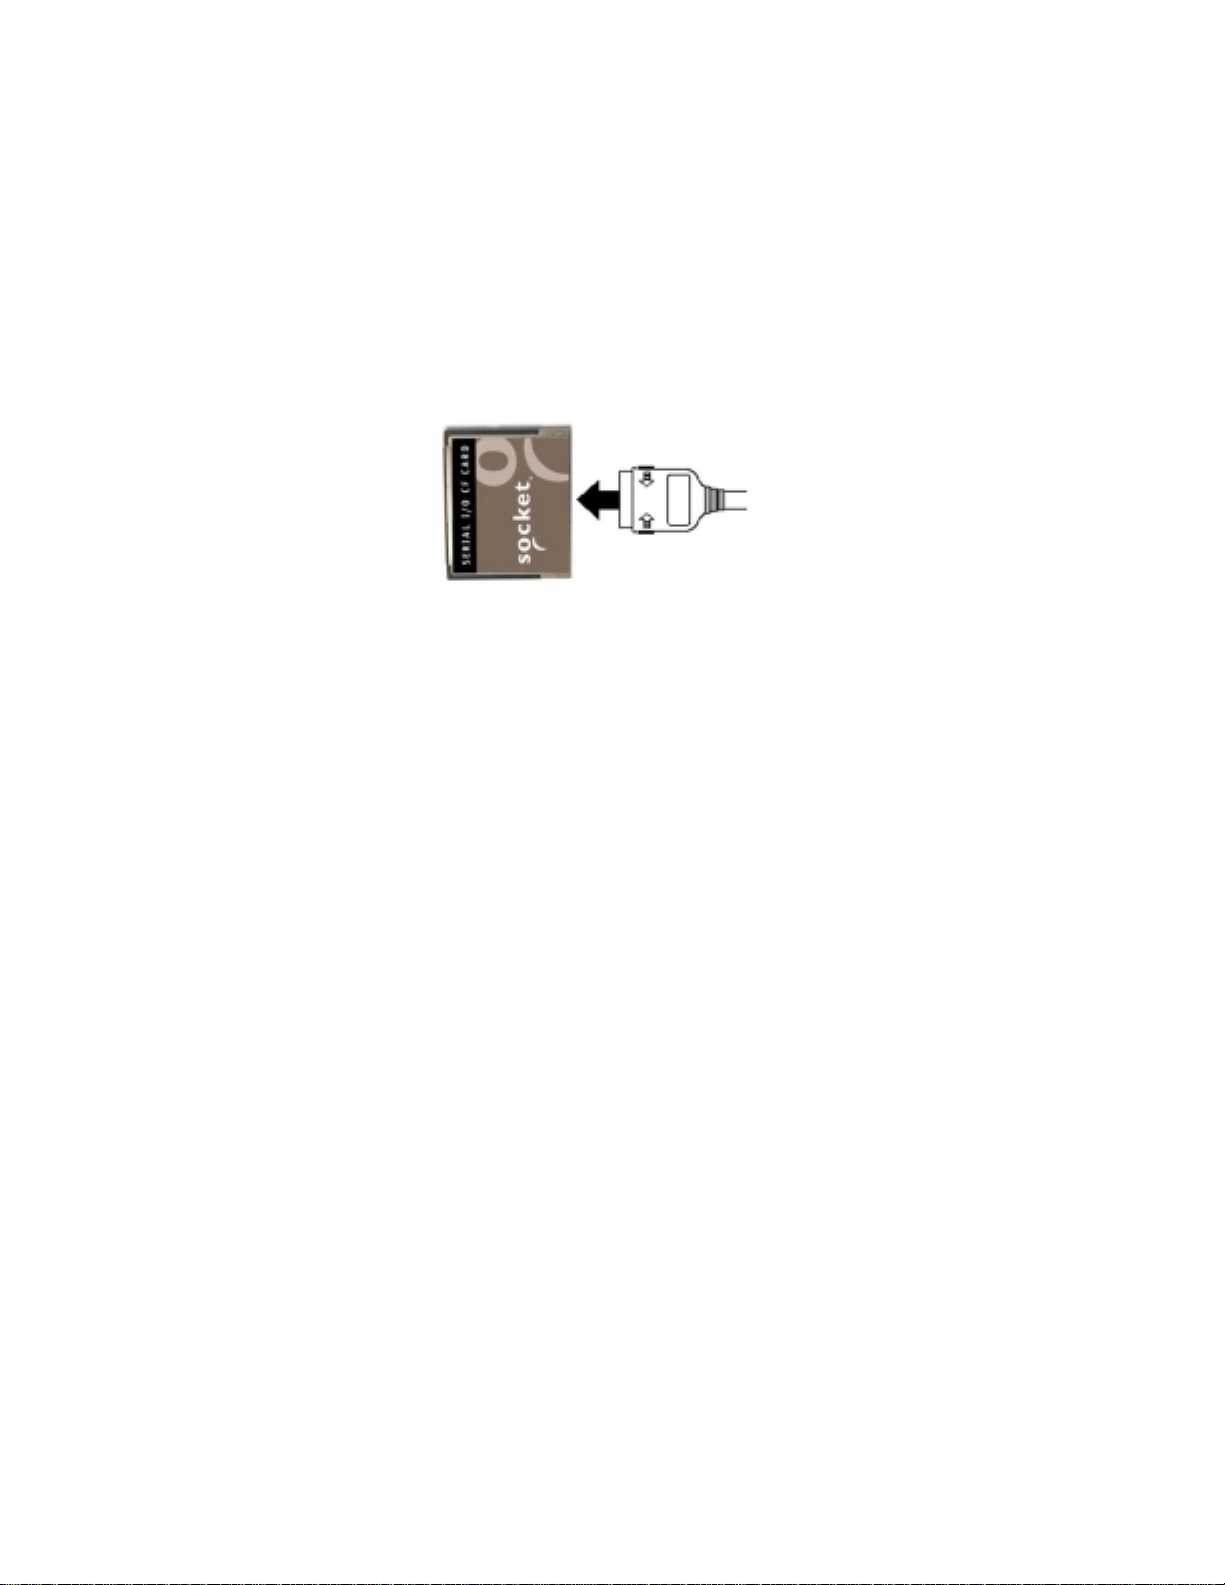
STEP 1: Attach Cable (Standard S-I/O only)
If using the standard version of the Serial I/O Card, with removable cable,
attach the cable to the card.
Press the side latches of the cable connector, insert the connector into the
bottom of the card, and release.
The card and cable should join snugly and remain attached after you release
the side latches. To remove the cable, press the side latches and pull gently
away.
Important! Do not just pull on the cable to rem ove it from the card. If you
pull on the cable without first pressing the side latches, you can damage
the connector and card!
Page 4

Insert the Card
STEP 2: Pocket PCs, Windows CE Devices, Windows Notebooks
STEP 3: DOS Notebooks
Important!
• For Windows NT 4.0
, insert the card BEFORE turning on the
computer! If you insert the card while Windows NT is running, you
must reboot!
• For all others, insert the card AFTER
• Do NOT insert the card upside down or push the card in forcefully.
Damage may occur!
Using the Card Directly in a Slot of its Size
Insert the card directly into the slot. Make sure the brown label is on top.
The card should slide in easi ly and fit snugly.
CompactFlash
turning on the computer!
PC Card
(PCMCIA)
When properly seated, the card will be fully contained within the slot, with
only the connector and cable protruding.
Page 5

Using a CompactFlash Card with a PC Card Adapter
Socket’s part number for a Type I PC Card adapter is 8520-00025.
1. Only Revision B or later of the CompactFlash card works with
Windows 9x/Me/2000/NT 4.0 or DOS
card’s Revision level.
. If using a notebook, check your
2. Plug the card into the adapter, with the brown label on top.
3. Then insert the combined unit into the PC Card slot. It should slide in
easily and fit snugly.
When properly seated, the card plus adapter will be fully contained
within the slot, with only the connector and cable protruding.
Page 6

Install the Software
STEP 2: DOS Notebooks
STEP 3: Windows 9x/Me/2000 Notebooks
Software installation is NOT needed for the following:
• Pocket PCs and other Windows CE-based devices
• Revision “K” or earlier of the Standard
Windows Me/2000
• Revision “E” or earlier of the Ruggedized
with Windows Me/2000
• Windows NT 4.0. Read the note for Windows NT 4.0 on the next page.
Serial I/O Card when used with
Serial I/O Card when used
Windows 9x/Me/2000 Notebooks`
After inserting the card, complete these steps for software installation:
1. The first time you insert the card, a new hardware or device driver
wizard will appear. Insert the Serial I/O Installation Disc into your
notebook and click Next>.
2. Follow the wizard to install the Serial I/O drivers. Make the appropriate
selection below as prompted:
a. Windows 95
b. Windows 98
— Select Other Locations… and specify your CD drive.
— Select Search for a suitable driver for my device. In
the next screen, select CD-ROM drive.
c. Windows Me
— Select Specify the location of the driver. In the next
screen, select Search for the best driver for your device and check
Removable Media.
d. Windows 2000
the next screen, select CD-ROM drive.
— Select Search for the best driver for your device. In
3. Follow the remaining instructions until installation is complete.
Page 7

Windows NT 4.0 Notebooks
You do not need to install Socket’s software, but if you
wish to hot swap cards, you must install a third party Card
Services program like SystemSoft CardWizard. Hot
swapping is the ability to add and remove devices while a
computer is running a nd have the system recognize the
change. For more information about SystemSoft
CardWizard, visit: www.systemsoft.com
DOS Notebooks
Begin these steps to install Socket’s direct enabler software on a DOS
notebook BEFORE inserting the card. Please also note the steps below you
need to complete after inserting the card.
To install Socket’s direct enabler software in DOS:
1. If you have Card Services software installed on your notebook, disable
it. Contact your notebook manufacturer for help.
2. Insert the Serial I/O Installation Disc into your CD ROM drive and type:
X:\INSTALL (replace X with your CD drive letter).
3. Follow the instructions on the screen until installation is complete.
To activate the Serial I/O Ca rd after running IN STALL:
1. Insert your Serial I/O Card into an available PC Card slot as described
previously in this Quick Start.
2. Type: STARTCOM
3. Your screen should display the number of the COM port used by the
Serial I/O Card. Make note of the COM port number so that you will
know the address of any serial device you attach to the Serial I/O Card.
The Serial I/O Card should appear as a standard COM port to any DOS or
Windows application. Socket’s direct enabler is discussed in detail in the
README.TXT file on the Serial I/O Installation Disc.
Page 8

Using a DOS Application on a Windows Notebook
If you need to use the S-I/O with a DOS application on a Windows
notebook, in most cases you only need to install the S-I/O for Windows, not
for DOS. Follow these guidelines:
1. Insert the card and install the S-I/O software for the Windows version on
your mobile computer.
2. Open your DOS program and test the S-I/O. If it works properly, go
ahead and use it and ignore the steps below. If the card does not work
properly, continue with the following steps:
3. Remove the card.
4. A screen may report PC Card Removal Detected. Click OK.
5. Reinsert the card.
6. If your program window minimized, click on the taskbar to remaximize
your program window.
If You Have Trouble
Please refer to the setup instructions and “Troubleshooting” section in the
User’s Guide in the Docs folder on the Serial I/O Installation Disc. If
problems persist, contact Socket’s technical support prepared with the
following information:
• The part number (including Revision level) and seri al number of your
card. See the diagram below.
• The manufacturer, model number, and operating system of your mobile
computer
• How you tried to correct the problem
To reach Socket’s technical support department:
Web www.socketmobile.com/support/support/login.asp
•
• Toll-Free (800)729−1390
• Direct 510-933-3020
© Copyright 2001 Socket Communications, Inc. The Serial I/O Card and Ruggedized Serial
I/O Card include technology licensed under United States Patent Nos. 4,543,450, 4,603,320,
and 4,972,470.
Printed in U.S.A.
 Loading...