

Page 1
Continuing section 6
Use the Help features of the interface to help you
configure the device. When you have finished
configuring the device, press ‘Commit’ to save the
changes, then ‘Restart’ to restart the device. You
can optionally press ‘Reload’ if you have further
configuration changes to make.
7
Check Your Setup
More AirborneM2M Products
APMN-Q551
Embedded Dual Band M2M Access
Point Module
http://www.bb-elec.com/Products/WirelessCellular/AirborneM2M-Embedded-Dual-BandWireless-Module/AirborneM2M-Embedded-DualBand-Access-Point-Module.aspx
If your device is connected and configured correctly, you
will see the following LED Status:
POWER: GREEN
LINK: GREEN
COM: GREEN
8
LED Color Airborne Device State
POWER
LINK
COMM
Document number – PN710-00049-00_R000_ABDx-ER-DP551_1413qsg
Troubleshooting
Adapter is not powered.
Adapter failed Power On Self Test (POST)
Adapter passed POST but is not configured for wireless
network communication.
Adapter passed post and is configured for wireless communication.
Adapter is not powered.
(Periodic Blinking) Adapter is searching for a valid network
(Access Point) that matches device’s configuration.
Adapter has successfully associated with an Access Point.
If Power LED is also Off then Adapter is not powered. If
Power LED is On then either:
• A physical connection detected on Serial/Ethernet cable.
• No TCP session from wireless interface has been estab-
lished.
No physical Serial/Ethernet connection has been detected.
(Blinking – OFF/Red) A physical Serial/Ethernet connection
has been detected and there is traffic across the interface. No
TCP connection to the adapter has been established on the
wireless interface.
A TCP connection to the adapter from the wireless interface
has been established but no physical connection on the Serial/Ethernet interface has been detected
(Blinking – Green/Orange)
A physical Serial/Ethernet connection has been detected and
there is Serial/Ethernet traffic across the interface. A TCP
connection to the adapter has been established (On WLAN
or Ethernet interface).
A physical Serial/Ethernet connection has been detected. A
TCP connection to the adapter has been established from the
WLAN or Ethernet interface but no traffic has been detected.
APXG-Q5420
802.11 Wireless Router, Access Point and
Serial Device Server
http://www.bb-elec.com/Products/WirelessCellular/Wireless-Ethernet-Bridge-Access-PointClient-Bridg/Airborne-Industrial-Wireless-AccessPoint.aspx
Fast, Easy Answers
First, check your LEDs.
Then use your smart
phone to access complete
documentation on our web
site. Simply scan the code
to the right or visit the
B&B Electronics Knowledge
Base:
http://support.bb-elec.com/knowledgec.aspx
1-888-948-2248 | Europe: +353 91 792444
www.bb-elec.com
707 Dayton Road | PO Box 1040 | Ottawa, IL 61350
Phone: 815-433-5100 | Fax: 815-433-5109
www.bb-elec.com | E-mail: info@bb-elec.com
© 2013 B&B Elect ronics Manuf acturing Co mpany
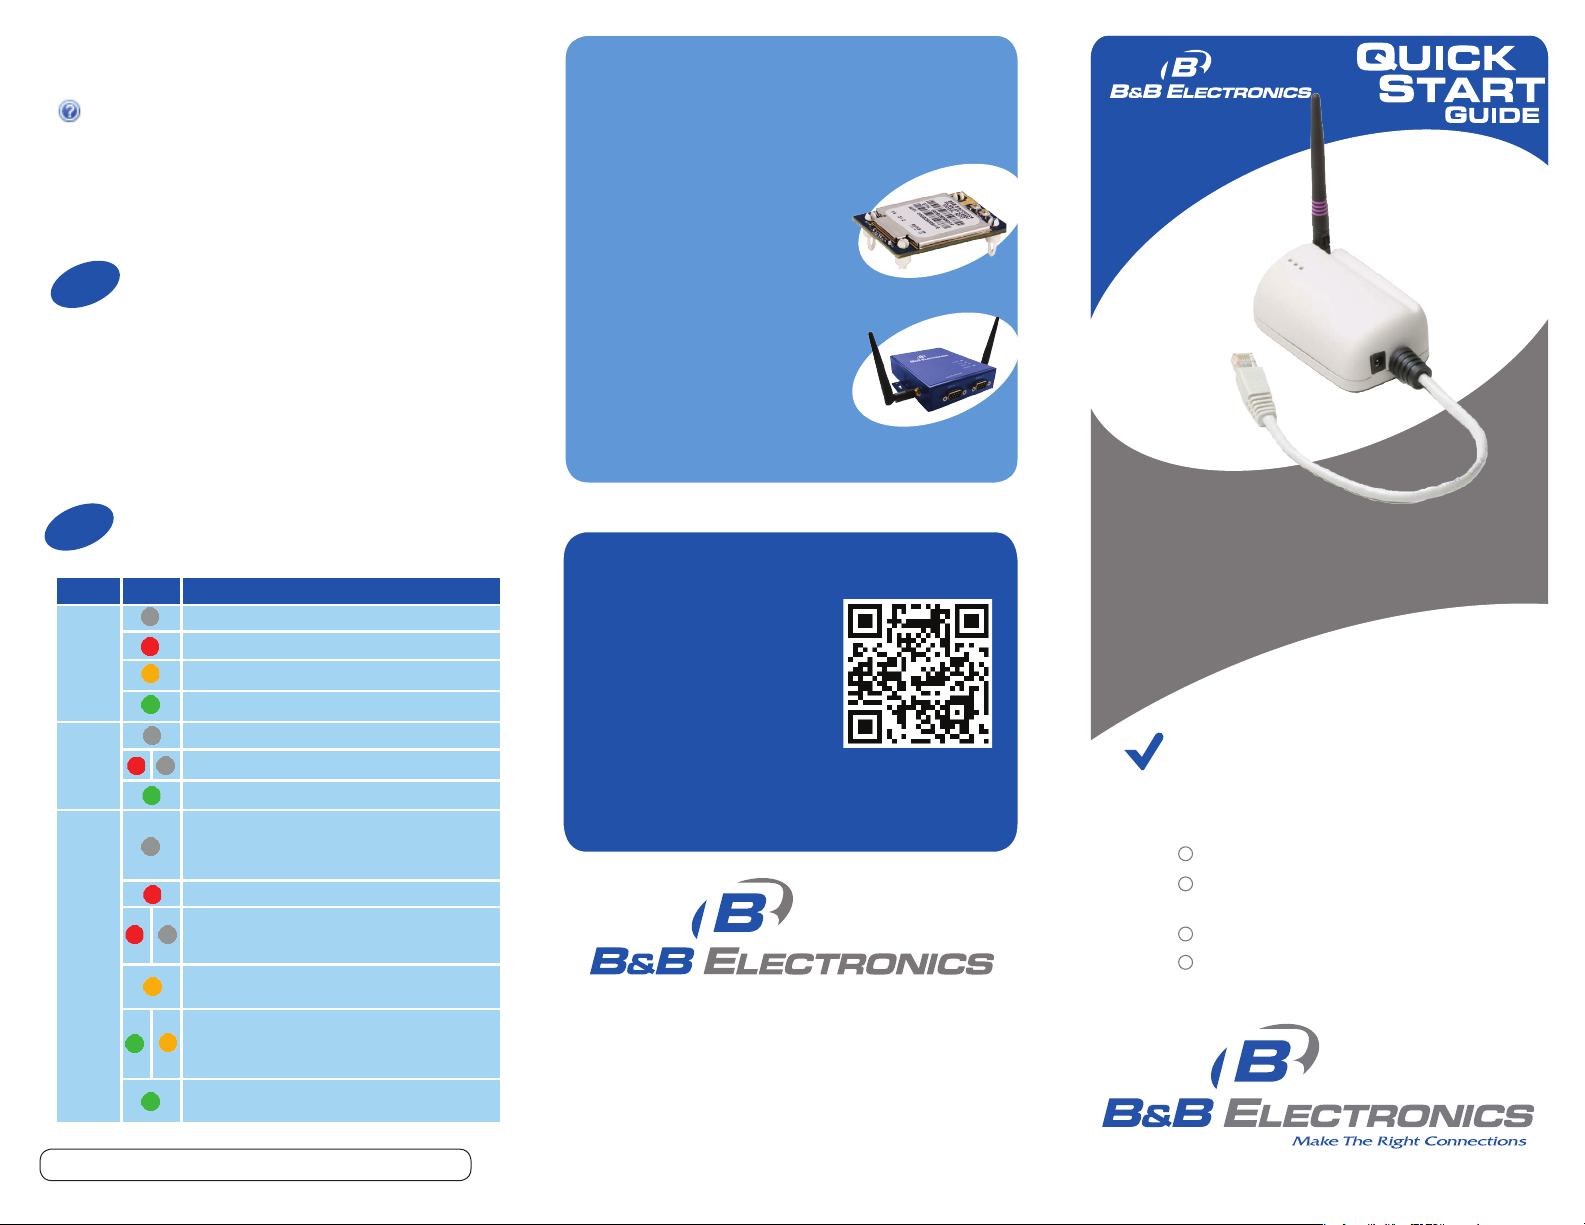
ABDx-ER-DP551
Wireless Ethernet Adapter
First Things First...
Before you begin, be sure you have
the following:
ABDx-ER-DP551
CD with Airborne Management Center
software
5 VDC Power Supply (2.1 mm barrel jack)
50 ohm, omni-directional antenna
Fast and easy on the web:
www.bb-elec.com
Page 2
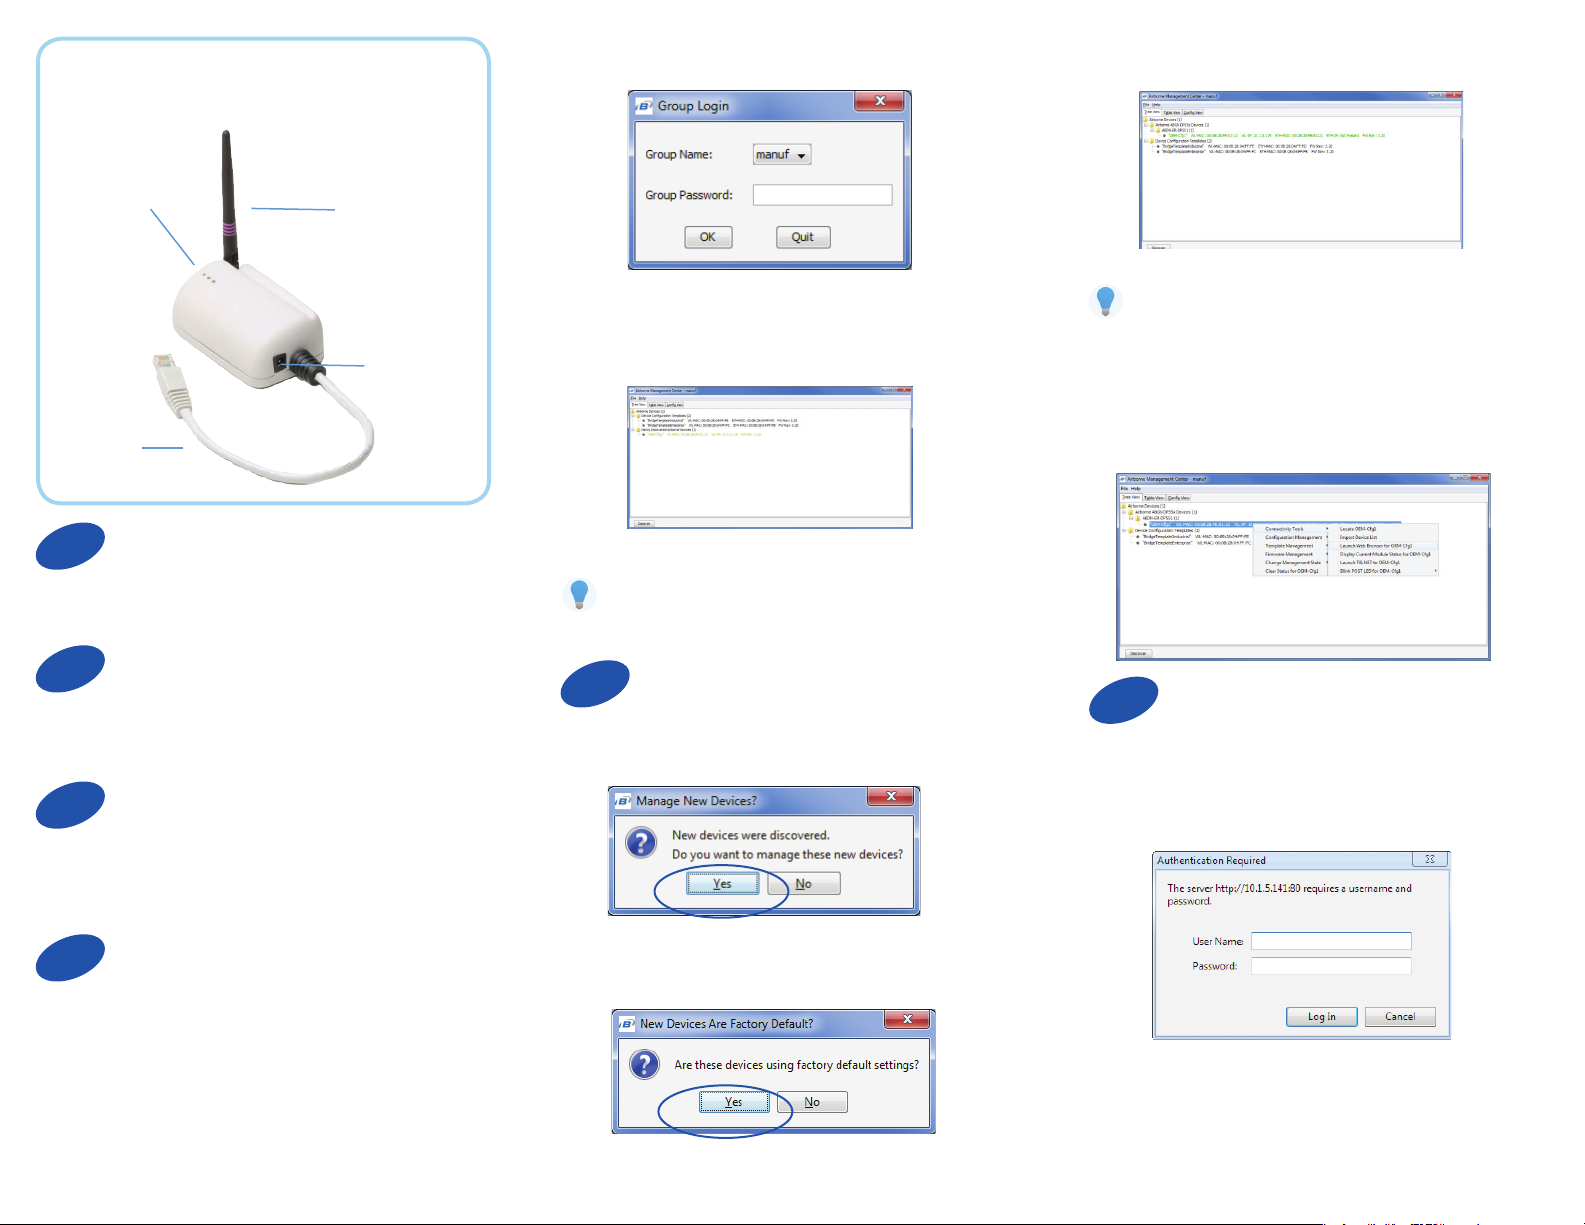
Product Overview
LEDs
Antenna
When AMC starts, it will request a login:
AMC will display the found Airborne device(s):
Power
Port
LAN
Cable
1
Connect the Antenna to the antenna connector located
on top of the device.
2
Connect the Ethernet cable to an Ethernet port on a host
computer or network router/switch.
3
Plug the barrel connector of the AC power supply into the
power port. Plug the power supply into an AC outlet.
Attach the Antenna
Connect Ethernet
Connect Power Supply
Select Group Name: “manuf” and enter Group
Password: “dpac”
AMC will load and discover the attached device:
Note: You may be required to wait up to 180
seconds before the device is discovered and
displayed.
5
Manage Your Device
AMC will ask if you want to manage the new device,
select ‘Yes’:
Tip: To easily convert a Direct Ethernet device to
a bridge, use the Bridge Templates in AMC. For
additional information, search the B&B Knowledge
base for “bridge templates”.
Right click the device’s name. Under “Connectivity Tools”
choose “launch Web browser for OEM-Cfg1.” This will
open the device’s browser-based management window.
6
Login to web interface:
Username “dpac”
Password: “dpac”
Configure Your Device
4
Run the Airborne Management Center (AMC) application.
If you don’t currently have AMC installed, you can install it
from the included CD or download and install it from the
B&B website. Just search for the model number and follow
the links to download software from the Downloads section
of the product page
Connect to the Device
Select ‘Yes’ to indicate device is using Factory Default
settings:
Continue configuration via the Web interface. Start
with the Configuration -> Express Setup page.
Continued on the next page...
 Loading...