

Baumatic BJB1, Multiplo2S, Multiplo3S, Multiplo3S/L, Multiplo4S Use And Maintenance Manual
...Page 1
16
CHAP. 7 - MAINTENANCE
7.1 - GENERALITIES
Before carrying out any maintenance operation it is necessary to:
Disconnect the plug from the electrical supply to completely isolate the machine from the rest of the system.
7.2 - FEEDING CABLE
Periodically check the state of wear and tear of the cable and call the
“ASSISTANCE CENTER” if it needs to be replaced.
7.3 - BLADES
If the blades should no longer cut call the “ASSISTANCE CENTER”.
CHAP. 8 - DISMANTLING
8.1 - PUTTING OUT OF SERVICE
If for some reason you should decide to put the machine out of service, make sure
that it cannot be used by any other person: disconnect and cut all electrical con-
nections.
8.2 - DISPOSAL
Once the machine has been put out of service it can be eliminated. For indications
on how to correctly dispose of the machine ask any company specialized in such a
service and respect standards for materials used to make the parts (see chap. 1-
paragraph 3.2).
BAUMATIC LTD
Baumatic Buildings
6 Bennet Road
Reading
Berkshire
RG2 0QX
Sales Service Spares
Tel: 0118 933 6900 Tel: 01189 933 6911 Tel: 0118 933 6922
Fax: 0118 931 0035 Fax: 0118 986 9124 Fax: 0118 986 9124
1
USE AND MAINTENANCE
INSTRUCTION MANUAL
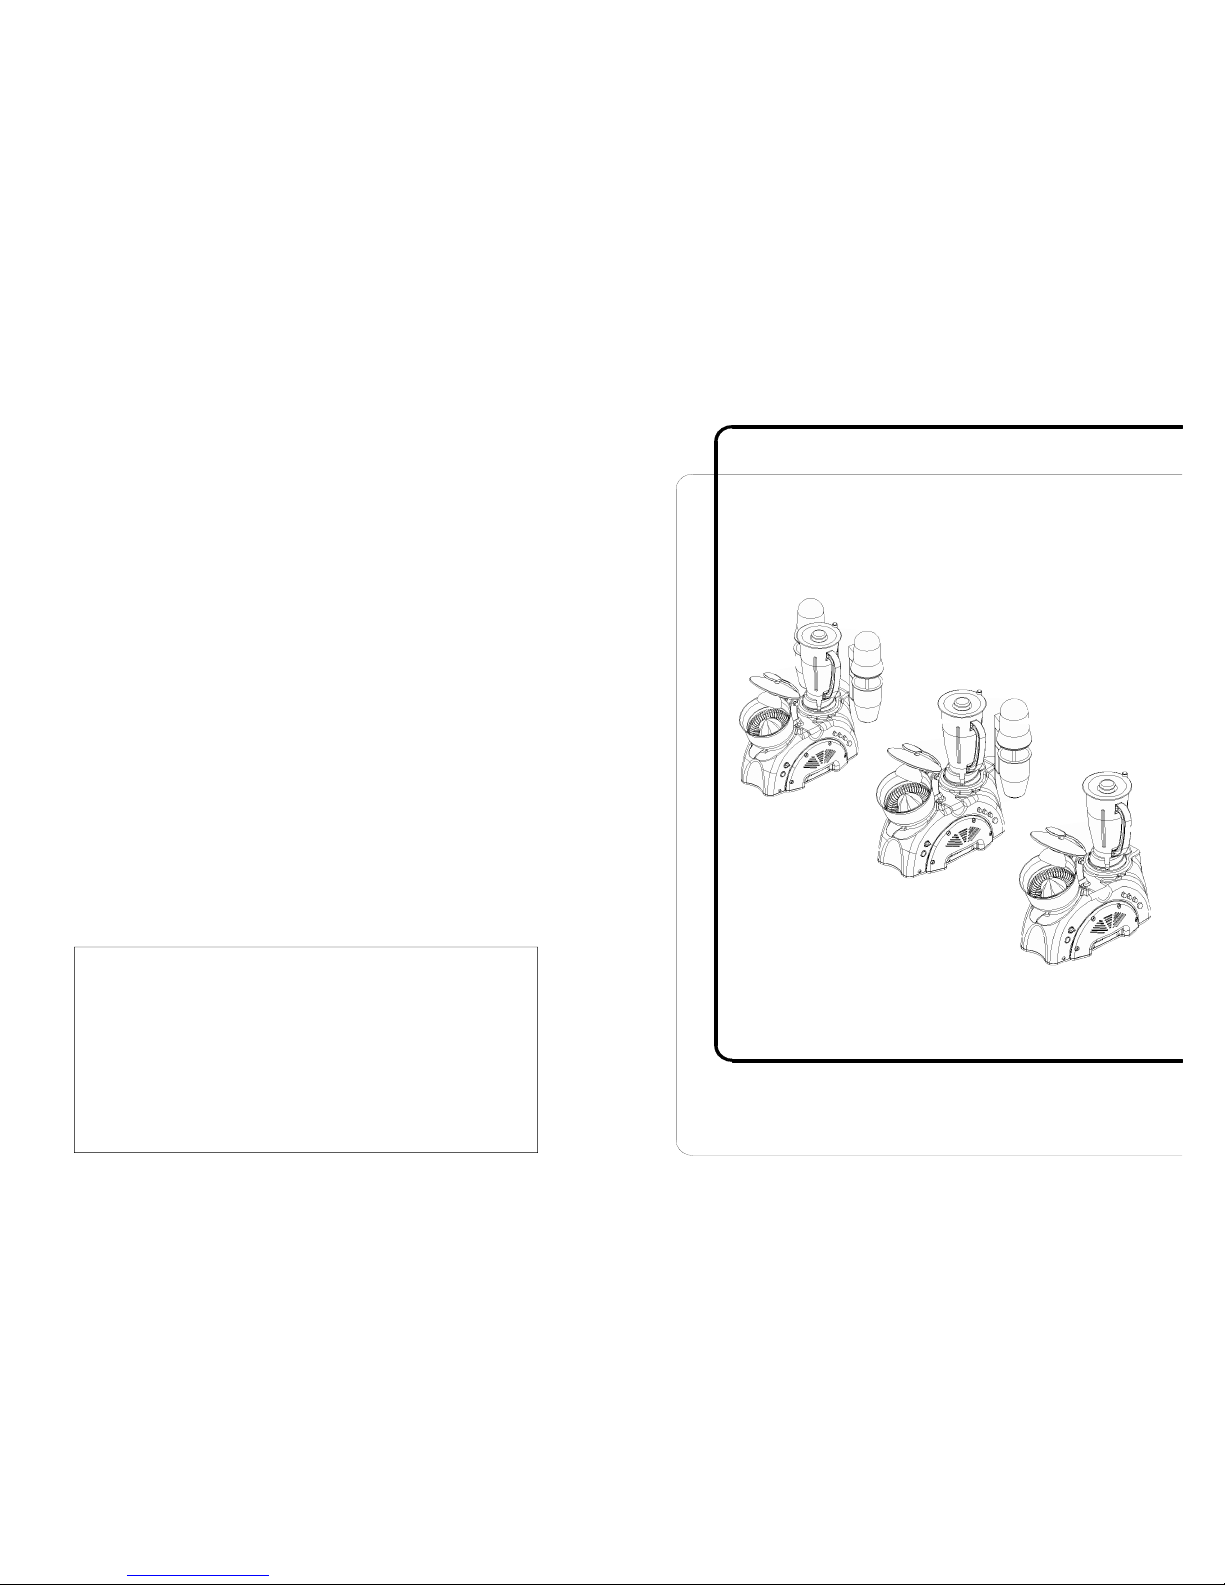
BAUMATIC
PROFESSIONAL JUICER AND BLENDER
BJB1
3S/L
4S/L
Page 2

2
FORWARD
• This manual has been made to provide the client with all information about
the machine and its specifications and use and maintenance instructions to
enable using the machine in the best way possible and keeping it efficient
throughout time.
• This manual must be given to persons destined to use the machine and carry
out periodic maintenance.
INDEX
CHAP. 1 - MACHINE INFORMATION page 4
1.1 - GENERAL PRECAUTIONS
1.2 - SAFETY DEVICES INSTALLED ON THE MACHINE
1.2.1 - mechanical safeties
1.2.2 - electrical safeties
1.3 - MACHINE DESCRIPTION
1.3.1 - general description
1.3.2 - constructive features
1.3.3 - machine make-up
CHAP. 2 - TECHNICAL DATA page 7
2.1 - OVERALL DIMENSIONS, WEIGHT,FEATURES...
CHAP. 3 - RECEIVING THE MACHINE page 8
3.1 - SHIPMENT OF THE MACHINE
3.2 - CHECKING THE PACKAGE UPON ARRIVAL
3.3 - PACKAGE DISPOSAL
CHAP. 4 - INSTALLATION page 9
4.1 - POSITIONING THE MACHINE
4.2 - SINGLE-PHASE ELECTRICAL CONNECTION
4.3 - ELECTRICAL DIAGRAM
4.3.1 - single-phase electrical system diagram
4.4 - OPERATIONAL CHECK
CHAP. 5 - MACHINE USE page 11
5.1 - CONTROLS
5.2 - LOADING THE PRODUCT
15
6.2.3 - SHAKER:
- general cleaning
Frequently rinse the cup and wash it in the dishwasher with neutral detergents
every time it must remain unused for more than two hours or at least once a day.
The shaft and beaters must be cleaned every time the shaker must remain unused
for more than two hours or at least once a day.
Fill the cup with hot water (60°C) and neutral detergent and make the blender
run for about 1 minute. Change the water without adding detergent and make it
run again for other 2 one-minute cycles.
ATTENTION
: once all the parts have been washede dry them well and reas-
semble them as shown in figure n. 11
FIG. n°10 - Machine disassembled for
cleaning
FIG. n°11 - Assembly/disassembly of
parts for cleaning
Page 3

14
CHAP. 6 - ROUTINE CLEANING
6.1 - GENERALITIES
• The machine must be cleaned at least once a day and if necessary, more fre-
quently.
• All parts of the machine that come into direct or indirect contact with the foo-
dstuff to be worked must be carefully cleaned.
• The machine must not be cleaned with water cleaners or water jets, but with
water and neutral detergent. Never use utensils, brushes and anything else that
could damage the surface of the machine.
”ATTENTION!”
Before carrying out any cleaning operation it is necessary to:
a) put the switch at “0”.
b) disconnect the plug from the electrical supply to completely isolate the machi-
ne from the rest of the system.
6.2 - PROCEDURE TO FOLLOW FOR CLEANING THE MACHINE
N.B. Do not wash any Multiplo part in the dishwasher.
6.2.1 - BLENDER:
- cleaning the cup (see FIG. n°10)
Fill the cup with hot water (60°C) and neutral detergent and make the blender
run for about 1 minute. Change the water without adding detergent and make it
run again for other 2 one-minute cycles.
- general cleaning (see FIG. n°10)
NB.: Disconnect the plug
Lift the cap from the lid and proceed to cleaning them with warm water and
neutral detergent.
The body of the machine can be washed with neutral detergent and a damp cloth
that is frequently rinsed with warm water.
At the end carefully dry all the parts.
62.2 - CITRUS FRUIT SQUEEZER:
- cleaning the strainer and the collection basin
Follow the procedure below to clean the strainer and the collection basin:
a) carefully unhook the strainer from the machine body;
b) at this point remove the collection basin;
Once the parts have been removed clean them with warm water and neutral de-
tergent.
- general cleaning
N.B.: Disconnect the plug
The body of the machine can be washed with neutral detergent and a damp cloth
that is frequently rinsed with warm water.
At the end carefully dry all the parts.
3
CHAP. 6 - ROUTINE CLEANING page 14
6.1 - GENERALITIES
6.2 - PROCEDURES TO FOLLOW FOR CLEANING THE
MACHINE
6.2.1 - cleaning the blender
6.2.2 - cleaning the citrus fruit squeezer
6.2.3 - cleaning the shaker
CHAP. 7 - MAINTENANCE page 16
7.1 - GENERALITIES
7.2 - FEEDING CABLE
7.3 - BLADES
CHAP. 8 - DISMANTLING page 16
8.1 - PUTTING OUT OF SERVICE
8.2 - DISPOSAL
INDEX OF FIGURES
FIG. n° 1 - General view of the machine page 6
FIG. n° 2 - Drawings of overall dimensions page 7
FIG. n° 3 - Description of the package page 8
FIG. n° 4 - Technical—registration plate page 9
FIG. n° 5 - Mn electrical diagram page 10
FIG. n° 6 - Correct position of cover page 11
FIG. n° 7 - Position of citrus fruit squeezer/blender controls page 11
FIG. n° 8 - Position of shaker controls page 11
FIG. n° 9 - Correct position page 13
FIG. n° 10 - Machine disassembled for cleaning page 15
F I G . n ° 1 1 - A s s e m b l y / d i s a s s e m b l i n g o f p a r t s f o r c l e a n i n g p a g e 1 5
Page 4

4
CHAP. 1 - MACHINE INFORMATION
1.1 - GENERAL PRECAUTIONS
• The machine must only be used by authorized personnel who thoroughly
know the safety norms contained in this manual.
• If there should be a change in personnel, train them in advance.
• Before carrying out any cleaning or maintenance operation disconnect the
machine plug from the electrical supply.
• When intervening for maintenance or cleaning the machine (and the protec-
tions are therefore removed), carefully evaluate the residual risks.
• During maintenance or cleaning always concentrate on the operations in
progress.
• Regularly check the state of the feeding cable; a cable that is worn out or not
intact could present serious danger of the electrical kind.
• If the machine malfunctions or seems to, it is advisable to not use it and to not
intervene directly to repair it; instead, contact the “Assistance Center”.
• Do not use the machine for frozen products, mixtures, products with bones and
non-foodstuffs.
• Do not attempt to put hands or other objects in the cup while the machine is
running.
• Do not move the machine if the switch is not in the “0” position (off) and the
plug is not disconnected from electrical supply.
• The manufacturer is not liable in the following cases:
⇒ The machine is tampered with by unauthorized personnel;
⇒ Parts are replaced with non original
ones;
⇒ The instructions in this manual are not carefully followed;
⇒ The surfaces of the machine are treated with unfit products.
1.2 - SAFETY DEVICES INSTALLED ON THE MACHINE
1.2.1 - mechanical safeties
As far as mechanical safety devices are concerned the machine is provided with
(see FIG. n°1):
• safety micro on the blender cup (Multiplo 2S);
• safety micro on the milkshake cup (Multiplo 3S - 4S), it blocks the machine
from turning on if it is not in the correct position.
• micro on the citrus fruit squeezer motor strainer that starts the motor only by
squeezing the fruit on the strainer.
13
SHAKER:
N.B.: The product is loaded in the cup only when the switch is at “0”.
1. Once the ingredients are inserted, carefully put the cup into its proper supports.
2. Make sure the cup is inserted properly and stable.
3. Then put the switch at “I”, start position.
4. If it is the shaker model SIRIO vv regulate the speed of the beaters by means
of the speed change knob, (gradually change the speed from minimum to maximum allowed).
5. Avoid making the shaker run while empty.
6. At the end of work bring the speed to minimum, then stop the machine by
putting the switch at “0”, stop position, and carefully remove the cup.
7. Use the shaker at alternate phases: 10 min. on, 10 min. off.
FIG. n°9 - Correct position
Page 5

12
must only be inserted through the hole in the cap while machine is working.
The procedure is the following:
1 Remove the lid of the cup;
2 (ATTENTION
) put the product into the cup, being careful with the blades; if
the product is big cut it into tiny pieces by hand before inserting it;
3 Make sure the lid is inserted properly and pay attention to the position of the
micro support, which must respect the action radius of the magnet to start the
blender, as shown in FIG. n°6;
4 be in a correct position to avoid accidents (see FIG. n°9): your body must be
perpendicular to the work plane. In any case do not lean on the machine and
avoid being in direct contact with the machine, instead use the cup handle.
5 Start the machine by pressing the “I” button and, if necessary, increase the
speed by turning the speed change knob; if the cup vibrates excessively, stabi-
lize it by holding onto the cup handle.
6 Inset more of the product during working through the hole in the lid;
7 At the end of work stop the machine by pressing the “0” stop button;
8 Carefully remove the cup.
9 Use the blender in alternate phases: 10 min. on, 10 min. off.
10. Only move the machine if the switch is at “0” (off) and the plug is discon-
nected.
CITRUS FRUIT SQUEEZERS
:
Follow the procedure below to load the product:
1 Put the switch at “I”;
2 Be in a correct position to avoid accidents (see FIG.n°9): your body must be
perpendicular to the work plane; your hands must not force machine parts or
block their movement.
In any case do not lean on the machine and being in direct contact with
moving parts;
3 For the NORMAL model: place the citrus fruit, already cut, on the strainer and
exert light pressure so that the machine starts. If necessary, increase the speed
by turning the knob clockwise until reaching the desired position (only in mo-
dels VV).
N.B.: the machine stops running when no pressure is exerted on the strainer;
4 For models with LEVER: place the citrus fruit, already cut, on the strainer and
exert light pressure, lower the lever until the fruit is completely squeezed. If
necessary, increase the speed by turning the knob clockwise until reaching the
desired position (only in models VV).
5 Use the squeezer in alternate phases: 10 min. on, 10 min. off.
N.B.: the machine stops running when no pressure is exerted on the strainer;
6 At the end of working put the switch at “0” in the off position.
5
1.2.2 - electrical safeties
As far as electrical safeties are concerned, the machine described in this manual
complies with EEC directives 73/23, 89/336, and the EEC EN 60335-1, EN
55014 standards.
Even though the machine is outfitted with the standard measures for electrical and
mechanical protections (both in the operating phase and the cleaning and maintenance phase), there are in any case RESIDUAL RISKS (EEC 89/392 point
1.7.2) that cannot be completely eliminated; the user is brought to their attention
in this manual by the warnings under ATTENTION
. They concern the danger of
being cut from manipulating the blades during product loading and cleaning.
1.3 - MACHINE DESCRIPTION
1.3.1 - general description
The Multiplo has been designed and created by our firm with the precise purpose
of: Blender: cutting, mincing, beating foodstuff (for ex. Fruit and vegetables);
Citrus fruit squeezer:squeezing citrus fruit;
Shakes:mixing, whipping, blending milk and derivatives.
Furthermore the Multiplo guarantees:
- maximum safety during use, cleaning and maintenance;
- maximum hygiene, thanks to a careful selection of materials that come into
contact with foodstuff, and the elimination of sharp edges of the machine that
come into contact with the product, therefore enabling easy and total cleaning
and also easy disassembly;
- maximum yield thanks to the exclusive four-blade system (blender);
- possibility of working in alternate modes, 10 min. on and 10 min. off ;
- maximum yield thanks to the exclusive three-beater system (shakes);
- all parts are robust and stable;
- silent;
- very easy to handle.
1.3.2 - constructive features
Machine body in thermoformed polystyrene with sides in ABS.
Blender: container and lid in transparent lexan.
Citrus fruit squeezer
: juice collection basin in stainless steel and strainer in ABS
for foodstuff. Internal skeleton in steel.
Shakes
: made of chromium-plated ABS and an anodized aluminum alloy.
Page 6

6
1.3.3 - machine make-up
FIG. n°1 - General view of the machine
12. cup
13. Cup support
14. side lid
15. micro on lid
16. micro support
17. shaker switch
18. leg
19. shaker support
20. feeding cable
21. blender button
22. lighted led
23. citrus fruit squeezer switch
KEY:
1. lower lid
2. base
3. collection basin
4. strainer
5. citrus fruit squeezer cover
6. lever
7. cup
8. lid
9. cap
10. head
11. shaft with beaters
1
3
4
6
8
2
14
5
7
9
11
10
13
12
15
16
18
19
20
22
23
21
17
11
n° 7);
2 check the rotation of the beaters, always with the cup inserted, alternating the
position of the switch between “I” and “O”;
3 Check that the machine turns on by removing the cup.
CHAP. 5 - MACHINE USE
5.1 - CONTROLS
The controls are located on the machine body as highlighted below.
1. Lighted led 6. Speed variator knob
2. Citrus fruit squeezer ON-OFF switch 7. Shaker ON-OFF switch
3. START 8. Shaker speed change knob
4. STOP
5. Pulse
5.2 - LOADING THE PRODUCT
BLENDER: Goods to be blended must be cut into small pieces and loaded in
the cup only when the motor is off, paying attention to the blades.
N.B.: Do not insert products with bones, seeds or the like; eventual additives,
Magnet
Microstand
FIG. n°6 - Correct position of the lid
FIG. n°8 - Position of
shaker controls
FIG. n°7 - Position of citrus fruit
squeezer and blender controls
8
7
2
3
1
4
5
6
Page 7

10
4.4 - OPERATIONAL CHECK
Blender
: Before testing make usre the lid is in the right position, that is, the micro
support is aligned with the magnet (see FIG. n°6), then test functioning with the
following procedure:
1 put the switch at “I”;
2 check the rotation of the blades, always with the cup inserted, varying the speed by turning the speed change knob if present;
3 check if the machine stops running by removing the lid.
4 At the end put the switch at “0” for stop.
Citrus fruit squeezer
: Follow the procedure below to check functioning:
1 put the switch at “I”;
2 check that the machine works only by pushing down on the strainer;
3 at the end put the switch at “0” for stop.
Frappè
: Before testing make sure the cup is well blocked, then test functioning
with the following procedure:
1 put the switch at the start position, “I”, and in the stop position “O” (see FIG.
4.3 - ELECTRICAL DIAGRAM
4.3.1 - Single-phase electrical system diagram
FIG n°5 - Mn electrical diagram
7
CHAP. 2 - TECHNICAL DATA
2.1 - OVERALL DIMENSIONS, WEIGHT, FEATURES ...
FIG. n°2 - Drawings of overall dimensions
TABLE n°1 - OVERALL DIMENSIONS AND TECHNICAL FEATURES
ATTENTION
: The electrical characteristics of the machine are indicated on a
plate fit on the back of the machine; before carrying out the connection see 4.2
electrical connection.
A
B
C
Model
Multiplo
2S
BJB1 Multiplo
3S
Multiplo
3S/L
Multiplo
4S
Multiplo
4S/L
Length B
mm 445 445 490 490 490 490
Width A
mm 252 252 317 317 382 382
Max height C
mm 495 495 510 510 510 510
Power
watt/Hp 150-730 150-730 150-730-70 150-730-70 150-730-70
-70
150-730-70
-70
Feed
230/50Hz 230/50Hz 230/50Hhz 230/50 Hz 230/50Hz 230/50Hz
Min revs.
r.p.m. 320-24.000 320-24.000 320/24.000
/12.000
320/24.000
/12.000
320/24.000
/12.000
320/24.000
/12.000
Net weight
kg 9,5 10,5 10,5 12,5 14,5 16,5
Page 8

8
CHAP. 3 - RECEIVING THE MACHINE
3.1 - SHIPMENT OF THE MACHINE (see FIG. n°3)
The machine leaves our warehouse carefully packed; the packaging consists of: a )
an external box in robust cardboard with padding if necessary;
b) the machine;
c) this manual;
d) EC conformity certificate.
3.2 - CHECKING THE PACKAGE UPON ARRIVAL
Once the machine has arrived, if it does not show any external damage, proceed to
checking that all the material is inside (see FIG. n°3). If the machine shows signs
of mishandling, falls or bumps, present the damage to the carrier within three days
of the delivery date indicated on the documents and write a precise report on the
damage to the machine. Do not turn the package over!! When moving the machine make sure it is held firmly in the 4 fundamental points (keeping it parallel to
the floor).
3.3 - PACKAGE DISPOSAL
The components of the package (cardboard, plastic straps) are similar to solid
urban waste and can therefore be easily disposed of.
If the machine is installed in countries with particular standards, dispose of the
packages according to the prescriptions of the laws in force.
c)
a)
d)
b)
FIG. n°3 - Description of the package
9
CHAP. 4 - INSTALLATION
4.1 - POSITIONING THE MACHINE
The plane the machine is positioned on must be big enough for the dimensions
indicated in Table 1 (based on the model), and therefore be wide enough, well
levelled, dry, smooth, robust, and stable.
Furthermore the machine must be placed in an environment with maximum humidity of 75%, salt-free and with a temperature between +5°C and +35°C; in any
case in environments that do not bring about malfunctions.
4.2 - SINGLE-PHASE ELECTRICAL CONNECTION
The machine is outfitted with a feeding cable with a 3x0.75 mm² section; the
length is 1.5 m and it has a “SHUKO” plug.
Connect the machine at 230 Volt 50 Hz, placing a magnetothermic differential
switch from 10A, ∆ I = 0.03A. At this point make sure the grounding system
wois in perfect working condition.
Furthermore check that the data shown on the technical-serial plate (FIG.n°4)
corresponds with the data on the delivery documents.
FIG. n°4 - Technical-serial plate
 Loading...