

Page 1
BCD70
Condenser Dryer
Page 2
USER MANUAL FOR YOUR BAUMATIC
BCD70
60 cm 7 kg
Condenser Dryer
NOTE: This User Instruction Manual contains important
information, including safety & installation points, which will
enable you to get the most out of your appliance. Please keep it
in a safe place so that it is easily available for future reference; for
you or any person not familiar with the operation of the appliance.
GS 05/04/11
2
Page 3

3
Page 4

Contents
Environmental note 5
Important safety information 6 – 8
Specifications 9 – 11
Product dimensions 9
Product specifications 9
Description of the appliance 10
Control panel 11
Preparing the drying cycle 12 - 14
Preparing your garments for drying 12 - 13
Program tables 13 - 14
Drying programme guidance 15 – 16
The moisture sensor 15
The drum light 15
Consumption values 15
Child safety lock 15 - 16
Selecting a drying programme 16 - 17
The ANTI-CREASE option 16
The GENTLE option 17
Additional drying time adjustment option 17
The delay start 17
Maintenance and cleaning 18 – 20
Control panel and machine cabinet 18
The lint filter 18
The container drawer 18
The dryer drum 19
Door 19
Cleaning the wash air condenser 19 - 20
Installation 20 – 21
Locating your condenser dryer 20 - 21
Power supply 21
Before first use maintenance cycle 21 - 22
Error code failure system 22 - 23
General troubleshooting 23
Contact details 24
4
Page 5
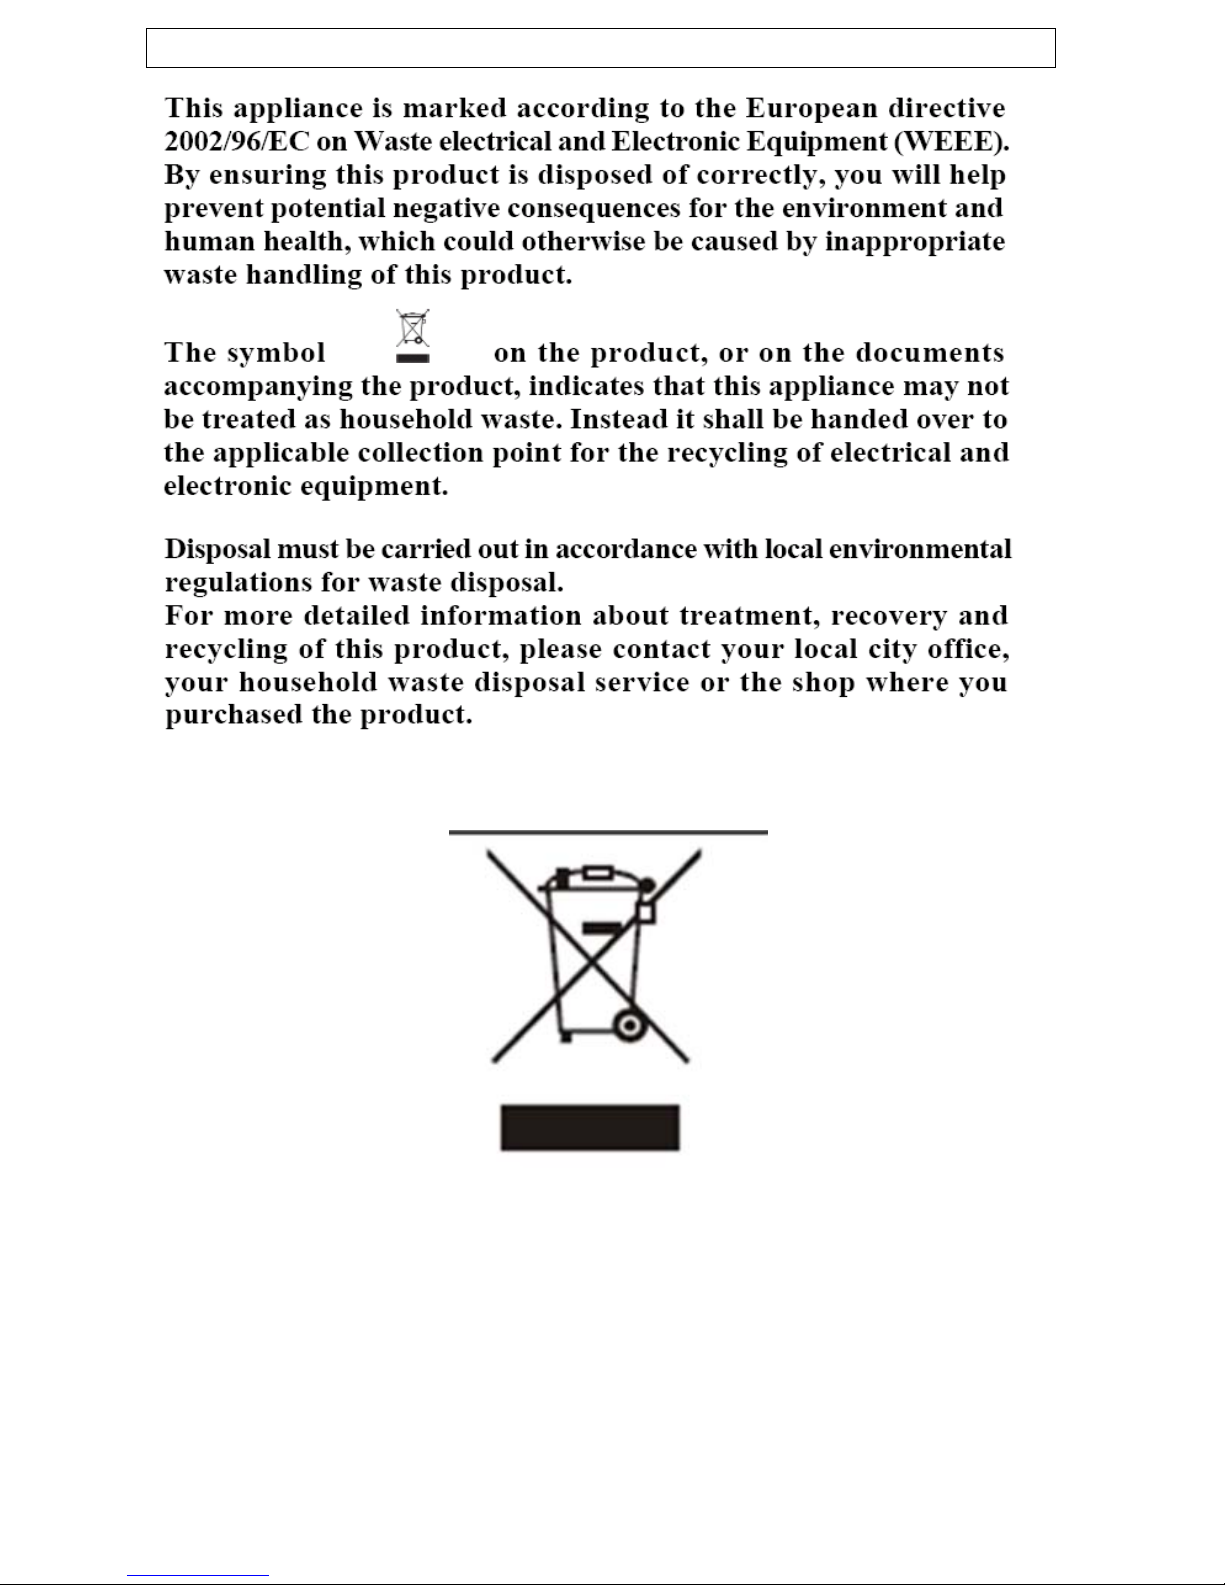
Environmental Concerns
To help look after the environment and save energy, we recommend
that you follow some of the following helpful suggestions:
o Only dry full loads of washing.
o Make sure you select the correct drying program to ensure that
you are not consuming incorrect levels of energy.
o Regular maintenance of appliance i.e. cleaning filters will
regulate the electricity consumption.
5
Page 6

Important safety information
Your safety is of the utmost importance to
Baumatic. Please make sure that you read this
instruction booklet before attempting to install or
use the appliance. We recommend that you keep
this instruction book for future reference and pass
it on to any future owners. If you are unsure of any
of the information contained in this booklet, please
contact the Customer Care Department on 1800 444 357.
General Safety
o Repairs to your appliance must only be carried out by an
authorised service agent. Any attempt by an inexperienced
person to repair the appliance, could result in injury or damage
to your condenser dryer.
o If you notice that the mains cable is damaged. The appliance
must not be used. The same applies if you notice that the
worktop, control panel or base area is damaged. As this could
allow access to the internal components of the machine.
o The appliance should be turned off and isolated from the mains
supply, before either cleaning or maintenance work is attempted.
o The mains cable must not be used to pull the plug out of the
electrical socket.
o The machine should not be sprayed with water.
o The glass of the porthole door may become hot during a drying
program.
o The machine should be allowed to cool before removing the lint
filter.
o It is possible for small animals to chew either the mains cable or
water hoses, which could cause an electric shock hazard.
Installation
o This appliance is heavy so care should be taken when moving it.
o Care must be taken to make sure that the appliance does not
stand on the electrical supply cable.
6
Page 7

o The installation instructions contained within this user manual
should be followed.
o It is obligatory for the completed installation to comply with all
relevant building regulations and local water authority
requirements.
During Use
o It is recommended that the appliance is unplugged after the
machine is used.
o This appliance is only designed to dry normal domestic
washloads. If you use your condenser dryer in any other way or
it is incorrectly used, then Baumatic accepts no liability for any
damage that might be caused and any guarantee will be void.
o No attempt should be made to alter or modify the specifications
of this appliance.
o You should not dry garments that have been in contact with
flammable materials (e.g. petrol, methylated spirits, dry cleaning
fluid etc…).
o Oil-affected items can ignite spontaneously, especially when
exposed to heat sources such as in condenser dryers. Fabrics
that contain vegetable or cooking oil should be washed in hot
water with an extra amount of detergent before being dried in
the condenser dryer.
o Your condenser dryer should not be used for dry cleaning.
o Only dry fabrics which have been designed to be machine dried.
Follow the instructions on each garment.
o Do not dry unwashed items in the condenser dryer.
o Clothes which are soaking wet should not be placed in the dryer.
o Fabric softeners or similar products should be used as specified
by the fabric softener instructions.
o If you use either dyes or bleaching agents inside this machine,
then you should consult with the manufacturer of these products
to make sure they are suitable for use in your machine.
Baumatic cannot be held responsible for any damage that may
result.
7
Page 8

o If you have washed your laundry with stain remover you must
execute an extra rinse before loading your condenser dryer.
Never stop a condenser dryer before the end of
the drying cycle unless all items are quickly
removed and spread out so that the heat is
dissipated.
Child Safety
o Your condenser dryer should only be used by adults. You should
not allow children in the area of the machine unsupervised. You
should not let them touch the controls or play with the appliance.
o It could be possible for a child or pet to gain access to the
tumble dryer through the porthole door. Therefore please check
the drum before using the appliance.
o Any packaging that is removed from the machine should be kept
away from children.
o Keep all detergents in a safe place out of children’s reach.
8
Page 9

Specifications
Product dimensions
Height: 855 mm
Width: 595 mm
Depth: 565 mm / 1030 mm (door open)
Product specifications
o Energy efficiency class: B
o 11 drying programmes
o 7 kg dry load capacity
o 112 litre drum size
o 350 mm porthole diameter
o 180° door opening
o LED display
o Delay start
o Failure detection system
o Moisture sensor
o Safety lock
o Drying time selector
o Removable lint filter
o Anti-crease function
o Adjustable feet
9
Page 10

For future reference please record the following information which can
be found on the rating plate and the date of purchase which can be
found on your sales invoice. The rating plate for your condenser dryer
will be located behind the porthole door.
Model Number ……………………………….
Serial Number ……………………………….
Date of Purchase ……………………………….
Description of the appliance
10
Page 11

Control panel
1) START / PAUSE button
2) Drying programme selector knob
3) GENTLE programme option button
4) ANTI-CREASE programme option button
5) Empty container indicator
6) Delay start / light control button
7) Programme status indicator
8) Clean filter indicator
9) Time adjustment buttons
10) Delay time or time remaining display
11) Safety lock indicator
11
Page 12

Preparing the drying cycle
Preparing your garments for drying
o For optimum drying performance, sort the laundry according to
fabric type, drying programme and the wash care symbol that is
printed on the garment’s wash care label.
o Before drying, thoroughly spin the laundry in a washing machine
if possible to reduce the drying time and save energy.
o Check all pockets on a garment to make sure that they are
empty.
o Remove any detachable metal items (badges,
paperclips, safety pins etc).
o Zips should be closed, duvet covers and
pillow cases should be buttoned up and any loose straps should
be tied up. This will help to prevent other garments from getting
damaged during the drying cycle.
o Do not dry the clothes for longer than necessary to avoid creases
or shrinkage.
o DO NOT dry items containing rubber or similar elastic materials,
raincoats, bicycle covers or feather products.
o DO NOT dry clothes which have been dry-cleaned.
o In order to avoid danger of fire caused by excessive drying, DO
NOT use the appliance to dry items such as cushions and quilts
as these items accumulate heat.
o Ensure the lint filter and container are emptied and cleaned after
each use to avoid the extension of drying time and energy use.
Page 13

Program tables
General clothing:
Programme
Cotton
Synthetics
o Do not exceed the maximum load capacity or the machine will
fail to dry the clothes efficiently. You should refer to the program
tables for the maximum load size for each program and the
weight references below before starting a cycle. Please note that
all weights are approximate.
For cottons and coloured made of cotton or linen.
Light
Standard
Iron
Extra
For non-iron washing made of synthetic and blended fabrics, cotton.
Light
Standard
Extra
MAX
weight
7.0 kg
3.5 kg
T-
Shirt
Shirts
Trousers* Skirts/
dresses
Sports-
wear
Work
clothes
Anoraks
13
Page 14

Programme
Cotton
ther clothing:
O
For cottons and colo of cotton or ured made linen.
Light
Standard
MAX
weight
7.0 kg
Toweling
bathrobe
Under-
wear
Socks
Bed
linen linen Towels*
Table Terry
Tea
Towels/
Hand
towels
Iron
Extra
Synthetics
Delicate 3.0 kg For machine-washable woollen textiles. Textiles are fluffier, but not
Quick 3.0 kg For washing which is to be dried quickly e.g. made of acrylic fibres or
Wa
(40min/20 n
For non-iron wa hing ade of synt an rics, c tton. s m hetic d blended fab o
Light
Standard
Extra
mi ) small items.
3.5 kg
3.0 kg For the timer programme, delicate textiles made of acrylic fibres or rm / Cool
dried. Remove and hang up textiles when the programme ends.
for individual small items. Also for subsequent drying.
* Some jeans and large towels are difficult to dry due to the
absorbent nature of the materials. If you find they are still wet
after a drying programme, you should use the WARM
rogramme to dry them again. p
14
Page 15

rying programme guidance D
The moisture sensor
o This feature senses the moisture content of the clothes and will
automatically adjust the time of the drying programme
accordingly to ensure optimum performance and energy usage.
o The moisture sensor will automatically activate durin
cycle except on the WARM and COOL programmes.
The drum light
o For your convenience, the condenser dryer features a drum l
to help you to see clearly when
you open the machine door.
o The drum light can also be activated by pressing the
light control button (6) during the drying program
Press the button again to turn the light back off.
Consumption values
o The values shown in the table below are approximate and
determine
d under normal conditions. Fluctuations up to 10% are
possible.
Programme Weight
(kg)
Residual
humidity
(approx)
Drying time
(mins, with
10min
cooling
time)
Cotton
(standard)
Cotton
(iron)
7.0
50% 135 3.7
60% 155 4.3
70% 175 5.0
50% 125 3.6
60% 145 3.8
70% 50 4.2
1
40% 60 1.2 Synthetics 3.5
50% 70 1.6
Child safety lock
o The condenser dryer has a safety lock
feature which can prevent accidental
operation of buttons by children.
o To activate the safety lock, press the delay start/light
control button and the ANTI-CREASE option button
g the drying
Energy
consumption
(kWh)
ight
me.
15
Page 16

simultaneously for about 3 seconds. The child lock icon wi
ll light
on the display and all buttons will be inoperable.
o Repeat this procedure to deactivate the safety lock. The child
lock icon will disa
ppear from the display and the buttons will be
operable again.
Selecting a drying programme
o Load the clothes to be dried
into the condenser dryer drum
and close the door.
o Rotate the drying programme
selector knob (2) to set the
required program. You should
refer to the Program tables to
select the appropriate
programme for the clothes you
are drying.
o If you wish to add a programme option,
CREASE then press the relevant button.
o Press the START/PAUSE button (1) to begin the drying
cycle. The programme
status indicator (7) will show the
drying cycle progress.
o At the end of the drying programme a buzzer will sound.
You should rotate the programme selector knob (2) to the OFF
position and un
plug the appliance before removing your laundry
from the drum.
o The lint filter should be
cleaned and the container drawer emptied
after each programme.
The ANTI-CREASE option
o This function can be used to minimize creasing when
drying sensitive tex
intermittently rotate during the cycle.
o When this option is selected, the anti-crease LED w
the ANTI-CREASE programme option button (4).
such as GENTLE or ANTI-
tiles. The drum will
ill light above
16
Page 17

The GENTLE option
o This function is ideal for sensitive textiles as it lowers
the dr
ying temperature to protect the items from high
heat.
o When this option is selected, the gentle
LED will light above the
GENTLE programme option button (3).
dditional drying time adjustment option
A
o This function allows you to set the length
of drying time. The time can be adjusted
from 20 to 40 minutes using the time
adjustment buttons (9) before yo
u press
the START/PAUSE button (1) to begin the drying cycle.
o Adjusting the drying time is useful for a drying load of a few
small items such as a face cloth or two pairs of socks. Th
feature is only available on the WARM and COOL programmes.
he delay start option
T
o It is possibl
e to delay the start of the drying programme by up to
24 hours.
o Once you have loaded your laundry into the drum and
selected the required drying programme, including any
programme options, instead of pressing the
STAR
T/PAUSE button (1) press the delay start button
(6).
o Each press of this button will delay the start of the programme
by 1 hour. When the display shows the correct delay time, press
the START/PAUSE button (1) and
the display will show the when
the programme is due to begin.
o Once this time is reached,
the machine will begin the drying
programme automatically.
is
17
Page 18

aintenance and cleaning M
IMPORTANT: The appliance should be disconnected from the
power supply and allowed to cool before commencing any
cleaning process.
Control panel and machine cabinet.
IMPORTANT: Do not use any abrasive
cleaner or household polish on
control panel or operating parts.
o Wipe over the control panel and the
external surface of the machine using a
brand
new damp cloth with warm
water.
The lint filter
o The fluff and debris which accumulates on the filter will block the
air circulation which will cause the drying time and energy
consumption to increase
. Therefore the lint filter should be
cleaned after each use.
o To remove the filter, open the condenser dryer door and locate
the filter at the base o
f the porthole opening. Pull the filter
upwards to take it out.
o Clean the lint filter by wiping
which have accumul
ated on it.
off the scrap threads and fluff
o Reinstall the filter.
o IMPORTANT: NEVER op
the lint filter in place.
erate the condenser dryer without
The container drawer
o As this appliance is a condenser
dryer, some water will be
utilised during the drying process.
o This water will be collected in the container drawer next to the
control panel. It should be emptied and cleaned after each use.
o To remove the container drawer pull it gently away from the
machine. Extra care should be taken to avoid any water spillag
as up to 5 lit
res of water can be held in the container drawer.
either the
e
18
Page 19

he dryer drum
T
The drum of your condenser dryer is constructed from stainless steel.
However if there are objects that can rust plac
ed inside the drum, then
it is possible for the drum to become stained.
IMPORTANT: Do not use a descaling agent, iro
couring agents to clean the drum of your appliance.
s
n/steel wool or
o Remove any rust stains on
the drum with an appropriate
stainless steel cleaning agent.
oor
D
o You should regularly check to see if any deposits have formed,
or there are any foreign bodies inside or underneath the rubb
door gasket. This sits inside the opening of the porthole door.
leaning the wash air condenser
C
o Before carrying out this cleaning process, it is recommended to
place an absorbent c
loth under the maintenance flap as residual
water may escape.
o Open the maintenance flap by
carefully pulling it downwards. Make
sure it is
opened completely for easy
access.
o Screw both the locking levers towards
each other
to release the air
condenser.
er
o Reinsert the air condenser with the handle at the
Unscrew both the locking levers away from each other.
o Flush out the air condenser, clean and
drain thoroughly
. You should also
clean the seals.
bottom.
19
Page 20

o Close the maintenance flap until it
locks into position.
o The air condenser should be cleaned
frequently if the appliance is used
regularly.
o IMPORTANT: DO NOT clean the air condenser with hard or
sharp-edged objects. Only warm water should be used to
clean it.
o IMPORTANT: DO NOT operate the condenser dryer
without the air condenser in place.
o IMPORTANT: During the drying programme water may
collect between the door window and the seal but this
does not affect the performance of the dryer and does not
indicate a fault.
Installation
IMPORTANT: THIS INSTALLATION MUST BE
COMPLETED BY A SUITABLY QUALIFIED PERSON.
BAUMATIC ONLY SANCTION THE INSTALLATION
GIVEN IN THIS INSTRUCTION MANUAL. YOU
SHOULD KEEP THE TRANSIT PACKAGING, IN CASE
YOU NEED TO TRANSPORT THE MACHINE IN THE
FUTURE.
Locating your condenser dryer
o Before commencing installation, check the location where you
intend to install the appliance. You should make sure that you
have everything in place that is necessary for the correct
installation.
o Do not place or store your condenser dryer in a location where
the ambient temperature could fall below 0°C, otherwise the
water used in it could freeze up.
o Never place or store laundry products on top of the appliance.
o Install the dryer on a flat, solid floor. If the appliance is installed
on an uneven or suspended floor, it could cause excessive noise
and severe vibration, which may result in the malfunction of the
appliance.
o You should also level off the condenser dryer, using the
adjustable feet on the base of the appliance.
20
Page 21

o If the machine is situated on a carpeted floor, please adjust the
feet in order to allow air to circulate freely.
o There should be a gap of 2 cm either side of the condenser
dryer; a 10 cm gap should be left behind the appliance.
Power supply
o IMPORTANT: The electrical socket must still be accessible
once the appliance is installed.
o Consult the rating plate, located on the machine BEFORE
making the electrical connections. Ensure that the voltage
reaching the plug is the same as that on the rating plate.
o DO NOT REMOVE THE RATING PLATE AS THE
INFORMATION ON IT IS IMPORTANT.
o The moulded plug that is supplied with the appliance must be
placed into an earthed and insulated socket.
o Broken or damaged power leads must only be replaced by a
suitably qualified person. A power lead of a similar type must be
used in replacement.
o IMPORTANT: We do not recommend that this appliance is
connected to an extension lead.
Before first use maintenance cycle
o When your condenser dryer has been correctly installed, we
recommend that you perform a maintenance drying cycle, with only
clean rags being placed inside of the drum.
o This will check that all aspects of the installation are correct; it will
also remove any deposits that may have been left on the drum by
the manufacturing process.
o Select a QUICK drying programme.
21
Page 22

o After the programme has finished, please follow the Maintenance
and Cleaning instructions to clean the appliance, lint filter and air
condenser.
Error code failure system
If your appliance senses that it is not operating correctly, then an error
code may appear on the LED display.
BEFORE COMPLETING ANY MAINTAINEANCE ON THE
APPLIANCE, IT SHOULD BE DISCONNECTED FROM YOUR
POWER SUPPLY.
Error
code
Flashing
Flashing
E30 o Heater issue. o Check the heater and
E32 o Humidity sensor error. o Check humidity sensor and
E33 o Temperature sensor error. o Check the front
E34 o Temperature sensor error. o Check the rear temperature
E60 o Motor error. o Check the motor and the
Possible causes Solutions
o Container drawer is full of
water.
o Pump error.
o Lint filt er is full and blocking
the air flow.
o Empty and clean the
container drawer.
o Check the pump.
o Empty and clean the lint
filter.
thermostat.
o Call the Serv ice
Department for assistance.
PCB.
o Call the Serv ice
Department for assistance.
temperature sensor.
o Call the Serv ice
Department for assistance.
sensor.
o Call the Serv ice
Department for assistance.
PCB.
o Call the Serv ice
Department for assistance.
If a fault code reappears after following the above
advice and clearing the fault code. You should
disconnect the appliance from your mains supply.
Then arrange for an engineer to attend the
appliance. You should contact the Service
Department on 1800 444 357.
22
Page 23

IF AN ENGINEER ATTENDS DURING THE GUARANTEE
PERIOD AND FINDS THAT A FAULT HAS BEEN CAUSED
BY AN ITEM ON THE ERROR CODE LIST, WHICH COULD
HAVE BEEN CLEARED BY THE CUSTOMER. THEN YOU
MAY BE LIABLE FOR THE COST OF THE SERVICE CALL.
General troubleshooting
Problem Possible solutions
The display does not come on. o Check the plug is inserted correctly to
connect to the electricity supply.
o Check the correct programme has been
selected.
o Check the fuse in the house has not
blown.
The dryer does not start. o Check that the START/PAUSE button
has been pressed.
o Check the door is closed properly.
o Check the programme has been set
correctly.
Water is escaping from the drum. o Check that the dryer is level and adjust
the feet if necessary.
o Clean the air condenser and door seals.
The door opens by itself. o Press the door closed until it clicks into
position.
o Check the clothes do not exceed the
load capacity and fit easily into the
drum.
Humidity in the room has increased
significantly.
Clothes are not dried sufficiently or
the drying time was too long.
o Ensure the room is ventilated
adequately.
o Clean the cool grille.
o Ensure that the air condenser has been
inserted.
o Clean the lint filter and air condenser.
o Empty the container drawer.
o Check the water outlet.
o The positioning of the dryer may be too
restrictive.
o Clean the moisture sensors.
o Use a more intense drying programme
or adjust the time of drying.
23
Page 24

Think Appliances Pty Ltd.
416-424 Barry Rd, Coolaroo,
Victoria, Australia 3048
Sales Telephone
1300 132 824
Service Telephone
1800 444 357
Website
www.thinkappliances.com
Applico Ltd.
P.O. 92900
Onehunga, Auckland,
New Zealand 1061
Website
www.applico.nz
United Kingdom
Baumatic Ltd.,
Baumatic Buildings,
6 Bennet Road,
Reading, Berkshire
RG2 0QX
United Kingdom
Sales Telephone
(0118) 933 6900
Website:
www.baumatic.co.uk
24
Page 25

25
Page 26

26
Page 27

27
Page 28

2
 Loading...