

Page 1

ELECTRIC SINGLE
OVENS
USER AND INSTALLATION
INSTRUCTIONS
All manuals and user guides at all-guides.com
all-guides.com
Page 2

For future reference please record the followin g information
which be found on the Rating Plate and the date of purchase
which can be found in the invoice:
Model Number…………………….
Serial Number…………………….
Date of Purchase…………………….
All manuals and user guides at all-guides.com
Page 3
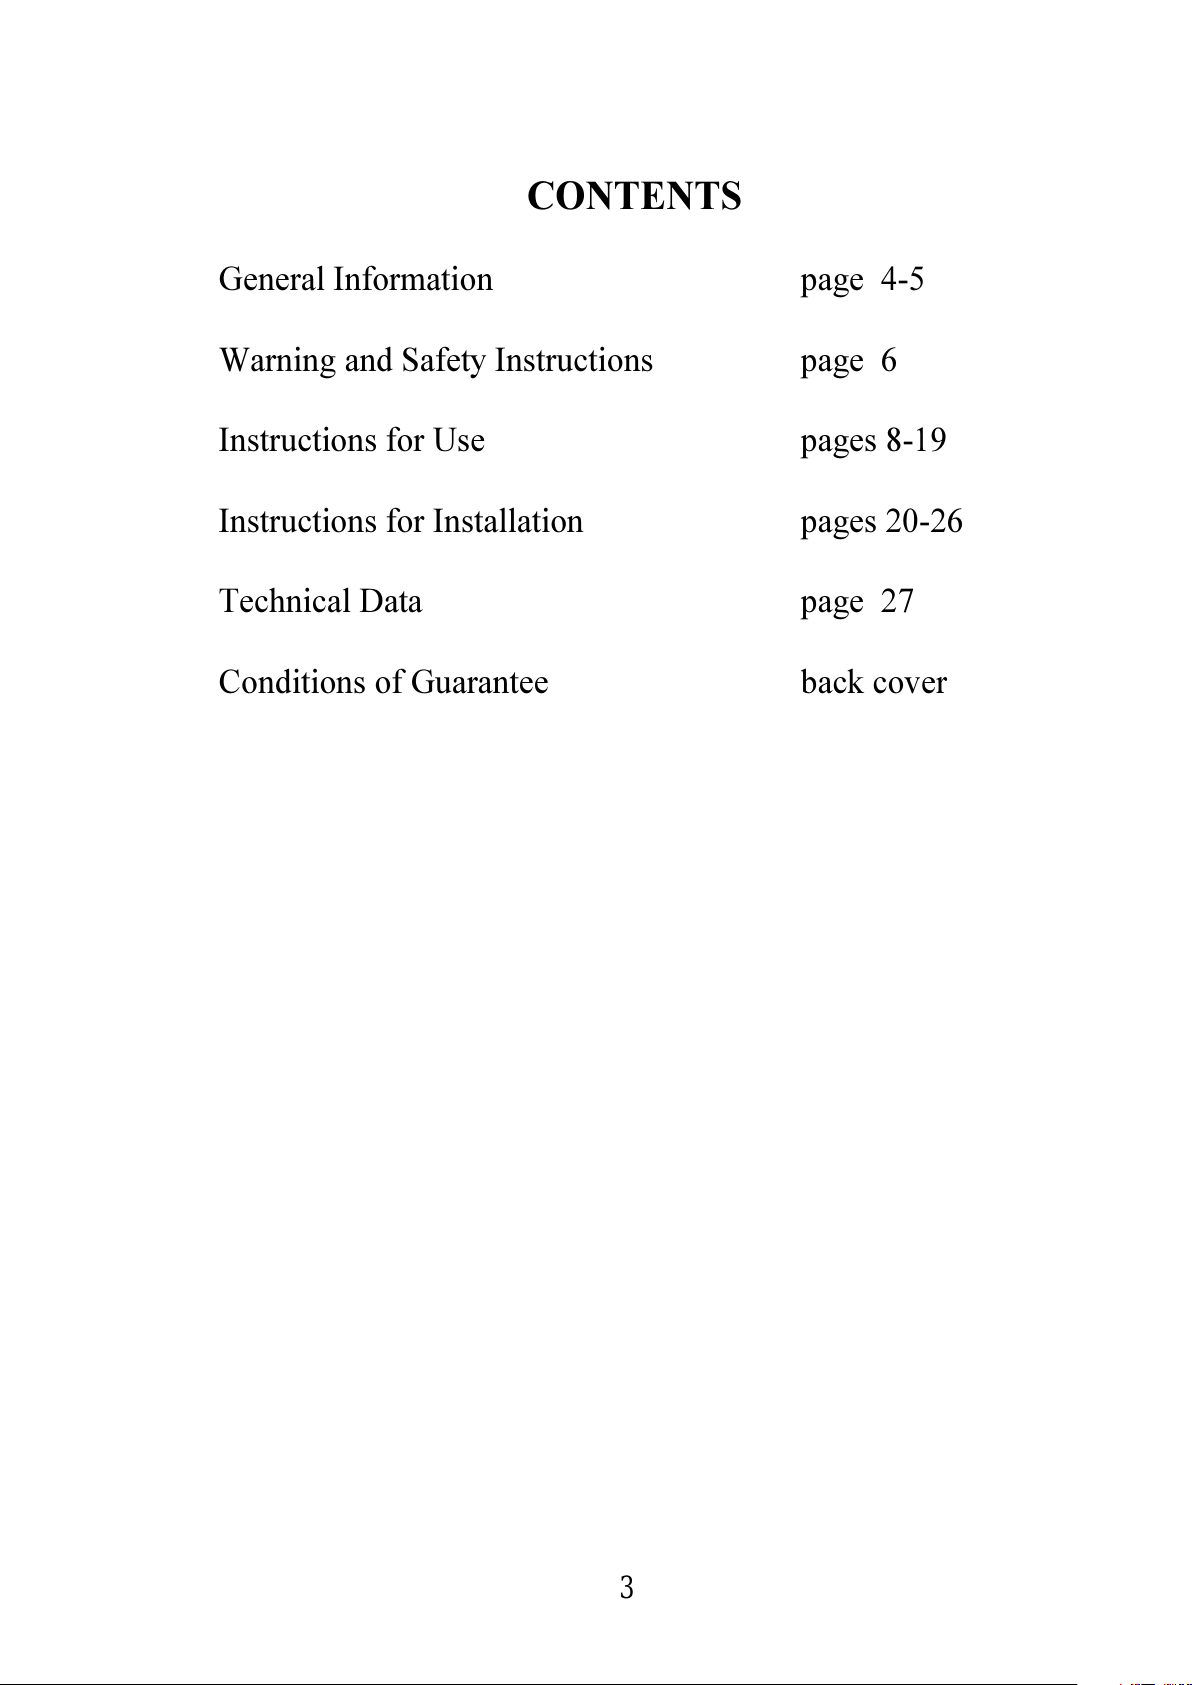
CONTENTS
General Information page 4-5
Warning and Safety Instructions page 6
Instructions for Use pages 8-19
Instructions for Installation pages 20-26
Technical Data page 27
Conditions of Guarantee back cover
3
All manuals and user guides at all-guides.com
Page 4

GENERAL INFORMATION
Please read this booklet thoroughly before you use this appliance.
It is important that you understand all the control functions before
commencing to cook with your Baumatic appliance.
Please remember the advice and warnings shown on page 6 which
is headed ‘IMPORTANT – Warning and Safety Instructions’.
This appliance is designed for domestic household use and can be
built into a standard kitchen cabinet or housing unit.
NOTE: The adjacent furniture or the housing and all materials used
in the installation must be able to withstand a minimum
temperature rise of 85°C above ambient during periods of use.
Certain types of vinyl or laminate kitchen furniture are particularly
prone to heat damage or discolouration at temperatures below the
above guidelines.
Installing the appliance in contravention of this temperature limit
or the placing of adjacent cabinet materials closer than 4mm to the
appliance, will be at the liability of the owner.
For use in Leisure Accommodation Vehicles, notice must be taken
of the appropriate statement in the Installation Instructions.
The use for any other purpose or in any other environment without
the express agreement of Baumatic Ltd, would invalidate any
warranty or liability claim
Your new appliance is guaranteed against electrical or mechanical
defects subject to certain exclusions noted in Baumatic Ltd
Conditions of Guarantee.
The aforegoing does not aff ect your statutory rights.
The Warranty applies to Great Britain and Northern Ireland only.
4
All manuals and user guides at all-guides.com
Page 5
In the event that you require any After Sales Service or advice,
please contact the Baumatic Service Department on telephone
number – 0118 933 6911.
Before using this appliance ensure that any protective packaging or
coatings have been removed. To aid the protection of the
environment, please sort the packing materials into different types
and dispose of them in accordance with the local waste disposal
laws.
Any further information on waste disposal can be obtained from
your local Environmental Agency office.
When first used, an odour may be emitted by any residual
protective finish or moisture, which will cease after a short period
of time.
This Appliance has been Constructed and Distributed in
compliance with the essential requirements of the following EEC
DIRECTIVES and EUROPEAN NORMS:-
CE Marking – 93/68 Low Voltage – 73/23 EMC – 89/336
Safety Standards – EN 60 335-1, E N 60 335 – 2 – 6.
As B aumatic have a policy of continued product improvement, the
right is reserved to adjust and make any modifications deemed
necessary without notification.
5
All manuals and user guides at all-guides.com
Page 6
IMPORTANT NOTE – WARNING and SAFETY
INSTRUCTIONS
This appliance complies with all current European safety
legislation, however Baumatic do wish to emphasise that
compliance does not remove the fact that the appliance surfaces
will become hot during use and retain heat after operation.
Baumatic therefore strongly advise that babies and young children
are prevented from being near or touching the appliance at any
time.
If it is necessary for younger family members to be in the kitchen,
please ensure that they are kept under close supervision at all
times.
We also advise that great care is taken during use and cleaning
operations.
Do not place heavy objects on or lean on the oven door when open
as this can cause damage to the hinging.
Do not leave heated oil or fat unattended as there is a risk of fire.
Do not place pans or baking trays on the bottom of oven cavities or
line with Aluminium Foil.
Do not allow electrical fittings or cables to be in contact with hot
areas of the appliance.
Do not use the appliance for space heating or to dry clothes.
Do not install the appliance next to curtains or soft furnishings.
Do not attempt to lift or move cooking appliances by pulling on
any door or handle as this can cause damage.
6
All manuals and user guides at all-guides.com
all-guides.com
Page 7
NOTE: This appliance must be correctly installed by a suitably
qualified person, strictly in accordance with the
manufacturer’s instructions.
For electrical installations, NICEIC registration is
recommended.
Baumatic Ltd declines any responsibility for injury or damage
to p ersons or property as a result of improper use or
installation of this appliance.
Heat, steam and moisture will be created during use, take care
to avoid injury and ensure that the room is adequately
ventilated. If prolonged use occurs, additional ventilation may
be required – please consult your Qualified Installer if you are
in any doubt about the amount required.
7
All manuals and user guides at all-guides.com
Page 8
USER INSTRUCTIONS
INSTRUCTIONS FOR USE
These User Instructions should be retained for future reference and
for use by a person who is perhaps unfamiliar with the appliance.
The following models are covered by these instructions:
B99 B484
B150 B897
USING THE OVEN
The oven is controlled thermostatically between 50°C and 2 30°C
(models B99, B 150 ) or 250°C (all other models) depending on the
temperature required. T he thermostat pilot light switches ON and
OFF to indicate temperature control during periods of operation.
The mode of cooking desired is selected by using the multifunction
control knob. The functions that can be selected are as follows:
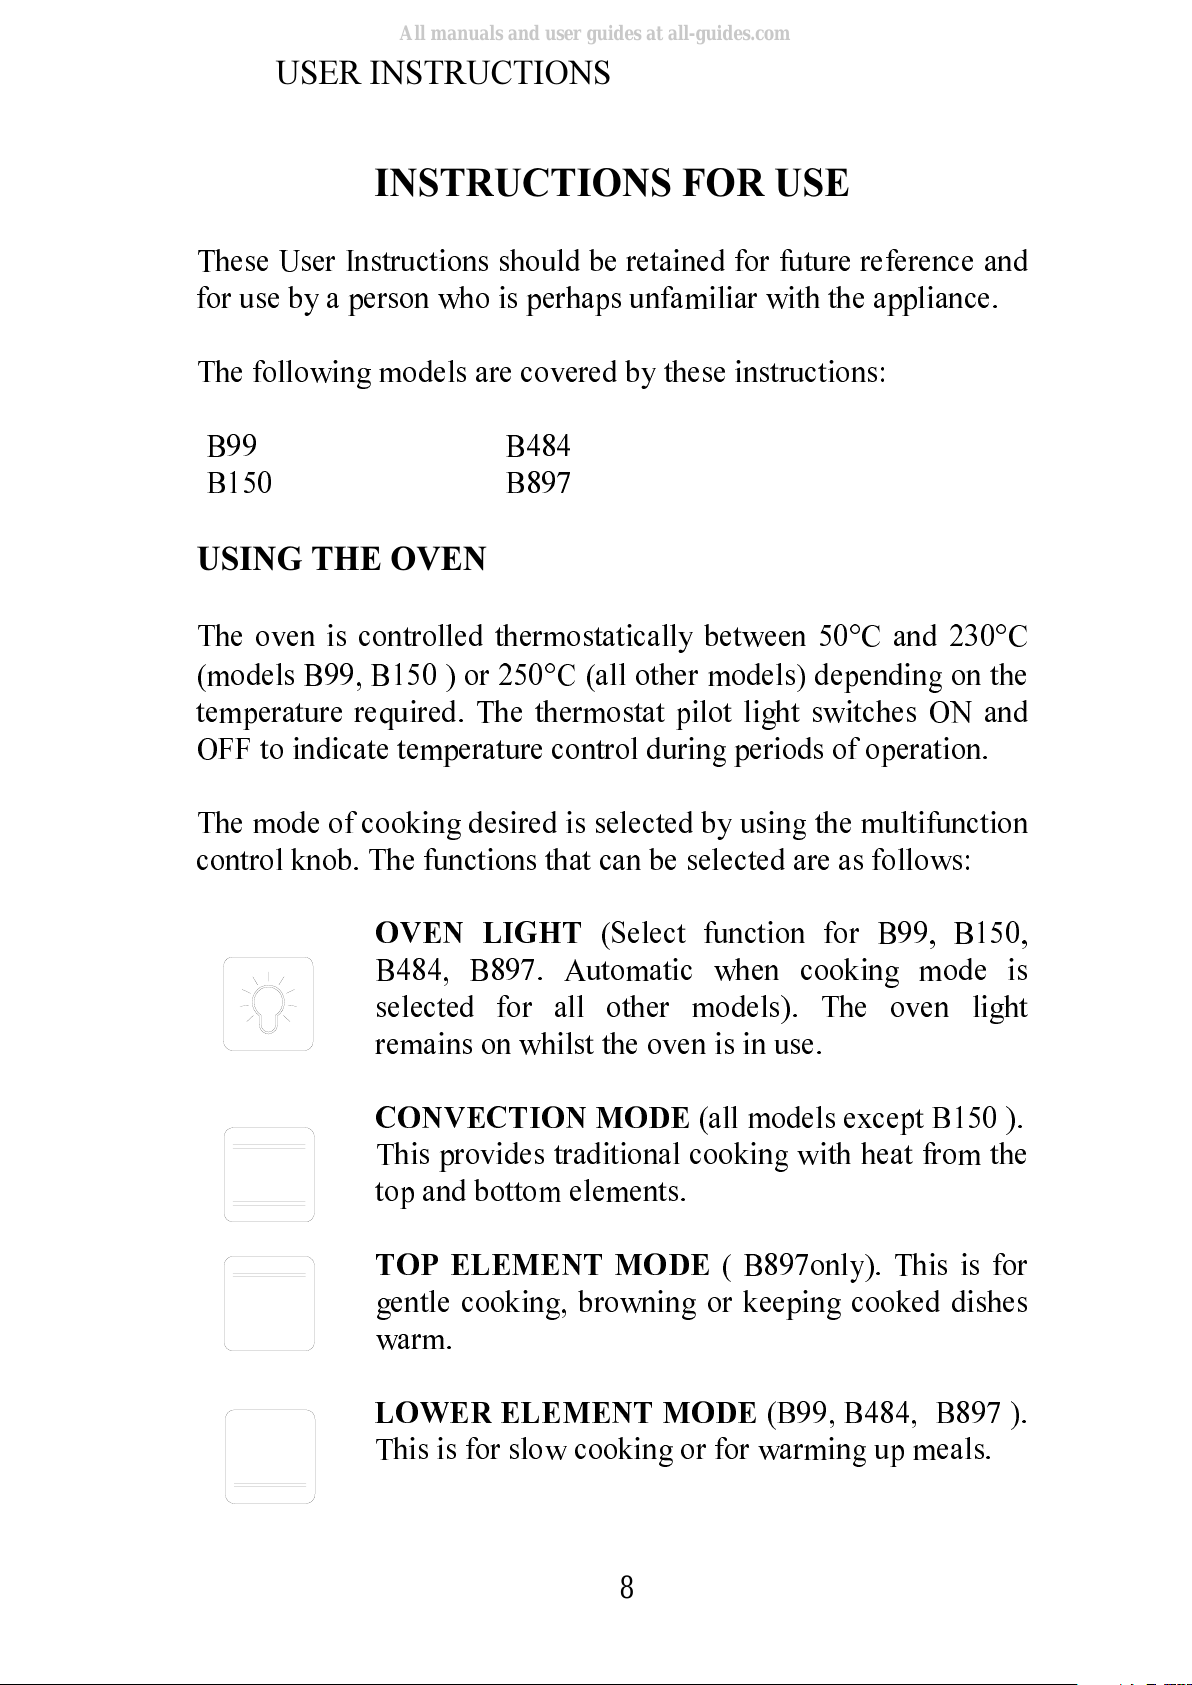
OVEN LIGHT
(Select function for B99, B150,
B484, B897. Automatic when cooking mode is
selected for all other models). The oven light
remains on whilst the oven is in use.
CONVECTION MODE
(all models except B150 ).
This provides traditional cooking with heat from the
top and bottom elements.
TOP ELEMENT MODE
( B897only). This is for
gentle cooking, browning or keeping cooked dishes
warm.
LOWER ELEMENT MODE
(B99, B484, B897 ).
This is for slow cooking or for warming up meals.
8
All manuals and user guides at all-guides.com
Page 9

USER INSTRUCTIONS
FAN OVEN MODE
(all models except B99 ). This
provides even heating with the fan and allows
different dishes to be cooked on different levels at
the same time.
FAN ASSIST MODE 1
(all models except B99,
B150 ). This provides semi-convection heating with
lower element for delicate dishes.
FAN ASSIST MODE 2
(all models except B99,
B150). This provides convection heating with upper
and lower elements for even cooking.
GRILL MODE
(all models except B897).
Select the required temperature by turning the
thermostat regulator clockwise.
GRILL PLUS ROTISSERIE MODE
(B897
only).Select the required temperature by turning the
thermostat regulator clockwise. When the rotisserie
accessory is in serted, this function will operate the
rotisserie as well as the grill.
FAN ASSISTED GRILL MODE
(B484 only).
This provides quick browning to seal juices in the
food.
9
All manuals and user guides at all-guides.com
Page 10

USER INSTRUCTIONS
FAN ASSISTED GRILL PLUS ROTISSERIE
MODE
(B897 only). This provides quick browning
to seal juices in the food. When the rotisserie
accessory is in serted, this function will operate the
rotisserie as well as the grill and fan.
DEFROST MODE
(all models except B99 ). The
fan runs without heat to reduce the defrost time for
frozen food.
OVEN SELF-CLEAN MODE
(B484 only).
Turn the selector knob to this function which can
only be set v ia the timer, the cleaning cycle can be
from 1.5 to 3 hours. See page 11 for further details.
WARNING
· Keep the oven door closed when using the GR ILL.
· Do not use aluminium foil to cover the grill pan or heat items
wrapped in aluminium foil under the grill – the high
reflectivity of the foil can damage the grill element.
HELPFUL HINTS
· Before cooking, check that any unused accessories are
removed from the oven.
· Preheat the oven at cooking temperature before use.
· Place cooking trays in the centre of the oven and allow gaps
when using more than one tray for air to circulate.
· Try to open the door as little as possible to view food (the oven
light remains on during cooking).
· Be careful when opening the door to avoid contact with hot
parts and steam.
10
All manuals and user guides at all-guides.com
Page 11

USER INSTRUCTIONS
COOKING GUIDELINES
Please refer to the information on food packaging for guidance on
cooking temperatures and times. Once familiar with the
performance of your appliance, the temperatures and times can be
varied to suit personal preferences.
Make sure that frozen foods are thoroughly thawed before
cooking, unless instructed otherwise.
USING THE 6 BUTTON ELECTRON
Description of button functions:
1. Minute Minder
2. Cooking on auto-function
(duration)
3. End of cooking time (end
time)
4. Manual operation
5. Reducing numbers in all
programs
6. Increasing numbers in all
programs
(please note the buttons have been numbered for illustration only)
The timer only operates when the appliance is connected to the
electricity supply.
1) TIME OF DAY AND MANUAL MODE
To set the time of day, press and release the ‘manual’ button
(any previousl y entered setting will be cancelled).
By pressing b uttons + or – (numbers 5 or 6 in the illustration)
the time setting can be adjusted. When the required time has
11
1
2
3
4
5
6
AUTO
PROGRAM
(INDICATOR)
MANUAL AND DURATION
MODE INDICATOR (POT SYMBOL)
MINUTE
MINDER
(B ELL SYM BOL)
All manuals and user guides at all-guides.com
all-guides.com
Page 12

USER INSTRUCTIONS
been selected, release all buttons. There is a 5-second
acceptance delay during which no button should be touched.
The ‘pot’ symbol will be illuminated indicating Manual
cooking mode is available. To the oven to manual mode
at any chosen time, simply press and release the ‘manual’
button (4). This will cancel any previously entered programs.
2) COOKING DURATION MODE:
Set the oven to the required temperature and briefly p ress the
‘duration’ button (2). Set the required cooking duration time
using the + or – buttons. The ‘pot’ symbol will remain
illuminated and ‘AUTO’ will appear in the display. The timer
will revert to time mode after 5 seconds. At the end of the
selected duration time, the oven will switch OFF and an
audible signal will be emitted, ‘AUTO’ will flash and the ‘pot’
symbol will be extinguished. To cancel the alarm mode audible
signal, briefly press the ‘manual’ button (4). As the oven is
now set for manual operation, ensure the oven controls are in
the OFF position.
3) COOK END MODE:
For the cooking end mode, set the oven to the desired
temperature and briefly press the ‘end time’ button (3).
Set the required cooking end time using the + or – buttons.
‘AUTO’ will appear in the display. The time will revert to time
mode after 5 seconds. When the time of day equals the cooking
end time, the oven will switch OFF and an audible signal will
be emitted. Cancelling the alarm is as above, ensure the oven
controls are in the OFF position.
4) FUL LY AUTOMATIC COOKING MODE: Set the oven to
the desired temperature and briefly press ‘duration’ button
(2).Set the required cooking duration time with the + or -
buttons and ‘AUTO’ will appear in the display.
12
turn
All manuals and user guides at all-guides.com
Page 13

USER INSTRUCTIONS
Press and release the ‘end time’ button (3) and set the required
cooking end time with the + or – buttons. The oven will turn
ON with the ‘pot’ symbol illuminated at the chosen time and
OFF at the end time selected. When the ‘end’ time is reached,
an audible signal will be emitted, ‘AUTO’ flashes and the pot
symbol is extinguished. Cancelling the alarm mode is as above.
5) MINUTE MIN DER MODE:
Briefly press the ‘Minute Minder’ button (1).
Set the required time by pressing the + or – buttons. The ‘bell’
symbol w ill appear in the display. The timer will revert to time
mode after 5 seconds. When the set time has elapsed, an
audible signal is emitted, to cancel the alarm mode briefly
press the ‘timer’ (1) or ‘manual’ (4) button.
The Minute Minder does not control any of the o ven functions.
NOTES:
· If a setting error is made, this will be indicated by an audible
signal and ‘AUTO’ will flash. Cancelling the setting by
pressing the ‘manual’ (4) button, then reprogramming can
rectify this.
· The audible signal that is emitted at the end of a program will
continue for seven minutes unless cancelled by pressing the
‘manual’ (4) button. At the end of the seven minutes, the
‘AUTO’ symbol will continue to flash until cancelled.
· The audible signal has three pitch settings, low, medium and
high. To adjust the pitch, ensure the timer is in manual mode,
then press and hold the – button to hear the selected pitch.
Releasing the – button, then pressing again and holding will
select another pitch. Repeat the above procedure until the
required pitch is heard.
13
All manuals and user guides at all-guides.com
Page 14

USER INSTRUCTIONS
USING THE 5 BUTTON ELECTRONIC TIMER (B897)
Description of Button functions:
1. Minute Minder
2. Cooking on auto-function
(duration)
3. End of Cooking time (end
time)
4. Reducing numbers in all
programs
5. Increasing numbers in all
programs
(please note the buttons have
been numbered for illustration only)
The timer only operates when the appliance is connected to the
electricity supply.
1) TIME OF DAY AND MANUAL MODE:
To set the time of day, press the ‘duration’ (2) and ‘end of
cooking’ (3) buttons simultaneously (any previously entered
setting will be cancelled). By pressing buttons + or – (numbers
4 or 5 in the illustration) the time setting can be adjusted.
When the required time has been selected, release all buttons.
There is a 5-second acceptance delay during which no button
should be touched. The ‘pot’ symbol will be illuminated
indicating ‘manual’ cooking mode is available.
To revert the oven to manual mode at any chosen time, simply
press and release the ‘duration’ (2) and ‘end of cooking’ (3)
buttons simultaneously. This will cancel any previously
entered programs.
14
1
2
3
4
5
AUTO
SYMBOL
POT SYMBOL
BELL SYMBOL
All manuals and user guides at all-guides.com
Page 15

USER INSTRUCTIONS
2) COOKING DURATION MODE:
Set the oven to the required temperature and briefly p ress the
‘duration’ button (2). Set the required cooking duration time
using the + button. The ‘pot’ symbol will remain illuminated
and ‘A’ will appear in the display. The timer w ill revert to time
mode after 5 seconds. At the end of the selected duration time,
the oven will switch OFF and an audible signal will be emitted
plus the ‘A’ symbol will flash. The timer will revert to time
mode after 5 seconds. To cancel the alarm-mode audible
signal, briefly press the ‘duration’ (2) and ‘end time’ (3)
buttons simultaneously. As the oven is now set for manual
operation, ensure the oven controls are in the OFF position.
3) COOK END MODE:
Set the oven to the desired temperature and briefly press the
‘end time’ button (3). Set the timer to the required end time by
using the + or – buttons. The ‘A’ symbol will appear in the
display. The timer will revert to time mode after 5 seconds.
When the time of day equals the cooking end time, the oven
will switch O FF and an audible signal will be emitted.
Cancelling the alarm mode is as above, ensure the oven
controls are in the OFF position.
4) FULLY AUTOMATIC COOKING MODE:
Set the oven to the required temperature and briefly p ress the
'duration' button (2). Set the required cooking duration time
with the + or – buttons. The ‘A’ symbol will appear in the
display. Then press and release the ‘end time’ button (3) and
set the required cooking end time with the + or – buttons. The
oven will turn ON with the ‘pot’ symbol illuminated at the
chosen time and OFF at the end time selected. When the end
time is reached, an audible signal will be emitted plus the ‘A’
symbol will flash. Cancelling the alarm mode is as above.
15
All manuals and user guides at all-guides.com
Page 16

USER INSTRUCTIONS
5) MINUTE MIN DER MODE:
Briefly press the ‘Minute Minder’ button (1).
Set the required time by pressing the + or – buttons. The
‘bell’ symbol is displayed. When the set time has elapsed,
an audible signal is emitted, to cancel the alarm mode
press the ‘end time’ button (3).
The minute Minder does
not control any of the oven functions.
NOTES:
· If a setting error is made, this will be indicated by an audible
signal and the ‘A’ symbol will flash. Cancelling the setting by
pressing the ‘duration’ (2) and ‘end time’ (3) buttons
simultaneously, then reprogramming will rectify this.
· The audible signal that is emitted at the end of a program will
continue for seven minutes unless cancelled by pressing the
‘manual’ (4) button. At the end of the seven minutes, the
‘AUTO’ symbol will continue to flash until cancelled.
· The audible signal has three pitch settings, low, medium and
high. To adjust the pitch, ensure the timer is in manual mode,
then press and hold the – button to hear the selected pitch.
Releasing the – button, then pressing again and holding will
select another pitch. Repeat the above procedure until the
required pitch is heard.
16
All manuals and user guides at all-guides.com
all-guides.com
Page 17

USER INSTRUCTIONS
USING THE 60 min T IMER (B150)
This run-back timer can be used independently of an oven cooking
cycle for up to 60 minutes of timing.
1) To set the timer, turn the knob fully clockwise until it stops and
then back to the required time.
2) After expiry of the set time, the timer will have returned to
position ‘0’ and an acoustic signal will be briefly emitted.
PYROLITIC CLEANING (B484 only)
Select the self-cleaning function . When selected, this will
automatically set a cleaning duration of 90 minutes (1½ hours).
This function cleans by raising the oven temperature to 475°. The
resultant ash deposits can be wiped away with a moist cloth when
the oven has cooled down but is still slightly w arm.
If an increased cleaning duration is required, it can be increased in
the following manner: Select the self-cleaning function as above.
Press the manual button
on the electronic timer. 1:30 will appear
in the display, this time can now be increased to up to a maximum
of 3 hours by using the + or – buttons.
17
All manuals and user guides at all-guides.com
Page 18

USER INSTRUCTIONS
For sa fety reasons the oven door automatically locks at
temperatures above 300°C. When this occurs, the oven emits an
acoustic signal and the ‘lock’ indicator on the fascia panel becomes
illuminated.
During the pyrolitic function the oven li ght is disabled.
WARNING
· All internal oven accessories must be removed before using
the pyrolitic function.
· It is strongly recommended that the oven be only used in
pyrolitic mode with persons in attenda nce.
CLEANING THE APPLIANCE
Always allow the appliance to cool down before cleaning to avoid
a burn injury.
Do not use caustic or abrasive agents, coarse wire wool or hard
tools as these can damage the surface finishes.
Normally, wiping with a soft cloth dampened with hot detergent is
sufficient, but for stubborn marks the following is recommended:
VITREOUS ENAMEL PARTS
Use only a cleaner that is recommended for this type of material –
avoid chloride-based products such as bleach.
DOOR GLA SS
Do not use any abrasive medium that could cause damage.
Remember that if the surface of the glass panel becomes scratched,
this could lead to a dangerous failure.
To facilitate cleaning, the door glass can be lifted out after
removing the fixing screws.
When refitting, make sure that the glass is correctly seated in the
door recess and the correct way round.
18
All manuals and user guides at all-guides.com
Page 19

USER INSTRUCTIONS
REMOVING THE OVEN DOOR
To facilitate cleaning inside the oven, the door can be removed as
follows:
1) With the door in the fully open position, swivel the catch on
each lower arm and clip over the hook on each upper arm (see
Fig.1)
2) Hold the door on each side, then lift to unhook the hinge
mechanism and pull outwards to release from the oven.
3) To refit, hold the door in the fully open position and slide the
hinge arms into the oven recesses until the arms lock in
position. On models with hinge mechanisms as per Fig.1,
release the hinge clips and close the door fully to complete the
refitting.
WARNING
· Take care not to dislodge the hinge lock system when
removing the door a s the hinge mechanism has a strong
spring system!
· Do not immerse the door in water at any time.
Fig.1
19
All manuals and user guides at all-guides.com
Page 20

INSTALLATION INSTRUCTIONS
INSTRUCTIONS FOR INSTALLATION
This appliance must be installed by a competent person, in
accordance with the current version of the following U K
Regulations and Safety Standards or their European Norm
replacements:
Building Regulations
(issued by the Department of Environment)
Building Standards
(issued by the Scottish Development
Department)
IEE Wiring Regulations
Electricity at Work Regulations
PRE-COMMISSIONING THE APPLIANCE
When unpacked, check that the following parts are included with
the appliance:
· Baumatic Instruction and Installation Book
· 1 oven shelf (B99, B150, ) or 2 oven shelves (all other
models).
· 1 set comprising Grill Pan, Trivet and handle.
· Two side-protection strips.
· Trim and oven fixing screws(see fig.2 pag.22)
POSITIONING THE APPLIANCE
(see also Figures 2 and 3
page 22)
These appliances are classified as Class 3. All models can be built
into a standard 600mm kitchen unit, with the exception of model
B897 which require a purpose built housing unit.
A minimum of 4mm of distance must be allowed between the oven
and any adjacent cabinet doors and drawers to allow the side
protection rails to be fitted and form an integral part of the
installation.
20
All manuals and user guides at all-guides.com
Page 21

INSTALLATION INSTRUCTIONS
The surface of any adjacent cabinets and any materials used in
the installation must be able to withstand a minimum
temperature of 85°C above ambient during periods of
operation (see corresponding notes on page 4).
INSTALLATION NOTES
(see also Figures 4 and 5 page 23)
1. The horizontal strengthening support at the upper front of the
built-under housing, as well as the rear panel, must be removed
before installation of the oven.
2. A 75 - 90mm ventilation gap must be allowed between the
appliance support shelf and the rear wall and a 35 - 40mm gap
between the rear of the appliance and the rear wall.
3. A 400mm² (20 x 20cm) ventilation cut-out must be provided in
the support shelf.
4. A minimum ventilation area of 80cm² must be allowed below
the appliance. Where the built under housing incorporates a
lower drawer, this must be made non-functioning with a
ventilated false front.
5. A 5mm ventilation gap must be allowed between the top of the
appliance and the underside of the working top (required for
non fan-cooled appliances only: see Technical Data page 27).
6. If the oven is fitted into a tall housing, a 400cm² (20x20cm)
cut-out must be provided in the support shelf, plus additional
ventilation cut-outs must be provided as per Fig.5 we
recommend fitment of a support shelf.
7. If the tall housing is fitted flush with the kitchen ceiling, a
20cm² ventilation cut-out must be provided in the front of the
housing at the top (not shown in drawing).
8. The oven is fixed into the housing with two screws through
each side frame and side rail.
21
All manuals and user guides at all-guides.com
all-guides.com
Page 22

INSTALLATION INSTRUCTIONS
Fig.2 Installation distances for 60cm wide single electric ovens
(shape of top casing may vary)
Fig.3 Installation distances for 90cm wide single electric ovens
22
All manuals and user guides at all-guides.com
Page 23

INSTALLATION INSTRUCTIONS
Fig.4: Ventilation and cut-out requirements for installation of a
single electric oven into a standard kitchen unit.
Fig.5: Ventilation and cut-out
requirements for installation of
a single electric oven into a tall
housing unit.
23
All manuals and user guides at all-guides.com
Page 24

INSTALLATION INSTRUCTIONS
ELECTRICAL CONNECTION
Before connecting the appliance, make sure the supply voltage
marked on the Rating Plate corresponds with the mains supply
voltage.
WARNING – THIS APPLIANCE MUST BE EARTHED
This appliance should be wired into a 13A double pole switched
fused spur outlet having 3mm contact separation and placed in an
easily accessible position adjacent to the appliance.
IMPORTANT
The wires in the mains supply lead are coloured in accordance with
the following code:
Green and Yellow - Earth
Blue - Neutral
Brown - Live
The wire coloured Green and Yellow must be connected to the
terminal marked ‘E’ or with the earth symbol (^) or coloured green
and yellow.
The wire coloured Blue must be connected to the terminal marked
‘load’ and ‘N’.
The wire coloured Brown must be connected to the terminal
marked ‘load’ and ‘L’.
Care must be taken to ensure that the temperature of the mains
supply lead does not exceed 50°C.
24
All manuals and user guides at all-guides.com
Page 25

INSTALLATION INSTRUCTIONS
REPLACING THE MAINS LEAD
In the event it is necessary to replace the mains supply lead,
proceed as follows:
1. Disconnect the appliance from the supply, undo the fixing
screws and remove the back panel.
2. Undo the clamp screws and terminal screws to release the
existing lead.
3. Assemble the replacement lead that must conform to the
specification listed in the Technical Data, ensuring the correct
colour code connection and that all screws are tightened
correctly.
MAINTENANCE
Before carrying out any maintenance, disconnect the appliance
from the electricity supply.
During the guarantee period, in case of need all service
interventions should be referred back to the Baumatic Ltd
Service department. Please note that intervention or repair by
any unauthorised perso nnel will invalidate such guarantee.
25
All manuals and user guides at all-guides.com
Page 26

INSTALLATION INSTRUCTIONS
REPLACING THE OVEN LIGHT
(Not covered by the appliance
warranty)
Disconnect the appliance from the
electricity supply, remove the oven
door (as described previously) as well
as the oven shelves.
Remove the protective glass light-cover
by twisting anti-clockwise.
Unscrew the old bulb and discard
safely, replace with the type specified
in the Technical Data and refit the cover.
NOTE – The glass cover m ay be tight and may therefore
require a tight grip to release.
CARE AND REPLACEMENT OF CATALYTIC
LINERS
(Where fitted / Not covered by the appliance warranty).
To keep the ‘stay clean’ liners operating effectively, the oven
should be heated to at least 200°C whenever heavy soiling has
occurred, in order to avoid permanent soiling.
If the liners are allowed to become black and shiny, they must be
replaced by new items. Remove all internal accessories to facilitate
replacement of the liners.
26
All manuals and user guides at all-guides.com
all-guides.com
Page 27

TECHNICAL DATA
DIMENSIONS
60cm ovens: B897 only:
Height – 595mm Height – 482mm
Width – 596mm (at front) Width – 900mm
Depth – 524mm (excluding handles) Depth – 560mm
COOLING FAN
A tangential cooling fan is fitted on the following models:
B484, B897
ELECTRICAL DETAILS
Rated Voltage:
230V ac 50Hz
Supply Connection:
13A (double pole switched fused outlet with
3mm contact gap)
Max Rated Inputs:
B150
2
.35 kW
B
484, B897
2
.8 kW
Mains supply lead:
3x 1.5mm2 type H05 RR-F <HAR
>
Oven Light Bulb:
25W/300°C Screw type pigm y
27
All manuals and user guides at all-guides.com
Page 28

BAUMATIC Ltd
CONDITIONS OF GUAR ANTEE
Dear Customer,
Included with your new Baumatic appliance is a guarantee registration
card, please complete this and return and your earliest convenience.
This guarantee is in addition to your statutory legal rights and will
not in any way hin der any legal rights.
The conditions of the guarantee, which applies, to your Baumatic
appliance are as follows:
All ‘Work’ in relation to the Guarantee must be carried out by Baumatic
Ltd or an approved service agent of Baumatic Ltd.Any claims made under
the terms of the guarantee must be supported by the original invoice / bill
of sale issued at the time of purchase.
The guarantee period starts from the date of the original purchase and the
manufacturer will provide the parts and labour required to repair the
appliance should breakdown occur as a result of mechanical / electrical
failure. This service will be given Free of charge within the Guarantee
period. An additional Insurance scheme is available should you wish to
extend the warranty period.
This guarantee applies to UK mainland and Northern Ireland only.
THIS GUARANTEE DOES NOT COVER:
· Any damage caused by transit, misuse, or neglect.
· Cosmetic and perishable parts: plugs, fuses, light bulbs, light covers,
cosmetic trims, cables, filters and attachments, knobs, any rubber and
seals, ceramic or glass surfaces, dents, scratches, paintwork.
· Attachments / Accessories, trivets and handles, griddles, pan stands,
shelves, burner caps and collars, oven liners. Plus any additions
thereafter.
· Periodic maintenance, the repair or replacement of parts due to
natural wear and tear.
· Material discoloration, corrosion.
· Incorrect installations, modifications or repair by any unauthorised
personnel.
· Use of non-Baumatic parts.
28
All manuals and user guides at all-guides.com
Page 29

· Damage caused by foreign objects or substances.
· Appliances used for non-do m estic use.
· Operation on unsuitable voltage, water or gas supplies.
· Accidents, Civil war, acts of God or any cause beyond the control of
Baumatic Ltd.
PLEASE NOTE ALL GUARANTEES ARE NON TRANSF ERABLE
SALES SERVICE SPARES
TEL 0118 933 6900 TEL 0118 933 6911 TEL 0118 933 6922
FAX 0118 931 0035 FAX 0118 986 9124
For further information or any other query you may have please contact
one of the above numbers.
Thank you for buying Baumatic.
29
All manuals and user guides at all-guides.com
Page 30

All manuals and user guides at all-guides.com
Page 31

All manuals and user guides at all-guides.com
all-guides.com
Page 32

COD. 1230000667
All manuals and user guides at all-guides.com
 Loading...