

Page 1
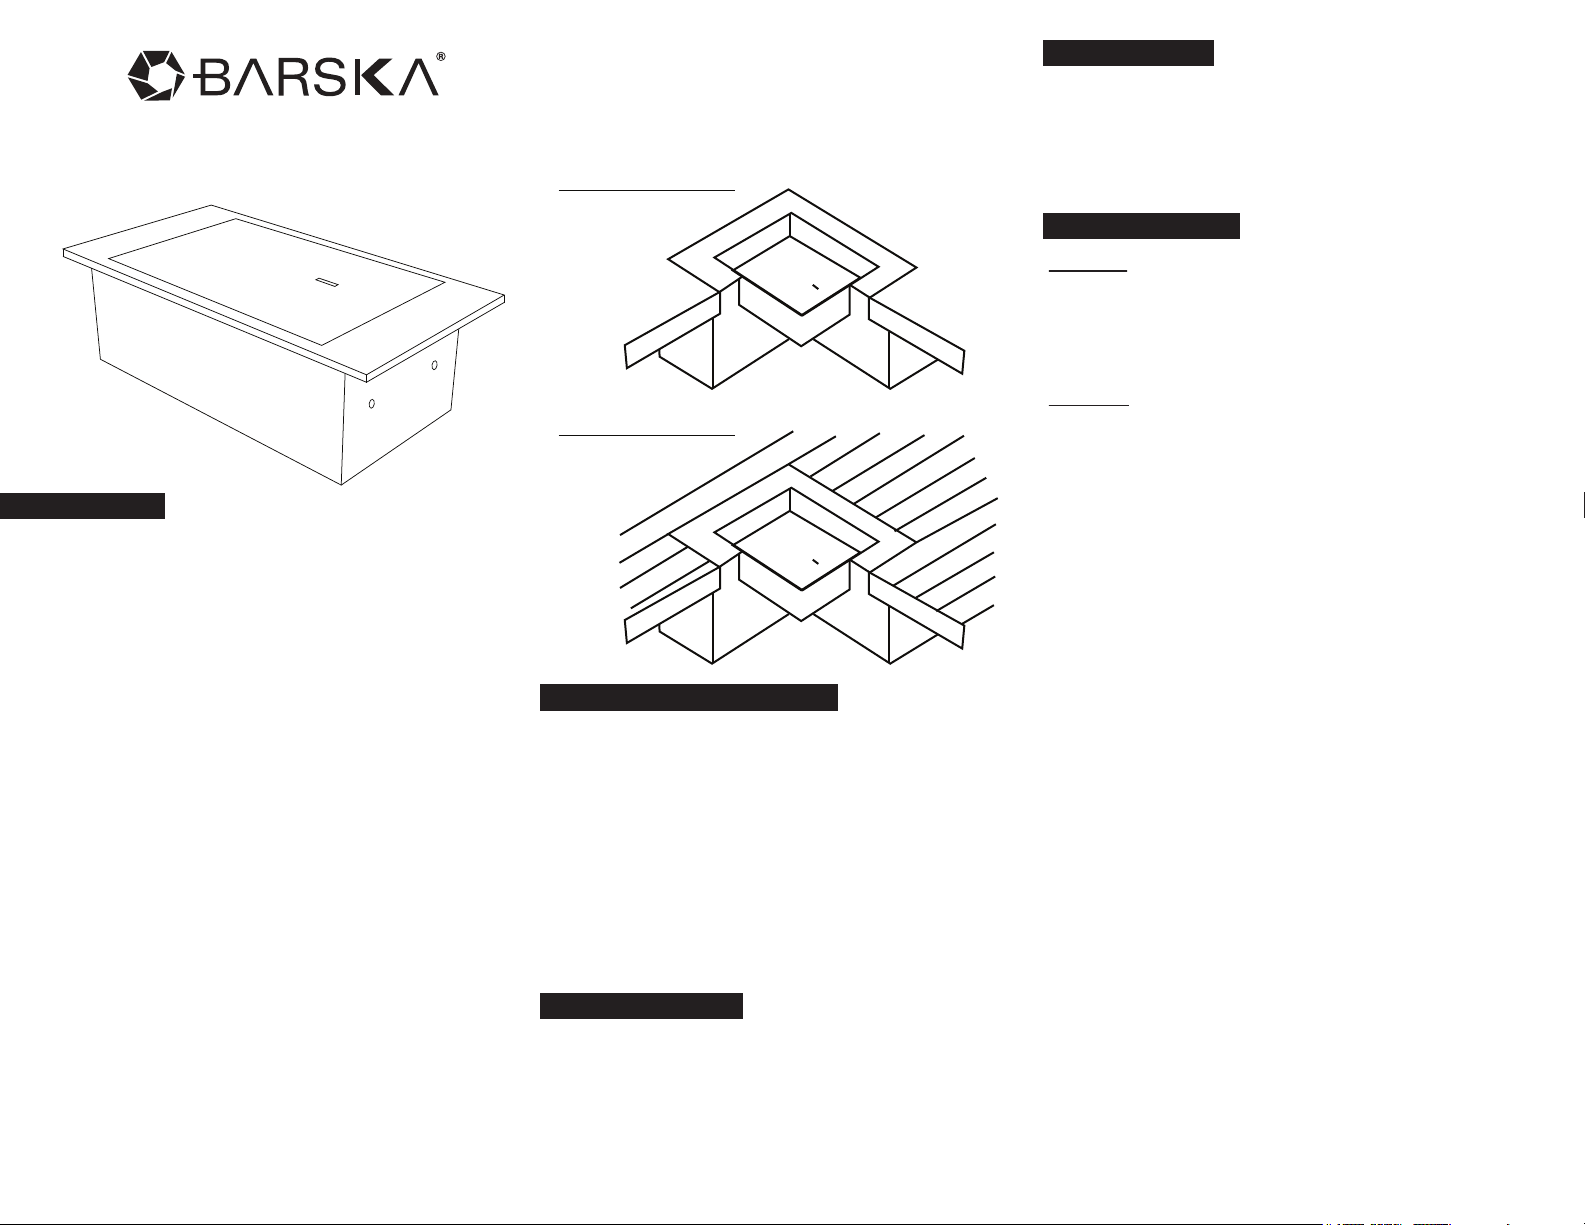
User’s Manual for
0.22 Cubic Ft Key Underground Safe
Getting Started
Do not place keys inside of safe.
Although it is possible to install most floor safe yourself, we
recommend a qualified safe installer or contractor do the work.
Follow these steps before installing your safe.
- Before installation the safe should have a dust cover and sealed
with masking tape to prevent debris from entering the safe
during installation.
- 48 hours of cement drying time is recommended prior to use.
Concrete Floor
Wood Floor
New Concrete Floor
Dig ground to provide a form as in concrete floor installation
noted above. Put safe into position in live concrete and adjust to
proper level, etc. prior to finishing of floor. It is better and
recommended to "block out" a hole for the safe, leaving 4 inches
of room on each side to be installed. Install the safe after the
walls and roof are up to eliminate climate damage.
Open / Close Safe Door
Open Door
Put key into key hole and turn clockwise; carefully pull up on the
key to open the door.
Warning: Be careful when safe door is open, Safe door may fall
shut when operating.
Close Door
Carefully put the door back down to closed position and turn key
counter clockwise to lock safe.
Please note that the ability of a safe to deter theft is a function of
the time burglar has to work on the safe all as the tools used.
Generally, burglars seek quick and easy targets for theft and your
safe will present formidable challenge. Therefore installing your
safe in a concrete floor offers the maximum degree of burglary
protection.
Because of installation variables due to home or office
construction/design, there is no one correct method to install your
safe. How you install your safe is just as important as the decision
to purchase your safe and the installation instructions below will
help guide you through this process.
Make sure there are no underground electrical, plumbing, heating
telephone or other wires present in the location where the safe is
to be installed.
If the safe is to be located in an area where moisture may exist,
the external application of tar or heavy gauge plastic warp should
be used to cover the outside body of the safe. The procedure is
recommended regardless of conditions. This is NOT a waterproof
or fireproof safe.
11/15
BC454
© 2015 BARSKA® | Pomona, CA 91767, USA
(t) 888.666.6769 | (f) 909.445.8169 | www.barska.com
Existing Concrete Floor Installation
Measure the outside dimension of the safe body and add 4
inches to ensure enough room for installation of concrete around
the body of safe. Layout and score the area for installation. Use
an electric jack hammer to break throughout the existing concrete
to the desired size. After the concrete is removed, dig out the hole
to accommodate the safe, make the hole at least 3 inches deeper
than the safe size. Pour enough concrete in the bottom of the
hole to form a firm base for the safe to set on level. Insert the
safe on top of the coverer base. Finish filling the hole with cement
and add any reinforcement necessary to maintain position. Finish
off concrete level with the floor. Make sure the top of safe is key
level with the floor. Drill in 4 mounting screws provided into the
mounting holes in the safe.
Wood Floor Installation
Build a retaining form of wood or mesh wire basket lined with
roofing paper and attach to the floor joists, between the floor and
ground. Cut a hole in the floor and set the safe using the same
directions as noted above for concrete floor installation. Reinforce
joists as necessary to compensate for weight. If a wood form is
used, remove wood after cement is sent to prevent pests from
traveling to your structure
See reverse side for more information
Page 2
1 YEAR LIMITED WARRANTY
Safe
BARSKA warrants this new safe to be free of original defects
in material and/or workmanship under normal use for a
period of twelve (12) months from the date product is
received by purchaser. This warranty does not include
damage caused by improper installation or maintenance.
Damage from misuse, abuse, accident (such as dropping),
normal wear and tear, fire, flood, or acts of nature. Damage
from service or repairs other than those performed by
BARSKA. Labor, cost and shipping charges for the removal
and replacement of defective parts beyond the initial
twelve-month warranty period. All transportation and shipping
charges. Removing or altering the seal under any
circumstances will automatically void the warranty.
This warranty is limited to original purchaser and is not
transferable. This warranty applies only to products
purchased in the United States.
Please email [email protected] or call 1.888.666.6769 for
Return Merchandise Number (RMA#) before any returns. The
RMA number must appear on the outside of the shipping
package. Product must be packed carefully and sturdily in its
original packaging to prevent damage in transit and returned
freight pre-paid to:
BARSKA OPTICS
Repair Department
855 Towne Center Drive
Pomona, CA 91767
Please include all of the following when returning BARSKA
products for service and/or replacement:
1. Please write your complete details (Name, Address,
Telephone #, E-mail address, RMA#, etc.)
2. Purchase receipt or Proof of Purchase. (Original/Copy)
3. A brief explanation of the defect.
4. A Check/Money Order of $30.00 to cover inspection,
shipping and handling.
*Please allow 6-8 weeks for delivery.
BARSKA will examine and test returned product and repair or
replace defective part(s) or units with new part(s) or a new
unit if necessary within the warranty period. Purchaser is
required to remit $30.00 to BARSKA for return shipping and
handling at time product is returned. If repair is required after
warranty period expiration, purchaser will be charged for
replacement parts and return shipping.
BARSKA® Optics shall not be liable for any consequential,
incidental and/or contingent damages whatsoever. We will
not pay shipping, insurance or transportation charges from
you to us, or any import fees, duties and or taxes. This
warranty supersedes all previous BARSKA®
Optics warranties.
BC276 1/16
 Loading...