

Page 1
Le ns K it for SIM 5W Night Vision
Installation Manual
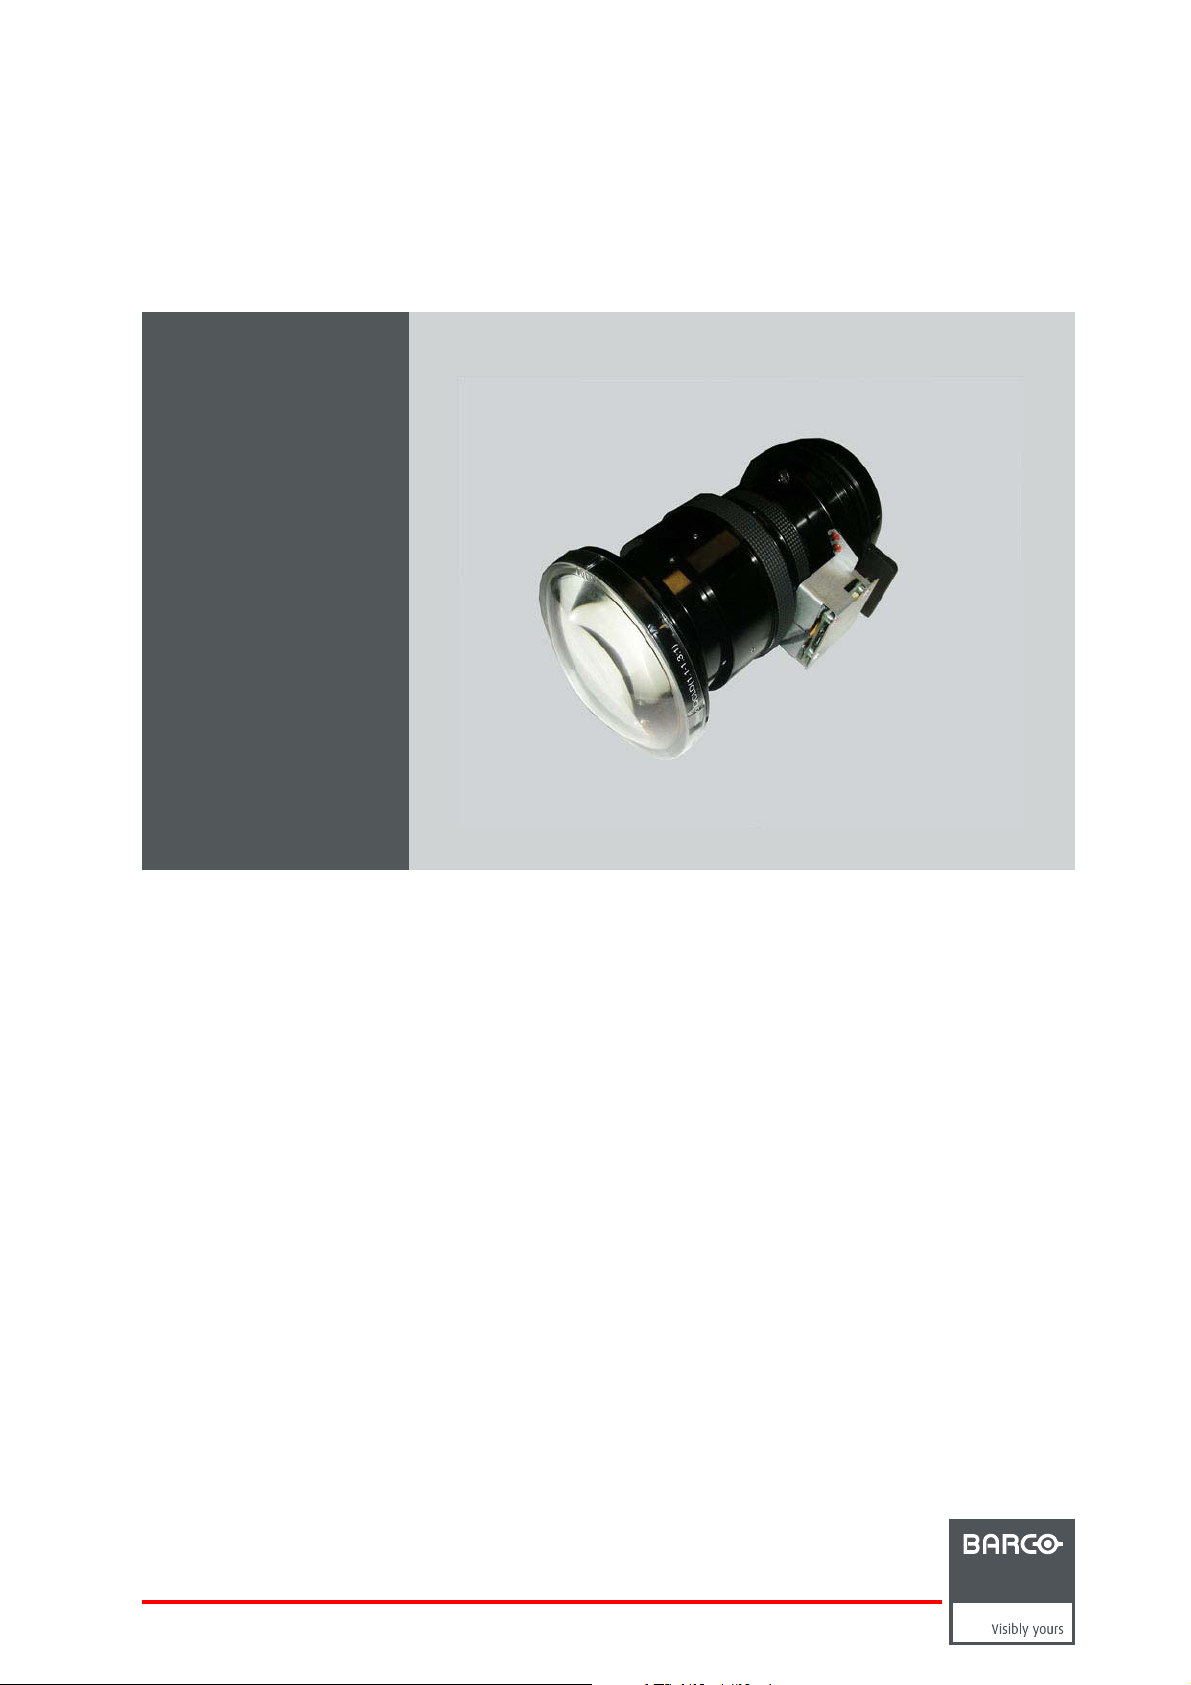
QCLD (1.1 – 1.3:1) IRIS
R9849853
R59770400/00
03/04/2009
Page 2

Barco nv Simulation Division
Noordlaan 5, B-8520 Kuurne
Phone: +32 56.36.82.11
Fax: +32 56.36.84.86
E-mail: info@barco.com
Visit us at the web: www.barco.com
Printed in Belgium
Page 3

Copyright ©
All rights reserved. No part of this document may be copied, reproduced or translated. It shall not otherwise be recorded, transmitted or
stored in a retrieval system without the prior written consent of Barco.
Changes
Barco provides this manual ’as is’ without warranty of any kind, either expressed or implied, including but not limited to the implied warranties or merchantability and fitness for a particular purpose. Barco may make improvements and/or changes to the product(s) and/or the
program(s) described in this publication at any time without notice.
This publication could contain technical inaccuracies or typographical errors. Changes are periodic
publication; these changes are incorporated in new editions of this publication.
ally m ade to the information in this
Trademarks
Brand and product name s mentioned in this manual may be trademarks, registered tradem arks or copyrights of their respective holders.
All brand and product names mentioned in this manual serve as comments or examples and are not to be understood as advertising for
the products or their m anufacturers.
Disposal Information
This equipment has required the extraction and use of natural resources for its production. It may contain hazardous substances for health
and env ironme nt. In order to avoid the dissemination of those substances in the environment and to diminish the pressure on natural
resources, we encourage you to use the appropriate take-back systems. Those systems will reuse or recycle most of the materials of your
end of life equipment in a sound way.
The crossed-out wheeled bin symbol invites you to use those s yste
systems, please contact your local or regional waste administrator. You can also contact us for more information on the environmental
performances of our products.
ms. If you need more information on the collection, reuse and recycling
Page 4

Page 5

Table of contents
TABLE OF CONTENTS
1. Lens kit for SIM 5W Night Vision .. ................ ................ ................ ................ .............. 3
1.1 Kitcontents ........................................................................................................................... 3
1.2 Available lens type.................................................................................................................... 3
1.3 Lens formulas......................................................................................................................... 3
2. Lens installation...... ................ ................ ................ ................ ................ .............. 5
2.1 Description............................................................................................................................ 5
2.2 Installing the new lens................................................................................................................ 5
2.3 Adjusting the zoom and focus of lens manually . .................................................................................... 7
2.4 Adjusting the lens shift ............................................................................................................... 7
2.5 Resetting the ECR.................................................................................................................... 8
2.6 Modifying the night vision settings ................................................................................................... 9
3. Mounting the cable basket. . . . . ... . . . . ... . . . . ... . . . . ... . . . . ... . . . . ... . . . . ... . . . . ... . . . . ... . . . . ... . . . . ... . . . . ... . . 11
3.1 Overview............................................................................................................................. 11
3.2 Fixing the cablebasket to the projector............................................................................................. 11
4. Lens maintenance.................................................................................................13
4.1 Cleaning the lens . . . ................................................................................................................. 13
Index............... ................ ................ ................ ................ ................ ................ .......15
List of images...... ................ ................ ................ ................ ................ ................ .....18
R59770400 LENS KIT FOR SIM 5W NIGHT VISION 03/04/2009 1
Page 6

Table of contents
2 R59770400 LENS KIT FOR SIM 5W NIGHT VISION 03/04/2009
Page 7

1. Lens kit for SIM 5W Night Vision
1. LENS KIT FOR SIM 5W NIGHT VISION
CAUTION: Never transport the projector with the lens moun ted on it!
Always remove the lens before transpo rting t he projector.
1.1 Kit contents
Kit contents
The kit c ontains the following components:
• QCLD (1.1 – 1.3: 1) IRIS
• Installation Manual (R59 770400)
TM
• Toraysee
1.2 Available lens type
Product number
Lens
QCLD (1.1 – 1.3: 1) IRIS R9849853
Cloth
Product number
1.3 Lens formulas
Formulas
Lens
QCLD(1.1–1.3:1) PD
Metric formulas (meter) Inch formulas (inch)
=1.02xSW+0.05
min
= 1.2 x SW + 0.06
PD
max
PD
=1.02xSW+1.97
min
= 1.2 x SW + 2.36
PD
max
R59770400 LENS KIT FOR SIM 5W NIGHT VISION 03/04/2009 3
Page 8

1. Lens kit for SIM 5W Night Vision
4 R59770400 LENS KIT FOR SIM 5W NIGHT VISION 03/04/2009
Page 9

2. LENS INSTALLATION
2.1 Description
About Night Vision lens
The night vision lens enables you to see the ima ges as they appear in the dark. P lease follow the proce
the new lens and enable the night vision feature in your projector.
2.2 Installing the new lens
Necessary tools
Allen key – 1.5 mm
How to install the new lens?
1. Take the lens out of the packing material
2. Remov e the protective lens covers from the front and back
2. Lens installation
dures in every topic to install
Image 2-1
Remove the front protective lens cover (A) and back protective lens cover (B)
3. Rotate the zoom and focus ring slowly and check if the rings turn freely
If yes, then proceed to the next step
If no, then you need to release the top, left, right and bottom fixing screws of the zoom ring
R59770400 LENS KIT FOR SIM 5W NIGHT VISION 03/04/2009
5
Page 10

2. Lens installation
Image 2-2
Screws to loosen the zoom ring
4. Make sure the lens lock holder is in the left pos ition
Image 2-3
Make sure the lens lock holder is in the left position
5. Lock the lens by placing it in the housing, push carefully to lock (“click” sound) the lens in the housing
Image 2-4
Slot on the right side o
fthelens(C)
Image 2-5
Male jack (D) at the lens housing of the projector
Caution: The slot on the right side of the lens (C) must be in front of the male jack (D) located at the upper-left part of the
housing in the projector. See image 2-4 and image 2-5
6
R59770400 LENS KIT FOR SIM 5W NIGHT VISION 03/04/2009
Page 11

2.3 Adjusting the zoom and focus of lens manually
Necessary tools
Allen key – 1.5 mm
How to adjust the zoom and focus of lens manually?
1. Switch on the projector
2. Turn the zoom ring on the lens to project the image in the desired zoom position
3. Turn the focus ring on the lens until the projected image is well focused
4. Once the clear image is zoomed and focused, tighten the screws of the zoom ring
2. Lens installation
Image 2-6
Tigh ten t he fixation screws of zoom r ing
5. Connect the wire from the lens to the NVG (Night Vision Goggles) input and fixitusingthering
Image 2-7
Connect the wire from the l ens to the NVG input
Caution: After connecting the wire, do not adjust the zoom and focus ring.
2.4 Adjusting the lens shift
CAUTION: On ce you tighten the screws of the zo om ring, please do not turn it anymore.
The motorized zoom or focus of lens is not available.
R59770400 LENS KIT FOR SIM 5W NIGHT VISION 03/04/2009 7
Page 12

2. Lens installation
CAUTION: If you adjust the zoom or focus of lens manually, you must reset the ECR once ag ain.
How to adjust the lens shift?
1. Select the Lens adjustment menu
The lens adjustment dialog box will be displayed.
Image 2-8
2. Press ENTER to sw itch to Shift m od e
The lens shift adjustment dialog box will be displayed.
Image 2-9
3. Use the cursor key ↑ or ↓ to shift the image to the desired vertical position
2.5 Resetting the ECR
Overview
After following all the procedures described in the above topics, you need to reset the ECR.
To reset the ECR, you need ac cess to the advanced menu items in the Service menu.
To view the advanced menu items in the Servic
1. Go to Service men u
2. Select More...
3. Type the default password being ’0000’
The Reset ECR option will be available in the Service menu now.
How to reset the ECR?
1. Press the MENU key to activate the Menu ba
2. Push the cursor key ← or → to highlight Service in the menubar
3. Push the ↓ key to pull down the Service menu
4. Push the cursor key ↑ or ↓ to highlight Dimming
5. Push the → key t o pull down the Dimming m enu
6. Push the cursor key ↑ or ↓ to select Reset ECR and press ENTER to select.
e menu:
r
8
R59770400 LENS KIT FOR SIM 5W NIGHT VISION 03/04/2009
Page 13

2. Lens installation
Image 2-10
The ECR dimmers will go to their reference positions first and then back to the desired value. This m a y take a few seconds.
By restarting the projector, you can also reset the ECR.
2.6 Modifying the night vision settings
What can be done?
You can modify the night vision settings from the CLO m enu and also from the Dimming Control menu from the OSD.
To know more about how to modify the night vision se ttings, please refer to the existing User Guide.
R59770400 LENS KIT FOR SIM 5W NIGHT VISION 03/04/2009 9
Page 14

2. Lens installation
10 R59770400 LENS KIT FOR SIM 5W NIGHT VISION 03/04/2009
Page 15

3. MOUNTING THE CABLE BASKET
3.1 Overview
Why mount the cable basket?
After m aking all the necessary connections to the projector, you have to mount the cable basket to th
necessary as this will avoid stray light from projecting out.
3.2 Fixing the cable basket to the projector
How to fix the cable basket to the projector?
1. Make all the necessary connections to the projector
2. Look for four holders E, F, G, and H inside the cable basket
3. Mounting the cable basket
e projector. This procedure is
Image 3-1
Cable basket: top holders (E), (F) and bottom holders (G), (H)
3. Place the bottom holders G and H in correct position to the bottom slots G and H found in the front side of the projector, so that
they fit in properly
R59770400 LENS KIT FOR SIM 5W NIGHT VISION 03/04/2009
11
Page 16

3. Mounting the cable basket
Image 3-2
Projector: top slots (E), (F) and bottom slots (G), (H)
4. Now press the top of the cable basket slightly downwards so that E and F of the cable basket fits into the top two slots E and F
of the projector
5. After fitting the cable bas ket to the slots, push the cable basket towards the projector slowly so that it fits tight
12
R59770400 LENS KIT FOR SIM 5W NIGHT VISION 03/04/2009
Page 17

4. LENS MAINTENANCE
4.1 Cleaning the lens
To minimize the p ossibility of damage to optical coatings, or scratches to lens surfaces, we have developed
recommendations for cleaning. FIRST, we recommend you try to remove any material from the lens by blowing
it o ff w ith c lean, dry deionized air. DO NOT u se any liquid to clean the lenses.
Necessary tools
Toray s e eTMcloth (delivered together with the lens kit). Order number : R379058.
Howtocleanthelens?
1. Always wipe lenses with a CLE AN TorayseeTMcloth.
2. Wipe lenses in a one single direction.
Warning: Do not wipe back and forwards across the lens surface as this tends to grind dirt into the coating.
3. Do not leav e the cleaning cloth in either an open room or lab coat pocket, as d
4. If smears occ ur wh en cleaning lenses, replace the cloth. Smears are the fi rst indication of a dirty cloth.
oing so can contaminate the cloth.
4. Lens maintenance
CAUTION: Do not use fabric softener when washing the cleaning cloth or softener sheets when drying the
cloth.
Do not use liquid cleaners on the cloth as doing so will contaminate the cloth.
Other lenses can also be cleaned safely with this TorayseeTMcloth.
R59770400 LENS KIT FOR SIM 5W NIGHT VISION 03/04/2009 13
Page 18

4. Lens maintenance
14 R59770400 LENS KIT FOR SIM 5W NIGHT VISION 03/04/2009
Page 19

INDEX
Index
A
adjusting 7
lens 7
lens shift 7
C
cleaning 13
lens 13
D
description 5
night vision lens 5
F
fixing 11
cable basket 11
I
installing 5
new lens 5
K
kit 3
contents 3
L
lens 3, 5, 13
cleaning 13
formulas 3
installation 5
maintenance 13
type 3
lens kit 3
SIM 5W night vision 3
M
modiyfing 9
night vision 9
settings 9
mounting 11
cable basket 11
O
overview 11
R
resetting 8
ECR 8
R59770400 LENS KIT FOR SIM 5W NIGHT VISION 03/04/2009
15
Page 20

Index
16 R59770400 LENS KIT FOR SIM 5W NIGHT VISION 03/04/2009
Page 21

List of images
LIST OF IMAGES
2-1 Remove the frontprotective lens cover (A)and back protective lens cover (B) .................................... 5
2-2 Screwsto loosen the zoom ring ...................................................................................... 6
2-3 Make sure the lens lock holder is in the left position................................................................. 6
2-4 Slot on the right side of the lens (C).................................................................................. 6
2-5 Male jack ( D) at the lens housing of the projector.................................................................... 6
2-6 Tighten the fixation screws of zoom ring ............................................................................. 7
2-7 Connect the wire from the lens to the NVG input .................................................................... 7
3-1 Cable basket: top holders (E), (F)and bottom holders(G), (H) .................................................... 11
3-2 Projector: top slots (E), (F) and bottom slots(G), (H)...............................................................12
R59770400 LENS KIT FOR SIM 5W NIGHT VISION 03/04/2009
17
Page 22

List of images
18 R59770400 LENS KIT FOR SIM 5W NIGHT VISION 03/04/2009
Page 23

Revision Sheet
To:
Barco nv Simulation Division
Noordlaan 5, B-8520 Kuurne
Phone: +32 56 .36.82.11, Fax: +32 56.36.84.86
E-mail: info@barco.com, Web: www.barco.com
From:
Date:
Please correct the following points in this docum entation (R59770400/00):
page wrong
correct
R59770400 LENS KIT FOR SIM 5W NIGHT VISION 03/04/2009
 Loading...