

Page 1
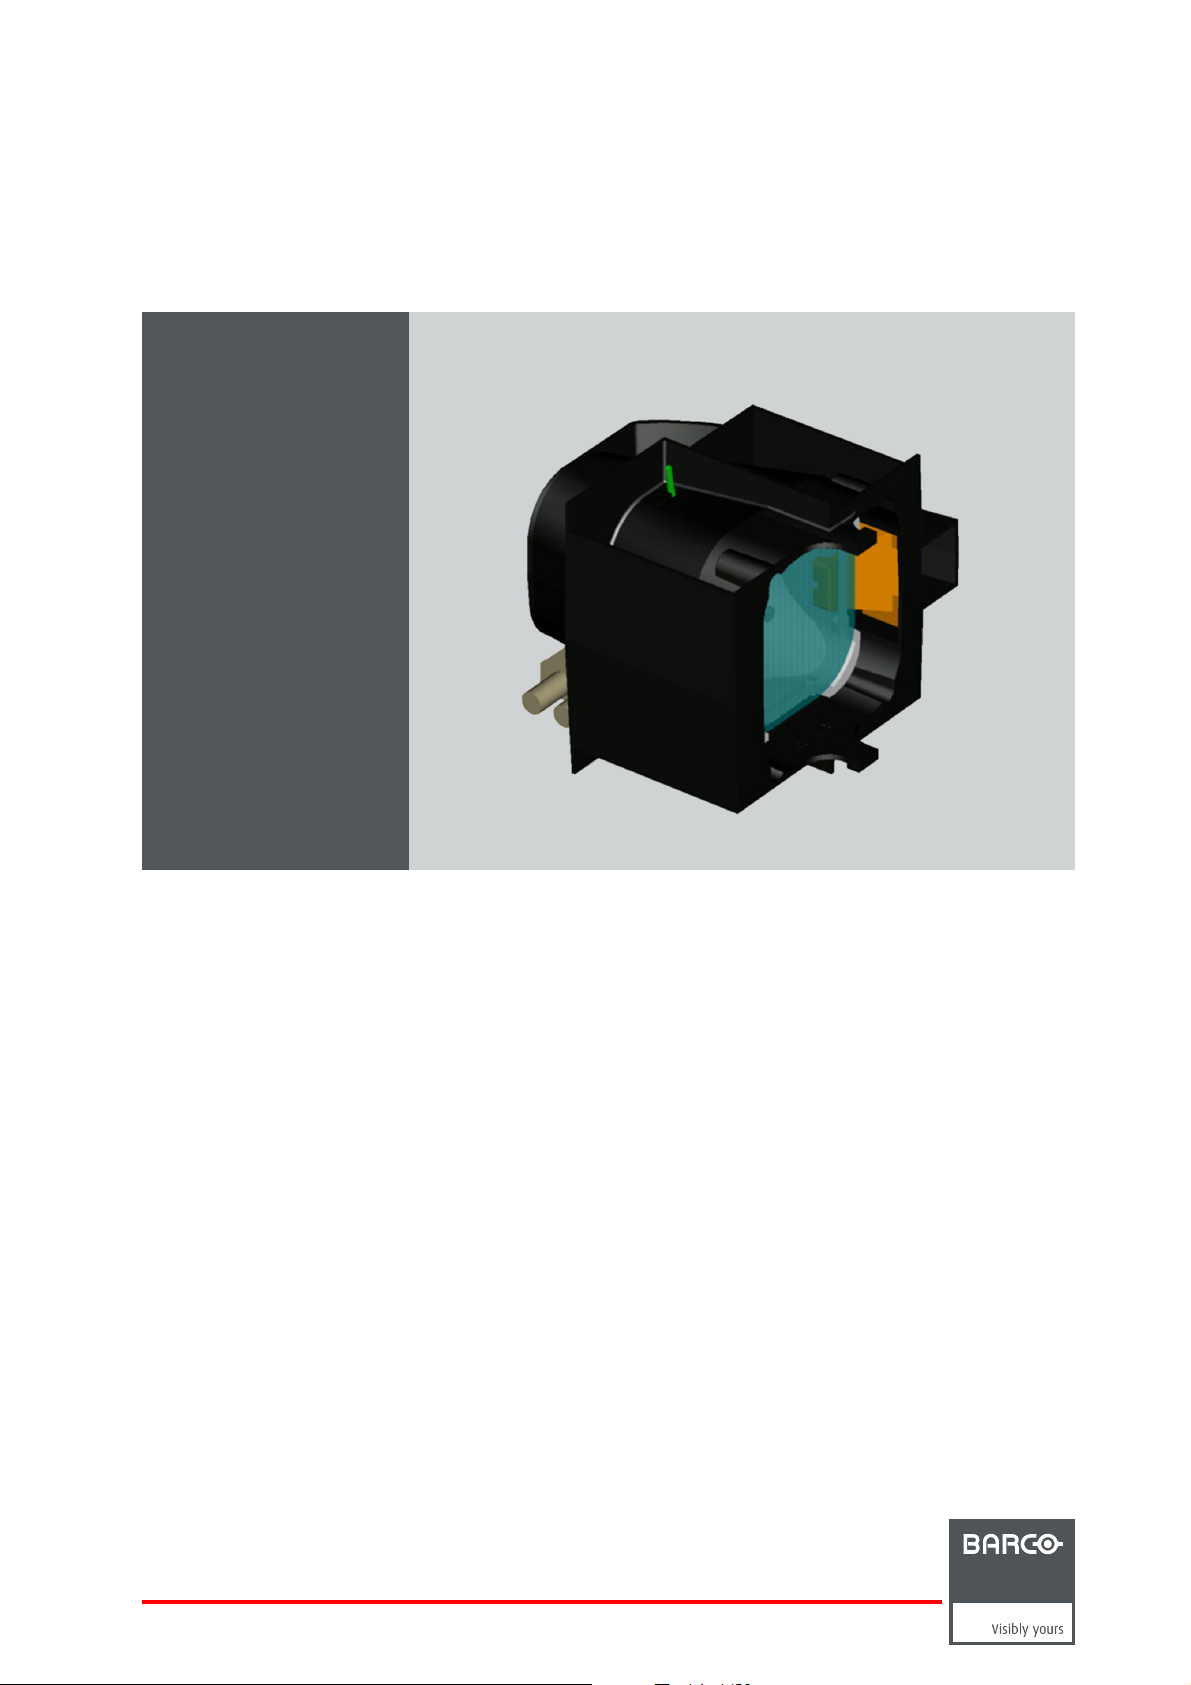
Sim 5W Lamp Kit
Installation manual
R9841842
R9841832
R59770361/00
28/11/2008
Page 2

Barco nv Avionics and Simulation Division
Noordlaan 5, B-8520 Kuurne
Phone: +32 56.36.82.11
Fax: +32 56.36.84.86
E-mail: info@barco.com
Visit us at the web: www.barco.com
Printed in Belgium
Page 3

Table of contents
TABLE OF CONTENTS
1. Safety................................................................................................................. 3
1.1 Safety guidelines ..................................................................................................................... 3
1.2 Recycling guidelines.................................................................................................................. 3
2. Introduction ............. ................ ................ ................ ................ ................ ............ 5
2.1 Kit description......................................................................................................................... 5
3. Lamp replacement procedure.................................................................................... 7
3.1 Reset lamp runtime................................................................................................................... 7
3.2 Removing the rear cover............................................................................................................. 8
3.3 Removing the lamp................................................................................................................... 9
3.4 Installing the lamp ...................................................................................................................10
3.5 Installing the rear cover .............................................................................................................12
Index................. ................ ................ ................ .................. ................ ................ ...13
List of images........ ................ ................ ................ ................ ................ ................ ...15
R59770361 SIM 5W LAMP KIT 28/11/2008 1
Page 4

Table of contents
2 R59770361 SIM 5W LAMP KIT 28/11/2008
Page 5
1. SAFETY
1.1 Safety guidelines
WARNING: Hot Surface and Risk of Explosion:Switch the projector to stand by and let it cool down for at least
15 minutes . These lamps consist of a quartz arc tube operating at very high temperature and high pressure
which may explode suddenly. There is a risk of personal injury and property damage from hot quartz arc tube
particles if hand led incorrectly.
WARNING: Risk of Electrical Shock: Power down the projector and unplug the power cord from the wall
outlet. Once the projector is cooled down and the power is off, c ontinue with the procedure.
WARNING: Lamp Runtime Warning: Do not exceed the indicated maximum total lifetime of the lamp for safe
operation in normal power mode. Do not use it longer ! Always replace the lamp with the BA RCO lamp kit.
WARNING: UV Rad iation Exposu re : Never light the lamp if the rear cover (lamp cover) of the projector is
removed, unless you wear UV radiation eye and skin protection.
1. Safety
WARNING: : Do not operate the projector longer than o ne minute with the rear cover removed.
CAUTION: : Never operate the projector with only one lamp installed.
1.2 Recycling guidelines
WARNING: Do not break or crush lamps because this may pose health and environmental risks when mercury
vapors are released.
CAUTION: To avoid b reaking the lamp s, repack carefully when storing and transporting them.
R59770361 SIM 5W LAMP KIT 28/11/2008 3
Page 6
1. Safety
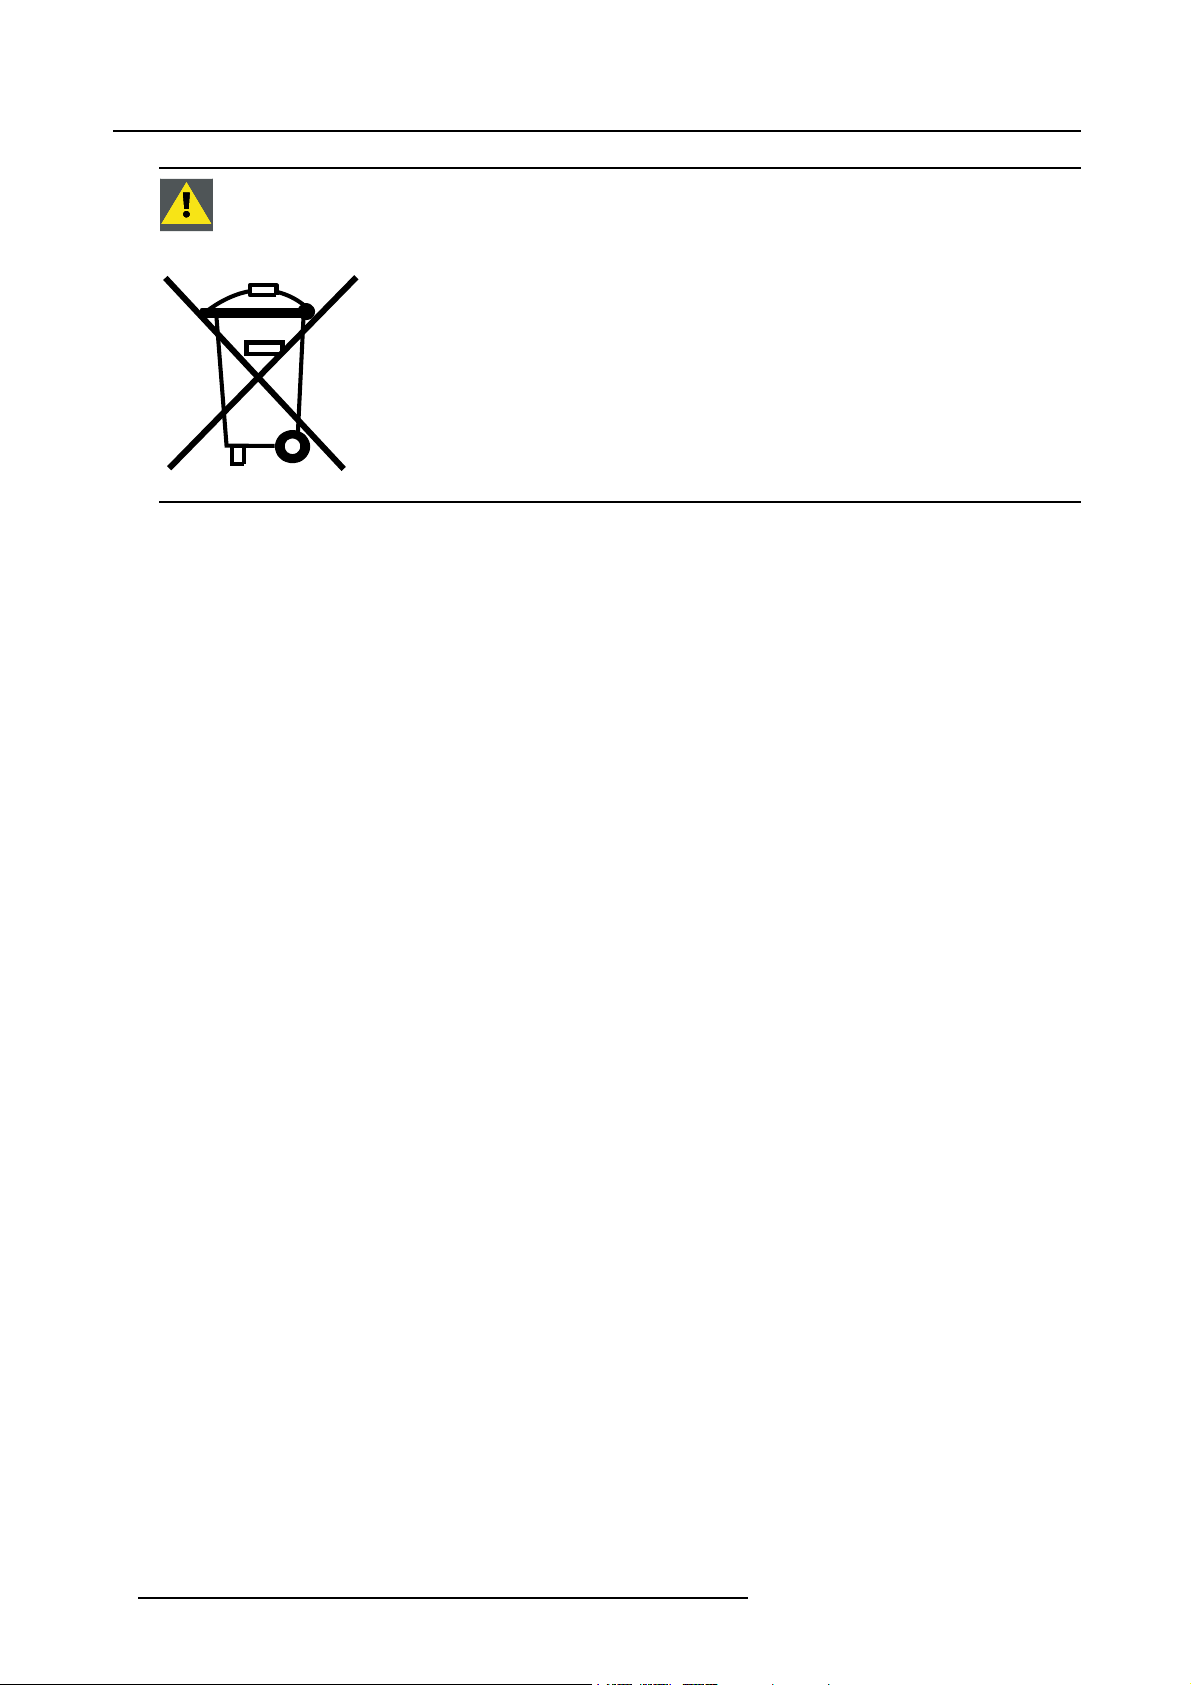
CAUTION: Lamps may not be disposed as normal household trash.
Contact your local waste disposal facility for information on the recycling program for HID (High Intensity
Discharge ) lamps in y our area.
Image 1-1
Disposal options for mercury-containing lamps
• Recycle through a municipal or solid waste district household hazardous waste collecti
regulations.
• Direct shipment to lamp recycler
• Shipment through a hazardous waste transporter
on program in acco rdance with local
4 R59770361 SIM 5W LAMP KIT 28/11/2008
Page 7

2. INTRODUCTION
Overview
• Kit description
2.1 Kit description
Kit content
Depending on the number ordered the kit contains following parts :
• 1 or 2 UHP lamps
• Lamp installation manual
Kit number R9841832 R9841842
Qty of Lam ps
Manual number R59770361 R59770361
The lamp is intended to be used in Sim 5W (R9040395) only.
Lamp description
1pc 2pcs
2. Introduction
• Type : UHP
• Power: 250 Watt
• Typical lifetime (monitored in projector software) : 3000 hours - NOT GUARANTEED!
Image 2-1
Lamp v iew
R59770361 SIM 5W LAMP KIT 28/11/2008 5
Page 8

2. Introduction
6 R59770361 SIM 5W LAMP KIT 28/11/2008
Page 9

3. LAMP REPLACEMENT PROCEDURE
Overview
• Reset lamp runtime
• Removing the rear cover
• Removing the lamp
• Installing the lamp
• Installing the rear cover
Resetting the lamp runtime requires access to the hidden menu of the projector. Select More... in the Lamps
menu, an d enter the passw ord (by default 0000) followed by Enter to get access.
3.1 Reset lamp runtime
When to reset the lamp runtime?
The lamp runtime should only be reset when placing a new lamp.
3. Lamp replacement procedure
WARNING: Lamp runtime reset as well as the lamp replacement can only be done by a Barco authorized
technician.
Necessary tools
No tools.
How to reset the lamp runtime?
1. P ress MENU to activate the Tool bar
2. P ress → to select the Lamp item
3. P ress ↓ to Pull down the Lamps menu
4. U se ↑ or ↓ to select Reset runtime
5. P ress → to pull down the menu
6. U se ↑ or ↓ to select the lamp to be reset
Image 3-1
7. P ress ENTER
R59770361 SIM 5W LAMP KIT 28/11/2008
7
Page 10

3. Lamp replacement procedure
A dialog box is displayed
Image 3-2
8. U se ←or →, the numeric keys on the remote, or the keypad to change the serial number of the lamp (serial number 0000000 will
not be accepted).
3.2 Removing the rear cover
WARNING: Before removing a cover, switch off the mains power and unplug the mains power cord from the
wall outlet.
Necessary tools
Crosshead screwdriver P h2
How to remove the rear cover
1. R emov e the cover lock screw
Image 3-3
Rear cover: fixing screw
2. R emov e the rear cover
8
R59770361 SIM 5W LAMP KIT 28/11/2008
Page 11

3. Lamp replacement procedure
Image 3-4
Rear cover removed
3.3 Removing the lamp
Introduction
This p rojector has two lamps. The wa y to remove the lamp is identical for each o f lamps. The procedure below desc ribes how to
remove lamp 1.
Necessary tools
No tools.
How to remove the lamp?
1. Unplug the lamp power connector
Image 3-5
Lamp 1: unplugging the power connector
2. P ull the lamp locking handle to release the lamp
R59770361 SIM 5W LAMP KIT 28/11/2008
9
Page 12

3. Lamp replacement procedure
Image 3-6
Lamp 1: unlocking
3. S lide the lamp sidewards, then backwards to remove it
Image 3-7
Lamp 1: removing
3.4 Installing the lamp
Introduction
This projector has two lamps. The way to install the lamp is identical for each of lamps. T he procedure below describes how to
install lamp 1.
Necessary tools
No tools.
How to install the lamp?
1. M ake sure that the lamp locking ha ndle is pulled out
10
R59770361 SIM 5W LAMP KIT 28/11/2008
Page 13

Image 3-8
Lamp 1 locking system must be unlocked
2. S lide in the lamp into its correct position
3. Lamp replacement procedure
Image 3-9
Lamp 1: sliding it in its position
3. P ush the lamp locking handle to lock the lamp
Image 3-10
Lamp 1: locking
4. P lug in the lamp power connector
R59770361 SIM 5W LAMP KIT 28/11/2008
11
Page 14

3. Lamp replacement procedure
Image 3-11
Lamp 1: make the power connection
3.5 Installing the rear cover
Necessary tools
Crosshead screwdriver P h2
How to install the rear cover
1. P ut the rear cover into its correct position
2. Insert and tighten the cover lock screw
Image 3-12
Rear cover: fixing screw
12 R59770361 SIM 5W LAMP KIT 28/11/2008
Page 15

INDEX
Index
C
cover 8 , 12
rear cover 8, 12
installing 12
removing 8
D
description 5
kit 5
G
Guidelines 3
Recycling 3
Lamp 3
I
installing 10, 12
lamp 10
rear cover 12
introduction 5
kit description 5
L
lamp 7, 9–10
installing 10
removing 9
replacement procedure 7
lamp runtime 7
reset 7
P
procedure 7
lamp replacement 7
R
rear cover 8, 12
installing 12
removing 8
Recycling 3
removing 8–9
lamp 9
rear cover 8
reset 7
lamp runtime 7
S
safety 3
guidelines 3
Safety 3
R59770361 SIM 5W LAMP KIT 28/11/2008
13
Page 16

Index
14 R59770361 SIM 5W LAMP KIT 28/11/2008
Page 17

List of images
LIST OF IMAGES
2-1 Lamp view ............................................................................................................. 5
3-3 Re ar cover: fixing screw .............................................................................................. 8
3-4 Rear cover removed................................................................................................... 9
3-5 Lam p 1: unplugging the power connector............................................................................ 9
3-6 Lamp 1: unlocking....................................................................................................10
3-7 Lamp 1: removing....................................................................................................10
3-8 Lamp 1 locking system must be unlocked........................................................................... 11
3-9 Lamp 1: sliding itin itsposition...................................................................................... 11
3-10 Lamp 1: locking ...................................................................................................... 11
3-11 Lamp 1: make the power connection................................................................................12
3-12 Rear cover: fixing screw ............................................................................................. 12
R59770361 SIM 5W LAMP KIT 28/11/2008
15
 Loading...