

Page 1

iCon H250 / iCon H400 / iCon H500
Installation manual
R9010510
R9010500
R9010501
R59770070/02
13/06/2007
Page 2

Barco nv Presentations
aan 5, 8520 Kuurne
Noordl
Phone: +32 56.36.82.11
Fax: +32 56.35.86.51
presentations.bid@barco.com
E-mail:
Visit us at the web: www.barco.com
PrintedinBelgium
Page 3

Table of contents
TABLE OF CONTENTS
1. Hard disk recovery kit.............................................................................................3
1.1 Introduction ........................................................................................................................... 3
2. Hard disk recovery procedure ................................................................................... 5
2.1 iCon server boot configuration ....................................................................................................... 5
2.2 Defining commands .................................................................................................................. 6
2.3 The recovery.......................................................................................................................... 7
2.4 iConH250 / H400 / H500 server setup .............................................................................................10
Index......................................................................................................................13
R59770070 ICON H250 / ICON H400 / ICON H500 13/06/2007 1
Page 4

Table of contents
2 R59770070 ICON H250 / ICON H400 / ICON H500 13/06/2007
Page 5
1. Hard disk recovery kit
1.HARDDISKRECOVERYKIT
Overview
• Introduction
1.1 Introduction
What can be done in case of hard disk failure?
There is a possibility to recover the hard disk. This might eliminate the need to replace it in case of a hard disk failure.
The recovery can be needed in case of non repaira ble virus infection, forgotten password, blue screen at start up...
In this procedure we will use the Linux operating system to do the recovery.
WARNING: This tool will remove all data from your hard disk!
Procedure
We first c hange the BIOS settings in order to make the projectors’ server boot from the USB DVD reader, using the image file of the
firmware.
Then we start the hard disk recovery. At the end of the procedure, we put the BIOS settings back to its original state.
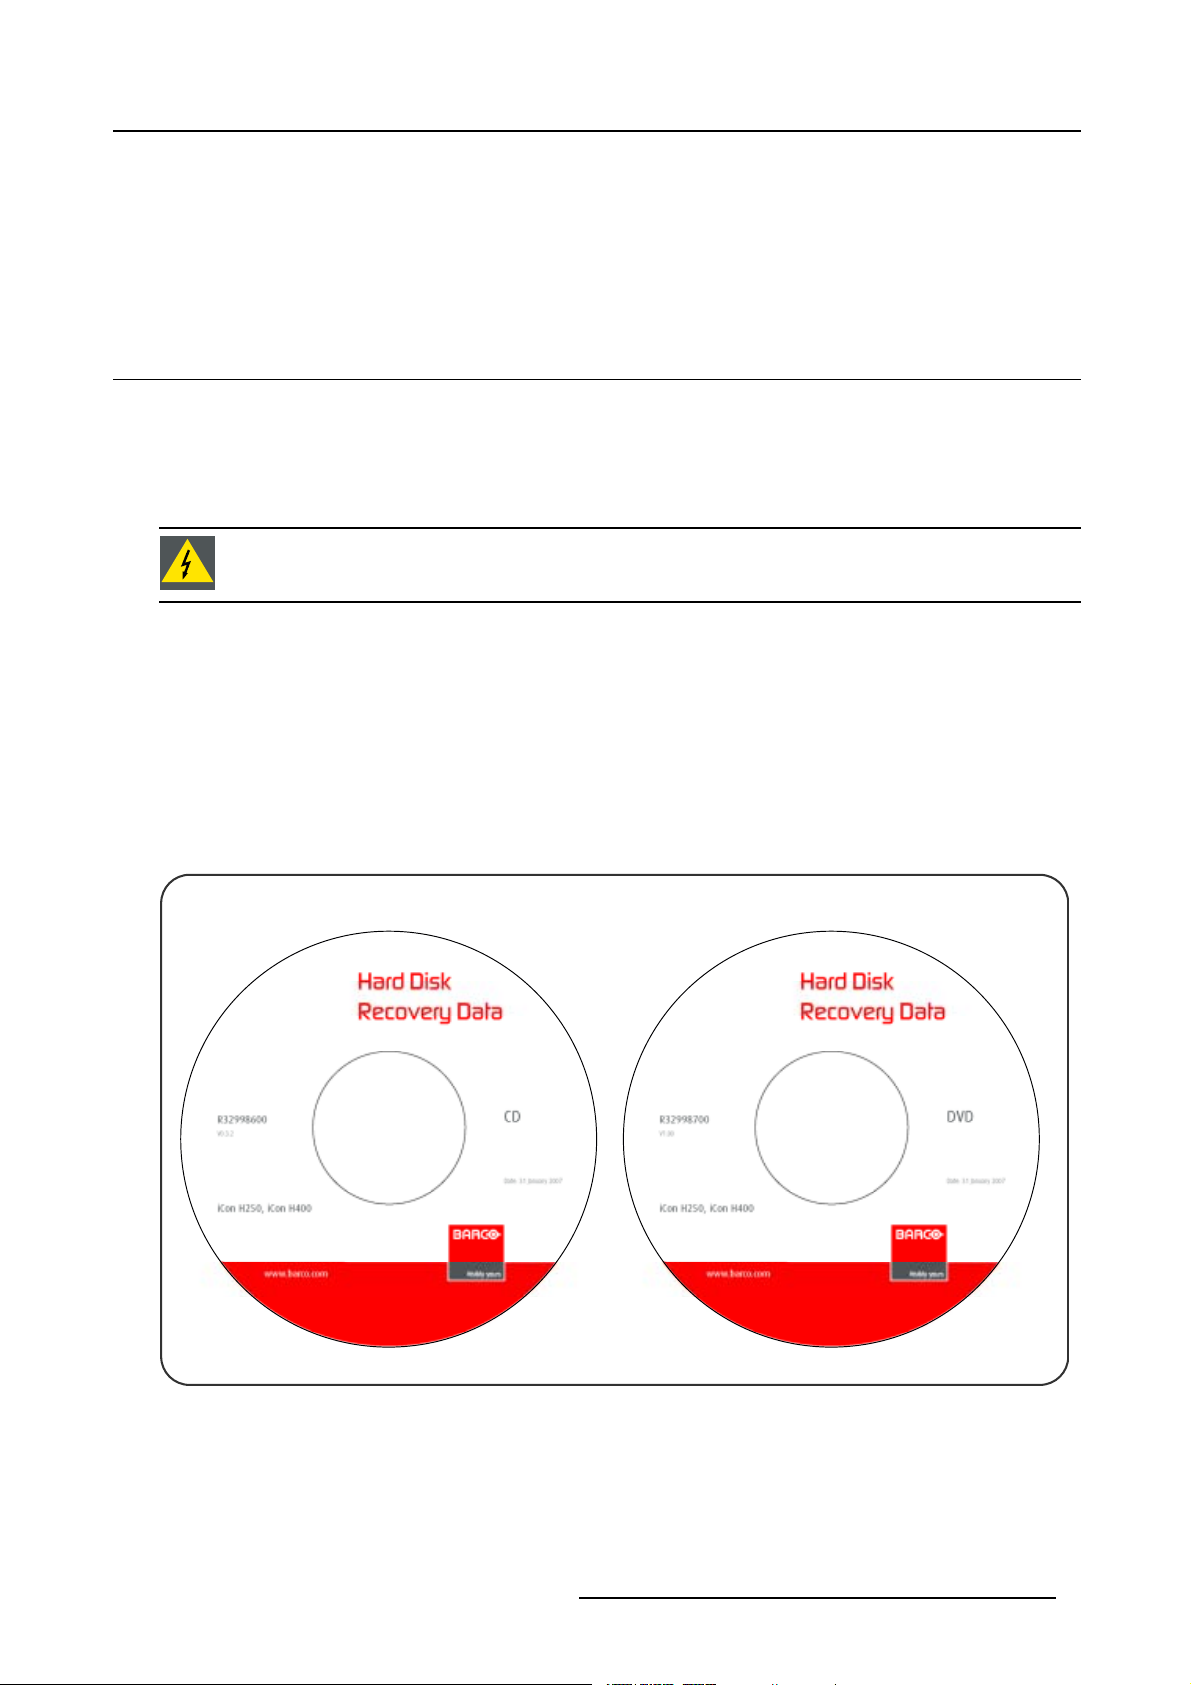
Kit contents
The delivered kit includes the following items:
• R32998700: DVD-ROM containing the image file for your projector (hard disk data)
• R32998600: CD-ROM containing Linux recovery tool
Image 1-1
R59770070 ICON H250 / ICON H400 / ICON H500 13/06/2007 3
Page 6

1. Hard disk recovery kit
4 R59770070 ICON H250 / ICON H400 / ICON H500 13/06/2007
Page 7

2. Hard disk recovery procedure
2. HARD DISK RECOVERY PROCEDURE
Overview
• iCon server boot configuration
• Defining commands
• The recovery
• iCon H250 / H400 / H500 se rver setup
2.1 iCon server boot configuration
Necessary tools
• DVD-ROM: Hard Disk Recovery Data iCon H250 / iCon H400 / iCon H500
• CD-ROM: Hard Disk Recovery Data iCon H250 / iCon H400 / iCon H500
• USB DVD reader device
• USB keyboard
•Windows
How to change the boot configuration?
1. Connect the USB DVD reader device and the USB keyboard to the server of you projector
®
XP product key
Image 2-1
2. Power up your projector
3. When the server s tarts (on the first beep sound), press F2 to enter the BIOS
4. Navigate to the tab Boot
5. Use the + and the - keytomovetheUSB DVD-ROM to the top of the Boot priority list
Tip: Youmayhavetousethex key to move it form the Excluded from boot order-list to the Boot priority order-list!
R59770070 ICON H250 / ICON H400 / ICON H500 13/06/2007
5
Page 8

2. Hard disk recovery procedure
Image 2-2 Image 2-3
6. Put the CD-ROM Hard Disk Recovery Data in the USB DVD reader device
7. Navigate to the tab Exit
8. Select Exit Saving Changes
Image 2-4
2.2 Defining commands
How to define the commands?
1. At the boot prompt, type the following text: fb1024 docache doeject
Image 2-5
Warning: You only have a limited amount of time to enter this command! If you exceed this time, type shutdown —r now
Note: The keyboard layout at this moment is QWERTY
and restart the procedure!
6
R59770070 ICON H250 / ICON H400 / ICON H500 13/06/2007
Page 9

2. Hard disk recovery procedure
2. After about 5 seconds, the Load keymap (Enter for default) : prompt will appear: you have a limited amount of time to change
the keyboard configuration. For AZERTY you can enter the following figure: 2 (= the figure corresponding to Belgian keyboard
configuration).
Image 2-6
3. A few seconds later, the USB DVD reader will eject the disc. You see this prompt: root@sysresccd/root%
Image 2-7
4. Remove the CD-ROM Hard Disk Recovery Data fro
m the USB DVD reader
2.3 The recovery
How to do the hard disk recovery?
1. Insert the DVD-ROM Hard Disk Recovery Data in the USB DVD reader
2. At the prompt, enter the following tex
Tip: Pay attention to the spaces!
t: mount —t iso9660 /dev/sr0 /mnt/cdrom
R59770070 ICON H250 / ICON H400 / ICON H500 13/06/2007
7
Page 10

2. Hard disk recovery procedure
Image 2-8
Note: You will see appear the following message: mount: block device /dev/sr0 is write-protected
, mounting read-only
3. At the prompt, enter the following text: partimage
Image 2-9
4. Navigate to the item Image file to create/use using the tab key and enter the following text:/mnt/cdrom/iconh400.000
Image 2-10
Note: iconh400.000 is the name of the file with the firmware and data. It may differ depending on the version and the projector
type you are recovering (e.g. iconh250.000 or iconh500.000)!
5. Press tab
6. Use ↓ and the space bar to select
the item Restore partition from an image file
7. Press F5 , verify the partition description and use the space bar to close the window
8
R59770070 ICON H250 / ICON H400 / ICON H500 13/06/2007
Page 11

Image 2-11
8. Press F5 and use the space bar to select OK . The disk recovery will now start.
2. Hard disk recovery procedure
Image 2-12 Image 2-13
9. At the en d of the recovery, use the space bar to select OK
Image 2-14
10.Now enter the following text: shutdown —r now
R59770070 ICON H250 / ICON H400 / ICON H500 13/06/2007
9
Page 12

2. Hard disk recovery procedure
Image 2-15
2.4 iCon H250 / H400 / H500 server setup
Set the boot configuration to its original state
1. When the server restarts (on the first beep sound), press F2 to enter the BIOS
2. Navigate to the tab Boot
3. Use the + and the - keytomovetheIDE 0 t o the top of the Boot priority list
4. Navigate to the tab Exit
5. Select Exit Saving Changes: the server will start to reboot
Setup the server again
1. After some minutes, you will be asked to enter the Windows®XP Product Key: enter this key. You can find it on a label on the
bottom plate of the projector
Image 2-16
2. Now the Windows®operation system reboots: you will be asked to enter the password. Enter the text: Barco
Tip: Check the configuration of your keyboard first (AZERTY or QUERTY)
3. Start the Auto-configuration by selecting Now
10
R59770070 ICON H250 / ICON H400 / ICON H500 13/06/2007
Page 13

2. Hard disk recovery procedure
Image 2-17
Note: By choosing Now, the resolution will change form 1280x1024 (which can be viewed on a common mo
1920x1080 (HDTV)
4. On the next window, you can choose to start the Barco Desktop Integration by selecting Yes. This will enable the My Sources
and My Layouts menu, instead of the standard My Pictures and My Music menu.
5. The operation system now logs you off: you can log in again and start using the server. The Ba
visible on the desktop.
rco selected wall paper will be
nitor resolution) to
R59770070 ICON H250 / ICON H400 / ICON H500 13/06/2007
11
Page 14

2. Hard disk recovery procedure
12 R59770070 ICON H250 / ICON H400 / ICON H500 13/06/2007
Page 15

INDEX
Index
B
boot configuration 5
D
defining commands 6
H
hard disk 3, 5
recovery kit 3
recovery procedure 5
I
introduction 3
R
recovery 7
recovery kit 3
recovery procedure 5
S
server setup 10
R59770070 ICON H250 / ICON H400 / ICON H500 13/06/2007
13
 Loading...