

Page 1
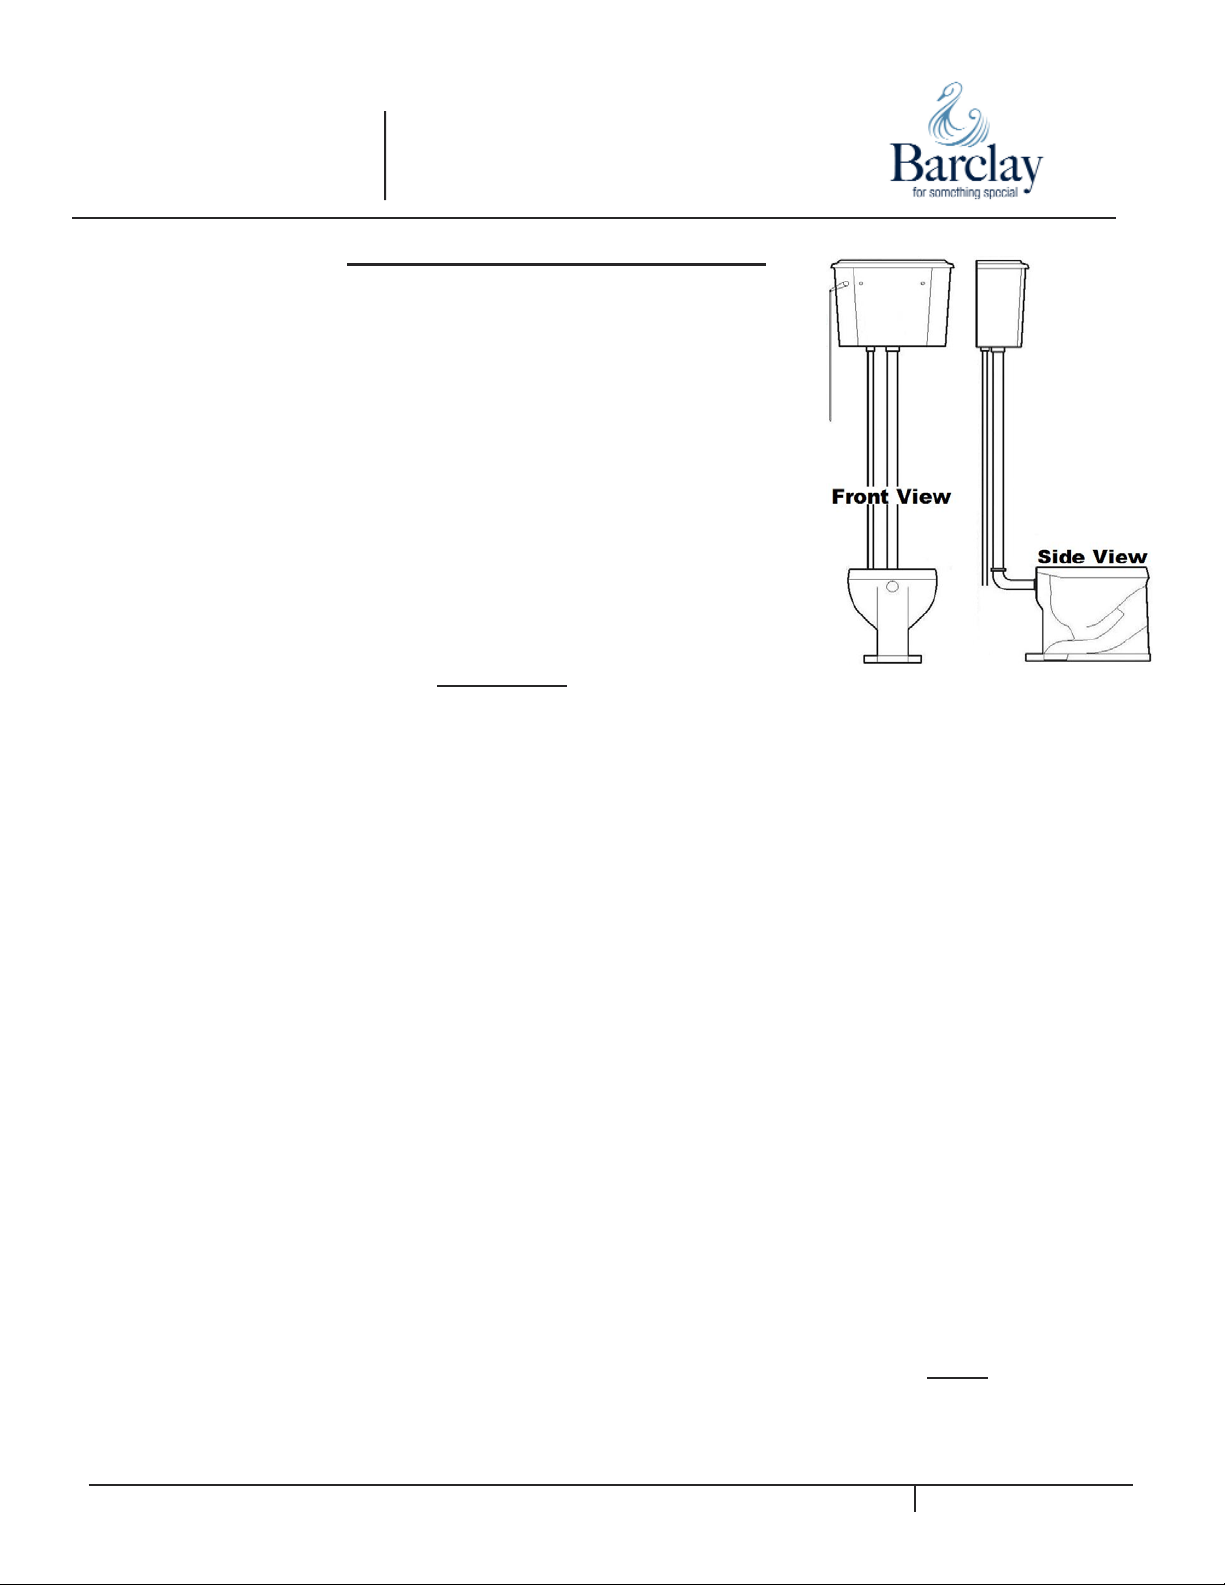
Victoria High Tank Cat. No.
Toilet 2-413
INSTALLATION INSTRUCTIONS
P 847•244•1234 www.barclayproducts.com
7/27/10
The Victoria High Tank Toilet is shipped in 3 cartons.
Carton A: #2-802 Toilet bowl with spud installed (2” x 1 1/4”)
Carton B: #T/2-412 Toilet tank and cover with trim bag which includes
float valve, float ball, float rod flush valve,
and rubber flapper.
Carton C: # HTT Trim Kit for High Tank Toilet includes
• White Plastic Nut
#5568 • Flush Pipe (1 1/4” x 72”)
#5569 • Straight Supply Pipe (1/2” OD x 72”)
#5552 • Slip Nut (1 1/2” x 1 1/4”)
#5567 • Wall Bracket (1 1/4”) with 2 Brass Screws
#5570 • Flush Elbow Assembly with 2 Slip Nuts & Washers
#5560 • Spud Reducer (2” x 1 1/2”) with Rubber Washer
#412-HA • Tank Handle Assembly
Note:
The brass angle
stop valve & flange
are NOT included
1. Shut off water supply, disconnect plumbing, and remove existing toilet bowl.
2. Install #412-HA tank handle assembly with chain to tank. Remove handle screw with Phillips screwdriver
and remove handle.
3. Using new wax ring seal or plumbers putty (neither are furnished), mount the toilet bowl to the floor drain opening.
4. To attach the tank to the wall, locate and drill holes
through 2”x12” re-inforced wall approximately 80” above the
floor. The holes should be 8” center to center. You may choose any height between 75” and 82” & later trim the
flush pipe assembly. Use proper hardware to attach the tank to the wall. Large screws, toggle bolts or other
fasteners can be used, depending on the wall material. A small spacer should be placed between the wall and
the tank to allow the tank lid to fit flush with the front of the tank. These parts are NOT furnished. Attach tank to
wall and use level to ensure that tank is level.
5. Slide the #5552 slip nut up #5568 flush pipe and connect the slip nut to the #5560 spud reducer outlet at the
bottom of the tank. Do not forget the washers.
6. Loosen the two brass screws on the #5567 wall bracket. Slide bracket onto flush pipe position bracket at height
where the lip of the toilet seat cover will come in contact with the bracket. Tighten the two brass screws to secure
position. Fasten flange to wall.
7. Insert #5570 flush elbow well into the toilet bowl, taking care to use rubber washers and slip nuts.
Do not damage washer or strip nut.
8. Insert #5569 supply pipe into tank and tighten carefully using white plastic nut.
9. Install toilet seat (not furnished).
Tools Needed
• Hacksaw or Tube Cutter • Phillips Screwdriver • Level • 1/4” Drill Bit • Wrench •
• Wax Ring Seal or Plumbers Putty • Large Screws or Toggle Bolts •
Be sure to re-inforce wall before installation. We recommend a 2”x12” securely fastened to
wall studs at desired height for your installation.
 Loading...