

Page 1
QL55 Series Luminescence Sensor
!
Relative Received Signal
Sensing Distance
0
0
10 mm
(0.4")
20 mm
(0.8")
30 mm
(1.2")
40 mm
(1.6")
50 mm
(2.0")
20%
40%
60%
80%
100%
Relative Received Signal
Sensing Distance
0
0
10 mm
(0.4")
20 mm
(0.8")
30 mm
(1.2")
40 mm
(1.6")
50 mm
(2.0")
20%
40%
60%
80%
100%
Relative Received Signal
Sensing Distance
0
40 mm
(1.6")
30 mm
(1.2")
50mm
(2.0")
60 mm
(2.4")
70 mm
(2.8")
80 mm
(3.2")
20%
40%
60%
80%
100%
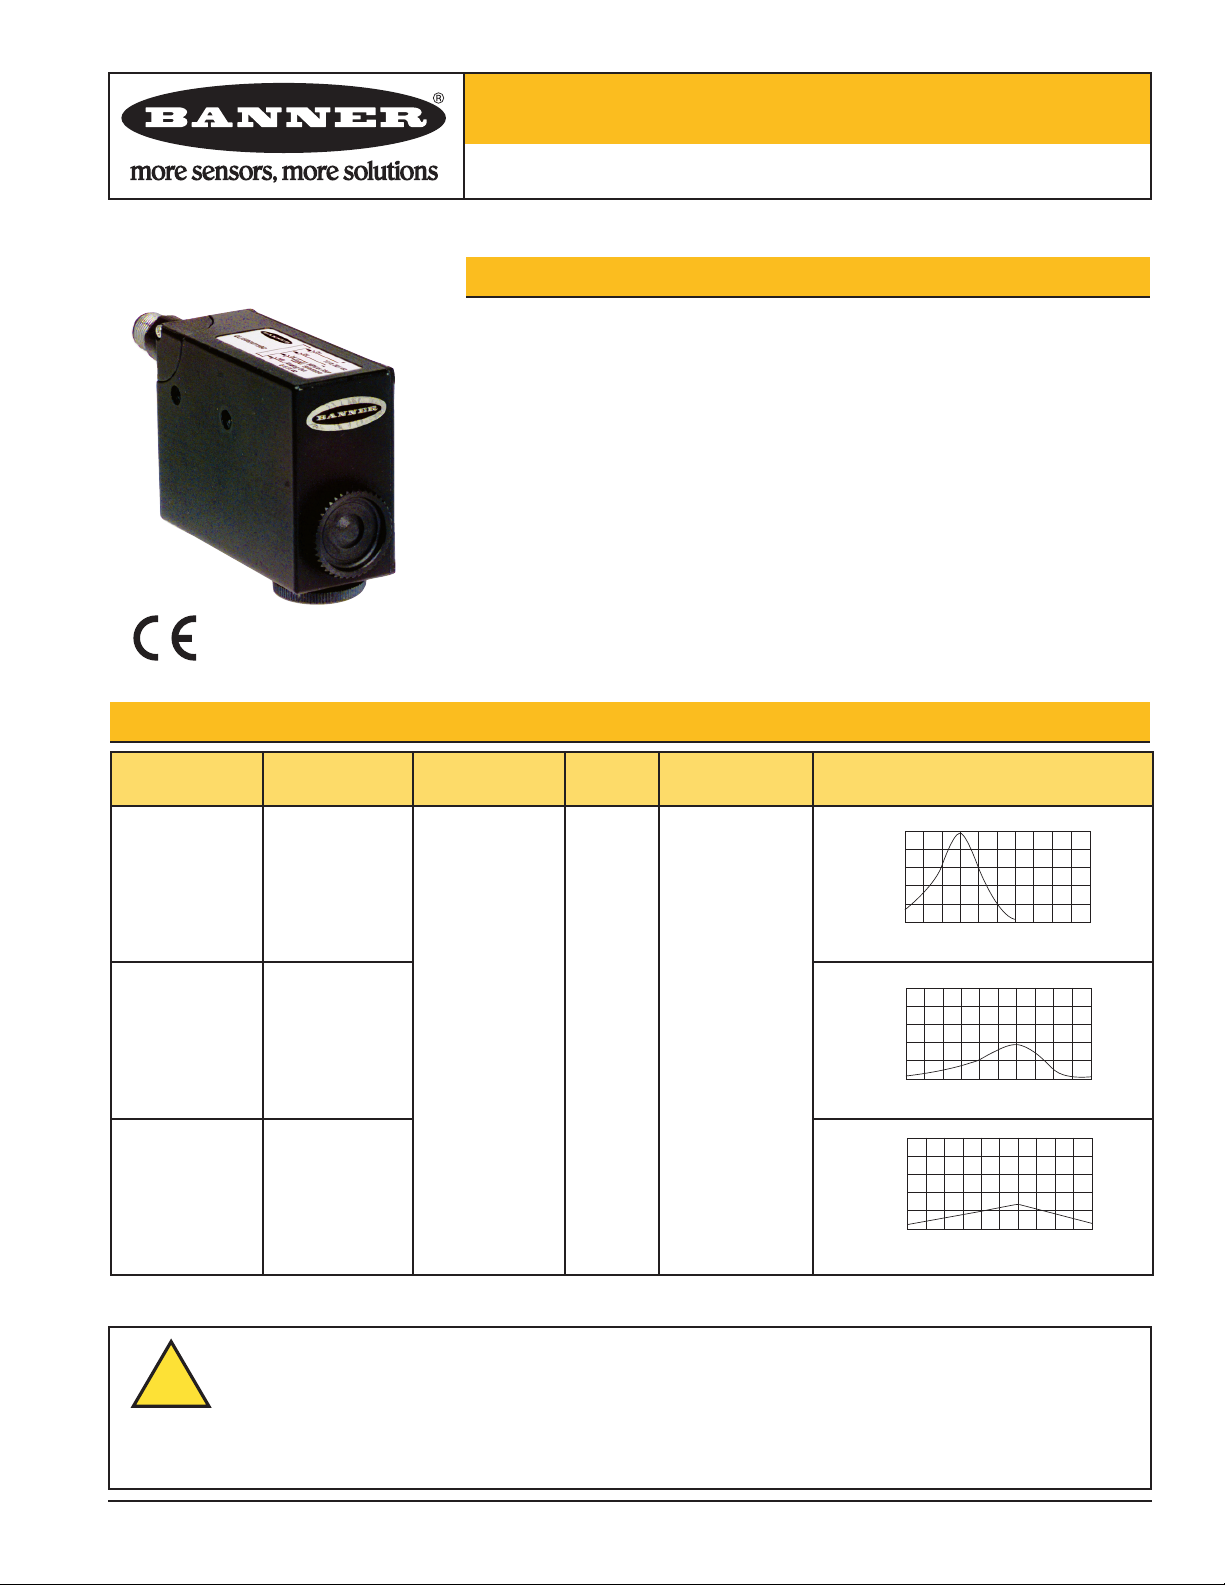
Self-contained, microprocessor-based luminescence sensor
Features
• Self-contained design in a robust, compact metal housing
• High sensitivity
• Microprocessor-controlled
• Senses luminescent marks, even on luminescent backgrounds
• Senses luminescence on reflective surfaces, such as ceramic, metal, or mirrored
glass
• Easy-to-set sensing threshold
• Fast 250-microsecond sensing response time; high 2 kHz switching frequency
• Switch-selectable NPN or PNP discrete output, plus 0 to 5.5V dc analog output
• Switch-selectable output OFF-delay
• 3-position swivel QD connector
Models
QL55M6XD15BQ
Sensing
Range
9 to 18 mm
(0.35" to 0.71")
Cable/
Connector*
4-pin Euro-style
(M12)
QD connector
with 3-position
swivel
QL55M6XD30BQ
20 to 40 mm
(0.79" to 1.57")
(locking
screw-secured)
QL55M6XD50BQ
40 to 75 mm
(1.57" to 2.95")
* Mating cable required; see back cover for cable options.
Models
Supply
Voltage
10 to
30V dc
Outputs Sensor Performance
One selectable
NPN or PNP
discrete plus
one
0 to 5.5V dc
analog
WARNING . . .
Not To Be Used for Personnel Protection
Never use these products as sensing devices for personnel protection. Doing so could lead to serious injury or death.
These sensors do NOT include the self-checking redundant circuitry necessary to allow their use in personnel safety
applications. A sensor failure or malfunction can cause either an energized or de-energized sensor output condition. Consult your current
Banner Safety Products catalog for safety products which meet OSHA, ANSI and IEC standards for personnel protection.
Printed in USA 02/05 P/N 112153 rev. C
Page 2
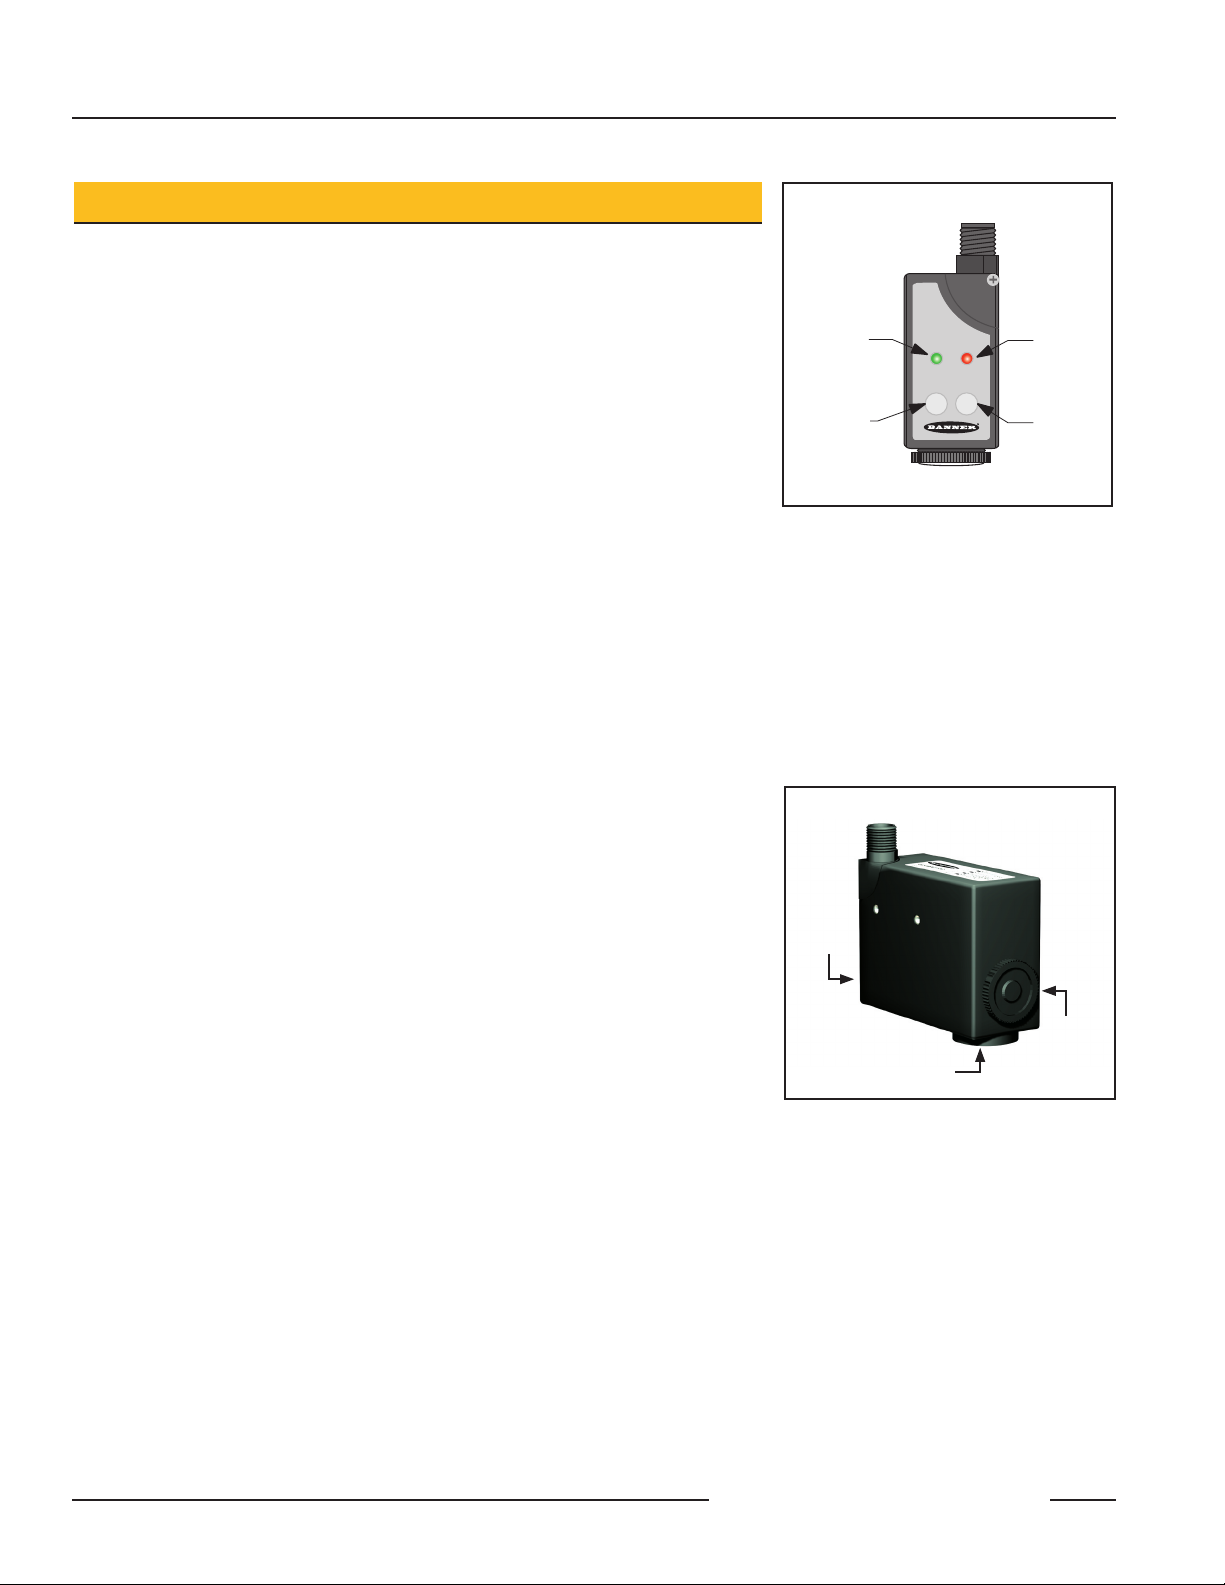
QL55 Series Luminescence Sensor
READY OUT
MARK
BKGD
Red
Output LED
Green Ready/
Overload LED
(Power ON
Indicator)
Mark
Push Button
Background
Push Button
Overview
The QL55 Series Sensor is an easy-to-use, extremely sensitive microprocessor-based
luminescence sensor that emits ultraviolet light from a high-power LED and scans for
luminescence in materials. The QL55 senses the luminescence inherent in a material,
or it can sense luminophores added to a material in process to make it luminescent.
The sensor can be set to accurately sense a wide range of luminescence intensities
and background conditions. The two-step QL55 Sensor programming procedure
sets the threshold for target luminescence and background. The Luminescent Target
condition is taught first, followed by the Luminescent Target Absent (background)
condition. During operation, the sensor outputs will be ON when the luminescent
target object is present, and OFF for the background condition. (The sensor may
instead be taught to respond to the Background condition; see page 3.)
Located within the QL55 Sensor, two selector switches may be used to enable an
output OFF-delay option and for setting the discrete output to NPN or PNP (see Figure
5). The QL55 is available with one of three operating ranges, to a maximum of 75 mm
(2.95"), depending on the model.
The sensor housing has two push buttons, Mark and Background, for easy
programming; it has two LEDs, Ready/Overload and Output, for easy monitoring
during operation. See Figure 1.
Figure 1. QL55 Luminescence Sensor
features (sensor back)
For easier understanding, the sensor faces are described in this data sheet as labeled
in Figure 2. The key pad is considered the sensor back, and the lens is on the bottom.
Luminescence Sensing
Luminescence sensing detects a form of electromagnetic radiation, caused by the
shining of UV light (“black” light, invisible to the human eye) on a luminescent
substrate material, such as a petroleum-based adhesive. When the UV light shines
on the adhesive, the light “excites” electrons in the material (effecting a change of
state), causing it to reflect visible light. Thus an invisible light source can produce a
visible reflection. Because it emits UV light but detects visible waves, the sensor can
distinguish between the fluorescent material and other highly reflective materials.
Cost Factors
When comparing luminescence sensors to make a selection, it is important to
consider whether luminophores must be added to the product sensed, in order for
the sensor to detect luminescence. Generally speaking, the more sensitive the sensor,
the lower the level of luminescence required for detection. Less sensitive (and usually
less expensive) sensors may require an additional step in the production process, and
a substantial cost over time, to add luminophores. For information on less expensive,
less sensitive luminescence sensor models, refer to data sheet p/n 112151, Model
QL50 Luminescence Sensor, or contact a Banner applications engineer for more
information (see back page for addresses).
Top
Back
Key
Pad
Bottom
Lens
Figure 2. QL55 orientation of features
Front
Blanking
Plug
2 P/N 112153 rev. C
Banner Engineering Corp. • Minneapolis, MN U.S.A.
www.bannerengineering.com • Tel: 763.544.3164
Page 3
Output OFF Output ON
Less Luminescent
Condition
More Luminescent
Condition
Less Luminescent
Condition
More Luminescent
Condition
Least
Luminescent
Most
Luminescent
Output OFFOutput ON
Least
Luminescent
Most
Luminescent
Light Operate
Dark Operate
Figure 3. Sensor automatically selects light
READY OUT
MARK
BKGD
READY OUT
MARK
BKGD
READY OUT
MARK
BKGD
READY OUT
MARK
BKGD
OUTREADY
MARK
BKGD
then
operate or dark operate, when
configured as described below
QL55 Series Luminescence Sensor
Sensor Configuration
In this simple two-step procedure, the sensor samples the luminescence levels of
both the target (Mark) and the background (Background) conditions. The sensor
automatically selects light operate or dark operate (see Figure 3) based on the relative
luminescence of the two conditions. Using the procedure described below, sensing
the more luminescent condition (in this case the target to be sensed) will close the
normally open output, turn on the red Output LED, and cause the output to conduct
current (light operate).
If the application requires the output to conduct for a less luminescent condition,
reverse the procedure (dark operate):
• Present the less luminescent condition first (Mark push button) and then
• Present the more luminescent condition (Background push button).
Condition
SET Output ON
Condition
SET Output OFF
Procedure Result
• Position luminescent target in front of
sensing lens.
• Press Mark push button (approx. 4 sec.)
until green Ready LED turns OFF.
• Remove luminescent target from
sensor’s field of view.
• Press and hold Background push button
(approx. 4 sec.) until green blinks.
Green Ready LED: turns OFF
Red Output LED: OFF
Green Ready LED stays OFF, and
sensor stores the Output ON condition.
Programming Accepted
Green Ready LED: Flashes 1x, then ON
Red Output LED: OFF
Green Ready LED stays ON, and
sensor stores the Output OFF
(background) condition.
Programming Error
(Due to insufficient contrast between
target and background luminescence)
Green Ready LED: flashes slowly (approx. 2 Hz)
Repeat programming procedure from the beginning.
If programming fails again, increase the target luminescence or
subdue the background.
P/N 112153 rev. C 3
Banner Engineering Corp. • Minneapolis, MN U.S.A.
www.bannerengineering.com • Tel: 763.544.3164
Page 4

QL55 Series Luminescence Sensor
Sensor
Output
OFF-Delay (20 ms)
Output Ends
Output
Starts
ON
1 2
OFF-delay
Active
OFF-delay
Inactive
(default)
NPN (default)
PNP
NPN/PNP Selector
(recessed
below top board)
ON
1 2
DIP Switch 2:
Output OFF-Delay Selector
DIP Switch 1:
For factory use only;
leave in OFF position
Sensor Setup
Output OFF-Delay
Setting an output OFF-delay extends the duration of the QL55 sensor’s ON output by
20 ms. See Figure 4. The sensor default is for no OFF-delay.
NOTE: Take precautions against potential static discharge.
To activate the output OFF-delay option:
1. Remove power from sensor.
2. Remove the four cover screws and the sensor side cover.
3. Slide DIP switch 2 (shown in Figure 5) to the ON position.
NOTE: Leave DIP switch 1 in its factory-set position.
4. Change NPN/PNP output selection, if applicable.
5. Replace the sensor side cover and screws.
Setting NPN / PNP Output
The QL55 has a selector switch for setting the output to NPN (current sinking) or PNP
(current sourcing). The sensor is pre-set with the output set to NPN. If the sensor will
be operating with an NPN output (and no output OFF-delay), the sensor housing does
not need to be opened.
NOTE: Take precautions against potential static discharge.
To set NPN or PNP output:
1. Remove power from sensor.
Figure 4. Output OFF-delay: Output
continues for 20 ms after sensing
stops
2. Access the red sliding NPN/PNP selector switch by removing the four cover screws
and the sensor side cover. The switch is located deep within the sensor housing;
do not confuse it with the bank of two DIP switches. The NPN/PNP selector switch
is visible below the circuit board, next to the exposed mounting screw location (see
Figure 5).
Figure 5. Selector switches: Output OFF-
Delay and NPN/PNP output select
3. Carefully use a small screwdriver (preferably non-metallic) to select the NPN or
PNP switch position.
4. Replace the sensor side cover and screws before installing the sensor.
NOTE: If a cover screw is lost, contact the Banner applications group for a free
replacement (see back page for addresses).
4 P/N 112153 rev. C
Banner Engineering Corp. • Minneapolis, MN U.S.A.
www.bannerengineering.com • Tel: 763.544.3164
Page 5

QL55 Series Luminescence Sensor
Sensor Installation
Do not attempt to change the lens position on the sensor housing. The sensor will
work only with the lens in the bottom port (see Figure 2). No optical components
exist behind the blanking plug on the sensor front; do not remove the blanking plug.
1. Loosen the connector locking screw (several turns), and position the QD connector
as needed (back, side, or bottom of the sensor). Tighten the locking screw after the
connector is properly positioned.
2. Measure the appropriate operating distance from the front surface of the sensor
optics to the surface or object to be sensed. Do not exceed the sensing range for
your model (see page 1 for sensor model and range).
3. Fasten the sensor to its intended location using two to four M5 mounting screws
and washers. There are four mounting holes on the bottom (lens side) of the
sensor and two on each side (see page 7).
NOTE: Proper mounting screw length depends on mounting bracket thickness.
Additional washers may be necessary to make sure the screws do not
exceed the thread depth.
4. Attach the QD cable to the sensor’s connector; see hookups on page 7.
Sensor Operation
Power up the QL55 Sensor after programming, setup, and installation. The green
Ready LED turns ON to indicate that the sensor is in RUN mode and ready to sense
the luminescent target as programmed. When configured as described on page 3,
sensing the target object will cause the normally-open output to close and the red
Output LED to turn ON.
If the sensor experiences an output overload condition during operation, the green
Ready LED will flash fast (approx. 4 Hz). Verify that output current is less than
200 mA.
Banner Engineering Corp. • Minneapolis, MN U.S.A.
P/N 112153 rev. C 5
www.bannerengineering.com • Tel: 763.544.3164
Page 6

QL55 Series Luminescence Sensor
Specifications
Sensing Beam
Supply Voltage
Supply Protection Circuitry
Output Configuration
Output Rating
Output Protection
Output Response Time
Adjustments
Indicators
Construction
Environmental Rating
Connections
Operating Conditions
Data Retention
Scanning Range
Spot Diameter
Ambient Light Rejection
Shock Resistance
Vibration
Ultraviolet high-power LED (370 nm)
10 to 30V dc, 2 V pp max ripple
80 mA max, exclusive of load
Protected against reverse polarity
Discrete NPN or PNP
Analog 0 to 5.5V dc ± 10%, ripple 40 mV pp max.
Saturation Voltage: 1V max. NPN / 2V max PNP
Leakage Current: <100 µA
200 mA maximum load
NPN/PNP: Protected against reverse polarity, overload, and short circuit
(pull down/up resistance 10 k
Analog: Protected against short circuit (output resistance 2.2 kΩ)
250 microseconds
2 push buttons (MARK and BKGD) determine switching threshold and Light/Dark operate (see page 3)
2 selector switches (see Figure 5)
• 20 ms Output OFF-delay
• NPN/PNP output
Red Output LED
ON: output is conducting
Green Ready/Overload LED
ON: normal operating condition, RUN mode
Flashing 2 Hz: setup failure due to insufficient contrast
Flashing 4 Hz: output overload condition (verify output current ≤ 200 mA)
Housing: zinc, aluminum, and magnesium alloy
Lens: glass
IEC IP62
4-pin Euro-style (M12) QD connector. See back cover for required accessory cable options.
Temperature: -10° to +55°C (+14° to +131°F)
Max. Relative Humidity: 85% at 50°C (non-condensing)
EEPROM nonvolatile memory
QL55M6XD15BQ: 9 to 18 mm (0.35" to 0.71")
QL55M6XD30BQ: 20 to 40 mm (0.79" to 1.57")
QL55M6XD50BQ: 40 to 75 mm (1.57" to 2.95")
QL55M6XD15BQ: 2 mm (0.08")
QL55M6XD30BQ: 3 mm (0.12")
QL55M6XD50BQ: 4 mm (0.16")
According to EN 60947-5-2
30 G; 3 shocks per axis; 11 ms duration
0.5 mm (0.02") amplitude; 10 to 60 Hz frequency, 30 minutes for each X, Y, Z axis
Ω)
Certifications
Banner Engineering Corp. • Minneapolis, MN U.S.A.
6 P/N 112153 rev. C
www.bannerengineering.com • Tel: 763.544.3164
Page 7

QL55 Series Luminescence Sensor
4.3 mm
(0.17")
25 mm
(0.98")
28 mm
(1.10")
28.6 mm
(1.13")
Model QL55M6XD50BQ
21.6 mm
(0.85")
33 mm
(1.30")
Model QL55M6XD30BQ
READY OUT
MARK BKGD
READY OUT
MARK BKGD
READY OUT
READY OUT
MARK
BKGD
31.0 mm
(1.22")
M12
Connector
77.0 mm
(3.03")
81.2 mm
(3.20")
16.0 mm
(0.63")
58.0 mm
(2.28")
36.6 mm
(1.44")
28.0 mm
(1.10")
39.8 mm
(1.57")
28.2 mm
(1.10")
14.1 mm
(0.56")
27.5 mm
(1.08")
21.0 mm
(0.83")
Connector swivels to 3 positions
Blanking Plug Only
No optical axis
in this location
Do Not Remove
Model QL55M6XD15BQ
Loosen locking
screw to rotate
connector
bn
bu
10 to 30V dc
wh
bk
Load
Analog Out
0 to 5.5V dc
bn
bu
10 to 30V dc
wh
bk
Load
Analog Out
0 to 5.5V dc
Dimensions
Hookups
NPN PNP
Banner Engineering Corp. • Minneapolis, MN U.S.A.
www.bannerengineering.com • Tel: 763.544.3164
P/N 112153 rev. C 7
Page 8

QL55 Series Luminescence Sensor
White Wire
Blue Wire
Black Wire
Brown Wire
M12 x 1
ø 15 mm
(0.6")
44 mm max.
(1.7")
Quick-Disconnect Cables
Style Model Length Dimensions Pinout
4-Pin
Straight
Euro-style
MQDC-406
MQDC-415
MQDC-430
2 m (6.5')
5 m (15')
9 m (30')
Accessory Mounting Brackets
See the current Banner Photoelectric Catalog or website, www.bannerengineering.com, for bracket dimensions.
SMB55A
• 15° offset bracket
• 12-gauge stainless steel
SMB55RA
• Right-angle bracket
• 12-gauge stainless steel
SMB55F
• Flat-mount bracket
• 12-gauge stainless steel
SMB55S
• 15° offset bracket
• 12-gauge stainless steel
WARRANTY: Banner Engineering Corp. warrants its products to be free from defects for one year. Banner Engineering Corp. will repair
or replace, free of charge, any product of its manufacture found to be defective at the time it is returned to the factory during the warranty
period. This warranty does not cover damage or liability for the improper application of Banner products. This warranty is in lieu of any
other warranty either expressed or implied.
P/N 112153 rev. C
Banner Engineering Corp., 9714 Tenth Ave. No., Minneapolis, MN USA 55441 • Phone: 763.544.3164 • www.bannerengineering.com • Email: sensors@bannerengineering.com
 Loading...