

Page 1
Operating
ID200 Series
Instructions
Imprinter
Table of Contents Page
BAND-IT-IDEX, Inc.
A Unit of IDEX Corporation
4799 Dahlia Street
Denver, CO 80216-3070 USA
P: 1-800-525-0758
F: 1-800-624-3925
Imprinter Operating Instructions 2-3
Changing Character Dial Instructions 4
Line and Letter Charts 5-9
1/16” 5
3/32” 6
1/8” 7
3/16” 8
1/4" 9
Assembly Drawings 10-11
Repair Parts List 12
Trouble Shooting 13
Kits 14
Document # P98289 rev. C
www.BAND-IT-IDEX.com
Page 1 of 14
BAND-IT-IDEX, Inc. 2007
© Copyright
All rights reserved
Page 2
Operating
ID200 Series
Instructions
1.5 x 2.5 ¾ x 2
Tag Anvils
¾ x 3.5
Knurled Nut
Dial Wheel
Capstan Screw
Imprinter
Handle
Depth Adjustment
Mounting Plate
Tag & Anvil
Location
Setup
Edge
Table Limit
Screw Location
Escapement
Wheel
Ram
Letter Pointer
Drum Gear
Table Anvil
Letter Indicator
Table (bottom view)
Line Indicator
Table
Spacing Rack
Spacer Button Spacing Screw
BAND-IT-IDEX, Inc.
A Unit of IDEX Corporation
4799 Dahlia Street
Denver, CO 80216-3070 USA
P: 1-800-525-0758
F: 1-800-624-3925
www.BAND-IT-IDEX.com
Page 2 of 14
Document # P98289 rev. C
© Copyright
BAND-IT-IDEX, Inc. 2007
All rights reserved
Page 3

Operating
ID200 Series
Instructions
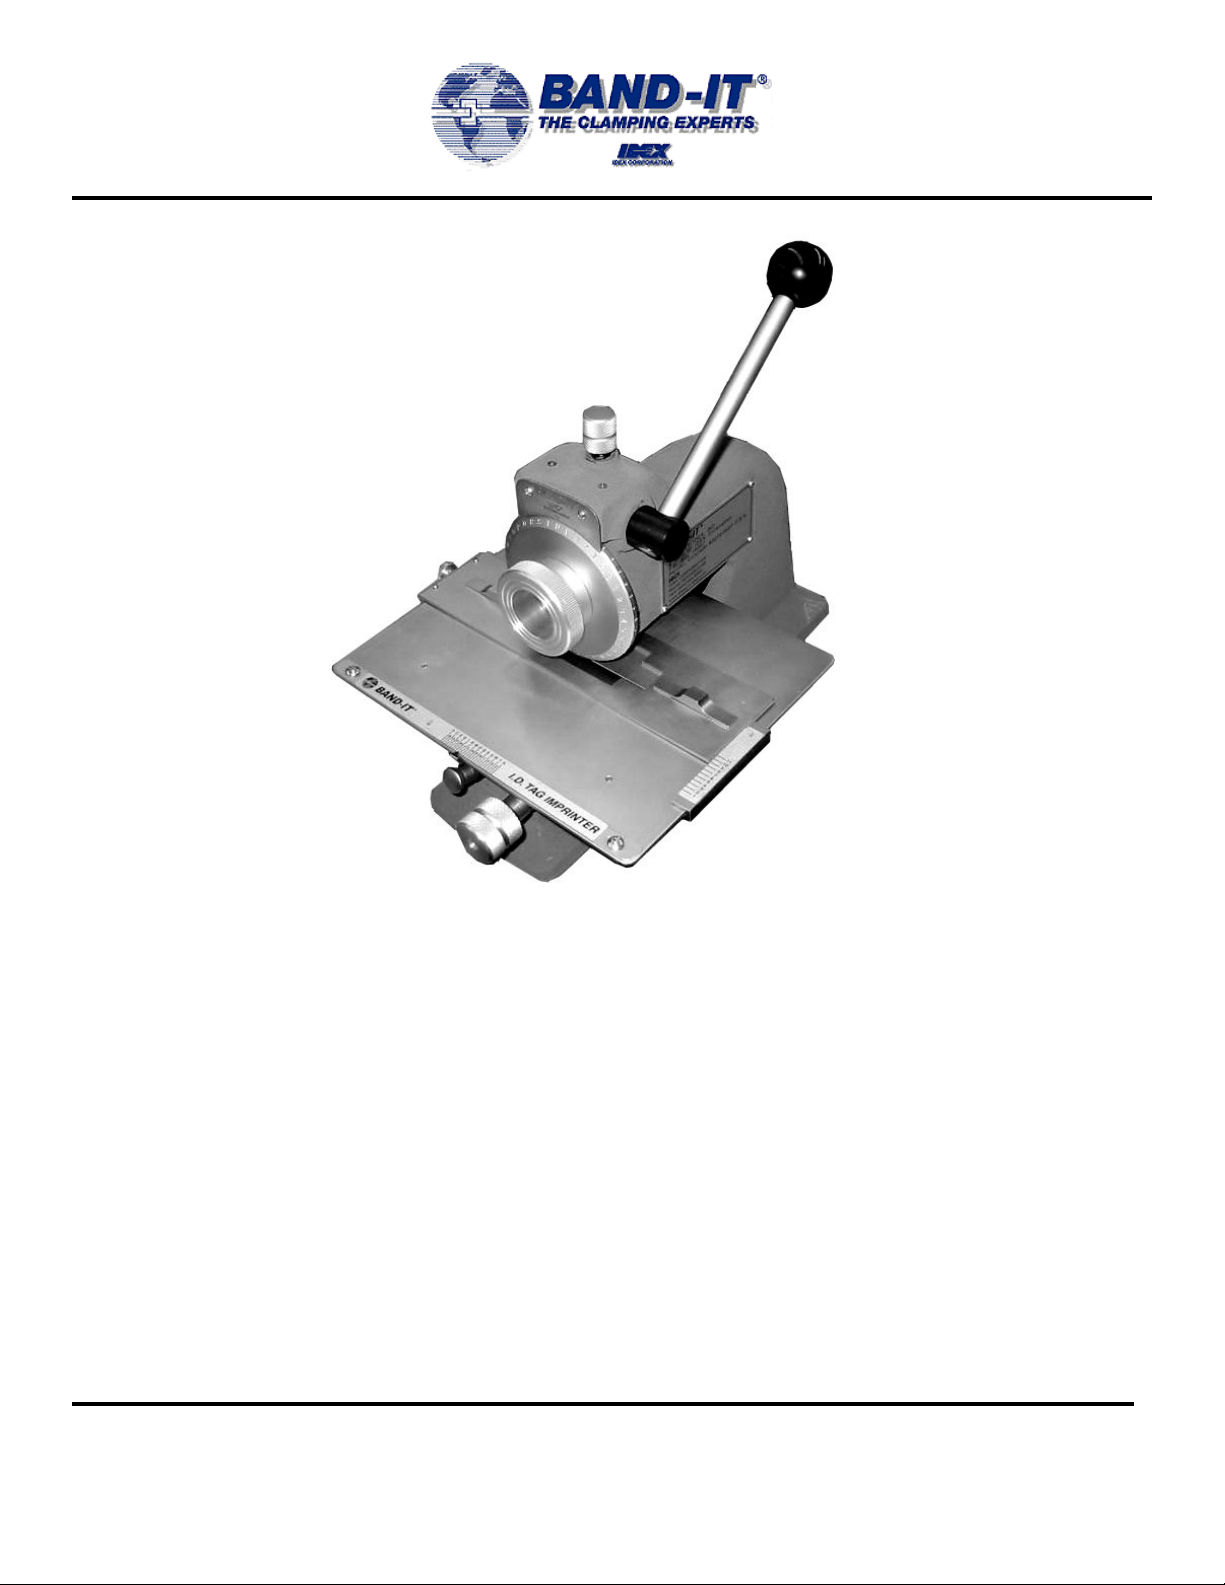
The I.D Tag Imprinter
The imprinter is an easy-to-use machine for stamping data neatly and uniformly on I.D tags.
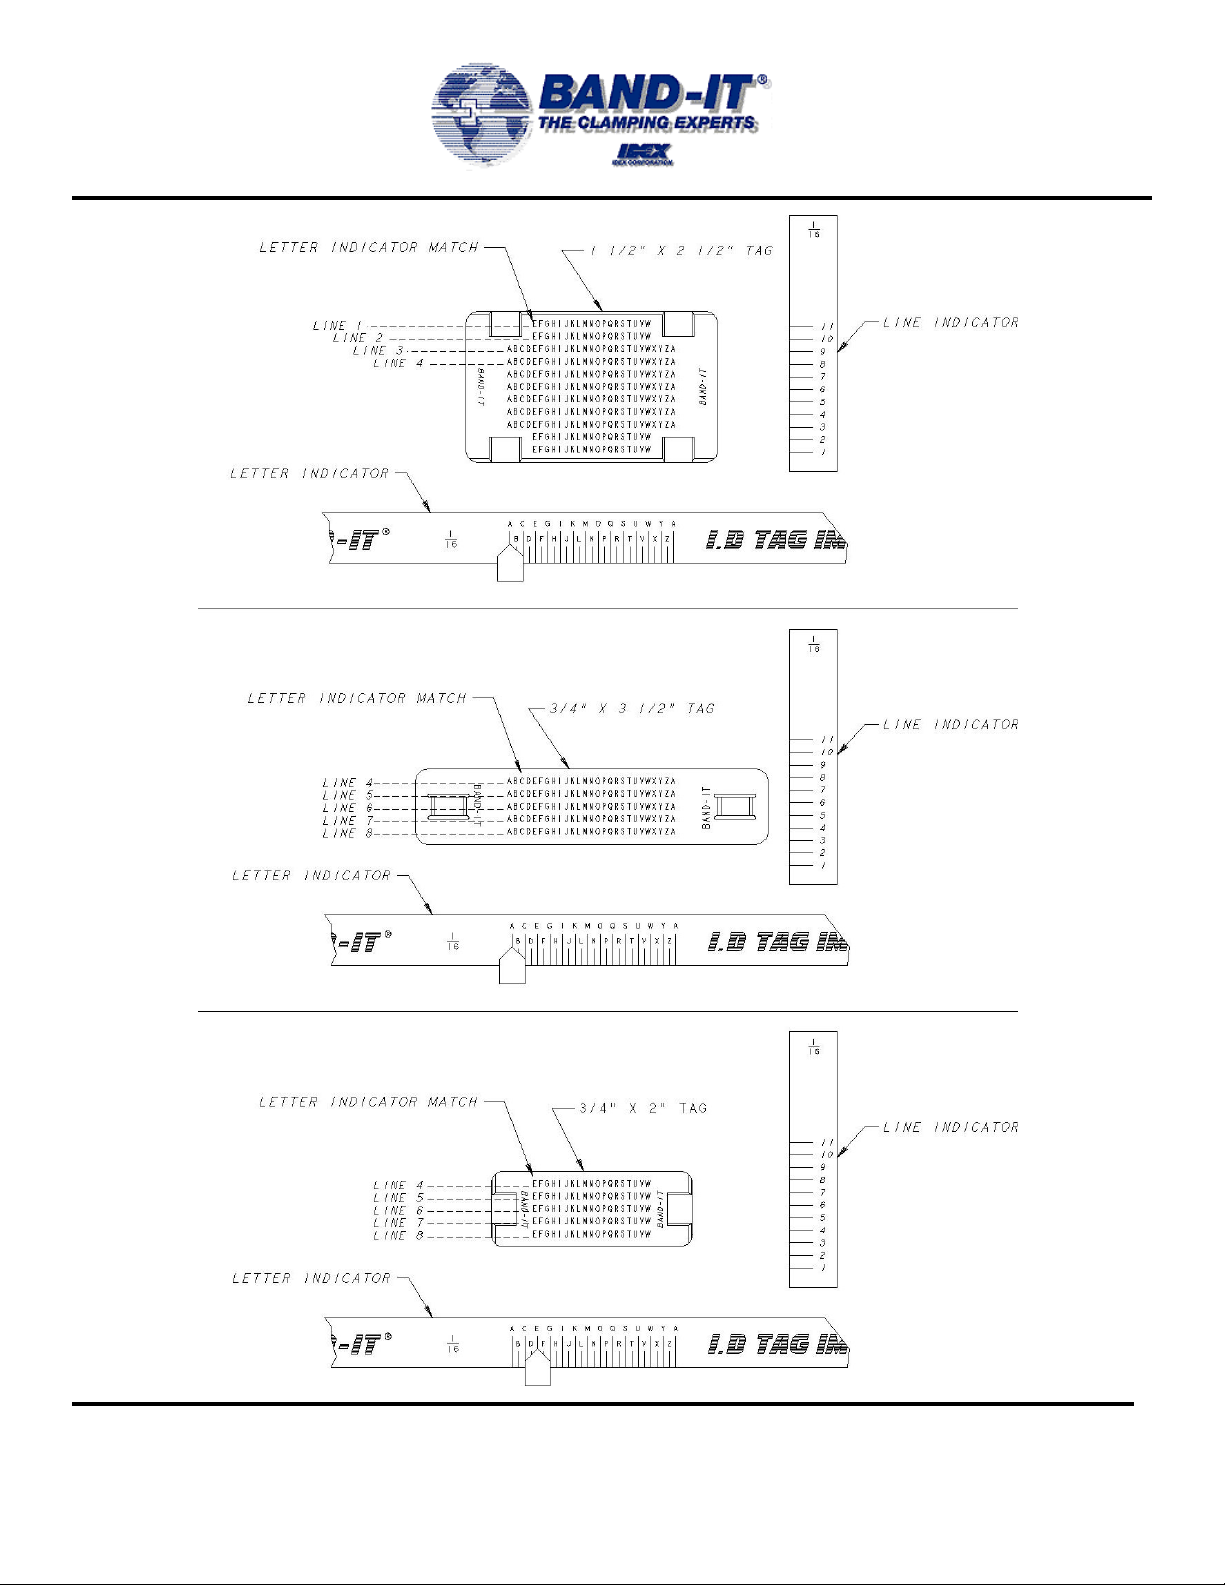
Familiarize yourself by imprinting some practice pieces. With the 3/32" letter size dial, the large 1 1/2
x 2 1/2 I.D tag can hold as many as 91 characters on 7 lines, plus 30 more using all the space
available (see line and letter charts provided in this manual). The small 3/4 x 2" I.D tags will hold 39
characters on 3 lines.
How To Operate Imprinter
Note:
Imprinter is assembled with large anvil already in place. When it becomes necessary to exchange
anvils (to print on small tags) be sure that the word "bottom" is faced down on table.
Loosen mounting plate knurled nut. Slide mounting plate to the front and place large I.D tag on top of
anvil. Move tag hold-down slides to the inside.
Align the right front edge of the mounting plate with the #1 line of the line indicator and the pointer of
the letter indicator with the letter "D".
Spin the character dial to select the desired letter or number to imprint.
Impression depth has been preset at the factory. If deeper impression is desired, turn depth
adjustment screw located on top of imprinter counter clockwise.
Actuate operating handle firmly for character impression in I.D tag. Table will index automatically to
the next character space.
Caution: Forcing the operating handle may cause damage to the machine.
Use the letter and line charts on pages 5-9 for line and character position.
Refer to website for warranty information:
http://www.band-it-idex.com/warranty.html
Imprinter
BAND-IT-IDEX, Inc.
A Unit of IDEX Corporation
4799 Dahlia Street
Denver, CO 80216-3070 USA
P: 1-800-525-0758
F: 1-800-624-3925
www.BAND-IT-IDEX.com
Page 3 of 14
Document # P98289 rev. C
© Copyright
BAND-IT-IDEX, Inc. 2007
All rights reserved
Page 4
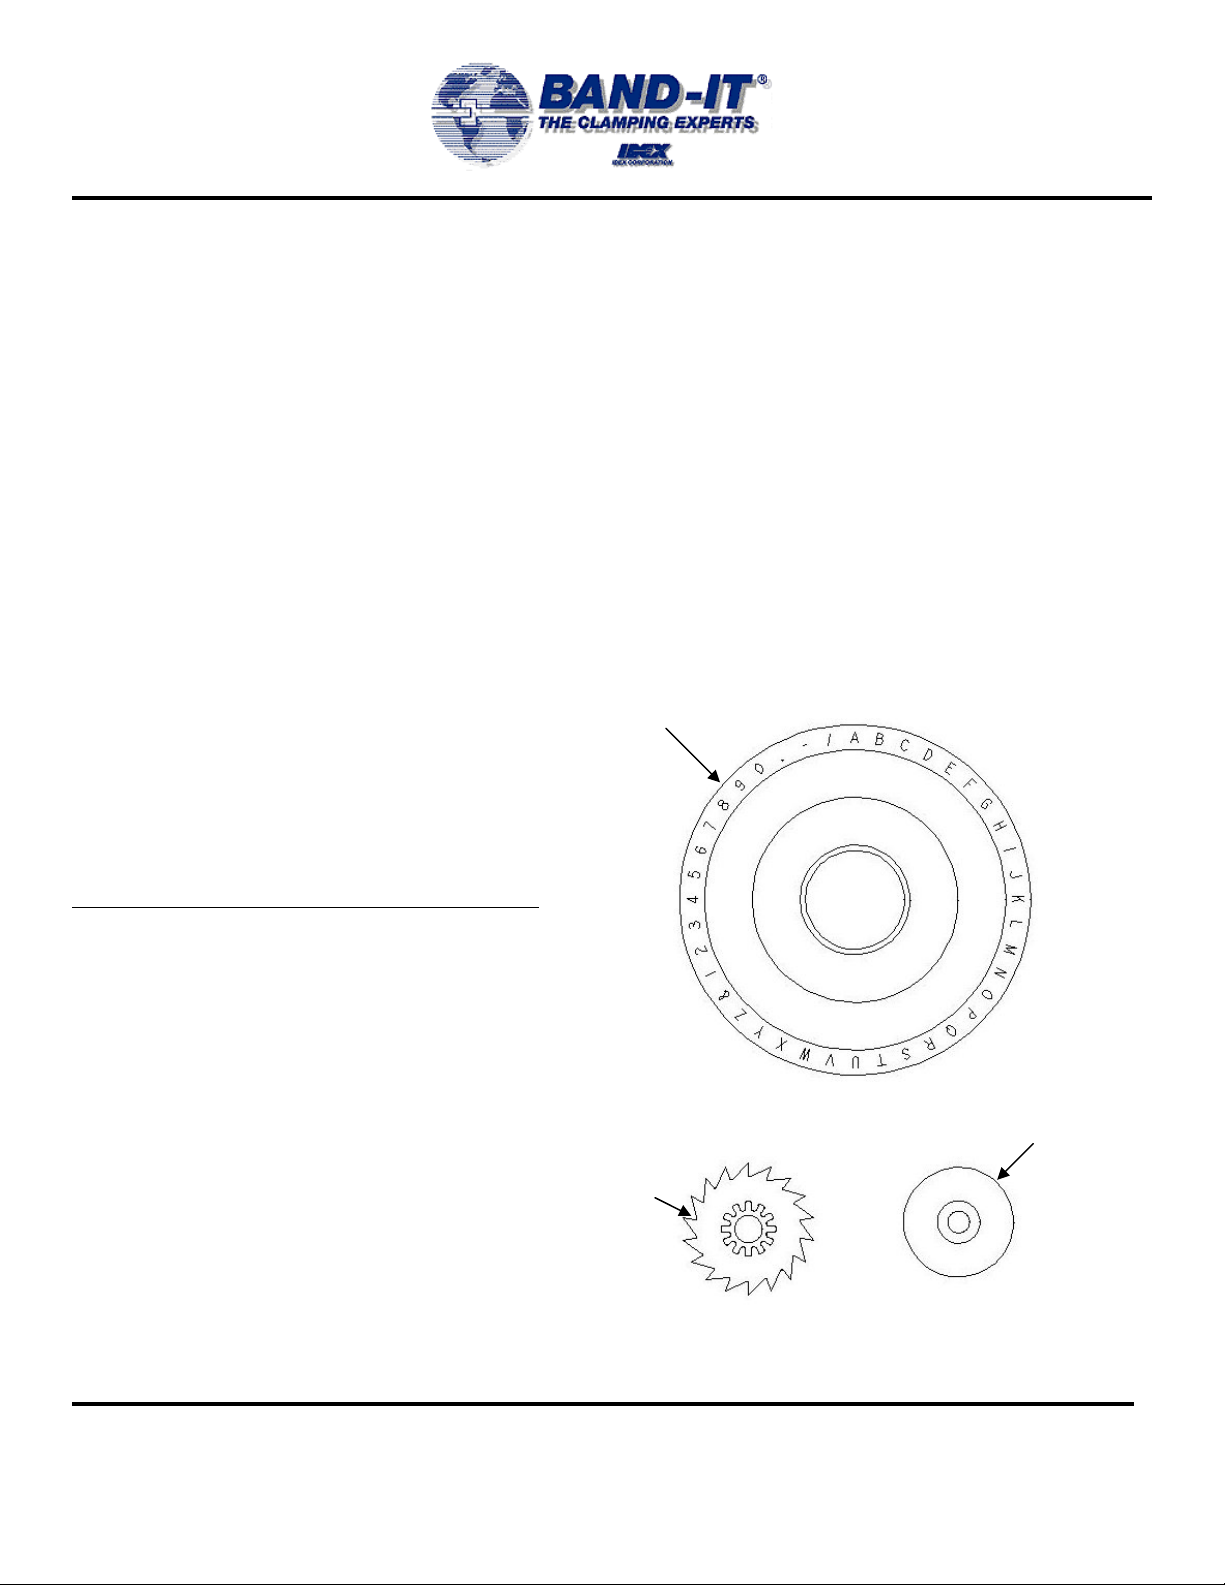
Character Dial
ID200 Series
Instructions
Remove screw in center of dial and take dial and knob assembly off. Place new dial and knob in
position and tighten with retaining screw. Replace line and letter indicator with corresponding parts
from kit. Slide table to extreme right and remove table limit screw.
Caution: Table is under tension when pushed all the way to the right.
To safely return table to the left, hold table to the right and push spacer button to allow table to move
slowly to the left and expose spacing mechanism. Remove escapement wheel screw, dial washer
and escapement wheel and replace with parts from kit. Move table all the way to the right and
reassemble table limit screw. To return table to imprinting position, reset line and letter indicator to
line and letter chart provided with kit.
Imprinter
Dial Kits:
Dial kits come complete with dial
Dial Wheel
wheel, escapement wheel, dial washer
line spacing indicator with decal and
a letter spacing indicator with decal.
Catalog Number Description
ID2816 1/16” Letter Dial Kit
ID2906 3/32” Letter Dial Kit
ID2826 1/8” Letter Dial Kit
ID2836 3/16” Letter Dial Kit
ID2846
BAND-IT-IDEX, Inc.
A Unit of IDEX Corporation
4799 Dahlia Street
Denver, CO 80216-3070 USA
P: 1-800-525-0758
F: 1-800-624-3925
1/4” Letter Dial Kit
Escapement Wheel
www.BAND-IT-IDEX.com
Page 4 of 14
Dial Washer
Document # P98289 rev. C
© Copyright
BAND-IT-IDEX, Inc. 2007
All rights reserved
Page 5
1/16” Line and
ID200 Series
Letter Position Chart
Imprinter
BAND-IT-IDEX, Inc.
A Unit of IDEX Corporation
4799 Dahlia Street
Denver, CO 80216-3070 USA
P: 1-800-525-0758
F: 1-800-624-3925
www.BAND-IT-IDEX.com
Page 5 of 14
Document # P98289 rev. C
© Copyright
BAND-IT-IDEX, Inc. 2007
All rights reserved
Page 6

3/32” Line and
ID200 Series
Letter Position Chart
Imprinter
BAND-IT-IDEX, Inc.
A Unit of IDEX Corporation
4799 Dahlia Street
Denver, CO 80216-3070 USA
P: 1-800-525-0758
F: 1-800-624-3925
www.BAND-IT-IDEX.com
Page 6 of 14
Document # P98289 rev. C
© Copyright
BAND-IT-IDEX, Inc. 2007
All rights reserved
Page 7

1/8” Line and Letter
ID200 Series
Position Chart
Imprinter
BAND-IT-IDEX, Inc.
A Unit of IDEX Corporation
4799 Dahlia Street
Denver, CO 80216-3070 USA
P: 1-800-525-0758
F: 1-800-624-3925
www.BAND-IT-IDEX.com
Page 7 of 14
Document # P98289 rev. C
© Copyright
BAND-IT-IDEX, Inc. 2007
All rights reserved
Page 8

3/16” Line and
ID200 Series
Letter Position Chart
Imprinter
BAND-IT-IDEX, Inc.
A Unit of IDEX Corporation
4799 Dahlia Street
Denver, CO 80216-3070 USA
P: 1-800-525-0758
F: 1-800-624-3925
www.BAND-IT-IDEX.com
Page 8 of 14
Document # P98289 rev. C
© Copyright
BAND-IT-IDEX, Inc. 2007
All rights reserved
Page 9

1/4” Line and Letter
ID200 Series
Position Chart
Imprinter
BAND-IT-IDEX, Inc.
A Unit of IDEX Corporation
4799 Dahlia Street
Denver, CO 80216-3070 USA
P: 1-800-525-0758
F: 1-800-624-3925
www.BAND-IT-IDEX.com
Page 9 of 14
Document # P98289 rev. C
© Copyright
BAND-IT-IDEX, Inc. 2007
All rights reserved
Page 10

w
y
j
w
Assembly
ID200 Series
Drawings
GIB
ustment
Ad
Front Guide
Imprinter
Handle
Assembly
Cam
Tag Holder
Scre
Leaf Spring
Safety Spring
Adjustment
Set Scre
Connector
Link
Arm Stop
Rear Guide
Table Spring
GIB
Pawl
Assembl
Stop
Mounting
Plate
Tag Holder Assembly
Slide
BAND-IT-IDEX, Inc.
A Unit of IDEX Corporation
4799 Dahlia Street
Denver, CO 80216-3070 USA
P: 1-800-525-0758
F: 1-800-624-3925
Internal Linkage Detail
Document # P98289 rev. C
www.BAND-IT-IDEX.com
Page 10 of 14
BAND-IT-IDEX, Inc. 2007
© Copyright
All rights reserved
Page 11

Assembly
ID200 Series
Drawings
Imprinter
BAND-IT-IDEX, Inc.
A Unit of IDEX Corporation
4799 Dahlia Street
Denver, CO 80216-3070 USA
P: 1-800-525-0758
F: 1-800-624-3925
www.BAND-IT-IDEX.com
Page 11 of 14
Document # P98289 rev. C
© Copyright
BAND-IT-IDEX, Inc. 2007
All rights reserved
Page 12

Repair
ID200 Series
Parts List
BAND-IT
Part
ID2698 1 1/16” Dial Wheel
ID2918 1 3/32” Dial Wheel
ID2728 1 1/8” Dial Wheel
ID2758 1 3/16” Dial Wheel
ID2788 1 1/4” Dial Wheel
ID2068 1 1/16” Escapement Wheel
ID2078 1 3/32” Escapement Wheel
ID2088 1 1/8” Escapement Wheel
ID2098 1 3/16” Escapement Wheel
ID2108 1 1/4” Escapement Wheel
ID2718 1 1/16” Letter Spacing Decal
ID2518 1 3/32” Letter Spacing Decal
ID2748 1 1/8” Letter Spacing Decal
ID2778 1 3/16” Letter Spacing Decal
ID2808 1 1/4” Letter Spacing Decal
ID2708 1 1/16” Line Spacing Decal
ID2628 1 3/32” Line Spacing Decal
ID2738 1 1/8” Line Spacing Decal
ID2768 1 3/16” Line Spacing Decal
ID2798 1 1/4” Line Spacing Decal
ID2588 1 Anvil, .75 X 2.0 Tag
ID2598 1 Anvil, 1.5 X 2.5 Tag
ID2898 1 Anvil, .75 X 3.5 Tag
ID2816 1 Dial Kit, 1/16” Letter
ID2906 1 Dial Kit, 3/32” Letter
ID2826 1 Dial Kit, 1/8” Letter
ID2836 1 Dial Kit, 3/16” Letter
ID2846 1 Dial Kit, 1/4” Letter
QTY Description
Imprinter
BAND-IT-IDEX, Inc.
A Unit of IDEX Corporation
4799 Dahlia Street
Denver, CO 80216-3070 USA
P: 1-800-525-0758
F: 1-800-624-3925
www.BAND-IT-IDEX.com
Page 12 of 14
Document # P98289 rev. C
© Copyright
BAND-IT-IDEX, Inc. 2007
All rights reserved
Page 13

Trouble
ID200 Series
Shooting
Problem Probable Cause Solution
Improper line location
Letters not in a
straight line
Table will not index
Full letter not printed GIB needs adjusting.
Small tag: Letters not
in a straight line
Letter depth incorrect
Loose or misaligned line
indicator.
Mounting plate not
locked in place tight.
Mounting plate bowed
when locked in place.
Operating handle not
returned to original
position.
Table will not index
when handle is returned
to original position.
Table slides left instead
of indexing.
Letter impression too
deep.
Depth adjustment screw.
Capstan screw.
Imprinter
Line setup edge of mounting plate with bottom of
table anvil (Page 2). Lock tag holder in place
with knurled nut. Line first line of line indicator
with bottom right corner of mounting plate.
Tighten the 2 set screws on the bottom of the
line indicator.
Check the knurled nut on tag holder, it must be
tight.
With mounting plate in locked position, loosen 2
set screws on bottom of line indicator. Line
indicator will move slightly to the right. Retighten
the 2 set screws.
After imprinting each character, the operating
handle must be returned to the neutral position
(ram in ‘up’ position).
Remove table per instructions on page 4. Turn
the imprinter upside down. Turn adjustment set
screw ¼ turn clockwise (See page 10). Check
indexing of table, turn screw more if needed.
Remove table per instructions on page 4. Turn
the imprinter upside down. Turn adjustment set
screw ¼ turn counter-clockwise (See page 10).
Check for indexing of table, turn screw more if
needed.
Loosen all 3 GIB adjustment nuts and screws.
Evenly retighten screws. Retighten nuts. (See
page 10)
See letter depth.
Turn depth adjustment screw clockwise to
lighten impression, counter-clockwise to deepen.
If the full range of the depth adjustment screw
does not result in desired impression: Remove
character dial wheel and loosen set screw on
front of ram. Turn the capstan screw clockwise
for a lighter impression, counter-clockwise for
deeper. Adjust depth adjustment screw and
check impression. Retighten set screw on ram.
BAND-IT-IDEX, Inc.
A Unit of IDEX Corporation
4799 Dahlia Street
Denver, CO 80216-3070 USA
P: 1-800-525-0758
F: 1-800-624-3925
www.BAND-IT-IDEX.com
Page 13 of 14
Document # P98289 rev. C
© Copyright
BAND-IT-IDEX, Inc. 2007
All rights reserved
Page 14

Kits
ID200 Series
Imprinter
BAND-IT-IDEX, Inc.
A Unit of IDEX Corporation
4799 Dahlia Street
Denver, CO 80216-3070 USA
P: 1-800-525-0758
F: 1-800-624-3925
www.BAND-IT-IDEX.com
Page 14 of 14
Document # P98289 rev. C
© Copyright
BAND-IT-IDEX, Inc. 2007
All rights reserved
 Loading...