

Balanced REX Owner's Manual

REX
WARRANTY REGISTRATION FORM
Unit Serial Number: _______________________________________
Customer Name: _______________________________________
Address: _______________________________________
_______________________________________
Date of Purchase: _______________________________________
Purchased From:
Dealer Name: _______________________________________
Address: _______________________________________
_______________________________________
IMPORTANT NOTE:
In order to receive the full five year product warranty, please mail this completed
form together with a copy of your sales receipt to Balanced Audio Technology at the
address below, within thirty days of purchase.
Failure to do so will result in the product being warrantied for one year from the
date of manufacture.
1300 First Stat Blvd. Suite A Wilmington DE 19804 Tel: 302-999-8855 Fax: 302-999-8818
1
REX
Vacuum Tube
Balanced Stereo Preamplifier
Owner's Manual
1300 First Stat Blvd. Suite A Wilmington DE 19804 Tel: 302-999-8855 Fax: 302-999-8818
2

TABLE OF CONTENT
CURRENT SOURCES 4
CHANGING CURRENT SOURCES 5
AC SHUNT VOLTAGE REGULATORS 6
INTRODUCTION 7
Package Content 7
Physical Placement 8
Configuring the REX 8
Connecting to your system 9
FRONT PANEL CONTROLS 10
REX Power On sequence 10
Turning the REX Off 10
PHASE Button and LED 11
MONO button and LED 11
MUTE button and LED 11
INPUT selection 11
VOLUME knob 11
DISPLAY format 12
FUCTION button 12
DISPLAY Brightness function 13
MUTE function 13
REX PROGRAMMABLE FUNCTIONS 14
Parameter Definitions 15
PROGRAMMING THE REX 15
BALANCE adjustment 15
VOLUME offsets 16
PHASE 17
MONO/STEREO 17
MAXIMUM gain 17
FIXED gain 18
DISPLAY MODE 18
INPUT NAME 19
REMOTE CONTROL FUNCTIONS 20
Volume Up/Down 20
Mute 20
Fade 20
Input 20
Display/Power 21
Fuse Protection 21
Servicing 21
Cleaning 21
RESETTING THE REX 22
WARRANTY 23
3
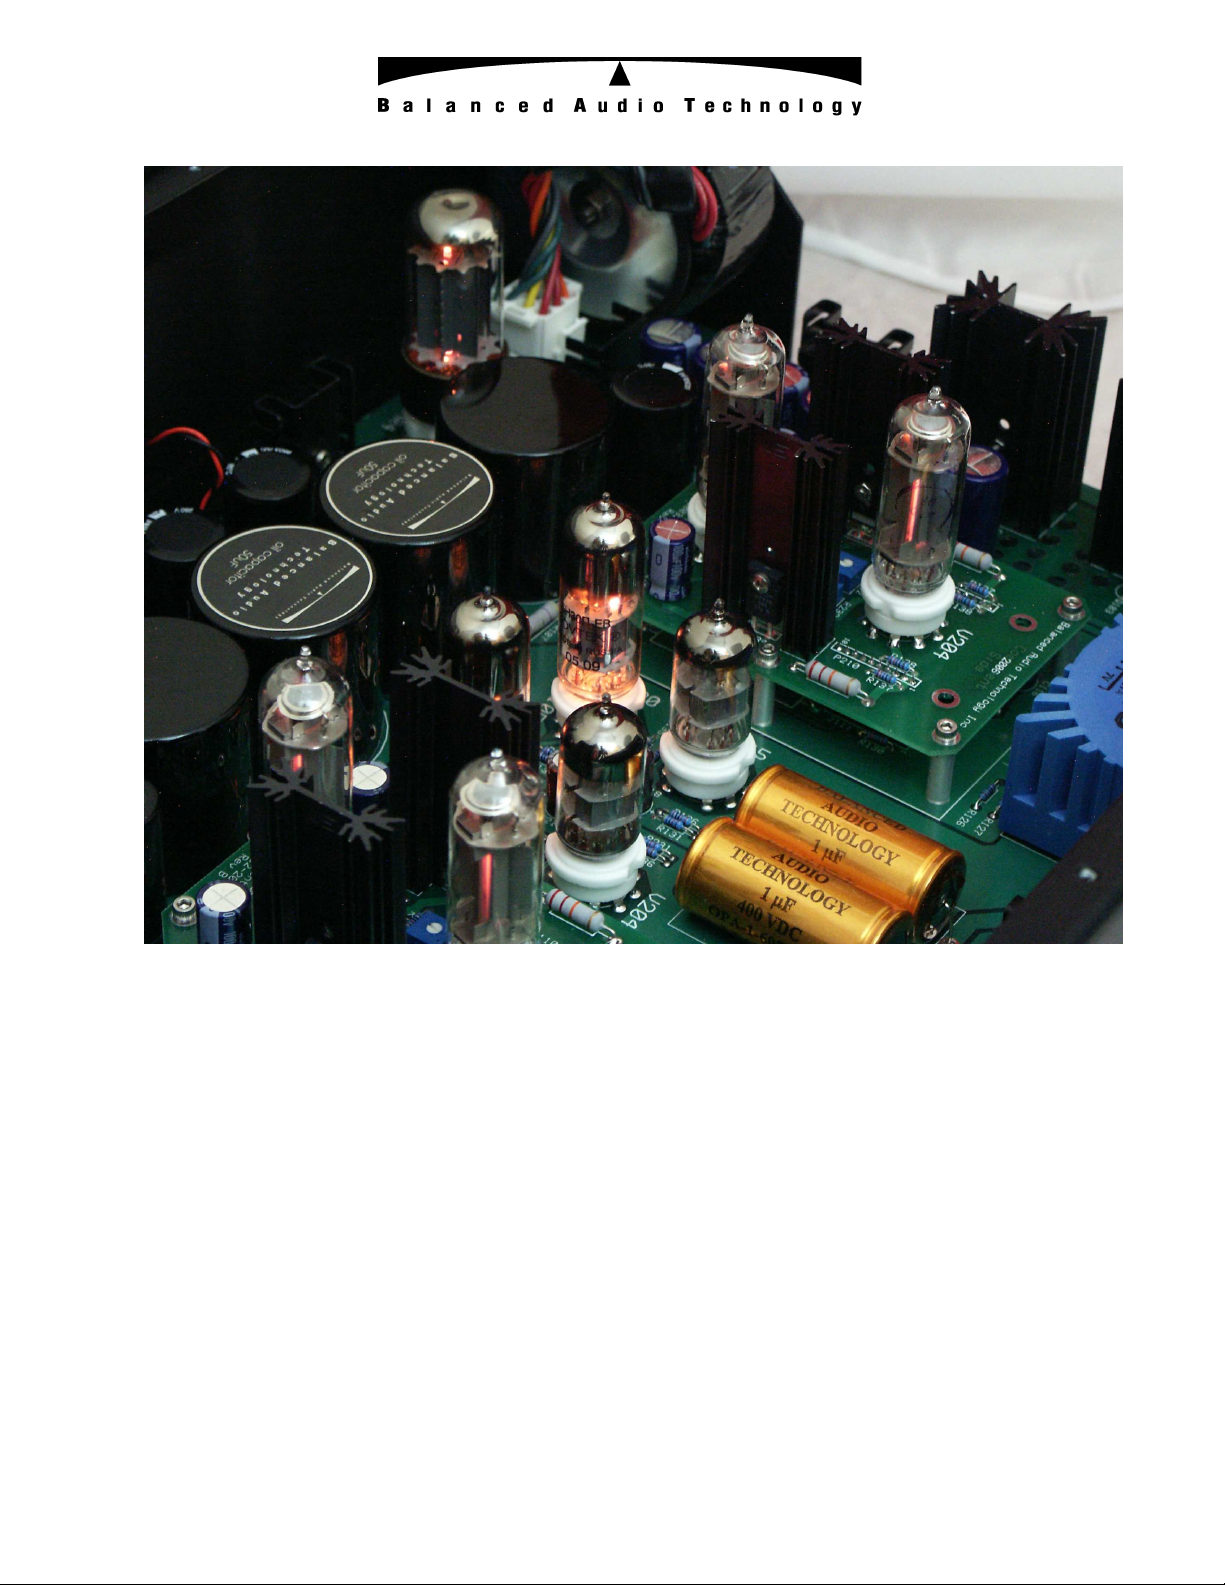
Vacuum Tube Current Sources in REX
Your REX incorporates a unique feature that allows you to optimize its sound to tailor it to your
individual taste or system requirements.
The Vacuum Tube current sources incorporated in the REX, being part of the signal gain stage, have a
direct effect on the unit’s sound. Changing the tube type used in that circuit allows the user an extra
degree of control over the sound of the unit.
In its standard configuration the REX current sources use the Russian 6C19 tubes. That tube is basically
a miniature version of the famous 6C33 tube, and provides, in our view, the best combination of sonic
characteristics and electrical performance.
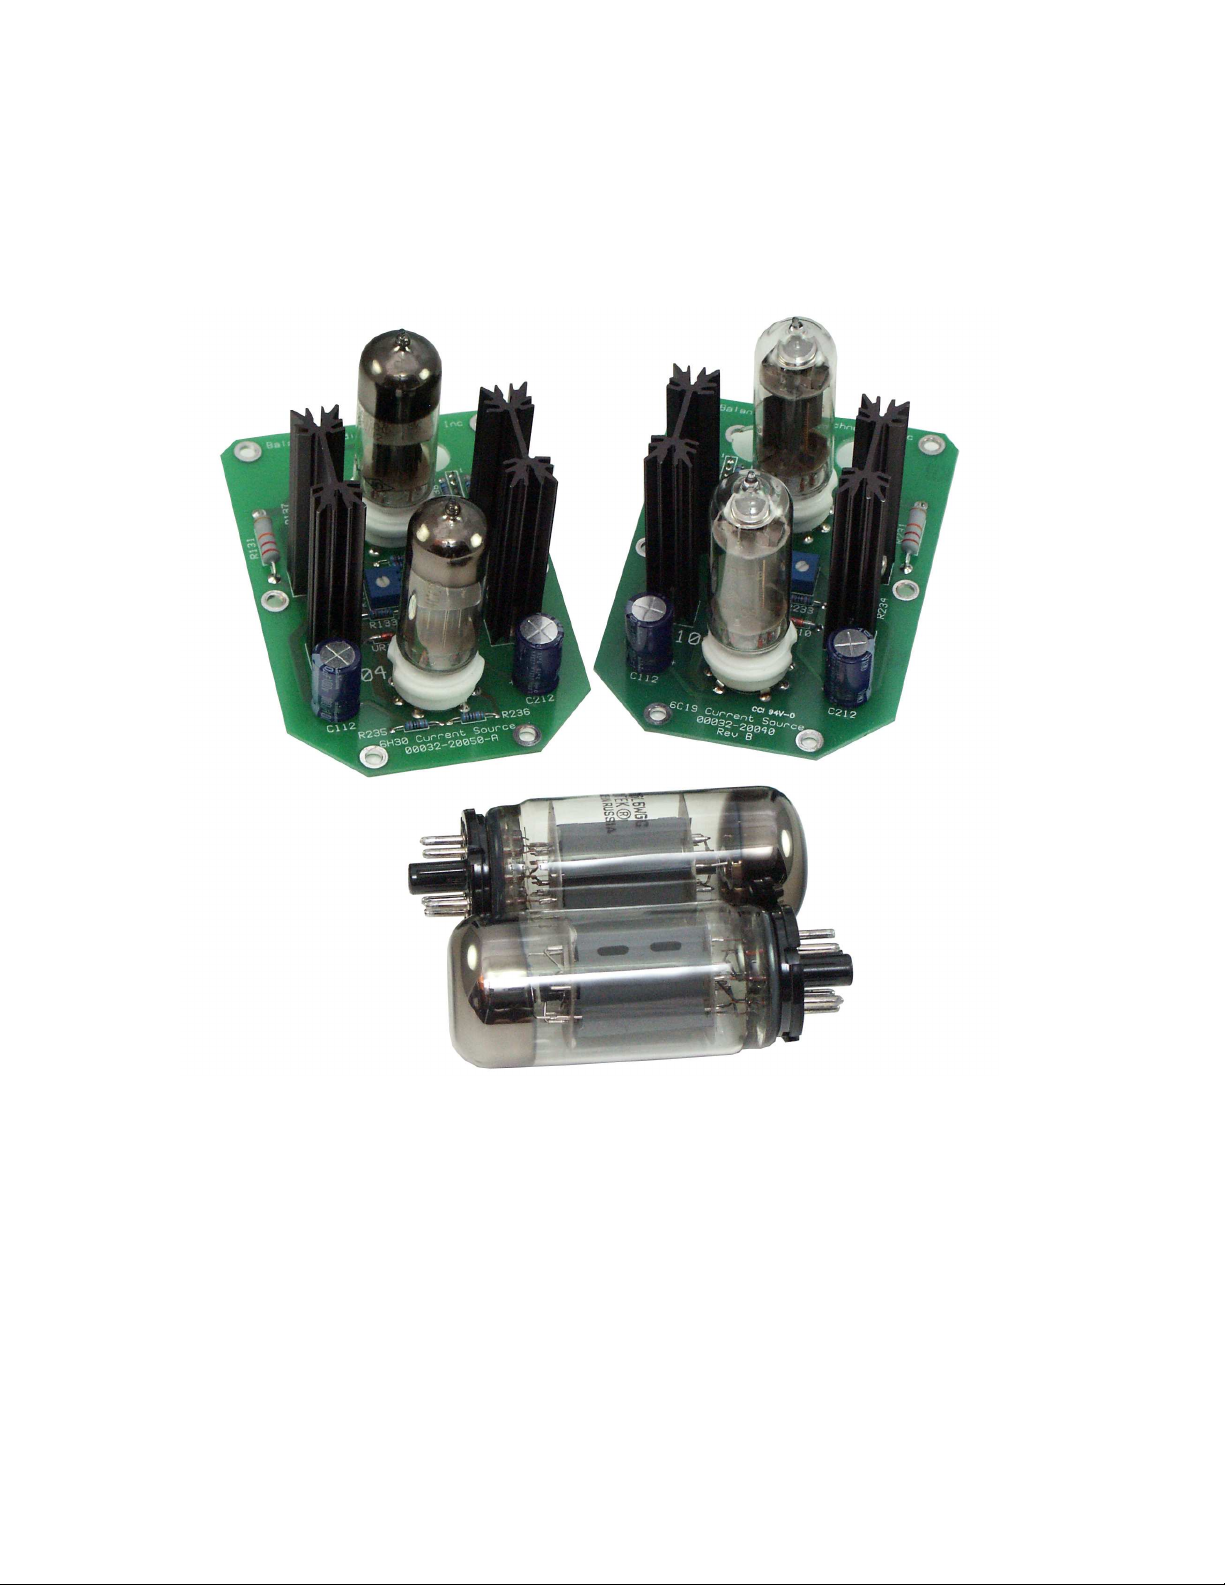
However, the unique design of the REX allows you to also use other tube types in that application.
Currently, the user has the following three choices for vacuum tube Current Sources:
1. The standard 6C19 tube current source as installed from the factory.
2. The 6H30 SuperTube current source which requires the purchase of the X-PAK accessory.
3. The 5881 tube current source.
NOTE: There are TWO Current Sources in REX, located in the Power Module.
The REX X-PAK accessory includes two current source boards.
4
In order to change the tube type the user needs to remove the installed Current Source boards, and replace
them with either another type, designed for a particular tube type, or install the 5881 tubes as a direct plug-in.
Only the 5881 tubes can be used directly upon the removal of the 6C19 current source board.
Please consult the factory regarding options for other tube types that may be available in the future.
WARNING:
The following procedure should only be performed by qualified personnel
To change the current source:
1. Turn the unit OFF and wait at least 5 minutes to allow the tubes to cool down and the power
supply charge to dissipate. Remove the Power Module top cover.
2. Remove the six screws holding each current source board.
3. Pull the current source boards straight up to disengage its connectors.
4. Install the new current source boards making sure their connectors are properly aligned. Boards
will be positioned properly when the mounting holes in the circuit boards align with the standoffs.
5. Install the six mounting screws.
6. Turn the unit ON.
5
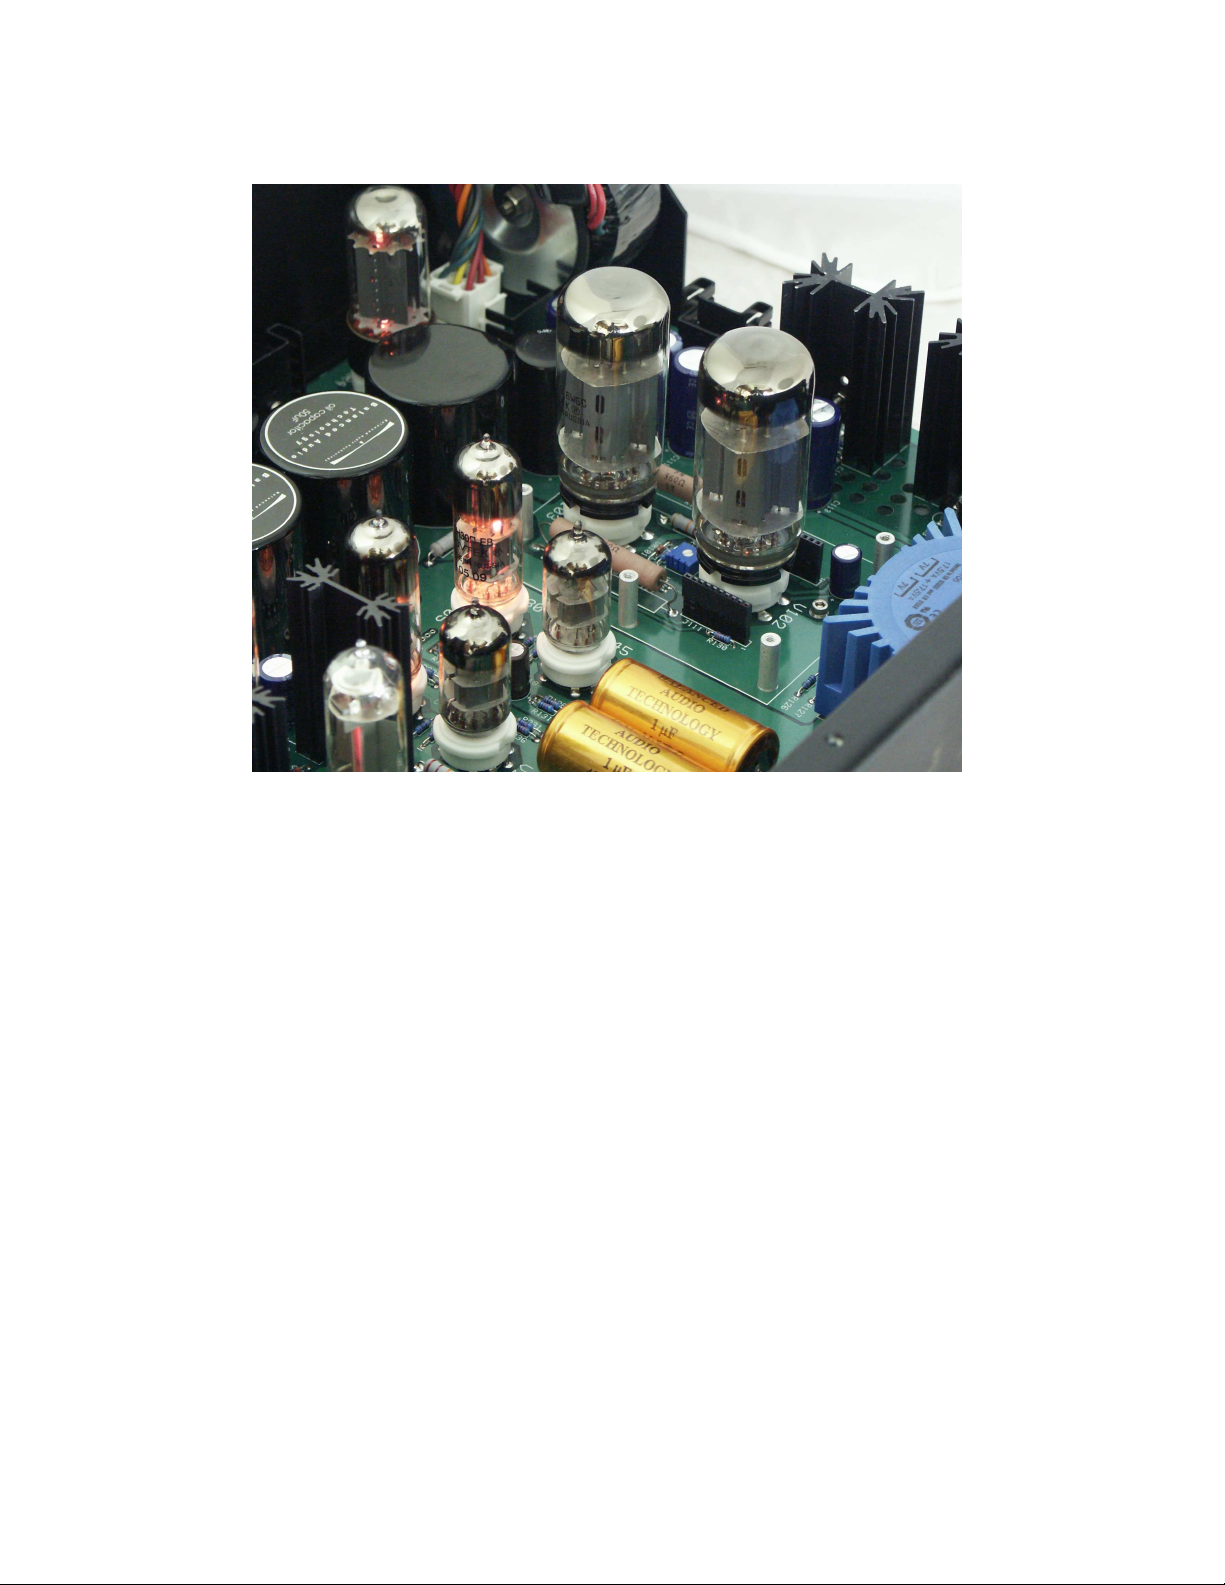
AC SHUNT VOLTAGE REGULATORS
The REX preamplifier incorporates another feature that allows the user to optimize its sound – the
AC Shunt voltage regulators.
The AC Shunt voltage regulators perform the final “cleaning” of the REX power supply rails. They
work to reduce the minute fluctuations in the DC voltages that may degrade the sound.
The AC Shunt Voltage Regulators are located in the REX Power Module.
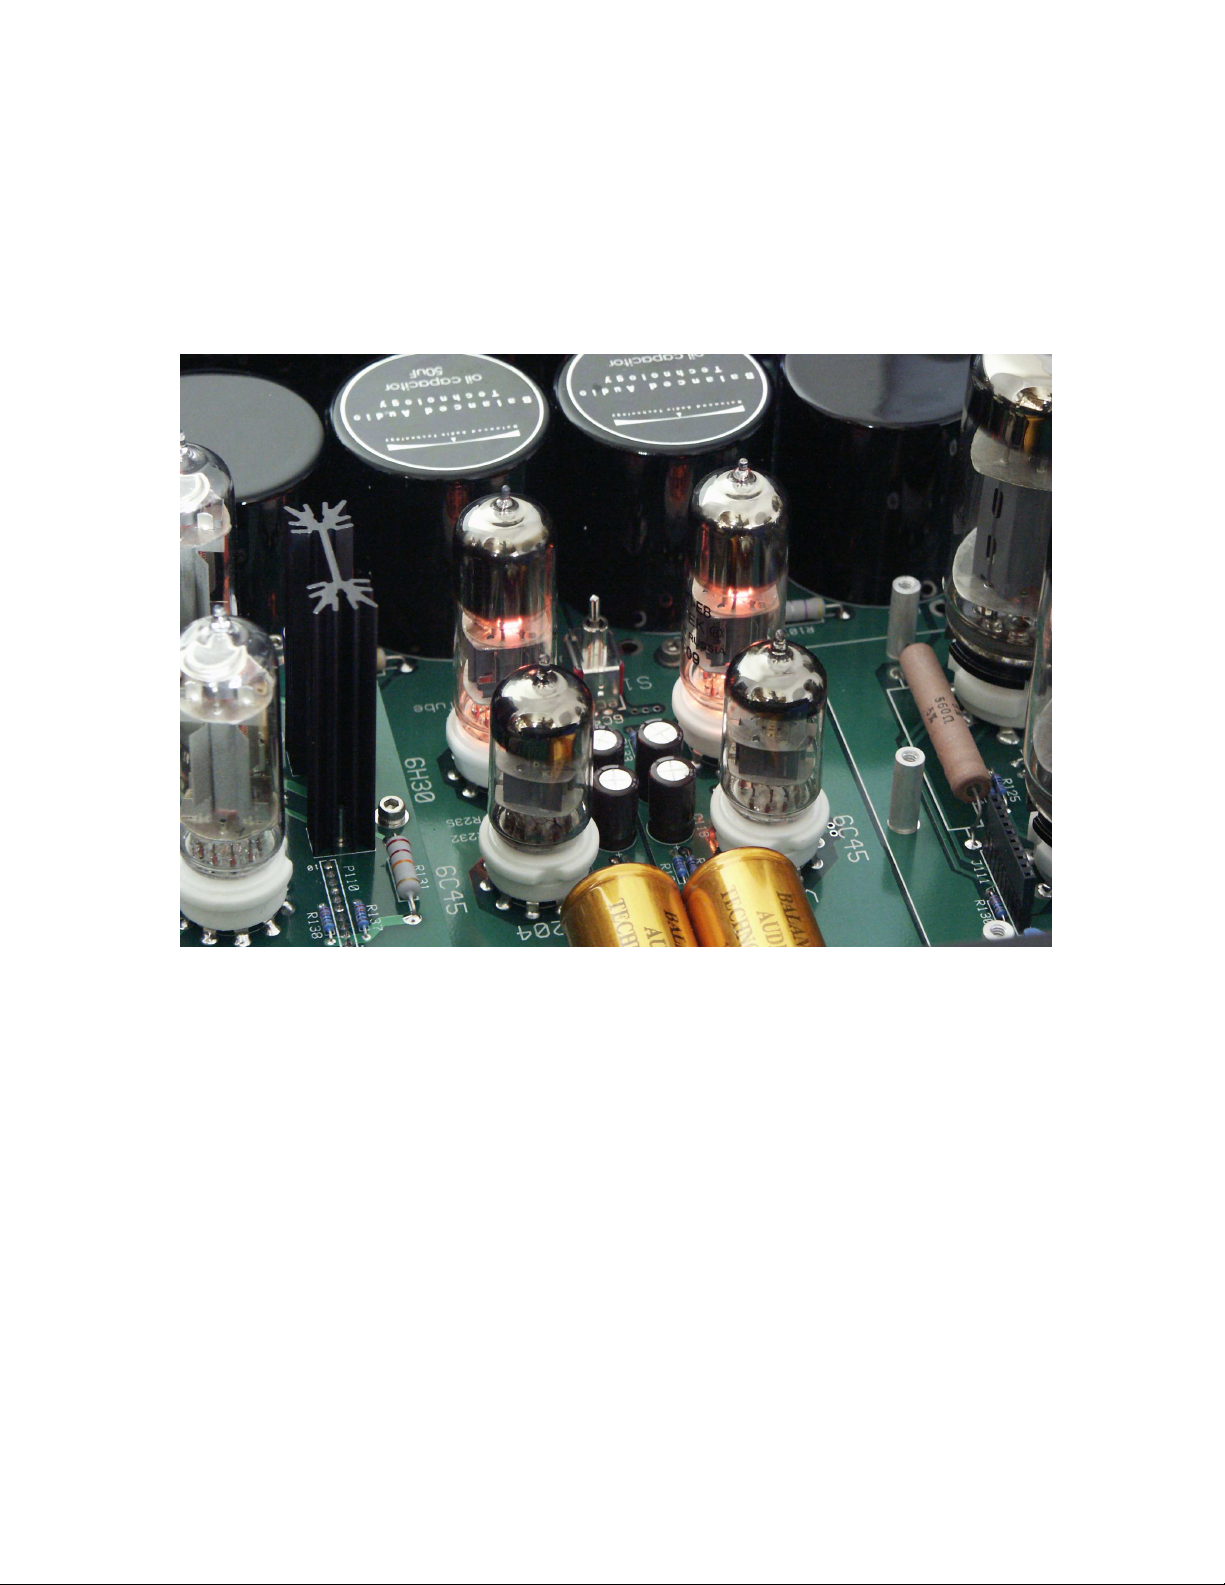
They incorporate two types of vacuum tubes, user selectable for the desired sound: 6C45 and 6H30.
To change the AC Shunt tube type remove the Power Module top cover and move the board-mounted
switch S1 to desired position. The switch is located close to the center of the board.
Only the selected tubes will have their filaments running at any time.
6

INTRODUCTION
Thank you for your purchase of the Balanced Audio Technology REX preamplifier. Please
read this owner's manual to obtain the full benefit of the REX in your system. It will provide you
with the needed safety information and operating procedures for this exceptional unit.
WARNINGS:
To prevent the possibility of serious injury, electrical shock or fire:
DO NOT operate with the cover removed.
DO NOT expose to rain or moisture.
DO NOT defeat the ground power-plug.
DO NOT replace fuse with anything other than the same type and rating as supplied by the factory.
Package Contents
Included in the box set should be the following:
Description Quantity
REX Control Module 1
REX Power Module 1
Power Cord 2
Spare Fuse 2
Torx Wrench (T-10) 2
Spare Top Cover Screws 10
User’s Manual 1
VK-R3 Remote Control (If ordered)
7
 Loading...