

Page 1
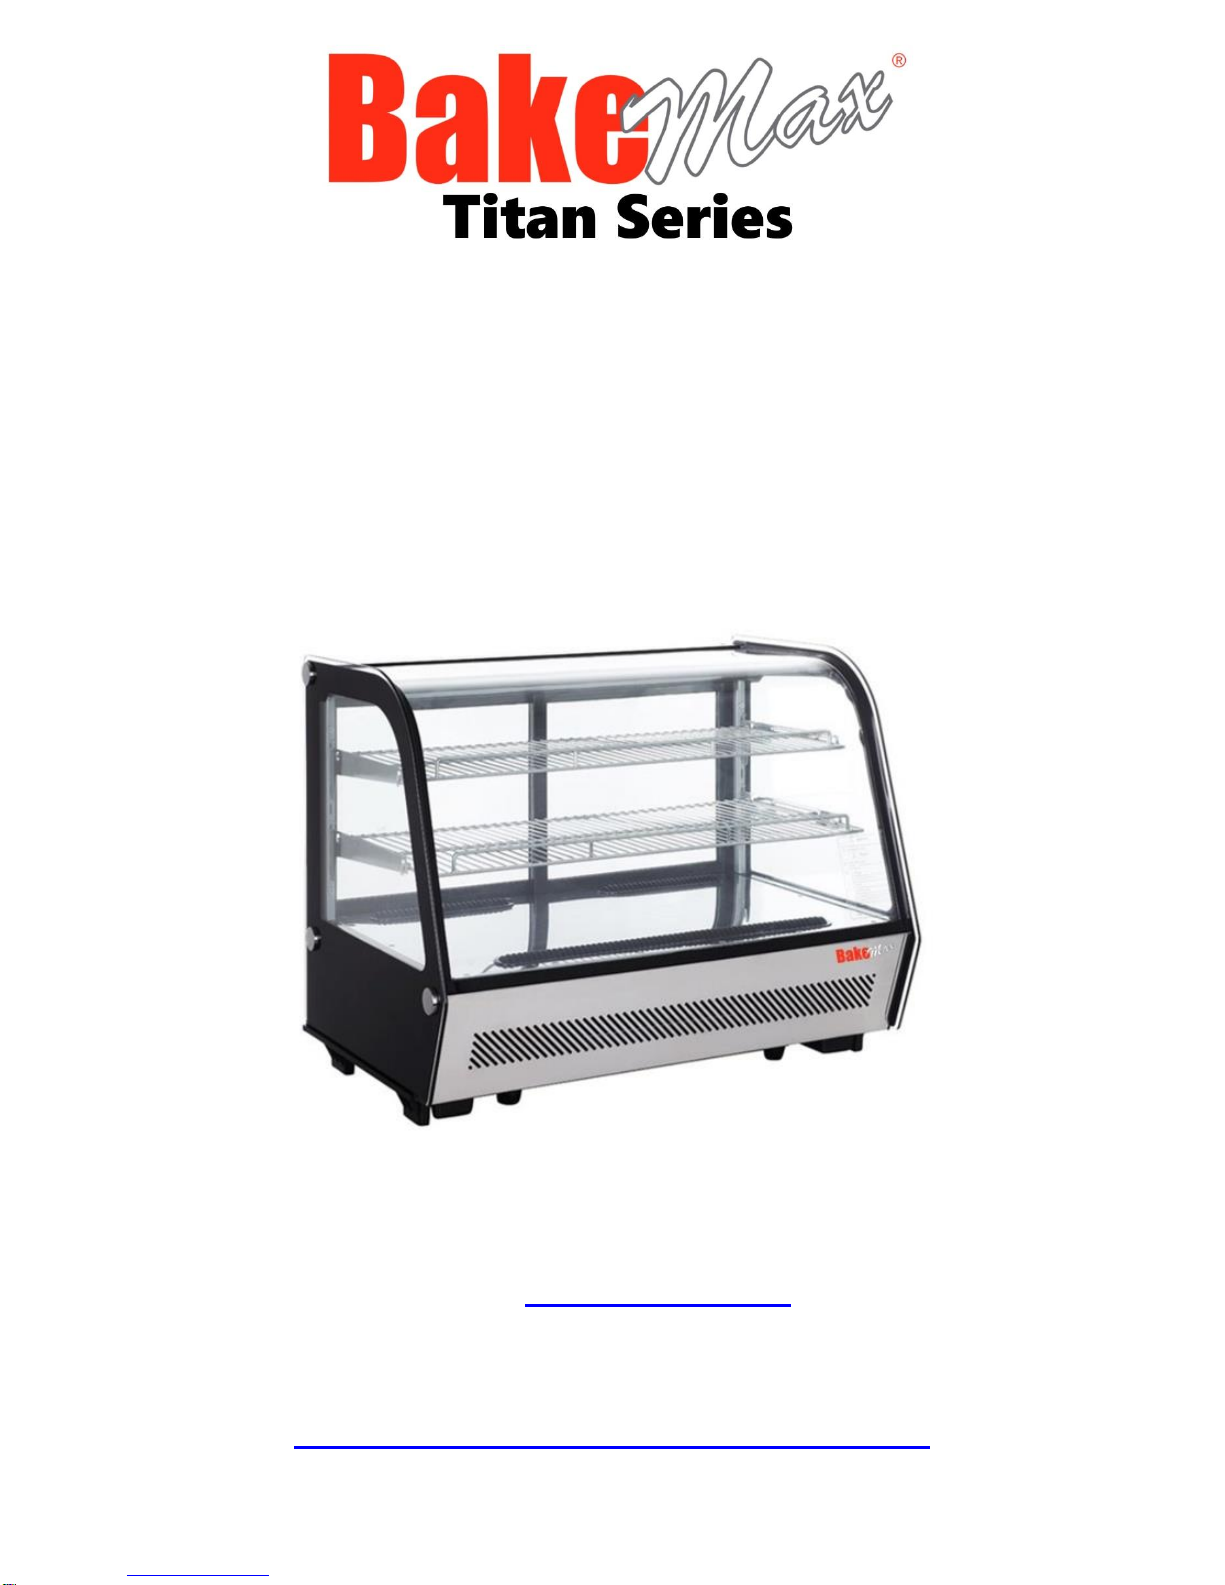
BakeMax BMREF Titan Series
Refrigerated Countertop
Display Operations Manual
Questions? Contact Us:
Toll Free: 1-800-565-2253
Email: [email protected]
www.BakeMax.com
Warranty Registration
www.BakeMax.com/Warranty-Registration
Page 2

Warning & Safety
PLEASE READ AND FOLLOW INSTRUCTIONS BELOW TO PREVENT
INJURY OR DAMAGE TO THE PRODUCT
BakeMax® (a registered trademark of Titan Ventures International Inc or TVI) is
not responsible for any harm or injury caused due to any person’s improper or
negligent use of this equipment. The product shall only be operated by someone
over the age of 18, of sound mind, and not under the influence of any drugs or
alcohol, who has been trained in the correct operation of this machine, and is
wearing authorized, proper safety clothing. This machine is intended for
commercial use only. Any modification or miss use to the machine voids any
warranty and may cause harm to individuals using the machine or in the area of
the machine while in operation.
• When using the machine, please ensure that you have read all of the instructions within
this manual.
• Be aware of your surroundings when using this machine, ensure there are no children
or any other persons who are near the machine before operating.
• Do not put hand near moving parts.
• Remove all obstacles, which may interfere with machine functions.
• Keep work area clean and clear of clutter.
• Do not sit or stand on machine.
• Do not wear loose clothing or jewellery when operating machine as it may get caught in
moving parts and cause injury.
• Stop using the machine and have it checked by an authorized service personal if it is not
working properly.
• Disconnect from power source before performing and maintenance or cleaning on the
machine.
• When the machine is not in use, please clean and store properly,
• Do not place any electrical parts or plug / cord in water or liquid.
• If the supply cord is damaged it must be replaced by an authorized service agent in order
to avoid any electrical hazards.
• Keep power cord away from heat.
• Always ensure to follow local laws when operating your machine.
Page 3
Product Installation & Set Up
• After unpacking and cleaning your new countertop refrigerated showcase. Let it sit upright for at least
24 hours before plugging it in. Never tilt machine more than 45˚. If the unit is laid on its side to be
moved, let the unit sit fully upright for 24 hours before plugging it back in.
• Make sure all accessories are installed (shelves, shelf clips, etc…) before plugging in the unit.
• Ensure the unit is places on a smooth, level flat surface.
• The display case should be kept away from heat, humidity and dusty areas as it can cause stress on
the unit.
• During high humidity days, condensation may be found on the outside of the refrigerator. This is not a
problem, this is caused by high ambient humidity. Simply use a cloth to wipe it. Note: This unit is for
indoor use only.
• Ensure there is at least 6” space available on each side for air to properly circulate around the unit.
• Never block the air suction inlet or air vents.
• Make sure the unit has reached the desired temperature before loading the unit with products.
• Ensure any items that are warm / hot to be cooled before placing in the unit.
• Minimize the time with the door is open and reduce opening and closing frequently.
• Do not overfill the unit or it may hinder its operation.
• Adjust the rack height for proper food storage.
• After power outage or unplugging the refrigerator, always wait at least 5 minutes before starting the
refrigerator again.
• Never put any flammable or explosive items inside the refrigerator such as gasoline or alcohol. Never
put any dangerous product near the refrigerator.
• Do not store medication in the refrigerator.
Warranty Notes: Malfunction due to high ambient temperatures, humidity, or improperly maintained
condenser coil will void the warranty. Failure to properly maintain the unit will also void the warranty. This
includes, but is not limited to, basic preventative maintenance like cleaning the condenser coil. Any damage
that occurs as a result of negligence or improper handling. Overloading or improper loading of the unit in a
manner that prevents proper airflow.
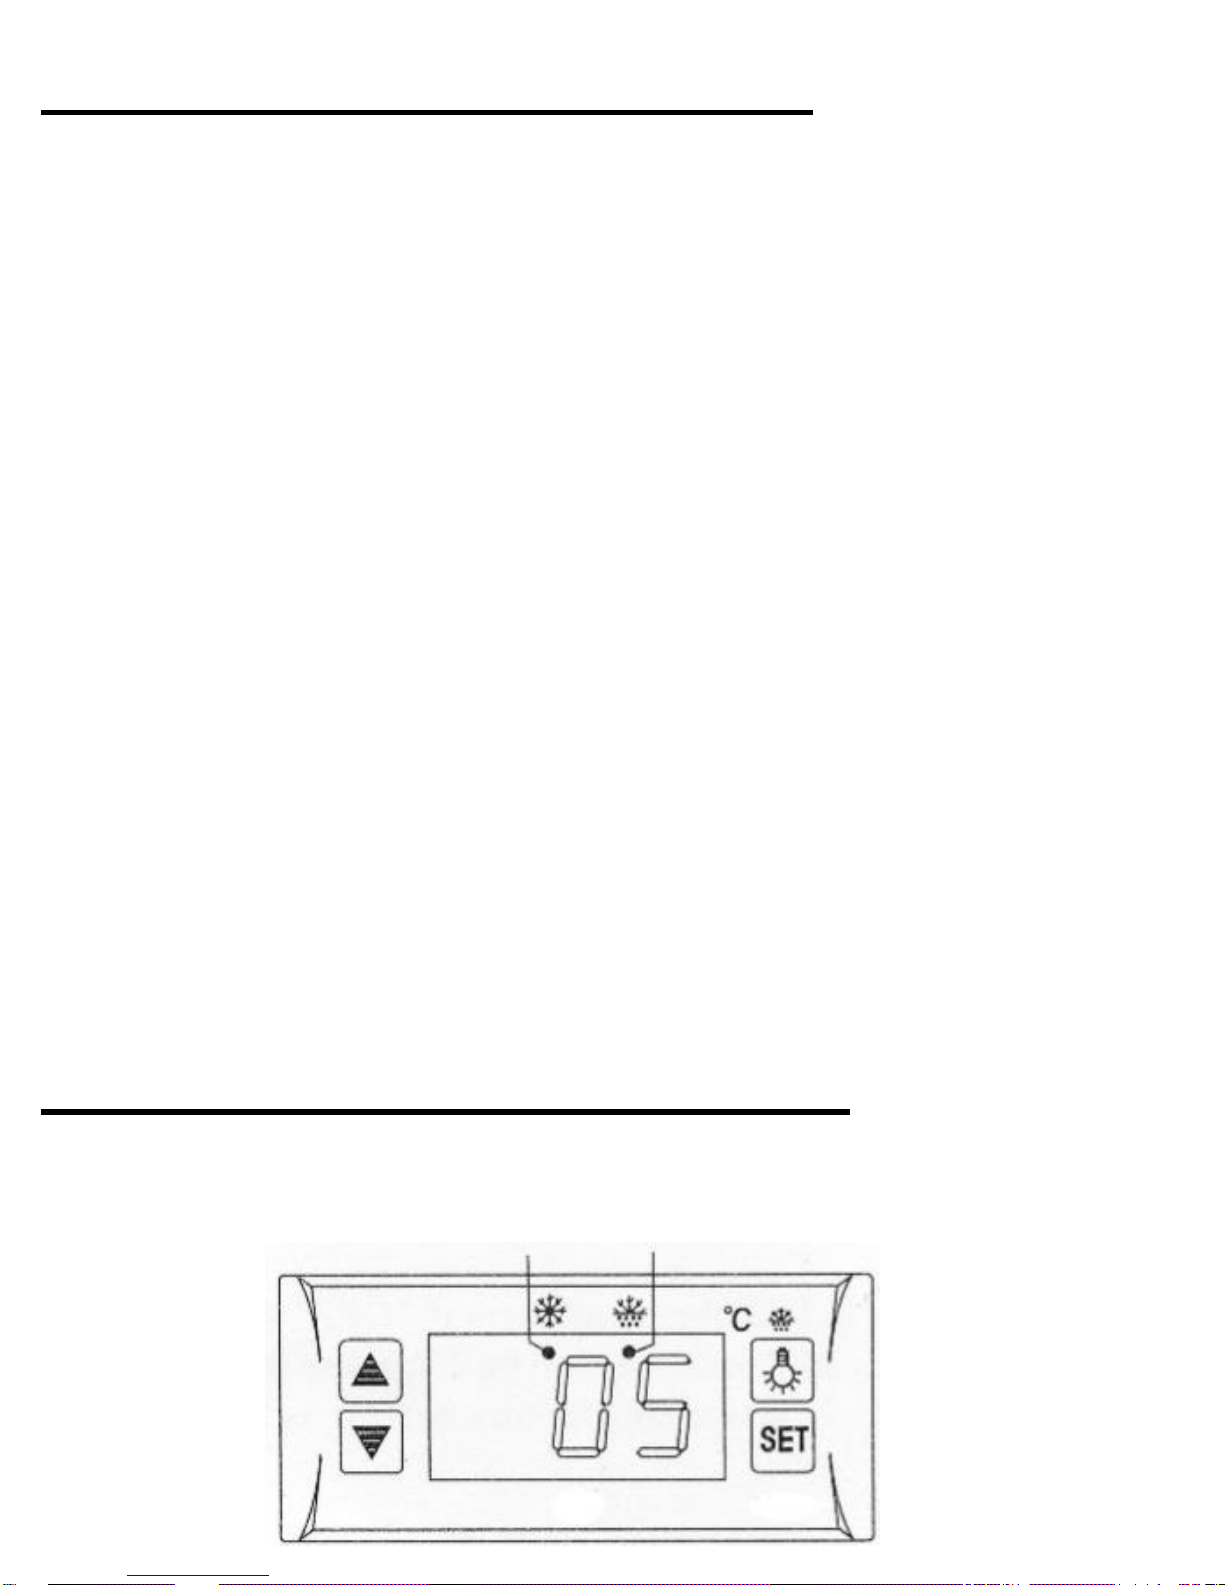
Digital Temperature Controller
The digital temperature controller is easy to operate and controls the compressor.
• The main functions are: Temperature display, manual control, automatic defrost, light control, value
storing, self-testing and parameter locking.
Refrigerant LED Defrost LED
Page 4
1. How to Set temperature
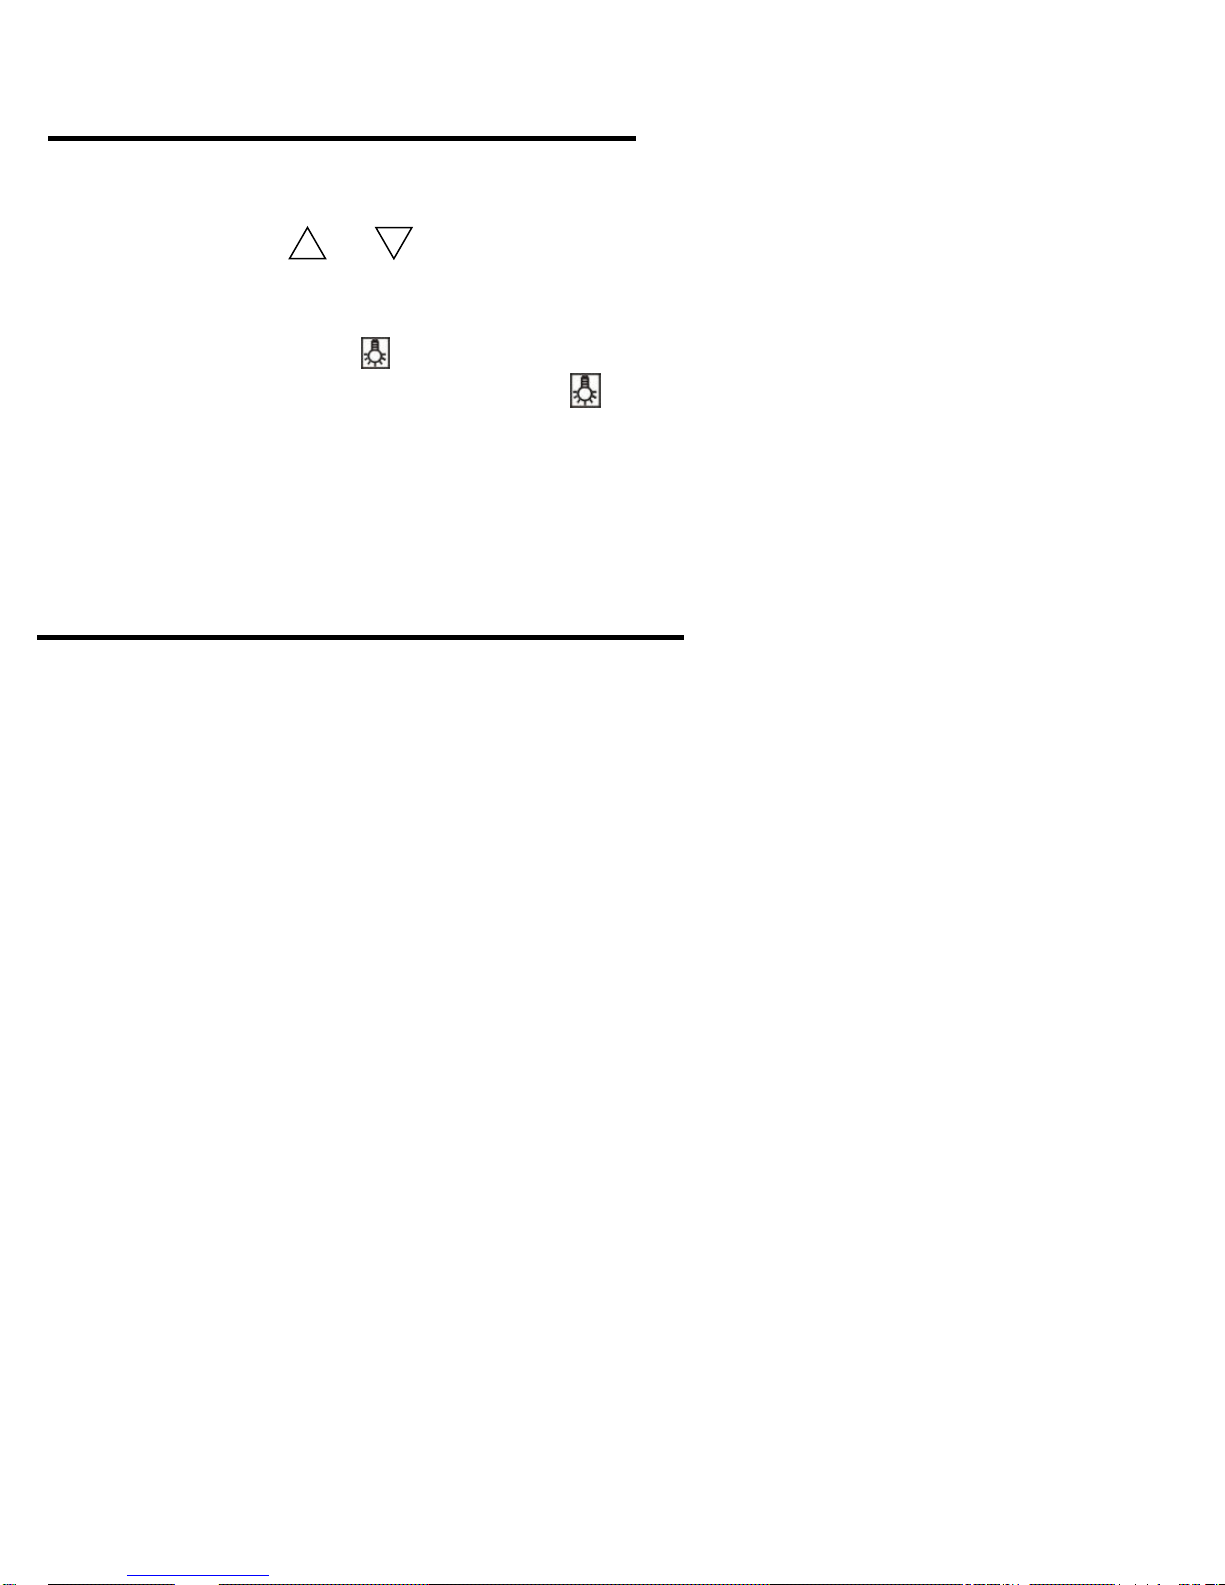
Press “set” button, the set temperature is displayed.
Press or button to modify and store the displayed value.
Press “set” button to exit the adjustment and display the cold-room temperature.
2. If no more button is pressed within 10 seconds, the cold-room temperature will be
displayed.
3. Lights: Press button to turn them on and off.
Manual start/stop defrost: Press button and hold for 6 seconds to defrost or
stop defrost.
4. Refrigerant LED: During refrigeration, the LED is on; When the cold room temp. is
constant, the LED is off; During the delay start, the LED flashes.
5. Defrost LED: during defrosting, the LED is on; When is stops defrosting, the LED
is off, During the delay display of defrost, the LED flashes.
Front Panel Operation
Cleaning & Maintenance
• This unit has been coated for shipping purposes, please clean before use. Dip a soft cloth in neutral
detergent (dish detergent) to clean the outside of the refrigerator and then wipe it with a dry soft cloth.
• Do not use any liquid pressurised cleaning equipment on this machine.
• Disconnect power supply before cleaning.
• Only use food grade non abrasive cleaning agents.
Keep the refrigerator clean and periodic maintenance is necessary. Always unplug the power cord before
maintenance. Never use a damaged plug or loose socket to prevent electric shock or short circuiting. Never
flush the refrigerator. Never use alkaline detergent, soap, gasoline, acetone or bush.
Cleaning the Condenser Coil
• For efficient operation, keep the condenser surface free of dust, dirt, and lint.
• We recommend cleaning the condenser coil at least once per month.
• Clean the condenser with a commercial condenser coil cleaner, available from any kitchen
equipment retailer.
Cleaning the Fan Blades and Motor
• If necessary, clean the fan blades and motor with a soft cloth.
• If it is necessary to wash the fan blades, cover the fan motor to prevent moisture damage.
Shutting Down the Unit For Extended Period of Time
• Take out all food and unplug the wall socket. Clean both inside and outside of the refrigerator thoroughly
and open the door to sufficiently dry. Leave door open when storing for long periods of time. Clean the
condensate tray and wipe dry.
Page 5
Troubleshooting
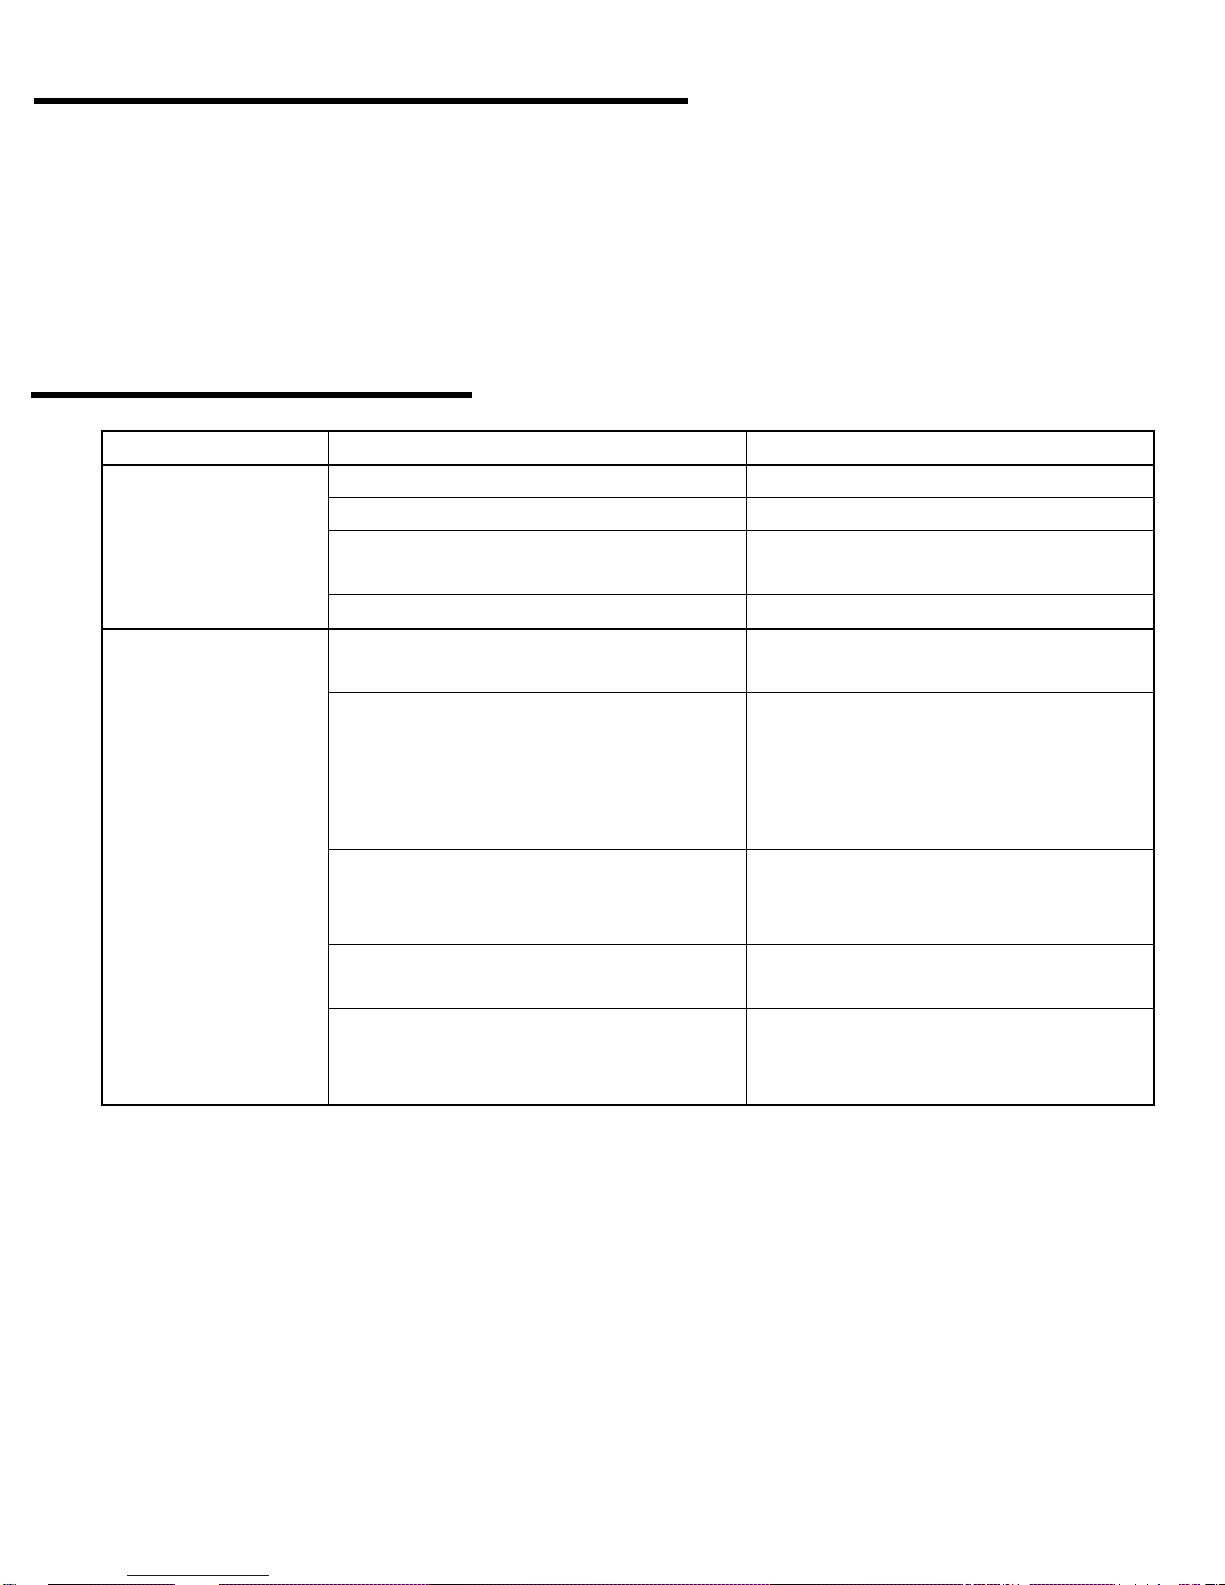
Problem
Possible Cause
Remedy
No Refrigeration /
Compressor is Not
Running
Fuse blown or circuit breaker tripped.
Replace fuse or reset circuit breaker
Power cord unplugged
Plug in power cord.
Thermostat set too high.
Set thermostat to lower
temperature.
Cabinet in defrost cycle.
Wait for defrost cycle to finish
Cabinet
Temperature is too
Warm
Thermostat is set too high.
Set thermostat to lower
temperature.
Airflow is blocked.
Ensure there is at least 6" of space
available around the unit. Make
sure the ducts are not blocked.
Make sure the inside of the unit is
not over filled.
Low refrigerant levels.
Contact an authorized service
technician to check refrigerant
levels.
Door is slightly ajar.
Make sure door(s) is completely
closed.
External heat source.
Make sure the unit is away from
direct sunlight and other sources of
heat.
The following situations are not problems:
• The murmur of water is heard when the refrigerator is working. This is normal as the coolant is
circulating in the system.
• During high humidity days, condensation may be found on the outside of the refrigerator. This is not a
problem, this is caused by high ambient humidity. Simply use a cloth to wipe it.
Technical Specifications
• BMREF28 Exterior Dimensions (WDH): 27.6” x 22.5” x 27”
• BMREF35 Exterior Dimensions (WDH): 35.4” x 22.5” x 27”
• Electrical: 120v / 15 Amps / 230 watts / 60Hz / 1Ph
• Nema: 5-15P Plug
• BMREF28 Net Weight: 141 lb / 64 kg
• BMREF35 Net Weight: 156 lb / 71 kg
Page 6
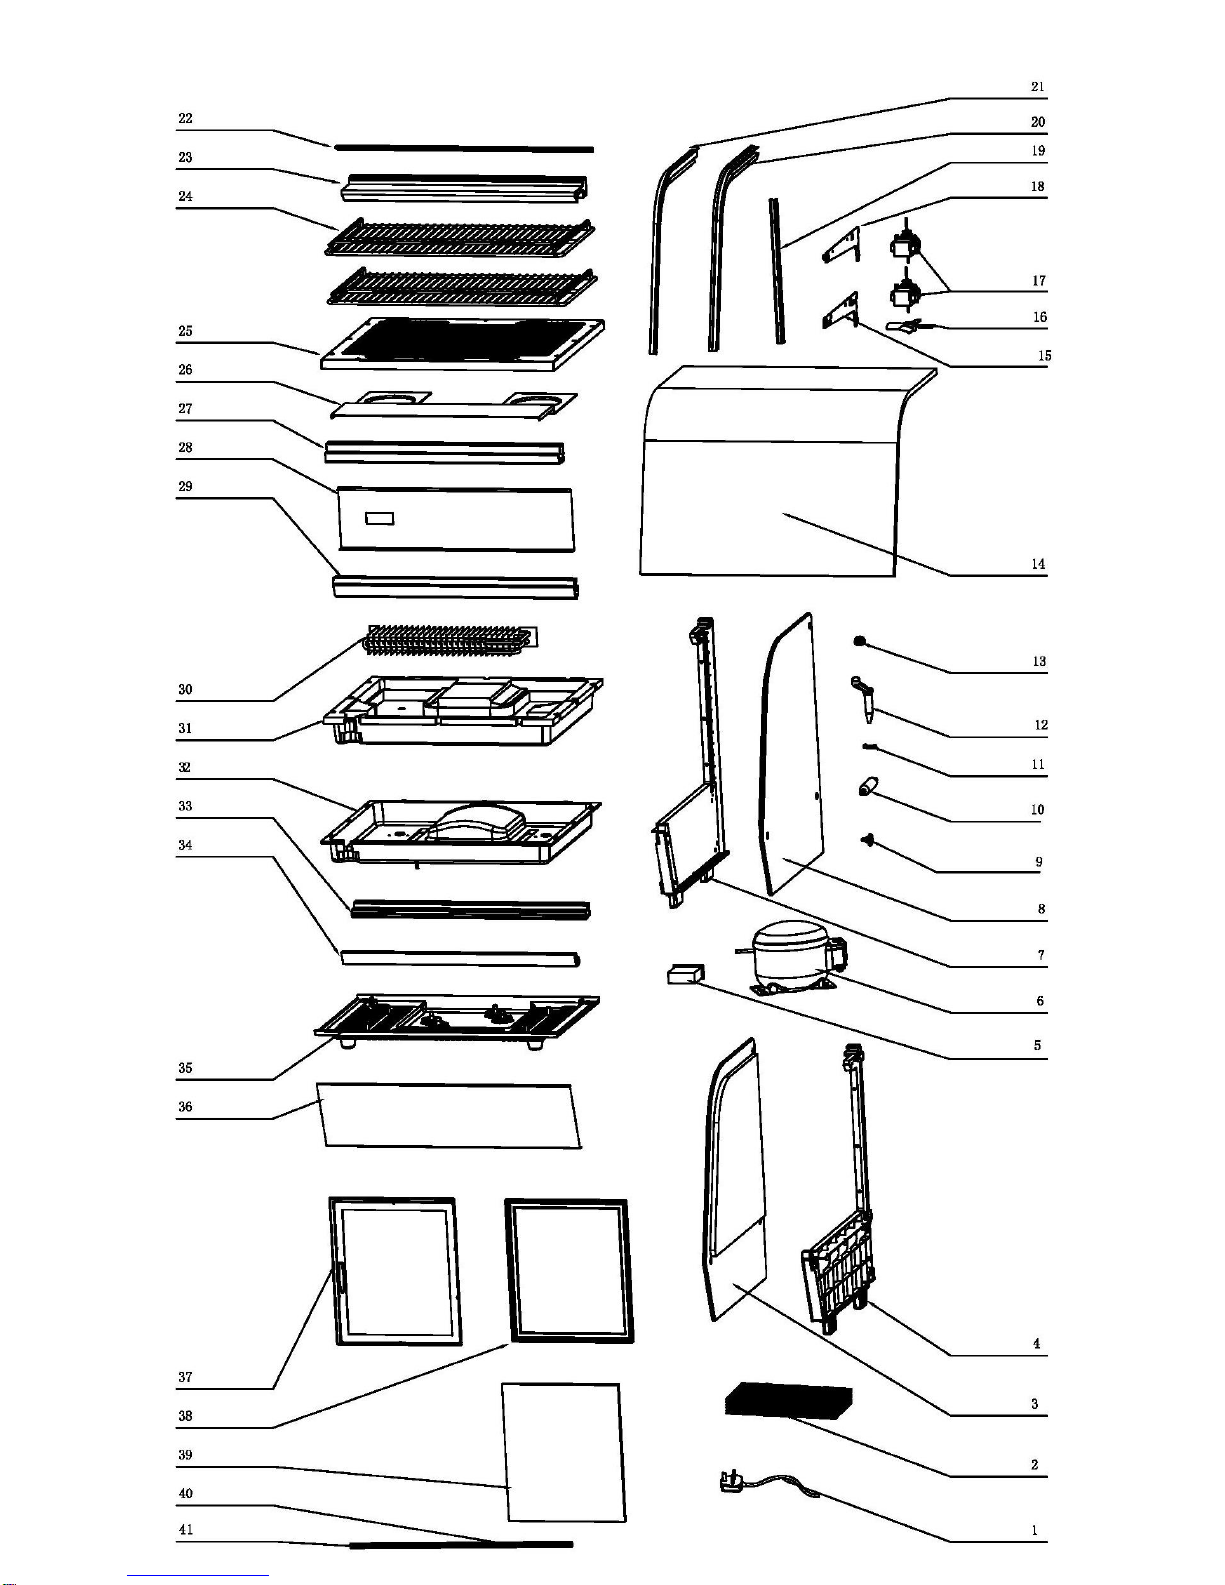
BakeMax BMREF28 Parts Break Down
Page 7
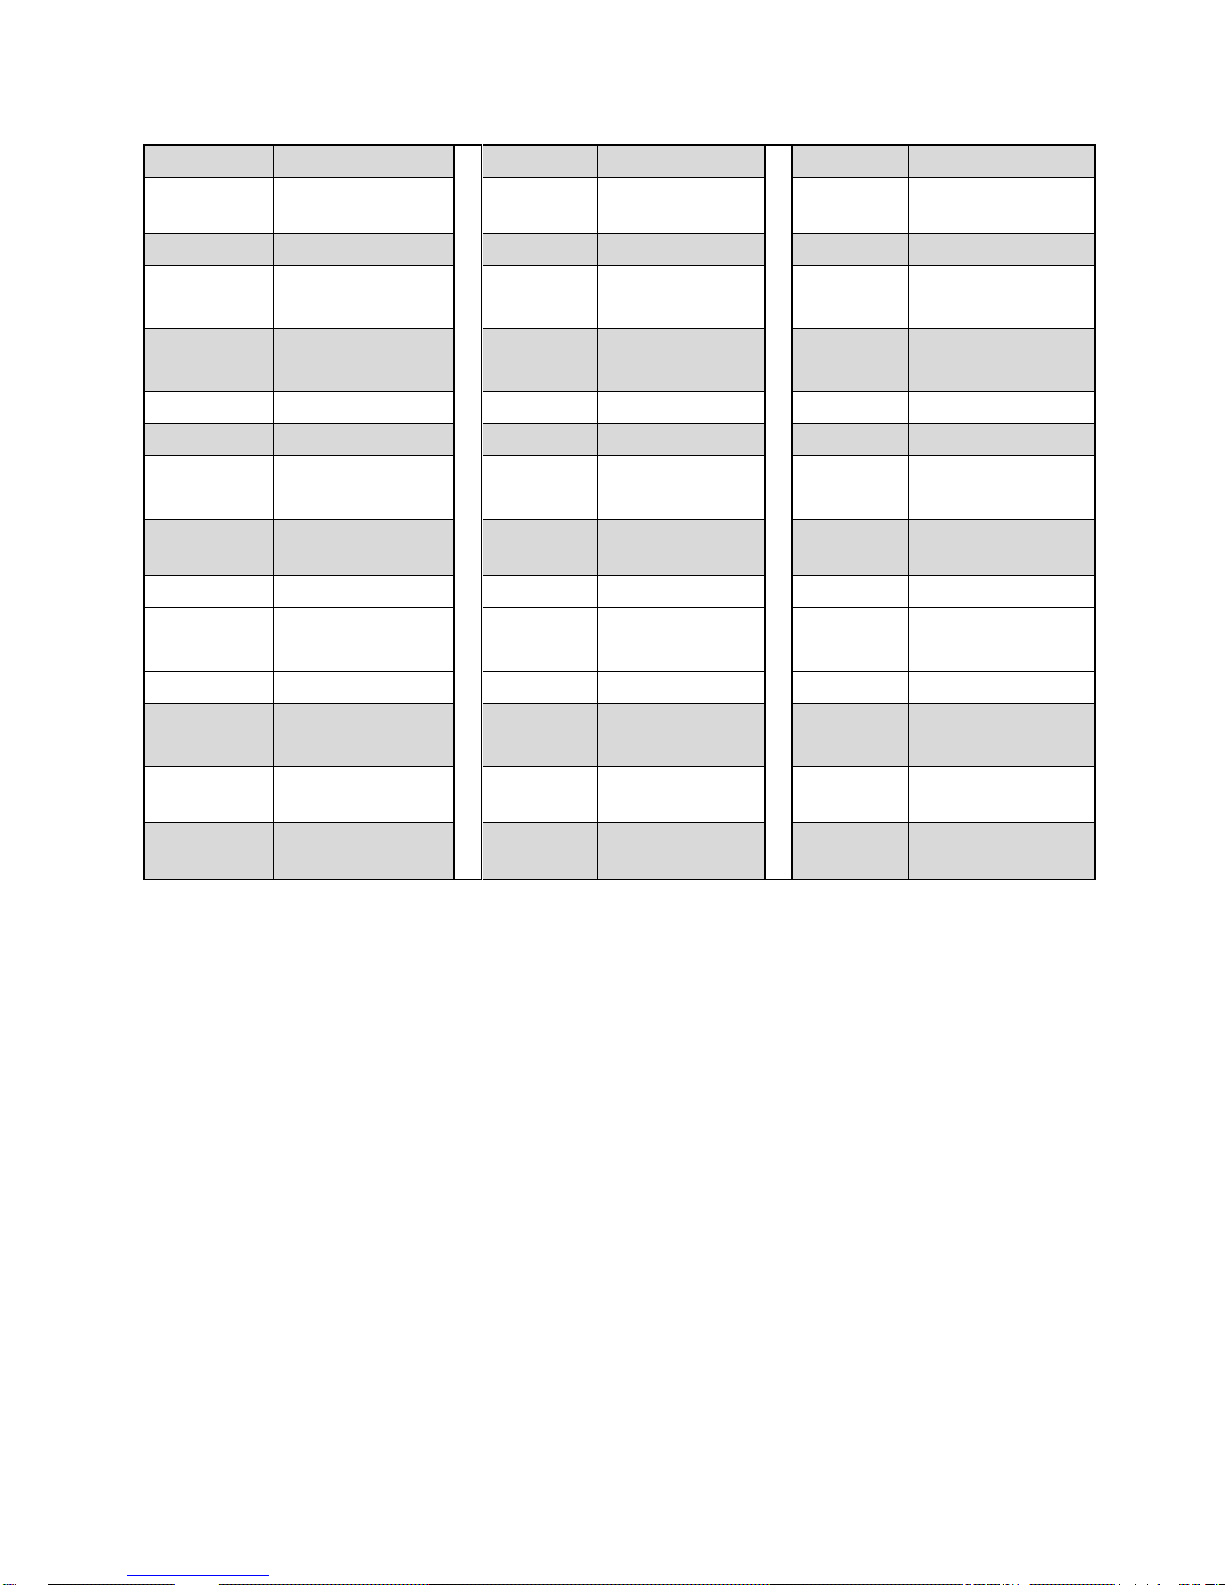
Position
Description
Position
Description
Position
Description
1
Power Cord
15
Left Shelf
Bracket
29
Front Middle Pillar
2
Condenser
16
Fan Blade
30
Evaporator
3
Left Glass
17
Motor Fan
31
Foam Base of
Evaporator
4
Left Panel
18
Right Shelf
Bracket
32
Plastic Base for
Foam
5
Digital Controller
19
Pillar for Bracket
33
Rear Bottom Pillar
6
Compressor
20
Left Seal
34
Front Bottom Pillar
7
Right Panel
21
Right Seal
35
Bottom Base of
Compressor for
8
Right Glass
22
Decorative
Board
36
Front Frame
9
Glass Screw
23
Top Panel
37
Outer Door frame
10
Accumulator
24
Shelf 1
38
Inner Door Frame
11
Wire Clip
25
Vent Tray
39
Door Glass
12
Water Pipe
26
Evaporator
Protect Board
40
LED Light
13
Motor Fixer
27
Rear Middle
Pillar
41
LED Power
14
Curved Front
Glass
28
Rear Base
Panel
Page 8
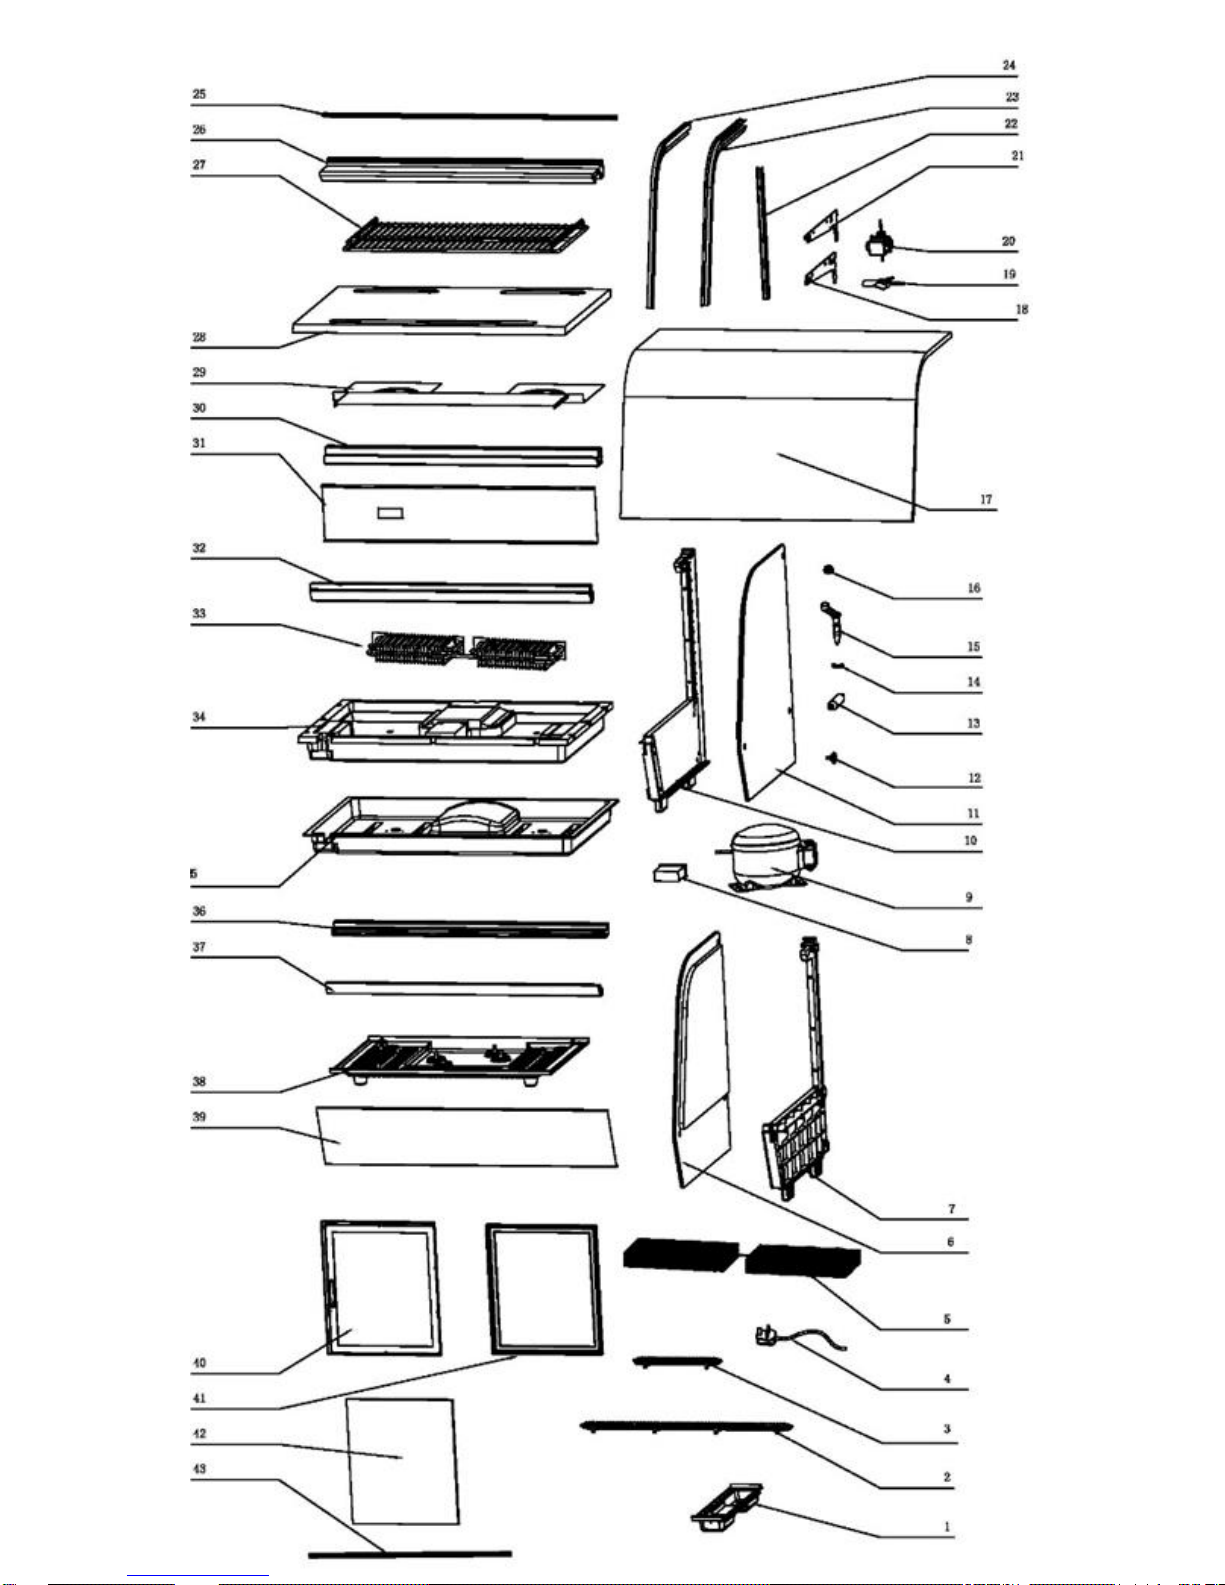
BakeMax BMREF35 Parts Break Down
Page 9
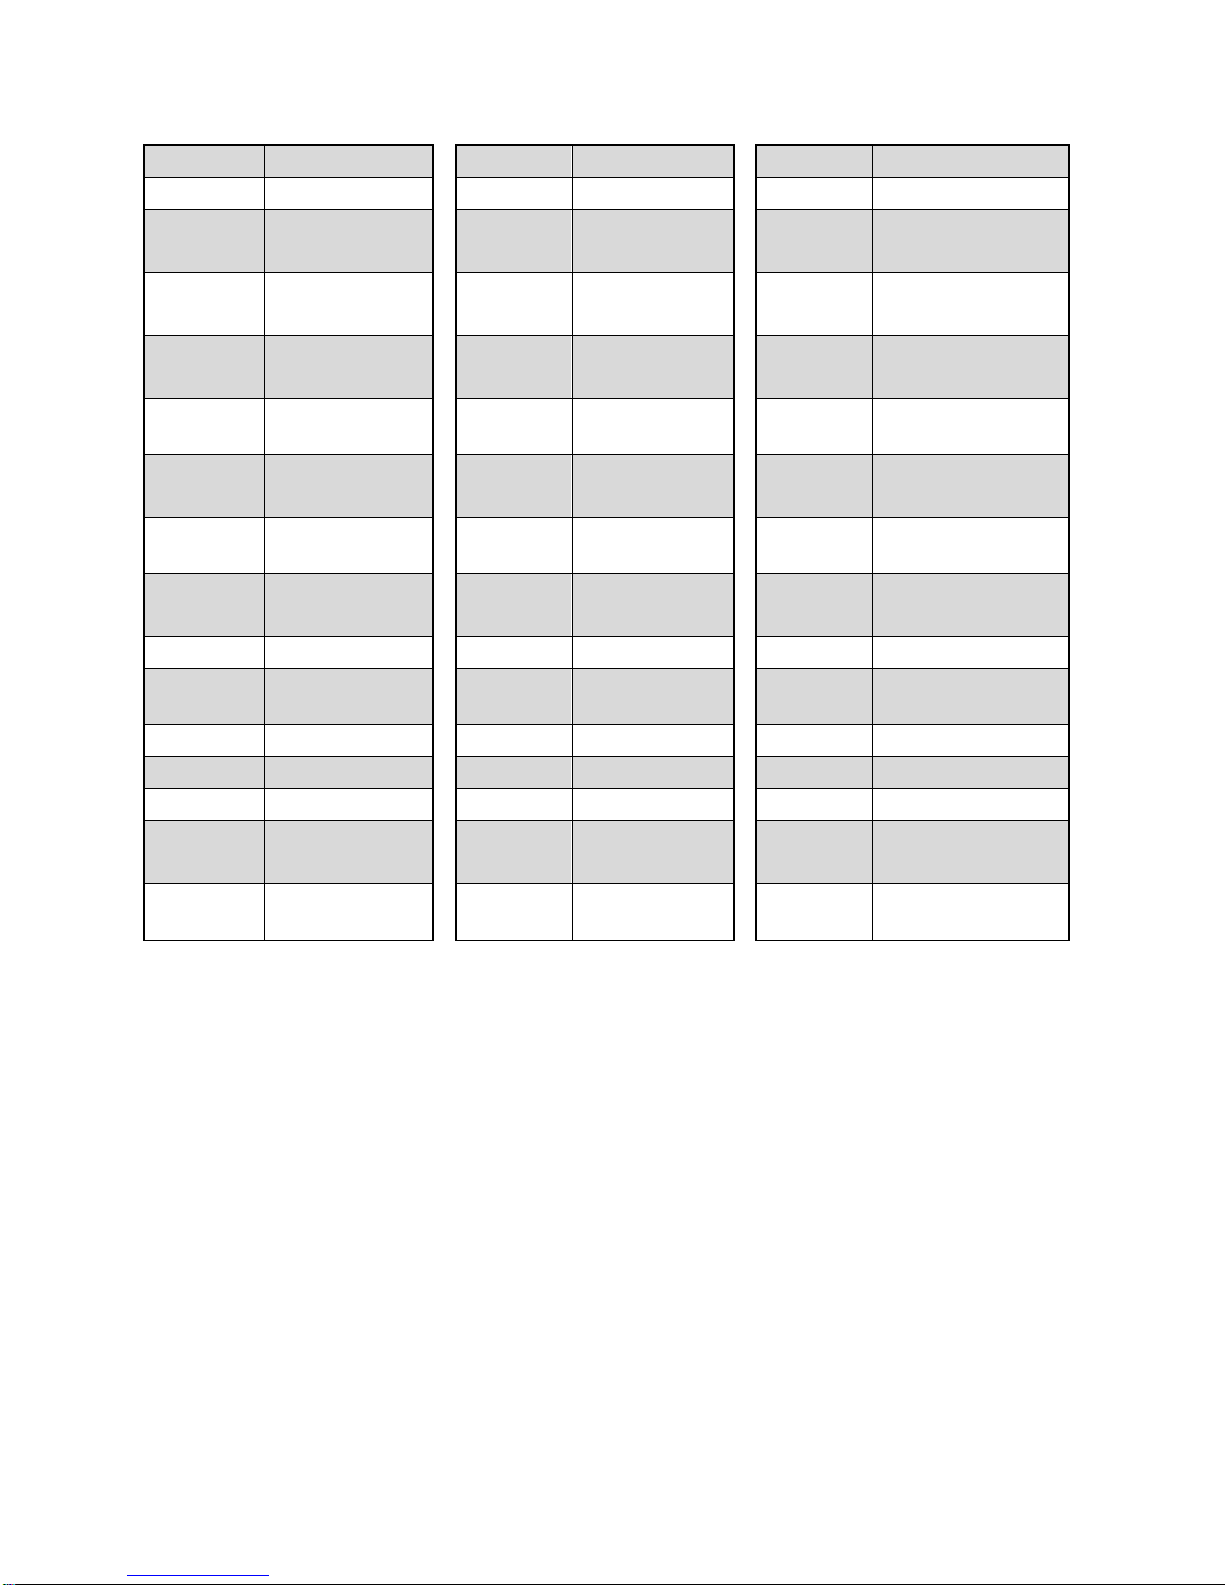
Position
Description
Position
Description
Position
Description
1
Water Tray
16
Motor Fixer
31
Rear Base Panel
2
Cover for Air
Outlet
17
Curved Front
Glass
32
Front Middle Pillar
3
Cover for Air
Suction
18
Left Shelf
Bracket
33
Evaporator
4
Power Cord
19
Fan Blade
34
Foam Base of
Evaporator
5
Condensator
20
Motor Fan
35
Plastic Base for
Pillar
6
Left Glass
21
Right Shelf
Bracket
36
Rear Bottom Pillar
7
Left Panel
22
Pillar for
Bracket
37
Front Bottom Pillar
8
Digital Controller
23
Left Seal
38
Bottom Base of
Compressor for
9
Compressor
24
Right Seal
39
Front Frame
10
Right Panel
25
Decorative
Board
40
Outer Door Frame
11
Right Glass
26
Top Panel
41
Inner Door Frame
12
Glass Screw
27
Shelves
42
Door Glass
13
Accumulator
28
Vent Tray
43
LED Light
14
Wire Clip
29
Evaporator
Protect Board
15
Water Pipe
30
Rear Middle
Pillar
Page 10
 Loading...