

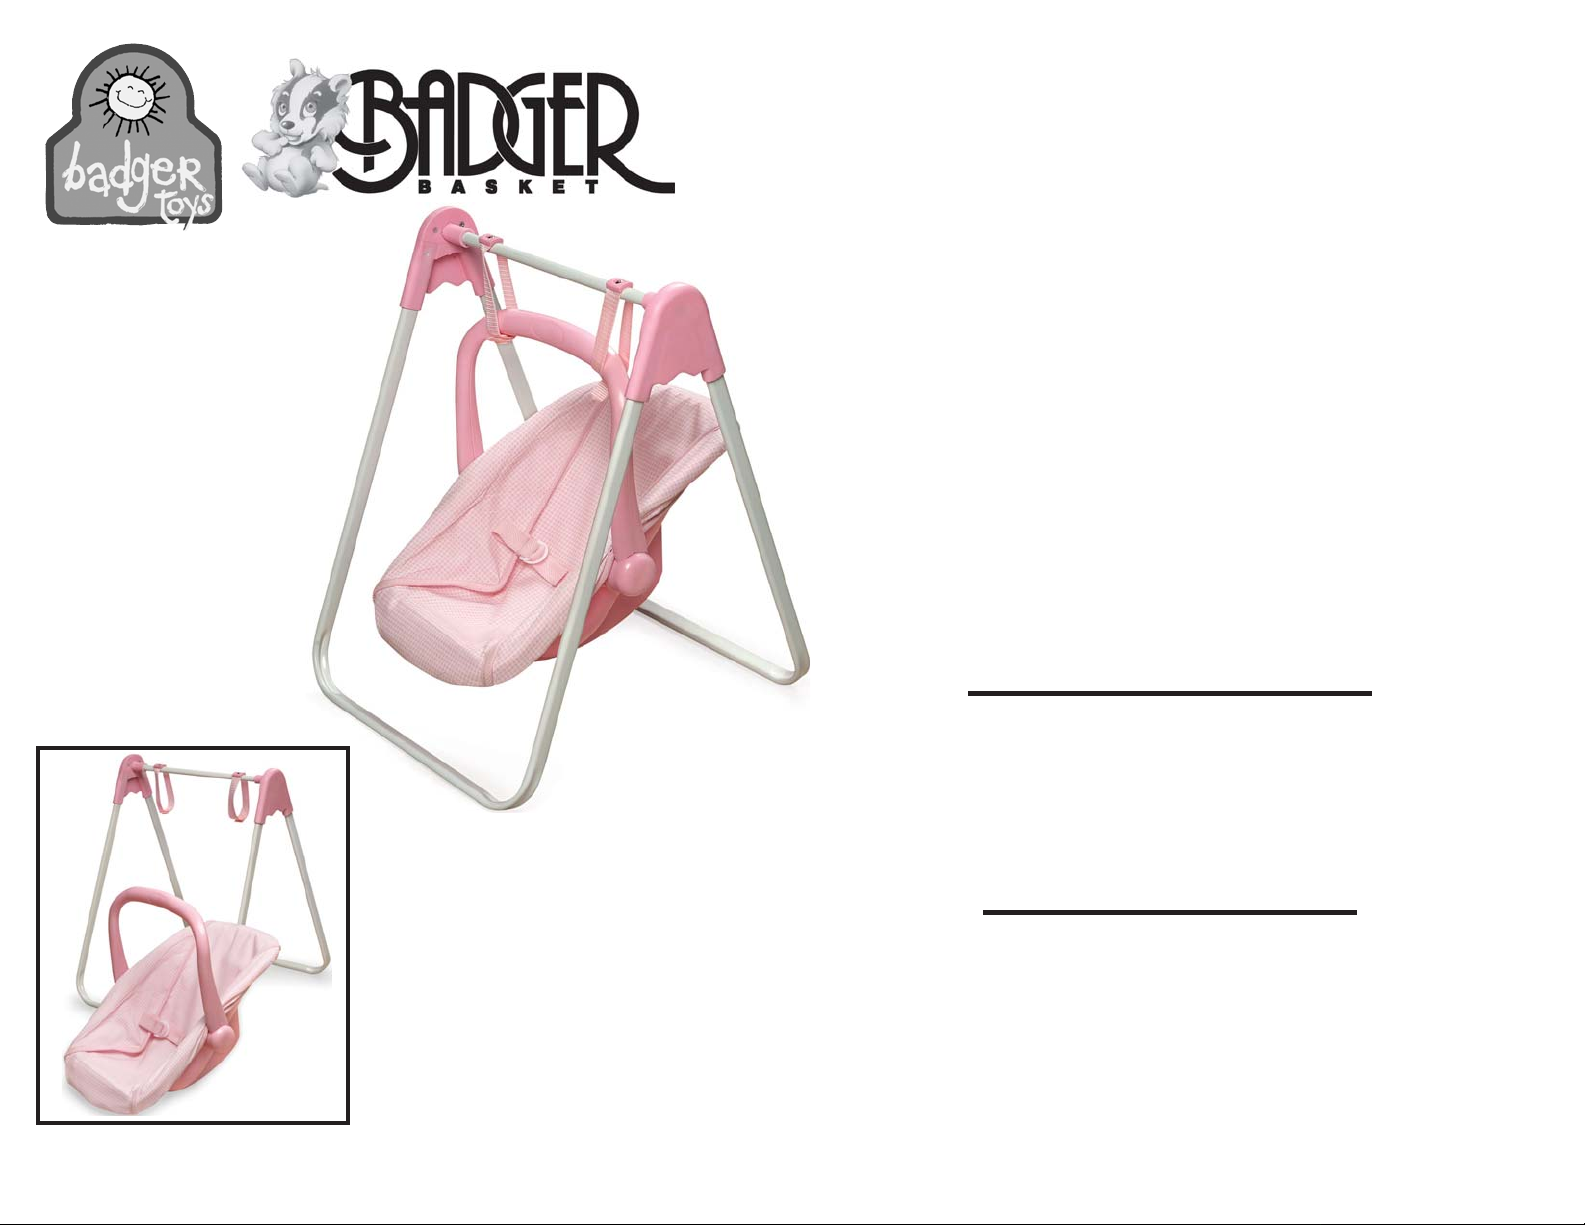
PLAY SWING WITH
CARRIER SEA T
Assembly Instructions.
Adult Assembly Required.
Read all instructions before use.
Save instructions for future use.
MODEL NUMBER:
Page 1 of 3
01550
VERSION CODE:
1.0/0309/HF
Visit us online at www.badgerbasket.com
T oll-Free Customer Service: 1-800-236-1310 (Monday to Thursday 7:30 AM-4:30 PM CST)
Web: http://www .badgerbasket.com/parts • E-mail: p arts1@badgerbasket.com
Mail: PO Box 227, Edgar, WI 54426-0227 • Phone: 715-352-231 1 • Fax: 715-352-3163
1.0/0309/HF

BEFORE YOU BEGIN ASSEMBLY:
Check all parts and hardware. If anything is missing or not satisfactory, please DO
NOT call the store or return the product to them. Contact Badger Basket. Most
problems are resolved without you needing to leave home. When contacting us,
please have this instruction manual, your product model number, and your product
version code ready. For fastest service, go to http://www.badgerbasket.com/parts
Your Product Version Code is: 1.0/0309/HF
USE AND CARE INSTRUCTIONS:
Wipe metal and plastic parts clean with a damp cloth and mild soap as needed. Spot clean fabric as needed.
WARNING - FAILURE TO FOLLOW THESE WARNINGS
AND THE INSTRUCTIONS COULD RESULT IN
SERIOUS INJURY OR DEATH
READ ALL INSTRUCTIONS before use of this product. Keep instructions for future use. Use only the
parts and hardware provided by Badger Basket. Do not use the product if it is damaged or broken.
Product must be assembled by an adult. Product and/or hardware may include small parts or screws
with sharp points. Choking Hazard! Keep unassembled parts out of the reach of small children. DO
NOT allow anyone to climb or play on this product. Periodically check to make sure all the parts re-
main tight. This item is designed for children who are THREE (3) YEARS OF AGE AND OLDER . IT
IS A TOY ONL Y AND NOT FOR USE WITH REAL INF ANTS OR PETS.
Page 2 of 3
1.0/0309/HF

PARTS INCLUDED:
(A) 2 x PLASTIC BRACKETS
(B) 1 x TOP TUBE WITH STRAPS
(C) 2 x LEG FRAMES
(D) 1 x SWING SEAT/CARRIER SEAT
AA
C
B
AA
C
STEP 2:
STEP 1:
Fully insert the ends of the
TOP TUBE WITH STRAPS (B)
into the posts on the
PLASTIC BRACKETS (A).
into the holes on the ends of the
PLASTIC BRACKETS (A).
Be sure the frames are inserted
far enough to be tight and stable.
The Swing is now ready for play!
For use with dolls up to 20 inches (50 cm).
The SEAT can be removed and
reattached as needed to convert
the item from a swing to carrier seat.
Insert the
LEG FRAMES (C)
D
STEP 3:
Wrap the straps on the TOP TUBE (B)
around the handle of the
SWING SEAT/CARRIER SEAT (D)
and secure the straps together .
Page 3 of 3
The angle of the seat can be adjusted
by grasping the head and foot of the
seat and tilting it back and forth to the
desired position.
Seat harness can be buckled by threading the
free end of the strap through both of the
plastic loops (PHOTO 1). Then thread the end
of the strap back through only one of the
loops and pull tight (PHOTO 2).
PHOTO 1
PHOTO 2
1.0/0309/HF
 Loading...