

Please read all instructions BEFORE assembly and USE of product.
KEE
P INSTRUCTIONS FOR FUTURE REFERENCE.
Model # 1305TW
Infant car seats not included
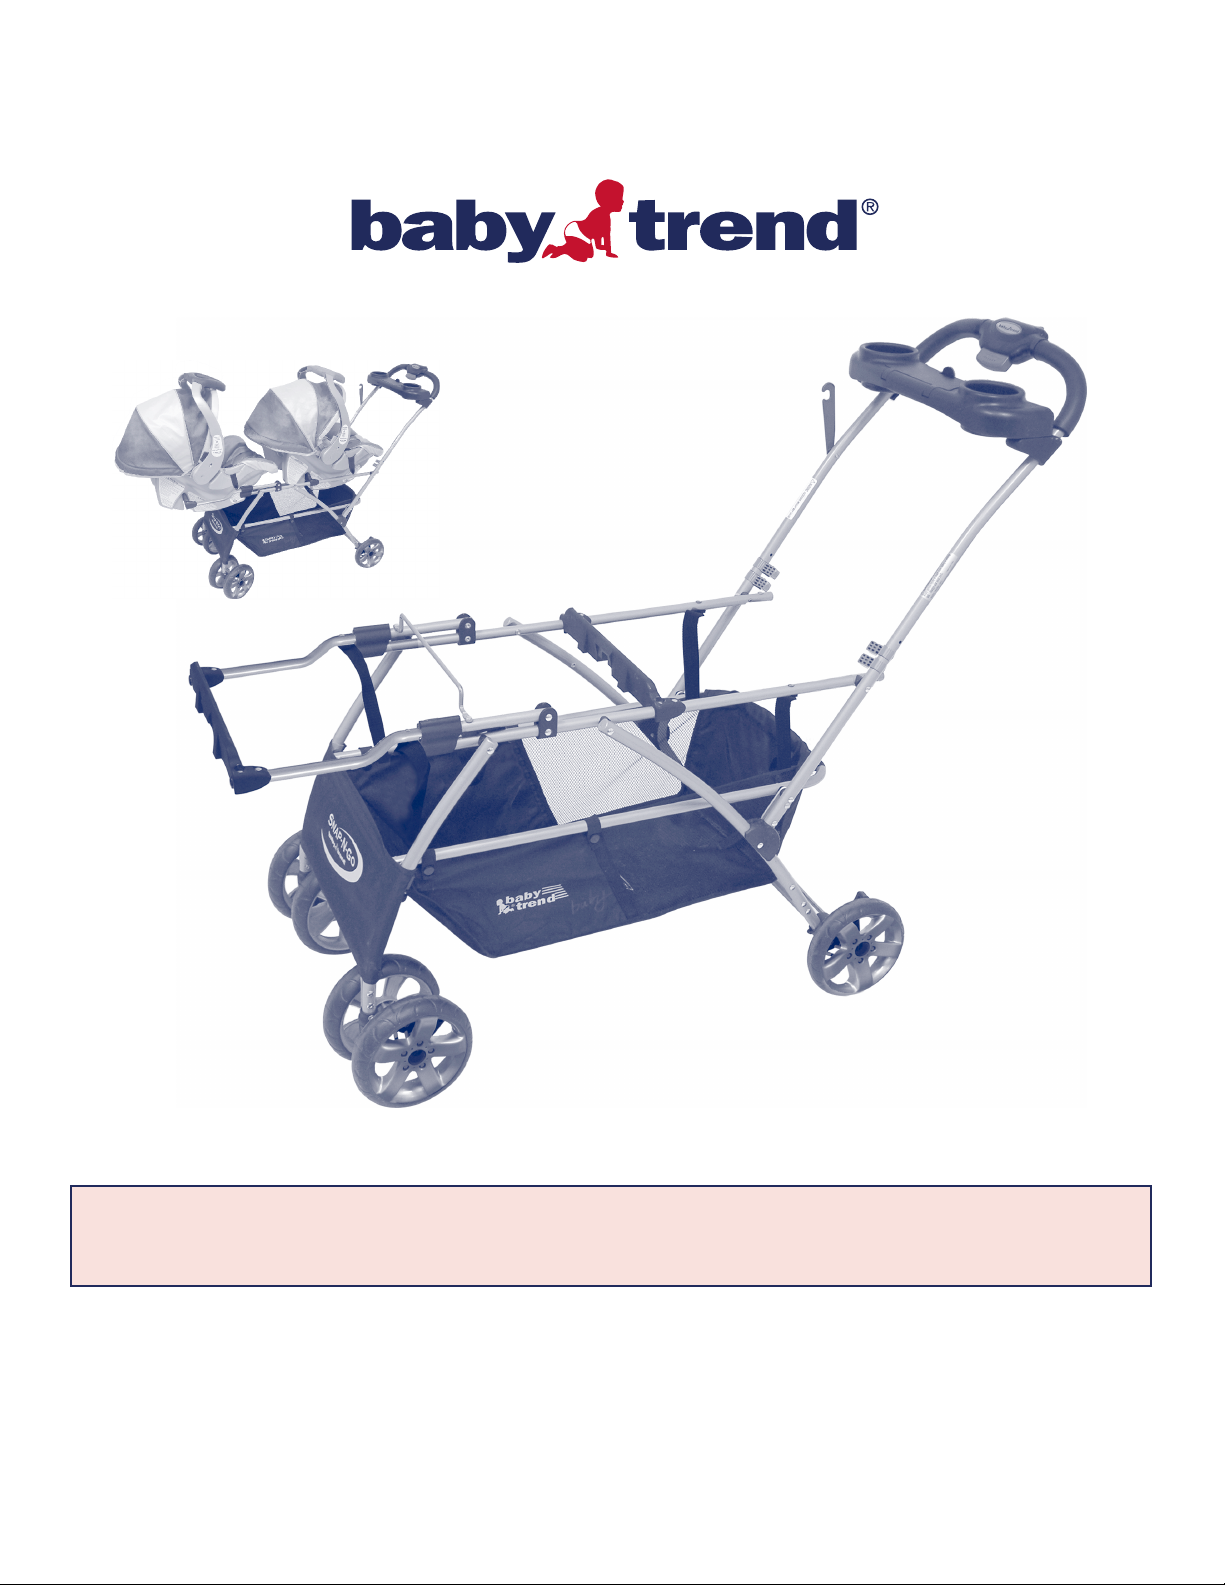
Double Snap N Go
Convenience through innovation and thoughtful design
Copyright © 2006 - 2007, Baby Trend Inc., All Rights Reserved.
®
Instruction Manual
04.07

®
Double Snap N Go
Double Snap N Go
®
WARNING: Please follow all of these instructions to ensure the
ety of your children. Keep these instructions for future reference.
saf
WARNING: Failure to follow these instructionscould result in
serious injury or death. Avoid serious injury from falling or sliding out.
Always use the infant car seat harness and insure that the child and
infant car seat are properly positioned according to these instructions.
WARNING: Never leave child unattended.
WARNING: Care must be taken when folding and unfolding the
product to prevent finger entrapment.
• Purses, shopping bags, parcels, diaper bags or accessory items may change the balance of the stroller and cause
hazardous unstable conditions.
• The maximum weight that can be carried in the storage basket is 5 lbs. The maximum weight for the parent tray is 3 lbs.
• Be certain the stroller is fully erect and latched in the open position before allowing a child near the stroller.
• Excessive weight may cause a hazardous unstable condition to exist. DO NOT EXCEED 45 lbs TOTAL.
• For use with two (2) children weighing no more than 22 pounds each, or two children totaling no more than 44 pounds
combined. Exceeding 45 lbs will cause excessive wear and stress on the stroller and may cause a hazardous, unstable
condition to exist.
• DO NOT use the stroller on stairways or escalators.
• NEVER allow your stroller to be used as a toy.
• To clean, use only mild household soap and warm water with a sponge or cloth.
• Check your stroller often for loose screws, worn parts, torn material or stitching. Replace or repair parts as needed.
• Discontinue use of stroller should it malfunction or become damaged. Please contact our customer service Parts Hotline
to arrange for repair or to obtain replacement parts.
Please: If you experience any difficulty with the use of our product or have a question regarding these instructions, please contact our Customer Service Department at (800) 328-7363 between the hours of 8:00 and 4:30
Pacific Standard
is returned it cannot be re-sold and the materials and energy used to make it are wasted.
To Contact us:
Copyright © 2006 - 2007, Baby Trend Inc., All Rights Reserved.
Time or visit us at www.babytrend.com. Please do not return the product to the store as once it
Baby
Trend, Inc.
1567 S. Campus
Ontario, C
A 91761
Ave.
Parts Hotline:
(800) 328-7363
8:00 a.m. and 4:30 p.m. Pacific Standard Time
2

PARTS
Rear Axle
Front Wheels (x2)
1” Bar (x 2)Flat Bar
Stroller
ASSEMBLING
TO ENSURE SAFE OPERATION OF YOUR STROLLER, PLEASE FOLLOW THESE
INSTRU
CTIONS CAREFULLY AND RETAIN THEM FOR FUTURE REFERENCE.
ASSEMBLY:
1. Remove stroller from box. NOTE: The front wheels, rear wheels, parent tray, and support bars specific to
your infant car seats need to be installed prior to use.
2. To attach the front wheels, unfold stroller and lean backwards so that it rests on the handle and rear frame
tubes with the front wheel tubes po
so that the large hole in t
until it lo
cks onto the front leg. Tug on the wheel assembly to ensure that it is securely attached to the stroller.
he swivel assembly will slide onto the front tube. Carefully push the wheel assembly
(Fig. 2)
3. Lean the stroller forward to rest on the front wheels. To attach the rear wheels, position the rear axle and
wheel assembly so that the brake levers are facing the rear of the stroller. (Fig. 3.1) Press the rear wheel
mbly onto the rear frame tubes, being careful that the push buttons on the forward side of each rear tube
asse
engage the hole on the forward side of each rear wheel housing. (Fig. 3.2) Tug on the rear wheel asse
ensure that it is securel
y attached to the stroller and firmly locked into place.
DO NOT use the stroller if the wh
department immediately at (800) 328-7363, between the hours of 8:00am and 4:30pm PST, for assistance.
inting upward. (Fig. 1) Position the front wheel assembly over the front tube
mbly to
eels are not locked into place, but rather contact our customer service
Fig. 1
Copyright © 2006 - 2007, Baby Trend Inc., All Rights Reserved.
Fig. 2
Push onto
bayonet
1
Line up the frame tubes
with the axleassembly
3
Push down until axle
housing snaps into place
Fig. 3
2
slide onto frame tubes
at the same time
4
Axle housing is secure when
the metal tab locks axle
housing into place
3

WARNING:
in the
Do not place more tha
cause a haza
parent tr ay. Hot liquids can burn your child.
rdous unstable condition to exist.
DO NOT pl ace hot liquids
n 3 pounds in the tray as it may
WARNING:
Car Seat harness to avoid serio
or
sliding out.
ALWAYS USE the Infant
us injury from falling
BRAKES:
WARNING:
ALWAYS SET brakes when
the stroller is not being pushed so that the stroller will
not roll away. Never leave stroller unattended on a hill
or incline as the stroller may slide down the hill.
• To engage brakes, apply light downward pressure to the brake lever
located on each rear wheel. The stroller may require slight forward or
ward movement in order to line up the teeth on the brake with the
rear
each wheel brake clu
and that the brakes are properly applied. To release, gently lift up on the
brake lever.
TO FOLDSTROLLER:
ster. (Fig. 4) Check that the stroller will not move
Fig. 4
Fig. 5
DO NOT allow children near stroller while folding.
• The front section should be folded back to reduce the folded size of the
stroller. To fold the front frame, slide the plastic fittings forward then lift
upward on the frame. Rotate the front frame backwards, and rest on the
rear portion of the frame. (Fig. 8a & 8b)
• To fold the stroller slide the red small trigger on the top of the handle to the
left with your thumb, then squeez
forward on the
triggers and pul
folded. Secure the stroller in the folded position by latching the fold latch.
The fold latch is located on the right sid
tion of the handle and the rea
the lower frame tube. (Fig. 6)
Copyright © 2006 - 2007, Baby Trend Inc., All Rights Reserved.
handle. (Fig. 5) Once the stroller begins to fold, release the
l backward on the front of the frame until stroller is
e the red large trigger while pushing
e of the stroller at the intersec-
r tube, over the extended rivet located on
Fig. 6
4

TO UNFOLD STROLLER:
DO NOT allow children near stroller while unfolding.
1. Release the folding latch located on the right side.
2. Lift up on the stroller handle with both hands making sure the
stroller
The stroller ha
frame. Test that both latches are fully engaged prior to placing
your child in the stroller.
3. Extend the front frame by rotating it forward. (Fig. 8b). Slide the
two plastic fittings forward and then back so both latch securely
onto the front tubes of the stroller frame. (Fig. 8a)
frame is erect and locks in the open position. (Fig. 7)
s spring-loaded latches on both sides of the
Fig. 7
TO ATTACH AN INFANT CAR SEAT:
1. Place car seats onto snap bars with stroller open and locked in
place. (Fig. 9) Please refer to the chart on next page for snap bars’
positions. (Fig. 12) NOTE: Some brands of infant car seats wil
lock onto the snap
bar, you must ALWAYS use the safety belt to secure every car
seat that is placed on the Snap-N-Go.
2. Strap the safety belt over the carseat and connect the buckles
together.
move. (Fig. 10)
belt to slide through, if you have
please feed the safety belt through each slot and secure. (Fig. 11)
Tighten the strap so the car seat fits snug and can’t
WARNING:
bar, and some brands may simply rest on the
NOTE: Some car seats have slots for the safety
a car seat with these slots
Avoid serious injury
from falling, ALWAYS use the safety belt to
secure both of FRONT and REAR car seats.
Fig. 8a
l
Fig. 8b
Fig. 10 Fig. 11
IF YOU EXPERIENCE ANY DIFFICULTY IN USING THIS PRODUCT,
PLEAS
AT (800) 328-
E CONTACT OUR CUST OMER SERVICE DEPARTMENT
7363 BETWEEN THE HOURS OF 8:00AM AND 4:30PM
PACIFIC STANDARD TIME FOR ASSIS TANCE.
Copyright © 2006 - 2007, Baby Trend Inc., All Rights Reserved.
Fig. 9
5

SNAP BAR POSITON CHART
1” Bar (x 2)Flat Bar (x 1)
CAR SEAT
BABY TREND
E
D
C
A
B
D
C
A
FRONT BAR LOCATION REAR BAR LOCATION
1” Bar Downwards
B
Fig. 12
Hole “B”
Top Flip Bars
Flip Bars
E
BRITAX
EVENFLO
GRACO
PEG PEREGO
1” Bar Downwards
1” Bar Upwards
1” Bar Downwards
1” Bar Downwards
Hole “C”
Hole “B”
Hole “C”
Hole “A”
1” Bar Upwards
Top Flip Bars
1” Bar Upwards
Flat Bar
Hole “E”
Hole “E”
Hole “D”
STOP
If you experience any difficulty with the use of our product or have a question regarding these
instructions, please contact our Customer Service Department at (800) 328-7363 between the hours of
8:00 am and 4:30 pm (PST) or visit us online at www.babytrend.com. Please do not return to the store
as once it is returned it cannot be resold and the materials and energy used to make it are wasted.
Copyright © 2006 - 2007, Baby Trend Inc., All Rights Reserved.
 Loading...