

Page 1

WELCOME…
to yo ur new di gital B aby Mon itor!
Tha nk you for p urcha sing t he pr oduct . Now y ou ca n see
and h ear you r baby s leepi ng in the o ther ro om or yo u can
mon itor yo ur olde r child ren in th eir pla yroom .
Thi s Use r's Guide pro vides you with all the infor matio n
you n eed to ge t the mos t from yo ur prod uct.
Bef ore you can u se the baby mo nitor, w e r ecomm end
you inser t and f ully c harge the ba ttery in the paren t unit ,
so that it con tinue s to work if yo u disc onnec t it from the
mai ns po wer to carr y it t o ano ther locat ion. P lease read
the Safe ty I nstru ction s on page 6 be fore you insta ll th e
uni ts.
Got eve ry thing ?
1 x Par ent Uni t
1 x Bab y Unit
2 x Pow er adap ter
Overview of your Parent unit
1. Po wer Key
2. Po wer ada pter co nnect or
3. Lc d displ ay
4. Mi croph one
5. Cha rging ind icati ng led
6. / Pow er Sig nal ind icati ng led
7. VO X Key
8. Mu sic pla y on/o ff key
9 PTT K ey.
10 S peake r.
11. OK / M enu Key
12. R eturn K ey
13. Vo lume + / Up
14. Vo lume - / Do wn
Overview of your Baby unit
1. Li ght Sen sor
2. Ca mera Le ns
3. Po wer ind icati ng LED
4. Mi croph one
5. In frare d LED
6. Po wer Key
7. Po wer ada pter co nnect or
8. Temp eratu re Sens or
9. Pa ir key
10. S peake r
Tabl e of c on te nt s
1. Sa fety In struc tions … …………… …….…… .……6
2. Ge tting s tarte d ..... ..... ..... ..... ..... ..... ..... ..... ..... 7
2.1 B aby uni t power s upply . ..... ..... ..... ..... ...7
2.2 P arent u nit pow er supp ly.... ..... ..... ..... ....8
3. Us ing the B aby Mon itor . .. ..... ..... ..... ..... ..... ....9
3.1 S ettin g up .... ..... ..... ..... ..... ..... ..... ..... ....9
3.2 P airin g camer a.... ..... ..... ..... ..... ..... ..... ..10
3.3 V OX Func tion. ..... ..... ..... ..... ..... ..... ..... .10
3.4 M usic pl ayer.. ..... ..... ..... ..... ..... ..... ..... ...10
3.5 Tal k funct ion.. ..... ..... ..... ..... ..... ..... ..... ...10
3.6 A djust ing the v olume … …………… …….10
4. Mo nitor ing scr een ico ns... ..... ..... ..... ..... ..... ....11
5. Me nu Opti ons…… …………… …………… ……..1 2
5.1 M ain men u ..... ..... ..... ..... ..... ..... ..... ..... .12
5.2 C amera R egist ratio n.... ..... ..... ..... ..... ...13
5.3 Al arm.. ..... ..... ..... ..... ..... ..... ..... ..... ..... ..13
5.4 S ettin gs... ..... ..... ..... ..... ..... ..... ..... ..... ..14
5.5 V OX... ..... ..... ..... ..... ..... ..... ..... ..... ..... ..15
5.6 L angua ges.. ..... ..... ..... ..... ..... ..... ..... ...15
5.7 S ystem i nfo…… …………… ….... ..... .….15
6. TE CHNIC AL FEATUR ES... ..... ..... ..... ..... ..... .16
1. Safety Instructions
WARN ING
Th is bab y m oni to r i s c omp li ant wi th al l r el eva nt
sta ndard s rega rding elect romag netic f ields and is , when
han dled as descr ibed in t he U ser's Gui de, safe to u se.
The refor e, alwa ys read t he inst ructi ons in th is User 's
Gui de care fully b efore u sing th e devic e.
A dult asse mbly is r equir ed. Keep smal l pa rts a way
fro m child ren whe n assem bling .
Thi s prod uct is no t a toy. Do n ot allo w child ren to pl ay
wit h it.
Thi s baby monit or is not a subst itute for re spons ible
adu lt supe rvisi on.
Do no t pl ace the bab y un it or cable s in th e c ot o r
wit hin arm 's reac h of the b aby (a t least 1 m eter
awa y).
Kee p the cor ds out of r each of c hildr en.
Do not us e th e ba by monit or n ear wate r or a heat
sou rce
Onl y use the p ower ad apter s provi ded.
D o no t to uch t he p lug conta cts w ith sharp or metal
obj ects.
2. Getting started
2.1 B aby uni t power s upply
1. Con nect the sma ll p lug of the power ad apter to
the b aby uni t and the o ther en d to the ma ins soc ket.
NOT E: Only u se the po wer ada pter pr ovide d
2. A b lue light led will disp lay i ndica te t he ba by u nit i s
wor king
2.2 P arent u nit pow er supp ly
Cha rging th e pare nt uni t full y befo re use is
rec ommen ded.
Thi s will allow the u nit to opera te on b atter y in t he eve nt
of a po wer fai lure.
1. Con nect t he plug of t he pow er ada pter to the
par ent uni t and the o ther en d to the ma ins soc ket
NOT E: Only u se the po wer ada pter pr ovide d
2. Th e c harg ing L ED w ill i llum inat es me ans st art
cha rging t he batt ery
3. Pu sh the p ower ke y to ON si de to t urn on t he pare nt
uni t.
2. 4
GHz
26 0M
LONG RAN GE
TALK BACK
TEMPER ATURE NIGHT VI SION 8 LULLAB IES
♪
♫
26 C
MULTI-L ANGUAG E
2
10
1
3
4
5
6
7
8
9
11
13
12
14
2
1
3
4
5
6
7
8
9
10
Ver1 .4
Page 2
3.2 P airin g camer a
The enc losed ba by unit ha s a lread y b een regi stere d ,
You do not n eed to regis ter i t agai n unle ss the baby unit
lose s its lin k wit h the pare nt un it. S ee se ction “5. 2
Came ra Regi strat ion” fo r more de tails .
3.3 V OX Func tion
Pres s V OX key will tur n o n V OX mode, The VOX m ode
autom atica lly put s the di splay in s leep m ode to sav e batte ry. It
reac tivat es au tomat ical ly, whe n it de tect s noi se in th e bab y's
room.
3.4 m usic pl ayer
Pres s mu sic key w ill t urn on t he mu sic playe r an d pl ay
lull aby th rough t he bab y unit ; press music k ey ag ain wil l
turn o ff it.
3.5 Tal k funct ion
Pres s and h old PT T key on the pa rent u nit to t alk to your
baby throu gh the baby un it lou dspea ker. Th e symbo l will
be dis playe d at the bo ttom of t he scre en.
3.6 Ad justi ng the vo lume
When the video is p layin g mod e, pr ess Volum e- ke y to
decr ease vol ume or Volum e+ key to i ncrea se volum e.
The di splay w ill sho w the cur rent vo lume fo r 5 secon ds.
4. Mo nitor ing Scr een Ico ns
1. S ignal s treng th indi cator
2. Tem perat ure of th e baby' s room
3. L ullab y is play ing
4. Vox fu nctio n activ ated
5. Alar m activ ated
6. B atter y indic ator
7. P TT func tion ac tivat ed
8. D ate and t ime ( HH: MM AM/P M DD/MM )
5. Me nu Opti ons
5.1 M ain men u
Pres s “OK/ Menu” k ey at m onito ring s creen will e nter t he
main m enu, It c ontai ns 6 item s :
1. C amera
2. A larm
3. S ettin gs
4. V OX
5. L angua ges
6. S ystem i nfo
You can p ress th e “Up” ke y or “Dow n” key to m ove the
curs or to sel ect an it em and pr ess “Me nu” key w ill
ente r the sub -menu w hich yo u selec ted.
Pres s “Retu rn” key w ill bac k to moni torin g scree n
5.2 C amera R egist ratio n
Pres s “ OK/Me nu” key to entry reg ister ing scree n, t hen
push t he pair k ey on the b ack of bab y unit wi thin 10
seco nds.
5.3 Al arm
Pres s ”PT T” ke y to m ove t he cu rsor and “ Up/Do wn” ke y
to cha nge va lue .
5 .4 Sett ings
5.4. 1 Time an d date
There ar e conta ins 2 ite ms in thi s menu
Set ti me / date
Set fo rmat
Pres s ”PTT ” key to m ove th e curso r and “U p/Dow n”
key to c hange v alue .
5.4. 2 Temper ature u nit
Swit ch the un it to Cel sius or F ahren heit
5.4. 3 Anti- flick er
You are able to a djust the fre quenc y of 50 / 6 0 HZ to
suit y our lig hting f or anti -flic ker
5.4. 4 LCD bac kligh t
You ar e be ab le to adjus t the b right ness of the LCD
you ar e viewi ng and th e LCD bac kligh t activ e time in
menu o perat ion.
5.5 VO X
5.5. 1 Syste m mode
This menu allo ws y ou to choo se th e wor king mode
from t he foll owing : Norma l mode / VO X mode
5.5. 2 VOX Sen sitiv ity
Swit ch the Vox s ensit ivity at Low / Medi um / Hig h
leve l
5.6 L angua ge
Lang uage sett ing m enu allow s yo u to choo se yo ur
lang uage fr om the fo llowi ng :
Engl ish
Fren ch ( Fran cais )
Span ish ( Esp anol )
Port ugues e ( Portu gues )
Ital ian ( Ita liano )
Germ an ( Deut sch )
Turk ey ( Turkc e )
Russ ian
5.7 S ystem i nfo
Ther e ar e con tains sys tem i nform ation suc h as
Proj ect id,Ha rdwar e vers ion, softw are ver sion ,
buil d date et c.
6. TE CHNIC AL FEATU RES
- Freq uency : 2.4 GHz D igita l
- Modu latio n Mode: G FSK
- Oper ating t emper ature : -10 to +4 5°C
- Oper ating H umidi ty: <85 %
- Rang e: 260m i n open fi eld
Moni tor
- LCD: 3 .2 “ TFT LC D
- Reso lutio n: 320X 240@2 0fps
- Batt ery: Li -Poly mer 750 mAh
- Dime nsion s (W x H x D): 12 0mm x 70m m x 17mm
Came ra
- Sens or: 0.3 Mega pi x CMOS
- Mini mum Ill umina tion: 0 Lux (I R on)
- Nigh t Visio n Dista nce: 15 ft (5m )
- Ligh ting se nsor
- Temper ature s ensor
- Dime nsion s (W x H x D): 67 mm x 106m m x 67mm
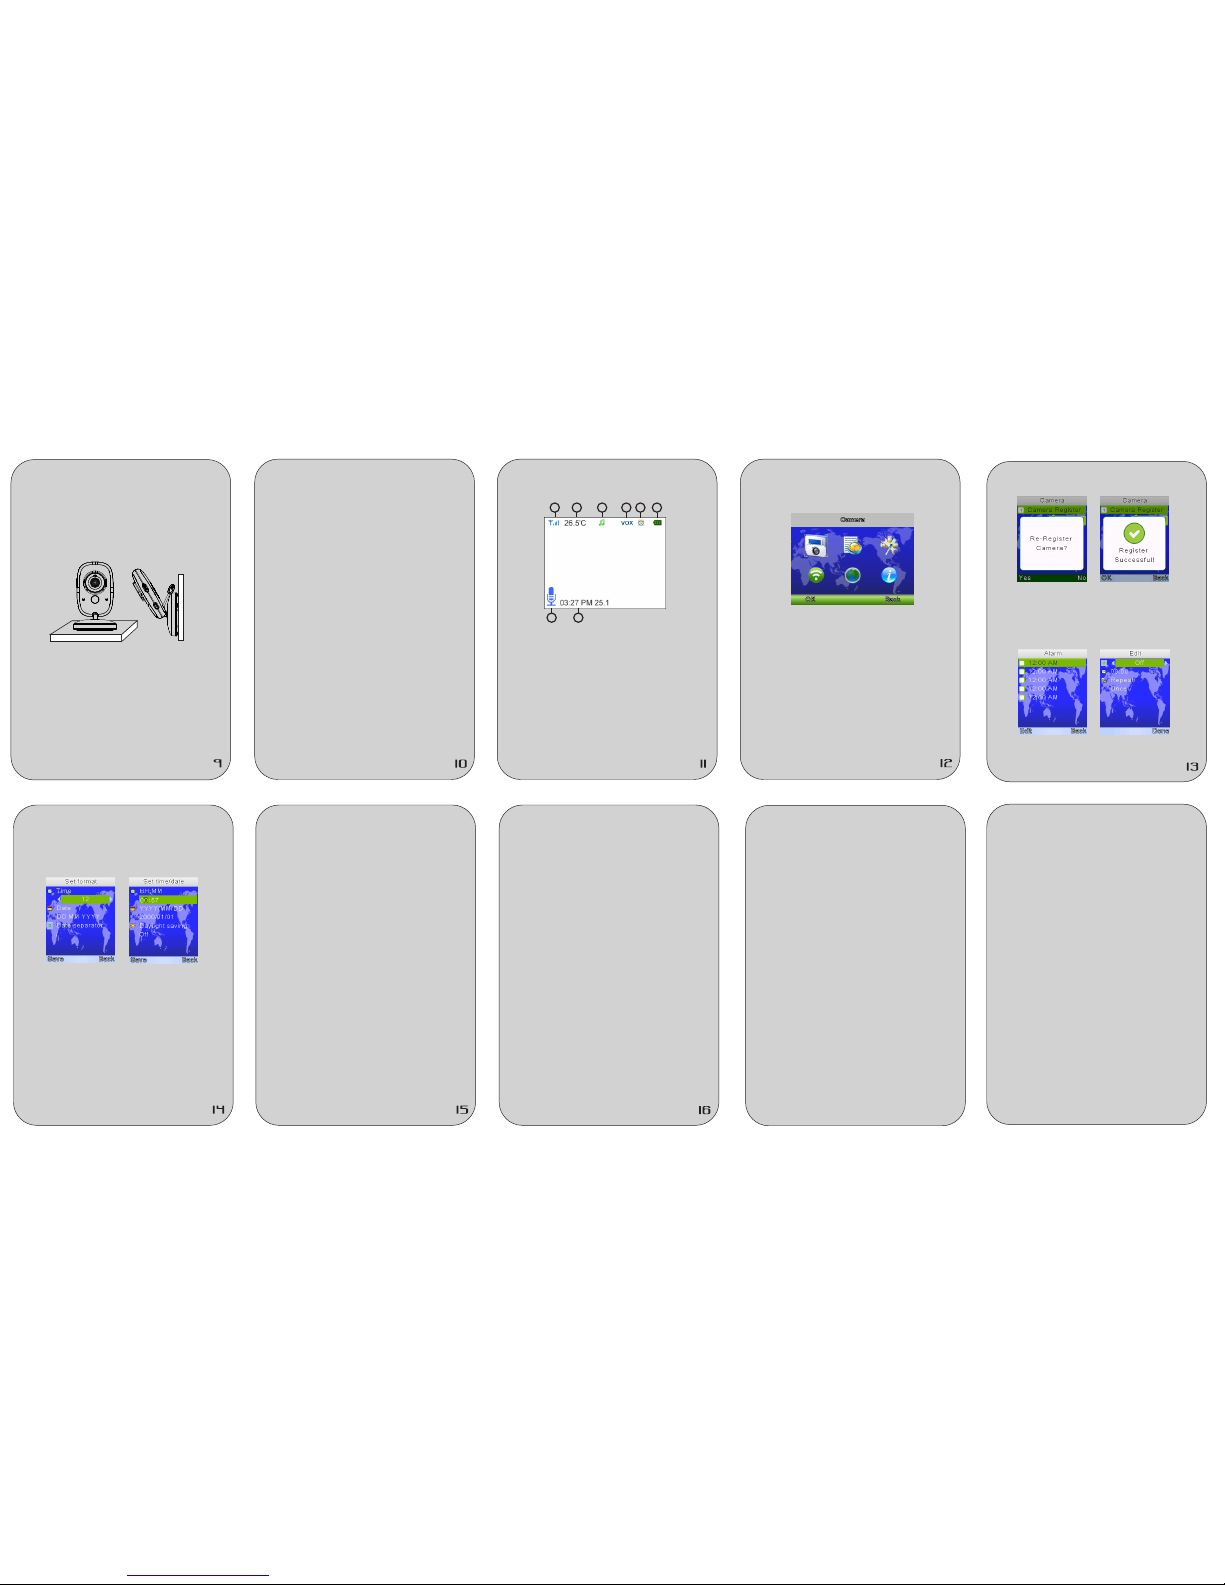
3. Us ing the B aby Mon itor
3.1 Set ting up
Plac e th e ba by unit in a co nveni ent locat ion (e.g. on a
tabl e) a nd p oint the cam era lens towa rds the area you
want to mo nitor. Adju st the baby unit u ntil y ou ar e
sati sfied w ith the i mage in t he pare nt unit .
NOTE
Do not p lace th e b aby uni t withi n baby' s r each! I f
ther e is in terfe rence on the pictu re or sound , try
movi ng the units to diff erent lo catio ns, and ensur e
they a re not cl ose to ot her ele ctric al equi pment .
21 3 4 5 6
7 8
17
FCC Statement
Changes or modifications not expressly
approved by the party responsible for
compliance could void the user's authority
to operate the equipment.
his equipment has been tested and found
to comply with the limits for a Class B digital
device, pursuant to Part 15 of the FCC
Rules. These limits are designed to
provide reasonable protection against harmful
interference in a residential installation.
This equipment generates uses and can
radiate radio frequency energy and, if not
installed and used in accordance with the
instructions, may cause harmful interference
to radio communications. However, there is
no guarantee that interference will not
occur in a particular installation. If this
equipment does cause harmful interference
to radio or television reception, which can
determined by turning the equipment off and
on, the user is encouraged to try to correct
the interference by one or more of the
18
following measures:
-- Reorient or relocate the receiving antenna.
-- Increase the separation between the
equipment and receiver.
-- Connect the equipment into an outlet on
a circuit different from that to which the
receiver is connected.
-- Consult the dealer or an experienced radio
/TV technician for help
This device complies with part 15 of the
FCC rules. Operation is subject to the
following two conditions (1)this device may
not cause harmful interference, and
(2) this device must accept any interference
received, including interference that may
cause undesired operation.
 Loading...