

Page 1

CURL PODS
Model 3663U
Page 2
CURL PODS
The BaByliss Curl Pods have been uniquely designed to create longlasting salon curls with a awless nish. The all-in-one design eliminates
the need for any clips or pins for easy, secure styling. The ultra-fast heat
up ensures fast curl formation and long-lasting results. Easier to use than
conventional rollers, simply wrap the hair around the barrel and snap the
pod together for perfect, kink-free curls with a smooth nish.
FEATURES
• 18 large pods
• Ultra-fast heat up
• High temperature performance
• On/off button
• 1.8m cord
• Storage pouch for pods
• Carry handle
• 3 year guarantee
SAFETY CAUTIONS
• This appliance should only be used as described within
this instruction booklet. Please retain for future reference.
IMPORTANT CHILD SAFETY
WARNING! Polythene bags over product or packaging may
be dangerous. To avoid danger of suffocation, keep wrapper
away from babies and children. This bag is not a toy.
Page 3
WARNING THIS APPLIANCE GETS HOT!
• ALWAYS keep out of reach of children (during and after
use and whilst cooling).
• This appliance should not be used, cleaned or maintained
by children.
• Always take extra care if used on children or near children.
• Do not use on very young children.
IMPORTANT SAFETY
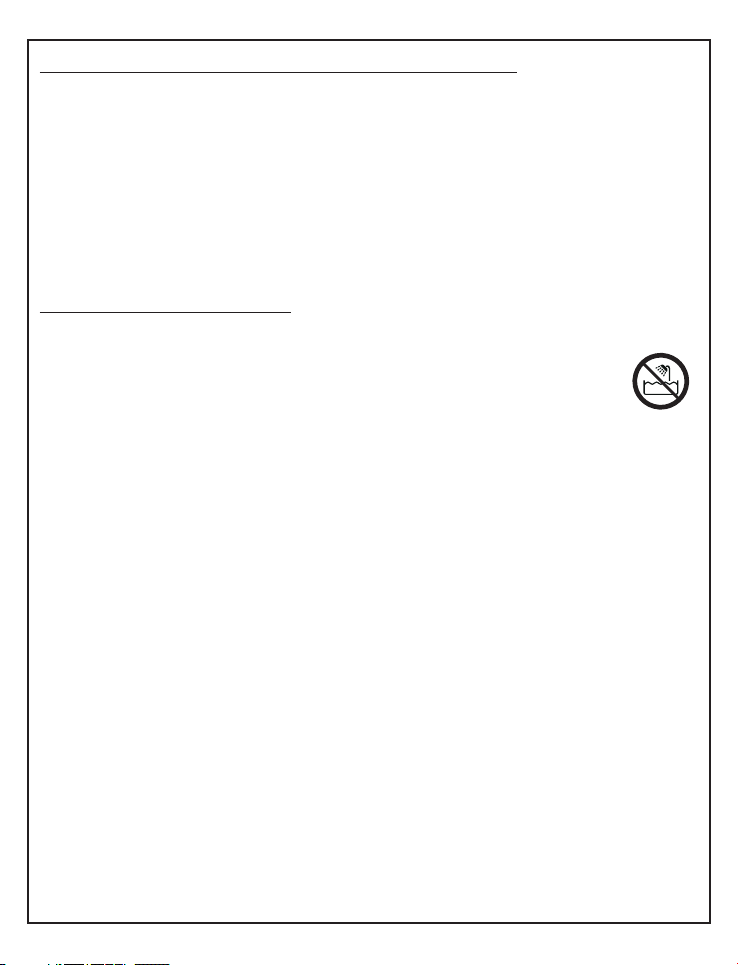
WARNING! Do not use this appliance near bath tubs,
showers, basins or other vessels containing water.
• Do not use the appliance in the bathroom.
• Do not immerse the appliance into water or other
liquids.
• The inside of the pod will be hot. Hold the pods by the
cool tip to roll the hair. Do not touch the heating posts that
hold the pods.
• Take care to avoid the hot surface of the appliance coming
into direct contact with the skin, in particular the ears,
eyes, face and neck.
• Never drop or insert any object into any opening.
• Always unplug the appliance when not in use or before
cleaning.
• Do not leave the appliance unattended when switched on
or plugged in.
• Do not place on any heat sensitive surface and always
allow the appliance to cool down before storing away.
• Always inspect the appliance before use for noticeable
signs of damage. Do not use if damaged or if the appliance
Page 4

has been dropped. In the event of damage, contact the
Conair Customer Care Line (refer to ‘UK After Sales
Service’ section for further information). No repair must
be attempted by the consumer.
• Do not use the appliance if the lead is damaged. In the
event of lead damage, contact the Conair Customer
Care Line (refer to ‘UK After Sales Service’ section for
further information). No repair must be attempted by the
consumer.
• This appliance should not be used by adults whose reduced
physical, sensory or mental capabilities, or whose lack of
experience and knowledge, might cause a hazard, unless
they have been correctly instructed to understand the safe
use and hazards involved and are adequately supervised.
• This appliance complies with the requirements of Directives
2004/108/EC (Electromagnetic Compatibility) and
2006/95/EC (Electrical Safety of Domestic Appliances).
INSTRUCTIONS FOR USE
• Place the appliance on a level, heatproof surface. Do not open the
translucent cover at this time.
• Turn the appliance on by pressing the 0/I button to the ‘I’ position.
• The ‘heat ready dot’ positioned on the front of the appliance will turn from
red to white, indicating optimum temperature has been reached and the
pods are ready to use.
• Ensure the hair is dry and combed through to remove any tangles.
• Slide the translucent cover around the unit so the opening is over the
pods.
• Remove one of the pods by holding the cool tip and pull out of the unit,
begin to style the hair by following the steps below.
Page 5

• Step 1. Start by taking a section of hair from the top
of the head about 2 inches wide. Place the pod on
to the hair at eye level.
•
Step 2. Wind the ends of the hair around the core of the
pod until the ends of the hair are completely wrapped
around the core. Roll upwards towards the top of the
head to wrap the remaining hair. Roll the pod towards
the scalp and push the cool tip and base together to
close the pod. The pod should close easily. If pod is
difcult to close, use a smaller hair section.
•
Step 3. Place the pods around the hair on top of the
head rst and then work down towards the nape of
the neck. Continue around the head until all pods are
in place. Allow the pods to cool completely to set the
curl and give long-lasting results.
•
Step 4. Once the pods have cooled down, open the
pod by pulling on the base and cool tip and gently
unwind. Slowly unroll the pod from the hair, being
careful not to pull the hair as you unwind. Once the
hair is loose from the pod, style as desired.
•
Once you have nished styling, turn off the unit by pressing the ‘0/I button
to the “0” position and allow the appliance to cool down.
•
The pods can be placed back in the unit or in the storage pouch provided.
•
Before storing away, slide the translucent cover around so the opening is
at the side of the appliance.
Page 6

• Unplug the appliance and allow it to cool completely, then loosely wrap
the cord around the base of unit for storage. Place in a safe, dry location,
out of the reach of children.
IMPORTANT!
• The BaByliss Curl Pods have been specically designed to reach very
high temperatures in order to produce fast and perfect curl formation.
• When applying the pods to long or thick hair, the pods can be used
instantly once the heat ready dot has turned white.
• When applying the pods to short or ne hair, allow the pods to heat up
until the heat ready dot turns white. Once the heat ready dot has turned
white, turn off the unit and slide the cover so the opening is over the
pods. Allow the pods to cool until they feel comfortable when applying
into the hair. Failure to do so may lead to discomfort.
• Always take extra care to avoid the pods coming into direct contact with
the scalp.
HELPFUL HINTS AND TIPS
• The tightness and hold of the curl is determined by the length of time
the curl pod is left in the hair. After using the appliance several times, the
length of time the pod should be left in the hair to achieve the desired
style will be established.
• For long-lasting, dened curls, the pods should be left in the hair for a
longer period of time before removing or until the pods have completely
cooled.
• For softer, glamorous waves the pods should be left in the hair for a
shorter period of time.
• In all cases we suggest to leave the pods in the hair for at least 10 minutes.
WARNING!
• Do not slide the cover around so the opening is over the pods until the
heat ready dot has turn white.
• Take care to avoid contact between the hot pods and the face, neck,
eyes or ears.
• Please do not touch the hot metal parts of the appliance during use.
Page 7

POD HEATING FOR BEST RESULTS
IMPORTANT! When placing the pods back into the heating unit always
ensure they are fully opened, holding by the cool tip slide the pod on to
the heating post. Be careful not to let the pod close as it is inserted into
the unit, if the pod is not fully opened and is placed over the heating post
incorrectly this can prevent the pod from reaching the required temperature
and may affect performance.
STORAGE POUCH
• The inside lining of the pouch is heat resistant, allowing the pods to be
stored away immediately after use.
IMPORTANT! Do not place the pods onto the outside of the
pouch when it is still hot, as the outside material is not heat resistant.
CLEANING & MAINTENANCE
• To clean the pods, use a damp cloth with some mild detergent and wipe
over the pods to remove any residue.
• Towel dry and leave rollers for 1 to 2 hours before using again to ensure
they are completely dry before use.
General
• Always unplug the appliance when not in use or before cleaning.
• Always store the appliance with the cover closed to protect it from dust.
Page 8

UK GUARANTEE
This BaByliss appliance is guaranteed for consumer use for 3 years. This
guarantee covers defects under normal use from date of purchase and
ceases to be valid in the event of alteration or repairs by unauthorised
persons. If the appliance does not perform satisfactorily due to defects
in materials or manufacture, it will be repaired or replaced through Conair
UK After Sales Service. The Conair Group Ltd reserves the right to amend
terms and specications without prior notice.
This guarantee in no way affects your statutory rights.
UK AFTER SALES SERVICE
For further advice on using the appliance or should you need to return
your product, please contact the Conair Customer Care Line on
0370 5 133191 (09:00 to 17:00 Monday to Friday) or email your enquiry to
ukinfo@conair.com.
The return address is:
Customer Care Centre
Conair Logistics
Unit 4, Revolution Park
Buckshaw Avenue
Buckshaw Village
Chorley
PR7 7DW
Please enclose your returns number, name and address details, together
with a copy of proof of purchase and details of the fault.
Page 9

SAFE DISPOSAL
The
may not be treated as household waste. Instead it should be handed to an
appropriate collection point for the recycling of Electrical and Electronic
equipment. By ensuring this product is disposed of correctly, you will help
prevent potential negative consequences for the environment and human
health, which could otherwise be caused by inappropriate waste handling
of this product. For more detailed information about the recycling of this
product, please contact your local council ofce or your household waste
disposal service.
UK WIRING INSTRUCTIONS
The wires in the mains lead are coloured in accordance with the following
code:
BLUE = NEUTRAL
BROWN = LIVE
YELLOW & GREEN = EARTH
As the colours of the wire in the mains lead of this appliance may not
correspond with the colour marking identifying the terminals on your plug,
proceed as follows:
• The wire which is coloured BLUE must be connected to the terminal
• The wire which is coloured BROWN must be connected to the terminal
• The wire which is coloured YELLOW & GREEN must be connected to the
symbol on the product or on its packaging indicates that this product
which is marked with the letter N.
which is marked with the letter L.
terminal which is marked with the letter E or the symbol.
This appliance is supplied tted with a BS1363 mains plug and a BS1362
3A fuse. If this plug is removed from the appliance please ensure it is
disposed of safely as a disconnected plug is dangerous if reconnected to
the mains. If any other type of plug is used, a 3A fuse must be tted.
Page 10

Page 11

Page 12

 Loading...