

Page 1
ABT6620
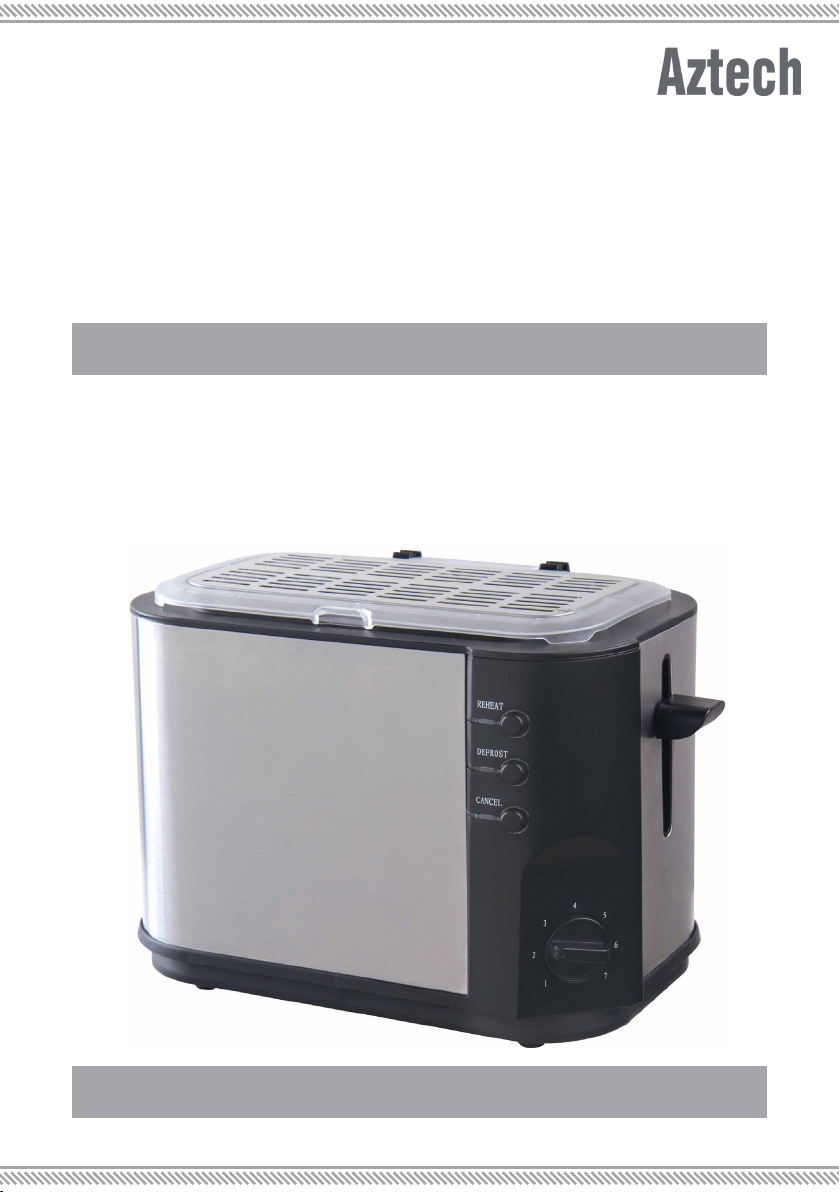
Bread Toaster
USER MANUAL
PLEASE KEEP THIS USER MANUAL FOR FUTURE USE.
Page 2

USER MANUAL CONTENTS
SAFETY INSTRUCTIONS.......................................................................................2
PACKAGE CONTENTS......................................................................................4
APPLIANCE OVERVIEW....................................................................................4
BEFORE USE........................................................................................................5
USING THE BREAD TOASTER............................................................................5
OPTIONAL FUNCTIONS......................................................................................6
CLEANING AND MAINTENANCE.......................................................................6
TROUBLESHOOTING......................................................................................7
SAFETY INSTRUCTIONS
NOTE: It is STRONGLY ADVISED to ensure that you have read all provided safety
guides and operating instructions in this user manual rst before proceeding.
• Should damages be found on the appliance, its power cord and/or
its other components – do not use the appliance and immediately
bring it to the Aztech Service Center for repair or replacement.
• Do not, in any kind of manner, disassemble, dismantle, and/or perform
appliance repair on your own and/or replace its components using
non-Aztech approved components and/or attachments.
• Do not use the appliance and/or its components for anything other
than its intended purpose. The appliance is intended for household use
only, commercial usage would void the warranty of the appliance.
• For rst time use, operate the Bread Toaster without any bread. This
will pre-heat the Bread Toaster and will immediately burn off any dust
accumulated during storage.
• Before use, please check if the power voltage of your Bread Toaster
correctly corresponds to your home’s power supply.
• The Bread Toaster is designed with a short power cord to reduce
and/or avoid hazards resulting from entanglement and/or tripping
commonly encountered in long cords. If you will be using an extension
cord, please ensure that the extension cord also corresponds to your
Bread Toaster’s power supply and that the extension is kept in an
organized manner to avoid accidents.
• Do not use the Bread Toaster without the Crumb Tray in place.
2
Page 3

• Do not remove jammed bread slices from its slots without unplugging
the Bread Toaster.
• Do not toast bread with ingredients applied (e.g. butter, jam).
• Remove all protective wrapping before using the Bread Toaster.
• After using the Bread Toaster, allow its surface to cool down rst before
removing the bread and/or cleaning/storing the Bread Toaster.
• Do not use wet hands in operating the Bread Toaster and/or in
inserting or removing its power adapter to prevent electrical shocks.
It is recommended to thoroughly dry your hands rst before every use.
• Ensure to ALWAYS position your Bread Toaster on a smooth, dry, and
stable ground.
• The Bread Lid should only be used to protect the bread slots from
dust. Allow the appliance to cool down rst before closing the Bread
Lid.
• Do not position the appliance in a humid environment and/
or in places exposed to multiple sources of heat such as stoves,
refrigerators, or ovens. It is also important to keep it away from
ammable/combustible materials such as electric burners, curtains
and/or cloths especially during use.
• Keep the appliance out of reach of children. If children are within the
area during use, ensure to operate the appliance with extra care for
safety purposes. Keep its power cord out safely kept away and out of
reach during use to avoid unwanted accidents.
• Do not leave the Bread Toaster unattended during use. Always
unplug the unit before cleaning and/or after usage.
• Always unplug the power adapter if you are done using your Bread
Toaster and allow it to cool down before doing any cleaning,
relocation, and/or appliance maintenance.
• When unplugging its power adapter, do not pull or tug its cord. Hold
the power adapter rmly on its base when unplugging it from the
power outlet. Also, ensure that its power cord is kept away from any
source of heat and/or sharp edges that may cause external damage
to the cord.
• Do not use its power cord to carry the appliance.
• Do not immerse or expose the Bread Toaster and/or its power cord to
water or any kind of liquid substance.
• Your Aztech Bread Toaster is not intended for people with reduced
physical, sensory or mental capabilities, and/or lack of experience
or knowledge. Constant supervision (from a person responsible for
their safety) should be provided if such individuals would be using,
3
cleaning, or operating, the appliance.
Page 4

PACKAGE CONTENTS
• ABT3640 Bread Toaster
• Easy Start Guide
• User Manual
• Warranty Policy
APPLIANCE OVERVIEW
BREAD TOASTER COMPONENTS
Bread
Slots
Reheat
Defrost
Cancel
• BREAD SHADE KNOB. Allows you to adjust / select the toasted bread’s
shade or browning level, with 1 as the lightest and 6 as the darkest
setting.
• LOADING LEVER. Use this lever to lower the bread slices into the Bread
Toaster’s slots.
• CANCEL BUTTON. After lowering the Loading Lever, the Cancel
button’s corresponding LED signals its activation. Use this function to
cancel a selected operation.
• DEFROST BUTTON. Use the Defrost Function to defrost and toast frozen
bread.
• REHEAT BUTTON. Use the Reheat function to warm up leftover toasts.
• CRUMB TRAY. Collects all falling bread crumbs during / after the
toasting process. Do not use the Bread Toaster without the Crumb
Tray inserted.
Bread
Lid
Loading
Lever
Bread
Shade
Knob
Crumb
Tray
4
Page 5

BEFORE USE
Before rst use, it is suggested to use the Bread Toaster in its maximum setting
without any bread inserted in its bread slots. This will ensure that any residues left
from the manufacturing process are completely removed before actual bread
toasting. In addition, please take note that it is normal for the Bread Toaster to
emit a distinct odour on the rst few usages. This will disappear over time.
USING THE BREAD TOASTER
TIPS IN USING YOUR BREAD TOASTER
• Check if the power voltage of your Bread Toaster correctly corresponds
to your home’s power supply.
• The Bread Toaster is designed with a short power cord to reduce and/or
avoid hazards resulting from entanglement and/or tripping commonly
encountered in long cords.
• If you will be using an extension cord, please ensure that the extension
cord also corresponds to your Bread Toaster’s power supply and that
the extension is kept in an organized manner to avoid accidents.
• Ensure that the Crumb Tray is in place. Never operate the Bread Toaster
without the Crumb Tray.
• During operation, the Bread Lid should remain OPEN. Otherwise the
Bread Toaster would not function. In addition, the Bread Lid should only
be used to protect the bread slots from dust. Allow the appliance to
cool down rst before closing the Bread Lid.
STEP 1: Open and Insert Bread Slices
Open the Bread Lid and insert two (2) regular sized bread slices into the Bread
Slots.
STEP 2: Plug it in
Plug in your Bread Toaster to a power outlet.
STEP 3: Select a Toasting Level
Simply turn the Bread Shade Knob clockwise to your desired toast level (with 1
being the lightest and 7 as the darkest toast). The Middle Position can help you
attain a golden brown bread shade. If you are unsure of what bread shade to
use, we recommend you to toast using a low toast level rst.
NOTES : Toasting a single slice of bread will have a darker result than that of
double slice toasting. The inner bread portion will have a darker color than the
one facing the outside surface.
5
Page 6

STEP 4: Lower the Loading Lever
Lower your Bread Toaster’s Loading Lever until it locks into place. The Cancel
indicator will light up. The appliance will immediately begin toasting your bread
slice(s) using the selected bread shade. Once the desired shade has been
reached, the bread will automatically pop up.
NOTE: If the Bread Toaster’s power adapter is not plugged into a power outlet, the
Loading Lever would not lock into place
OPTIONAL FUNCTIONS
• CANCEL. During the toasting process, if the bread shade’s color already
satises your preference and the bread toaster has not nished toasting your
bread slices yet, press the Cancel button to cancel the operation.
• REHEAT. Use this function to reheat leftover toasts. Simply press the Reheat
button and the Reheat indicator will light up. In this function, a xed toasting
time is used. The Loading Lever will automatically spring up to end the reheating
process.
• DEFROST. For breads stored in a refrigerator. Set the preferred bread shade
color, then lower the loading lever until it locks into place. Simply press the
Defrost button and your bread will be toasted using your desired shade.
CLEANING AND MAINTENANCE
TIPS IN CLEANING YOUR BREAD TOASTER
• Always unplug the power adapter of your Bread Toaster and allow
it to cool down before doing any cleaning and/or appliance
maintenance.
• Do not use any abrasive and/or aggressive cleaners in cleaning
your appliance. Simply use a slightly damp cloth to clean your Bread
Toaster’s external surface.
• Always ensure to regularly clean the Crumb Tray after every use.
Simply pull out the Crumb Tray, remove any bread crumbs present,
and put the tray back in.
• Use a soft dry cloth to wipe off any dirt stuck on the Bread Toaster’s external
surface.
• If not in use, place the Bread Lid in place to cover the Bread Slots from dust.
• Clean the Crumb Tray on a regular basis. Accumulated bread crumbs should
be removed at least once a week. Upon returning the Crumb Tray, ensure that
the Crumb Tray is completely closed and locked in place.
6
Page 7

TROUBLESHOOTING
Your Bread Toaster does not contain any user serviceable parts and/or
components. If problems are encountered during appliance usage, you may try
doing or checking the following:
• Check if all provided instructions were followed correctly.
• Check if the power outlet corresponds to your Bread Toaster and/or if the
power outlet is switched ON (if applicable).
• Check if the power adapter is properly plugged into the power outlet.
If the appliance still encounters problems, please do not use the appliance and
immediately bring it to the Aztech Service Center for repair or replacement.
Page 8

Copyright © 2016 Aztech Technologies Pte Ltd (CRN:199800635M ). All rights reserved.
 Loading...