

Page 1
MK HUE
LIFESTYLE SERIES
BACKLIT MECHANICAL KEYBOARD
GUIDE DE L’UTILISATEUR
GUÍA DEL USUARIO
GUIA DO USUÁRIO
用户指南
Page 2
AZIO MK HUE
Page 3
Page 4

00
MK
HUE
Backlit Mechanical Keyboard
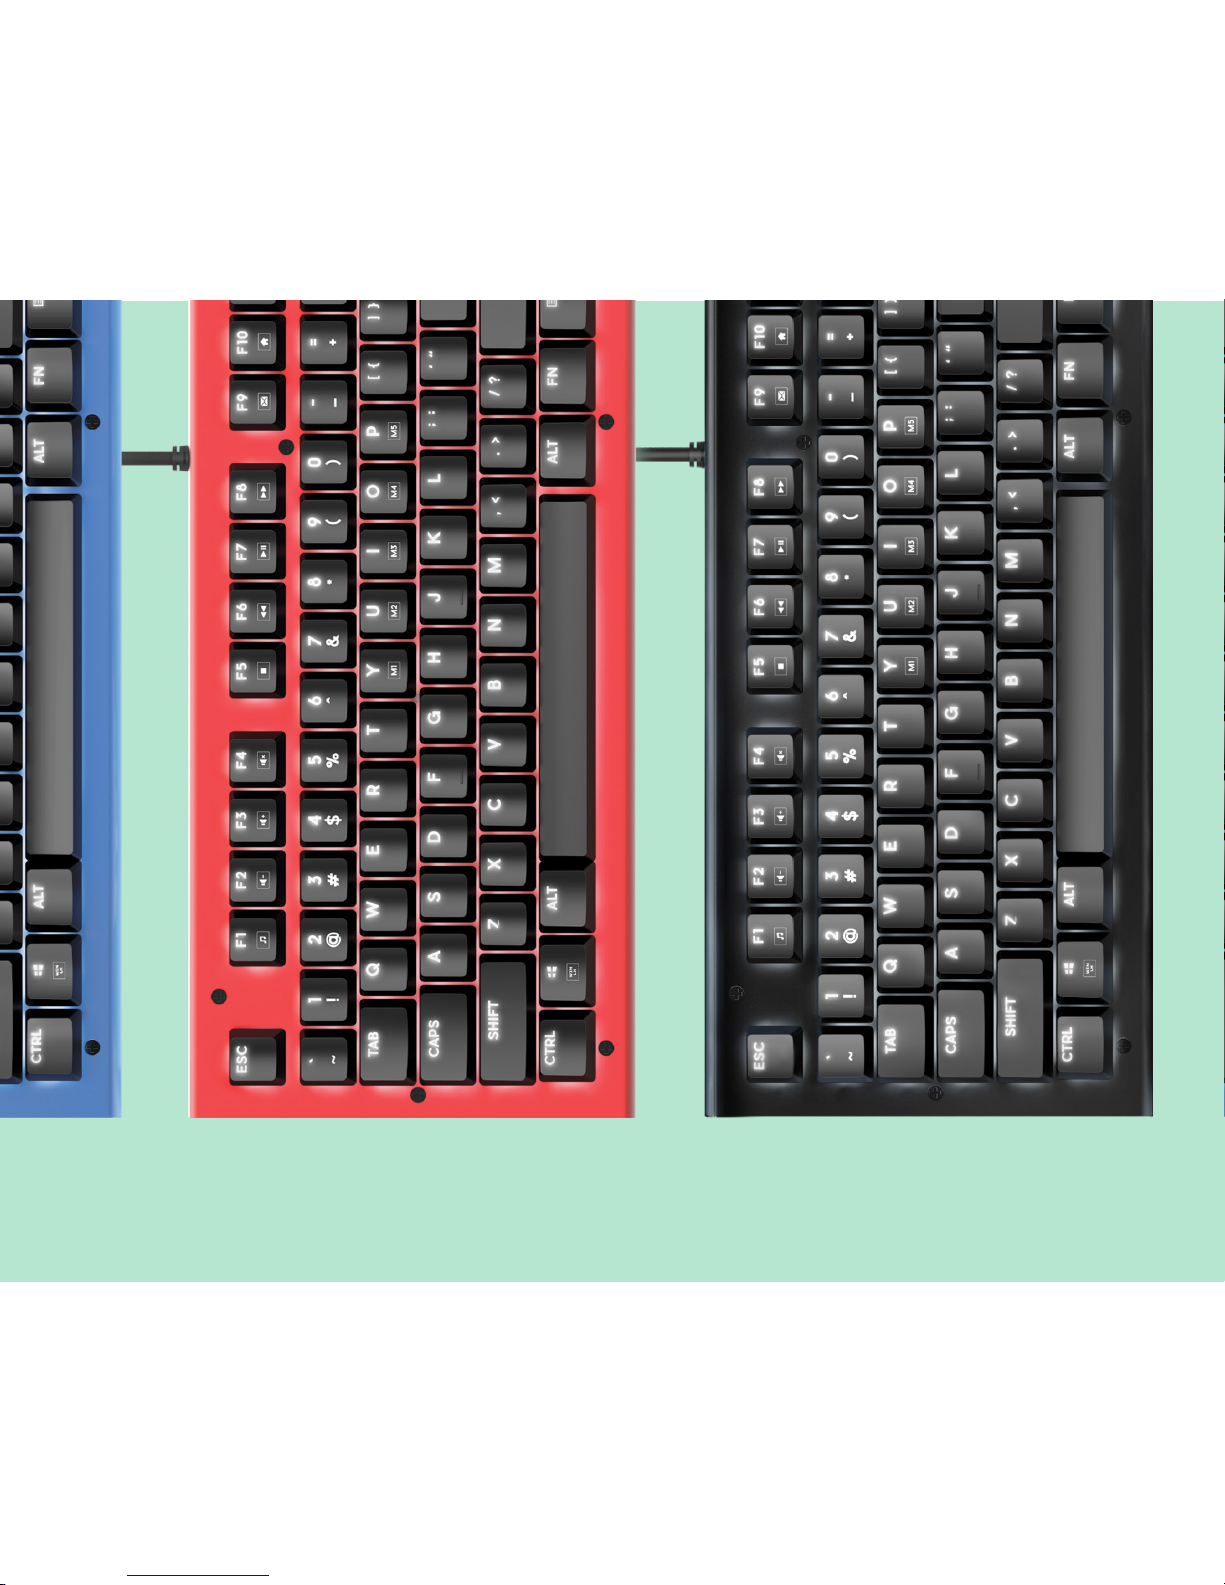
Color represents character, mood, and individuality. The MK HUE introduces a fun, minimalist
mechanical keyboard without all the unnecessary bells and whistles. Featuring a colorful
anodized aluminum body, elegant white backlight, and Brown mechanical keys, the MK HUE is
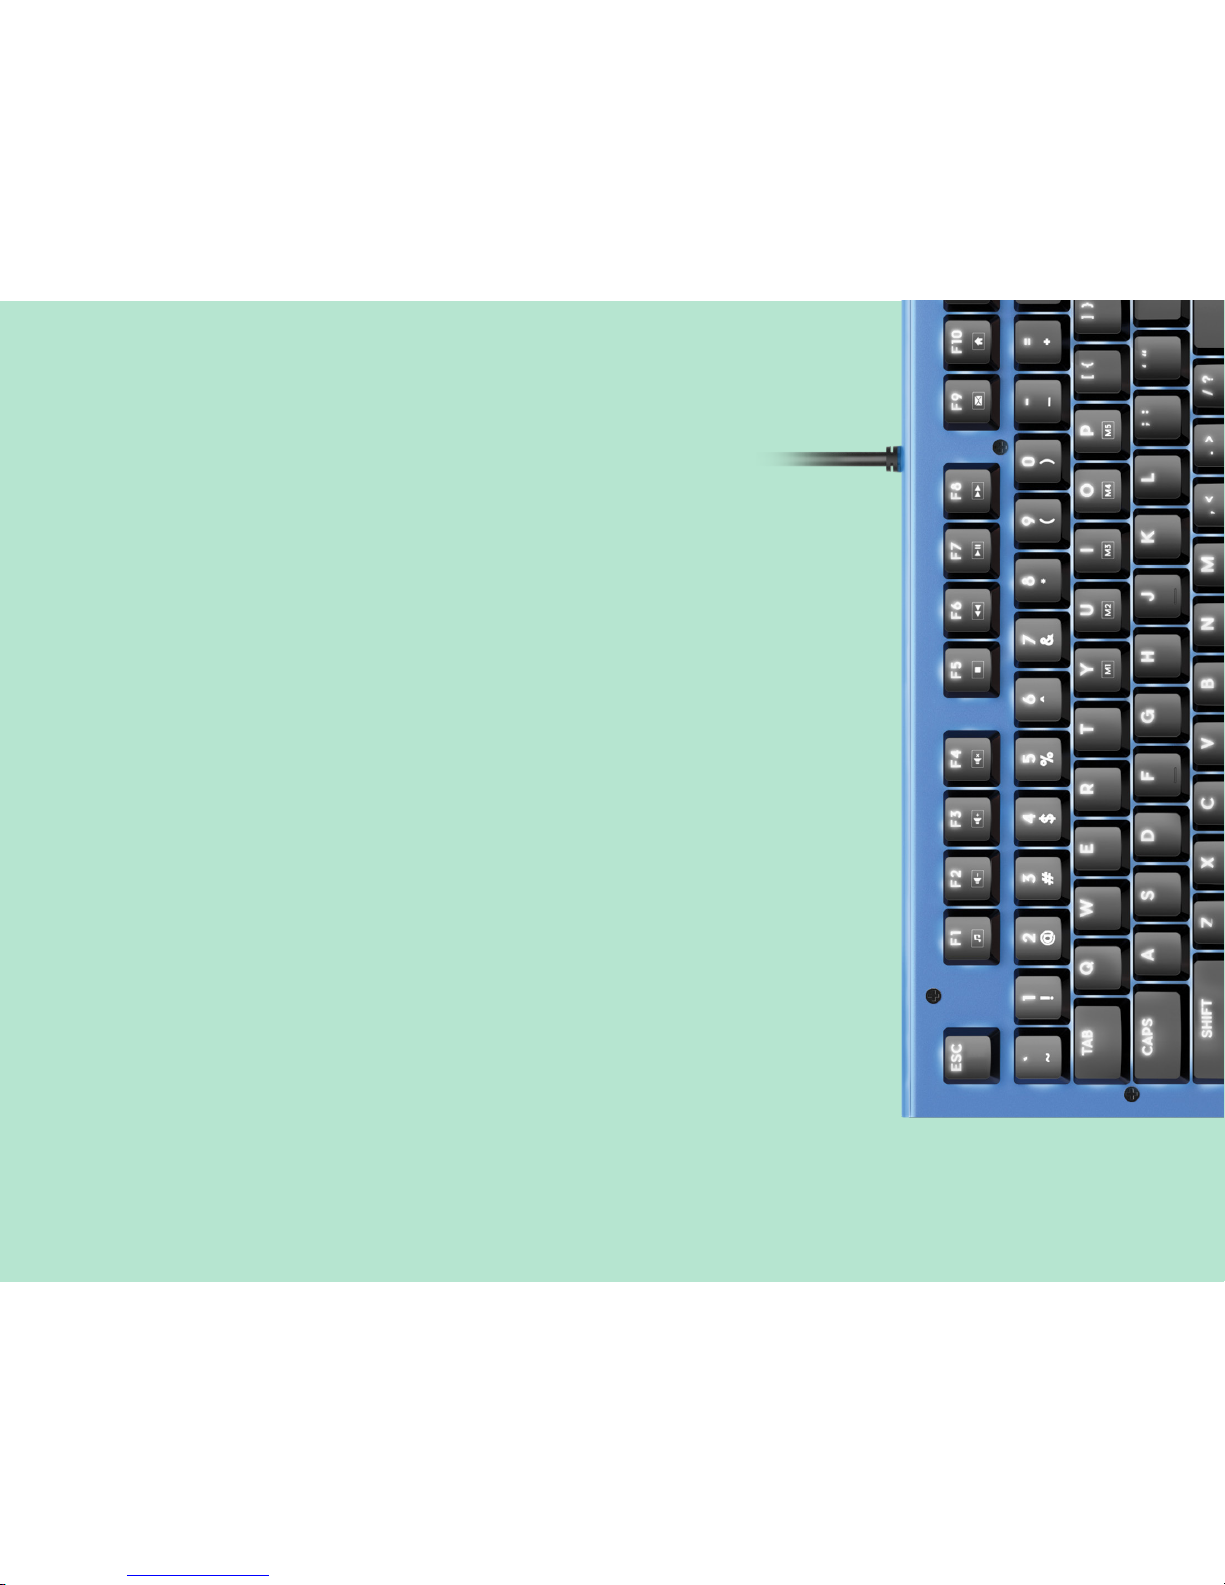
a dream come true for all typists. The Azio MK HUE keyboard comes in Red, Blue, and Black.
Make your statement by choosing the color that represents you!
THANK YOU FOR PURCHASING THE MK HUE MECHANICAL
KEYBOARD AND WELCOME TO THE AZIO FAMILY!
01
AZIO MK HUE
Page 5
Model: MK-HUE-XX
Interface: USB
Mechanical Switch: Brown
N-Key Rollover: Full NKRO via USB
Backlight: White
Cord Length: 6 ft.
Hotkeys: Email, Web Browser, Calculator, Media Player, Back Track,
Play/Pause, Next Track, Stop, Volume +, Volume -, Mute, Search
OS Support: Windows 10, 8, 7, Vista, XP
Dimensions (LxWxH):
Keyboard: 5.8 x 17.6 x 1.5 Inches
Weight: 2.3 lbs / 1060 g
01
PRODUCT
BASICS
Package Contents
Specifications
System Requirements
MK HUE Keyboard
Thank You Card
User Guide
Keycap Puller Tool
Palm Rest
Available USB port
IBM-compatible PC
Windows XP, Vista, 7, 8, 10
02
Page 6

02
SETUP &
SUPPORT
Setting Up
Support/Service
Here’s How To Reach Us
Plug & Play: Simply connect the keyboard to an available USB port and the keyboard will automatically install all necessary drivers.
Using hotkeys: To utilize the secondary hotkey functions of some keys, hold down the FN key
and press the hotkey of your choice.
We want you to love your MK HUE as much as we do. If you have any questions or issues with
your keyboard, please do not hesitate to contact us.
Alternatively, please visit us at www.aziocorp.com where you can find frequently asked questions, troubleshooting tips, and a look at our other products.
By phone: 866.468.1198
By email: support@aziocorp.com
On FB: www.facebook.com/aziocorp
03
AZIO MK HUE
Page 7

03
PRODUCT
FEATURES
Full Backlight
5 Customizable Macro Keys
Aluminum Faceplate
Full-Key Rollover via USB
Easy Access Hot-Keys
Experience better typing - day or night.
5 Macro keys recordable on-the-fly without the need for software.
Professional-grade anodized aluminum delivers a premium look and feel.
Press as many keys as you like and never miss a stroke.
Directly access shortcuts to productivity, internet, and multimedia functions.
Full Mechanical Keys
Premium mechanical keys features tactile feedback with no audible click.
04
Page 8

04
DEVICE
LAYOUT
Multimedia Hotkeys
Indicator LEDs
Record Macro
Productivity Hotkeys
Macro Keys
Palm RestBacklight Controls
05
AZIO MK HUE
G
G
Page 9

MACRO &
BACKLIGHT
05
Macro Recording
Backlight Modes
LED Indicator Abbreviations
To put the keyboard in Macro Record Mode, press and hold the “FN” key and press “INSERT” key. The Indicator LEDs will begin to flash.
Press and hold “FN” key and press the key which you would like to record (M1 – M5). Once
record mode is on, the 4 LED status indicators will stop flashing.
Enter the Macro key sequence you wish to program (up to 31 keys).
Press and hold “FN” key and press “INSERT” key again once you are finished. The 4 status
indicator LEDs will flash 3 times indicating record completion.
To activate your recorded Macro, press and hold the “FN’ key and press the selected macro key (M1 - M5).
Light Mode Cycle: Hold down “FN” key and tap “HOME” key to cycle through the different
light modes.
Turn off Backlight: Press and hold “FN” key and press “END” key.
Increase Backlight Brightness: Hold down “FN” key and tap “PAGE UP” key to increase
backlight brightness.
Decrease Backlight Brightness: Hold down “FN” key and tap “PAGE DOWN” key to decrease
backlight brightness.
N: Number Lock
C: Caps Lock
S: Scroll Lock
W: Windows Key Lock
06
Page 10

06
HOTKEY
INDEX
Launch SearchBacklight Modes
Launch CalculatorBacklight Off
Launch EmailBacklight Increase
Web BrowserBacklight Decrease
Macro KeysMacro Record
Win Lock
07
AZIO MK HUE
Page 11

WARRANTY
07
Azio Corporation warrants only to the original purchaser of this product, when purchased
from an Azio authorized reseller or distributor, that this product will be free from defects
in material and workmanship under normal use and service for the length of the warranty
period after purchase.
Azio reserves the right, before having any obligation under this warranty, to inspect the
damaged Azio product. Initial shipping costs of sending the Azio product to the Azio service
center in Los Angeles, California, for inspection shall be borne solely by the purchaser. In order to keep this warranty in effect, the product must not have been mishandled or misused
in any way.
This warranty does not cover any damage due to accidents, misuse, abuse or negligence.
Please retain the dated sales receipt as evidence of the original purchaser & date of
purchase. You will need it for any warranty services. In order to claim under this warranty,
purchaser must contact Azio and obtain an RMA # which is to be used within 15 days of
issuance and must present acceptable proof of original ownership (such as original receipt)
for the product.
Azio, at its option, shall repair or replace the defective unit covered by this warranty. This
warranty is non-transferable and does not apply to any purchaser who bought the product
from a reseller or distributor not authorized by Azio, including but not limited to purchases
from internet auction sites. This warranty does not affect any other legal rights you may
have by operation of the law. Contact Azio through email, chat, or through one of the technical support numbers listed for warranty service procedures.
08
Page 12

Pulse la tecla “FN” con la tecla que desea grabar (M1 - M5). Una vez que el modo
de grabación está activado, los 4 indicadores de estado LED dejarán de parpadear.
Pressione o botão “Fn” com tecla que você gostaria de gravar (M1 - M5). Uma vez
que o modo de gravação está ligado, os 4 LED indicadores de estado vão parar
de piscar.
Introduzca la secuencia de teclas de macro que desea programar (hasta 31 teclas). Insira a sequência de teclas Macro que deseja programar (até 31 teclas).
Mantenga oprimida la tecla “FN” y pulse “Insertar” de nuevo una vez que haya
terminado. Los 3 indicadores de estado LED dejarán de parpadear para indicar que
la grabación ha terminado.
Pressione e segure a tecla “Fn” e pressione a tecla “Inserir” novamente, quando
acabar. Os 3 LEDs indicadores de estado vão parar de piscar, indicando a conclusão da gravação.
Para activar su macro grabada presione y sostenga la tecla “FN” y pulse la macro
seleccionada M1 - M5.
Para ativar a sua gravação Macro pressione e segure a tecla “Fn” e pressione a
macro selecionado M1- M5.
08
PORTUGUESE
Guia de consulta rápida
Teclado MK HUE
CONTEÚDO DA EMBALAGEM
Por e-mail: support@aziocorp.com
Por chat ao vivo: www.aziocorp.com
Queremos que goste do seu MK HUE tanto como nós. Se tiver alguma questão
ou problema com o seu teclado, não hesite em nos contactar. Pode também
visitar-nos em www.aziocorp.com onde poderá consultar as perguntas mais
frequentes, sugestões para a resolução de problemas, bem como os nossos outros
produtos.
SUPORTE/SERVIÇO
GRAVAÇÃO EM MACRO
Plug & Play: Basta ligar o teclado a uma porta USB disponível e o teclado irá
instalar automaticamente todos os controladores necessários.
Usar as teclas de atalho: Para utilizar as funções secundárias de atalho de algumas teclas, mantenha premida a tecla FN e prima a tecla de atalho desejada.
CONFIGURAÇÃO
Cartão de agradecimento
SPANISH
Guía de inicio rápido
Por correo electrónico: support@aziocorp.com
Por Chat en directo: www.aziocorp.com
Nuestro deseo es que le encante su MK HUE tanto como a nosotros. Si tiene
alguna pregunta o problemas con el teclado, por favor no dude en contactar
con nosotros. Alternativamente, visítenos en www.aziocorp.com donde puedes
encontrar preguntas frecuentes, consejos para solucionar problemas y un vistazo
al resto de nuestros productos.
SOPORTE / SERVICIOS
MACRO GRABACIÓN
Conectividad plug & play: Solo tiene que conectar el teclado a un puerto USB disponible
y el teclado instalará automáticamente todos los controladores necesarios.
Uso de teclas de acceso rápido: Para utilizar las funciones secundarias de acceso
rápido de algunas teclas, mantenga presionada la tecla FN y pulse la tecla de
acceso rápido de su elección.
CONFIGURACIÓN
Teclado MK HUE
CONTENIDO DEL EMBALAJE
Tarjeta de agradecimiento
Guía de inicio rápido
Herramienta extractora de la tecla Guia de consulta rápida Ferramenta para remoção de teclas
Asegúrese de que el teclado está en el modo de grabación de macros pulsando
y manteniendo pulsada “FN” y pulsando la tecla “Insert”. Los indicadores LED
empezarán a parpadear.
Verifique se o teclado está no modo de gravação Macro pressionando e segurando
a tecla “Fn” e pressione a tecla “Inserir”. Os LEDs indicadores começarão a piscar.
09
AZIO MK HUE
Page 13

CHINESE
快速入門指南
電子郵件:support@aziocorp.com
線上客服:www.aziocorp.com
我们希望您和我们一樣喜愛您的 MK HUE。如果您對于鍵盤有任何疑問,請隨時和我
們連系。您也可訪問我們的網站 www.aziocorp.com,尋求常問問題解答、故障排除
提示和了解我们的其它產品。
客服資訊
自訂義巨集按鍵錄製方式
即插即用:只需將鍵盤插到可用的USB連接埠,鍵盤會自動安裝所有必要的驅動程序。
如何使用熱鍵:同時按下FN鍵及您想使用的熱鍵即可啟動鍵盤的輔助熱鍵功能。
安裝設置
MK HUE 鍵盤
產品內容清單
致謝卡/產品說明一張
快速入門指南 Keycap Puller 工具
FRENCH
Guide de démarrage rapide
Clavier MK HUE
CONTENU DE L’EMBALLAGE
Carte de remerciement
Par courriel: support@aziocorp.com
Par clavardage en direct: www.aziocorp.com
Nous voulons que vous aimiez votre MK HUE autant que nous l’aimons. Si vous
avez des questions ou des problèmes avec votre clavier, n’hésitez pas à nous
contacter. Vous pouvez aussi consulter le www.aziocorp.com où vous pourrez
trouver une foire aux questions, des conseils de dépannage et une présentation de
nos autres produits.
ASSISTANCE/SERVICES
Plug & Play : Il suffit de connecter le clavier à un port USB disponible et le clavier
installera automatiquement tous les pilotes nécessaires.
Utilisation des raccourcis clavier : Pour utiliser les fonctions de raccourcis secondaires de certaines touches, maintenez la touche FN enfoncée et appuyez sur la
touche de raccourci de votre choix.
INSTALLATION
Outil d’enlèvement de capuchon de toucheGuide de démarrage rapide
Appuyez sur “FN” avec la touche sur laquelle vous souhaitez enregistrer (M1 M5). Une fois le mode d’enregistrement activé, les 4 voyants indicateurs cesse de
clignoter.
同時按“ FN ”與您想使用的記錄鍵(M1-M5)。錄製模式啟動時,4個LED狀態指示燈
將停止閃爍。
Entrez la séquence de touche macro que vous souhaitez programmer (jusqu’à 31
touches).
輸入您希望的巨集鍵指令排序(最多31個鍵)。
Appuyez et maintenez la touche “FN” et appuyez sur “INSERT” à nouveau quand
vous avez terminé. Les 3 voyants indicateurs cessent de clignoter indiquant que
l’enregistrement est terminé.
輸入完成後,再次按下”FN”和”Insert”鍵,此時3個LED狀態指示燈將停止閃爍,表
示錄製完成。
Pour activer votre Macro enregistré, maintenez et appuyez la touche “FN” et
appuyez sur la touche macro sélectionnée M1 - M5.
若要啟用您錄製好的模式,請先按住”FN”鍵,接著同時按您想要選擇的巨集鍵
(M1-M5)即可操作。
ENREGISTREMENT DE MACROS
Assurez-vous que le clavier est en mode d’enregistrement Macro en appuyant sur
le “FN” et appuyez sur la touche “INSERT”. Les voyants indicateurs se mettent à
clignoter.
按”FN “和”Insert”鍵進入巨集鍵錄製模式,LED指示燈將開始閃爍。
10
Page 14

Thank you again for choosing AZIO products.
We will be even more thrilled if you would kindly share
your AZIO experiences.
Here are some humble suggestions on ways to share:
Share with friends
Share through an online review
Share with us on aziocorp.com
Facebook /AzioCorp
Twitter /AzioCorp
09
THANK YOU
11
AZIO MK HUE
Page 15

Page 16

www.aziocorp.com
This document contains confidential, copyrighted, and privileged information. Copyright © 2016
 Loading...