

Page 1
Model:
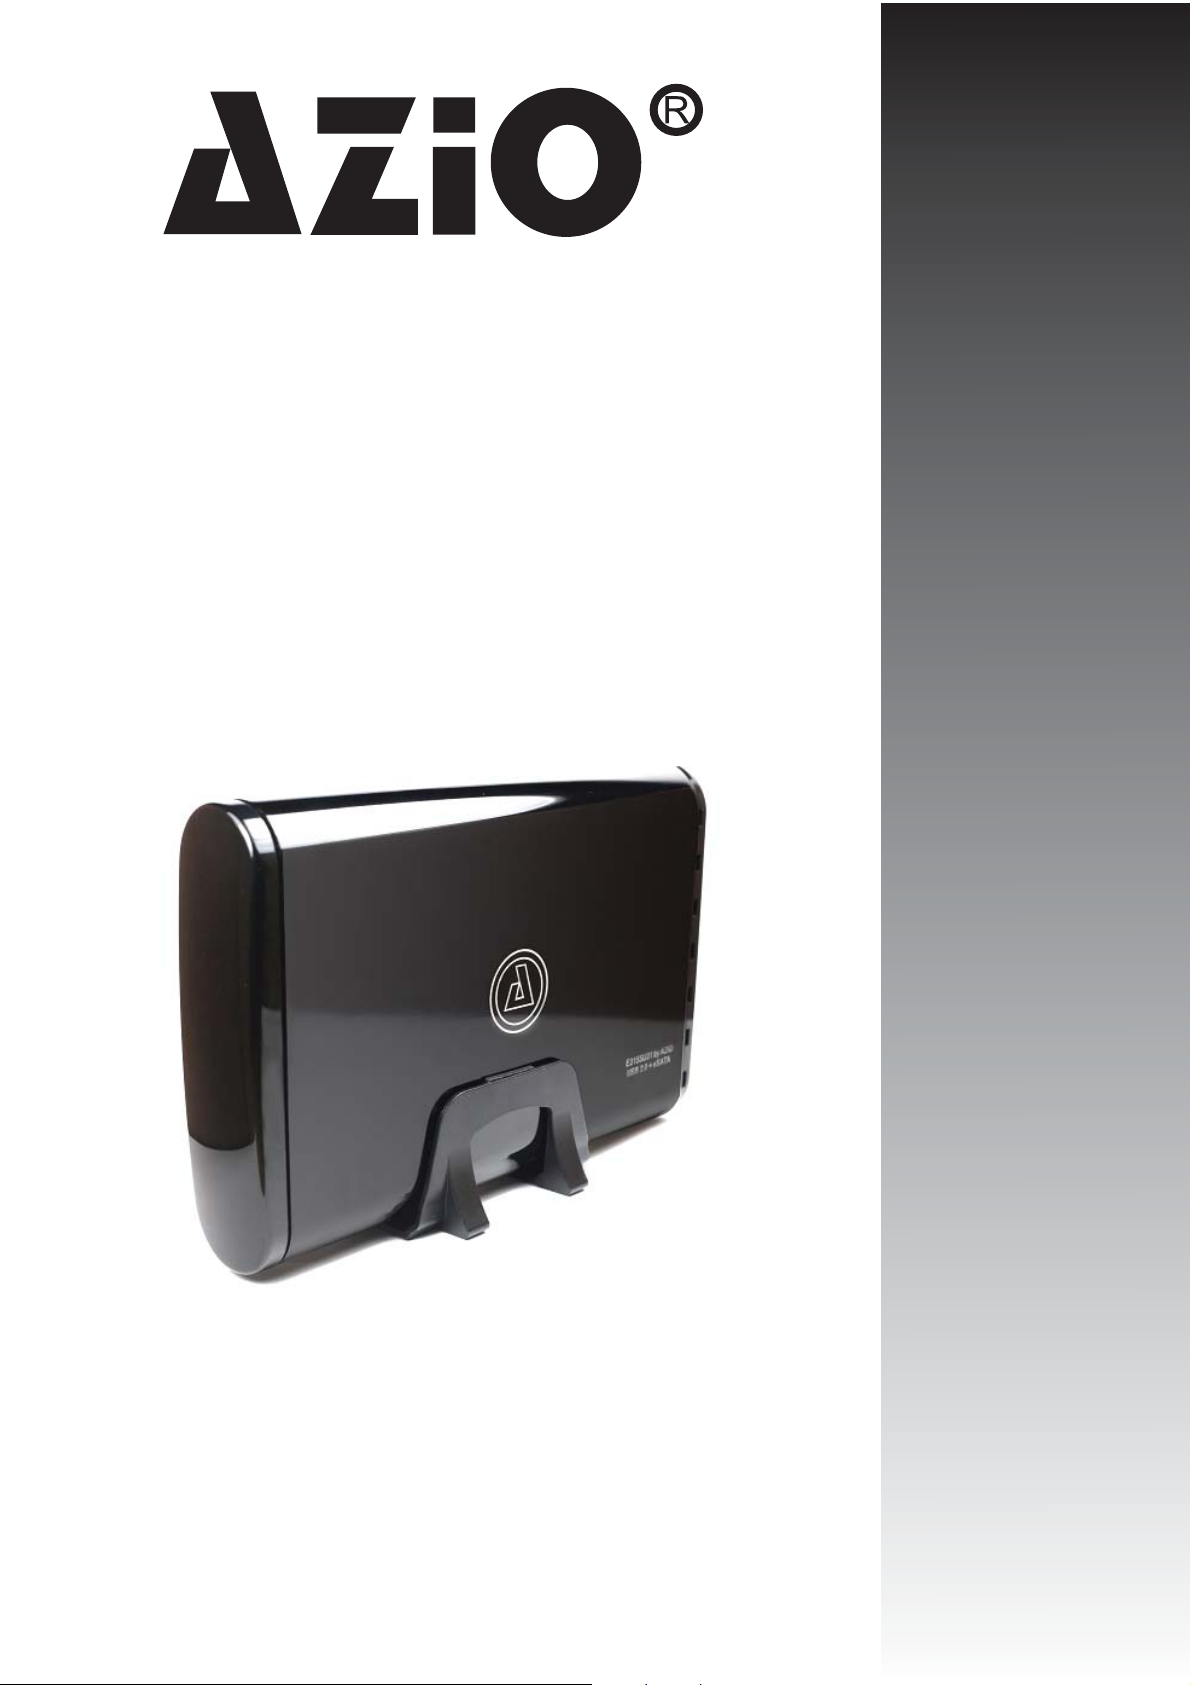
E315SU31
External 3.5” eSATA + USB 2.0
En
HDD Enclosure
Model:
E315SU31
User Manual
En
Page 2

Content
1. Package Contents..............................................................................1
2. Hardware and OS Requirements
3. Exterior Layout
4. Function Description
5. Physical Installation
A. Taking out the HDD tray.................................................................2
B. HDD installation..............................................................................2
...................................................................................1
....................................................................1
......................................................................2
...................................1
6. Specifications........................................................................................3
7. Creating a Partition
.........................................................................3
A. For Windows 2000/XP/Vista/7 Users.............................................3
B. For Mac Users....................................................................
..............4
8. Troubleshooting.................................................................................5
9. Support & Warranty
.....................................................................5
Page 3

1. Package Contents
A complete unit contains the following items:
A. USB 2.0 Cable
B. eSATA Cable
C. External Enclosure
D. AC/DC Power Adapter
E. Vertical Placement Stand
F. User’s Manual
2. Hardware & OS Requirements
Hardware Requirements: Available USB or eSATA port.
OS Requirements: Windows 2000 / Windows XP* / Vista* / 7*、Mac OS X
(*32 & 64bit Compatible)
3. Exterior Layout
1. DC Power Jack
2. eSATA Port
3. Power Switch
4. USB 2.0 Port
5. Tray Release Switch
6. Vertical Placement Stand
4. Function Description
A. Supports 3.5” Serial ATA Hard Drives.
B. Supports USB 2.0 and 1.1.
C. eSATA interface provides up to 3.0 Gbit/s in bandwidth.
D. USB 2.0 interface provides up to 480 Mbit/s in bandwidth.
E. Patent-pending screw-less design for easy installation and operation.
F. No drivers required. Just plug in, turn on, and go!
AZiO Corp.
1
Page 4

5. Physical Installation
A. Take out the HDD Tray
1). Push the release switch on the rear panel 2). Carefully slide out the HDD tray.
to eject the tray.
B. HDD Installation
1). Lift up the mounting brackets as illustrated. 2). Insert the HDD.
3). Push the HDD all the way back until the 4). Push back the mounting brackets to
connectors snaps-in completely. secure the HDD.
5). Push the installed HDD back into the casing
to finish.
Push the HDD-installed tray back into the
casing until the tray and casing are fitted
securely.You will notice the release button
is back in its original position. Installation
is complete. Hard drive may need to be
partioned and formatted before it can be
properly recognized in the system*
2
Page 5

6. Specifications
Model: E315SU31
Device Support: 3.5” SATA Hard Drives
Internal Interface: SATA
External Interface: eSATA & USB 2.0
Material: Aluminum Case Body
Dimension: 7.5L x 5.25W x 1.4H (inches)
193L x 128W x 35H (mm)
Power Supply: AC Adapter, 12V 2.0A
Transfer Rate: eSATA - 3.0 Gbps Max
USB 2.0 - 480 Mbps Max
Supported OS: Windows: 2000/XP*/Vista*/7* (*32/64bit)
Mac: OS X 10.4 & Greater
7. Creating a Partition
A. For Windows 2000/XP/Vista/7 Users:
1. Right-click on “My Computer” and choose “Manage”.
2. Under “Storage” on the LEFT pane, select “Disk Management”.
3. Windows should now give you the option to initialize the disk. If not, manually locate the new disk,
right-click on the new disk (where it reads “Disk #”) and choose Initialize. This step may not be required
for some hard drives.
4. Go through the wizard.
5. Once complete, locate your hard drive in the bottom right pane. Right-click on the area with a status bar
(to the right of the “Disk #” area) and choose New Partition (Or New Simple Volume for some OS).
6. Follow the directions of the wizard. The recommended type is “primary”and the recommended file system
is “NTFS”. Please note that Windows XP/Vista/7 limits FAT32 partitions to only 32GB per partition.
7. Windows Disk Management will format and partition the disk according to your settings. Please allow
some time for the partition and format to complete.
8. Once completed, your drive will appear in My Computer and/or Window Explorer.
WARNING: Partitioning and formatting the hard drive will erase any existing
data on the drive.
3
AZiO Corp.
Page 6

B. For Mac Users:
1. Connect the E315SU31 device to the computer and power it on.
2. Start Disk Utility. Disk Utility is in the Utilities folder inside the main Applications folder. Or, use
Spotlight and do a search for Disk Utility.
3. Once the Disk Utility window is open, select the volume you wish to partition from the list of available
hard drives on the left side of the window.
4. Select the Partition tab.
5. From the Volume Scheme menu, choose the desired number of partitions (Mac OS 10.x gives you the
option of dividing the drive into at most 16 partitions). You may adjust the size of each partition using
the slide bar between the partitions in the Volume Scheme area.
6. In the Volume Information section, enter the desired name for each volume (partition). You may choose
one of the following volume format (Mac OS Extended, Mac OS Standard, or MS-DOS FAT). We
recommend choosing Mac OS Extended (Journaled) for most users.
7. Once you have finalized the volume options, click Apply. An alert message should appear, click
Partition to continue.
8. Mac Disk Utility will format and partition the disk according to your settings. When partitioning is
complete, your drive will be mounted on your desktop and ready for use.
WARNING: Partitioning and formatting the hard drive will erase any existing
data on the drive.
4
Page 7

8. Troubleshooting
A. Check the OS that you are using and make sure it is Windows 2000 or newer.
B. Please make sure all cables are properly connected.
C. Make sure the AC/DC adapter is properly plugged in and the drive is spinning up.
D. Make sure your new Hard Drive is properly partitioned and formatted.
E. Ensure your system is not experiencing a driver letter conflict by assinging your external
drive a new letter in Disk Management.
9. Support & Warranty
If you need assistance with this product, please contact our customer care team:
A. By Phone: (866) 468-1198 M-F 9-6PM PST
B. By eMail: support@aziocorp.com
C. On LiveChat: Please visit the Support section of our website, www.aziocorp.com
Limited 1 Year Warranty
AZiO Corporation warrants this product against defect in material or workmanship for
1 year from the date of purchase. If this product proves to be defective, contact AZiO for
repair or replacement. Return units cannot be processed without the proof of original date
of purchase. This warranty applies only to the original purchase of the product and is not
transferrable. This warranty does not cover any incompatibilities due to the user’s computer,
hardware, software or related system configuration in which the product interfaces. The
warranty does not cover any damagecaused by negligence, abuse, or non-authorized
modifications. To the maximum extent permitted by applicable law, in no event shall AZiO
Corporation, its affiliates, or its dealers be liable for any special, incidental, indirect or
consequential damages whatsoever regardless of cause or form of action.
If you can't install or resolve the problem, please don’t take it apart.
Contact AZiO for further assistance.
5
AZiO Corp.
 Loading...