

Page 1
Pen Kit
Instructions
Empress Pen Kits
Code No’s: 951809-951810
www.axminster.co.uk/penmaking
More Information...
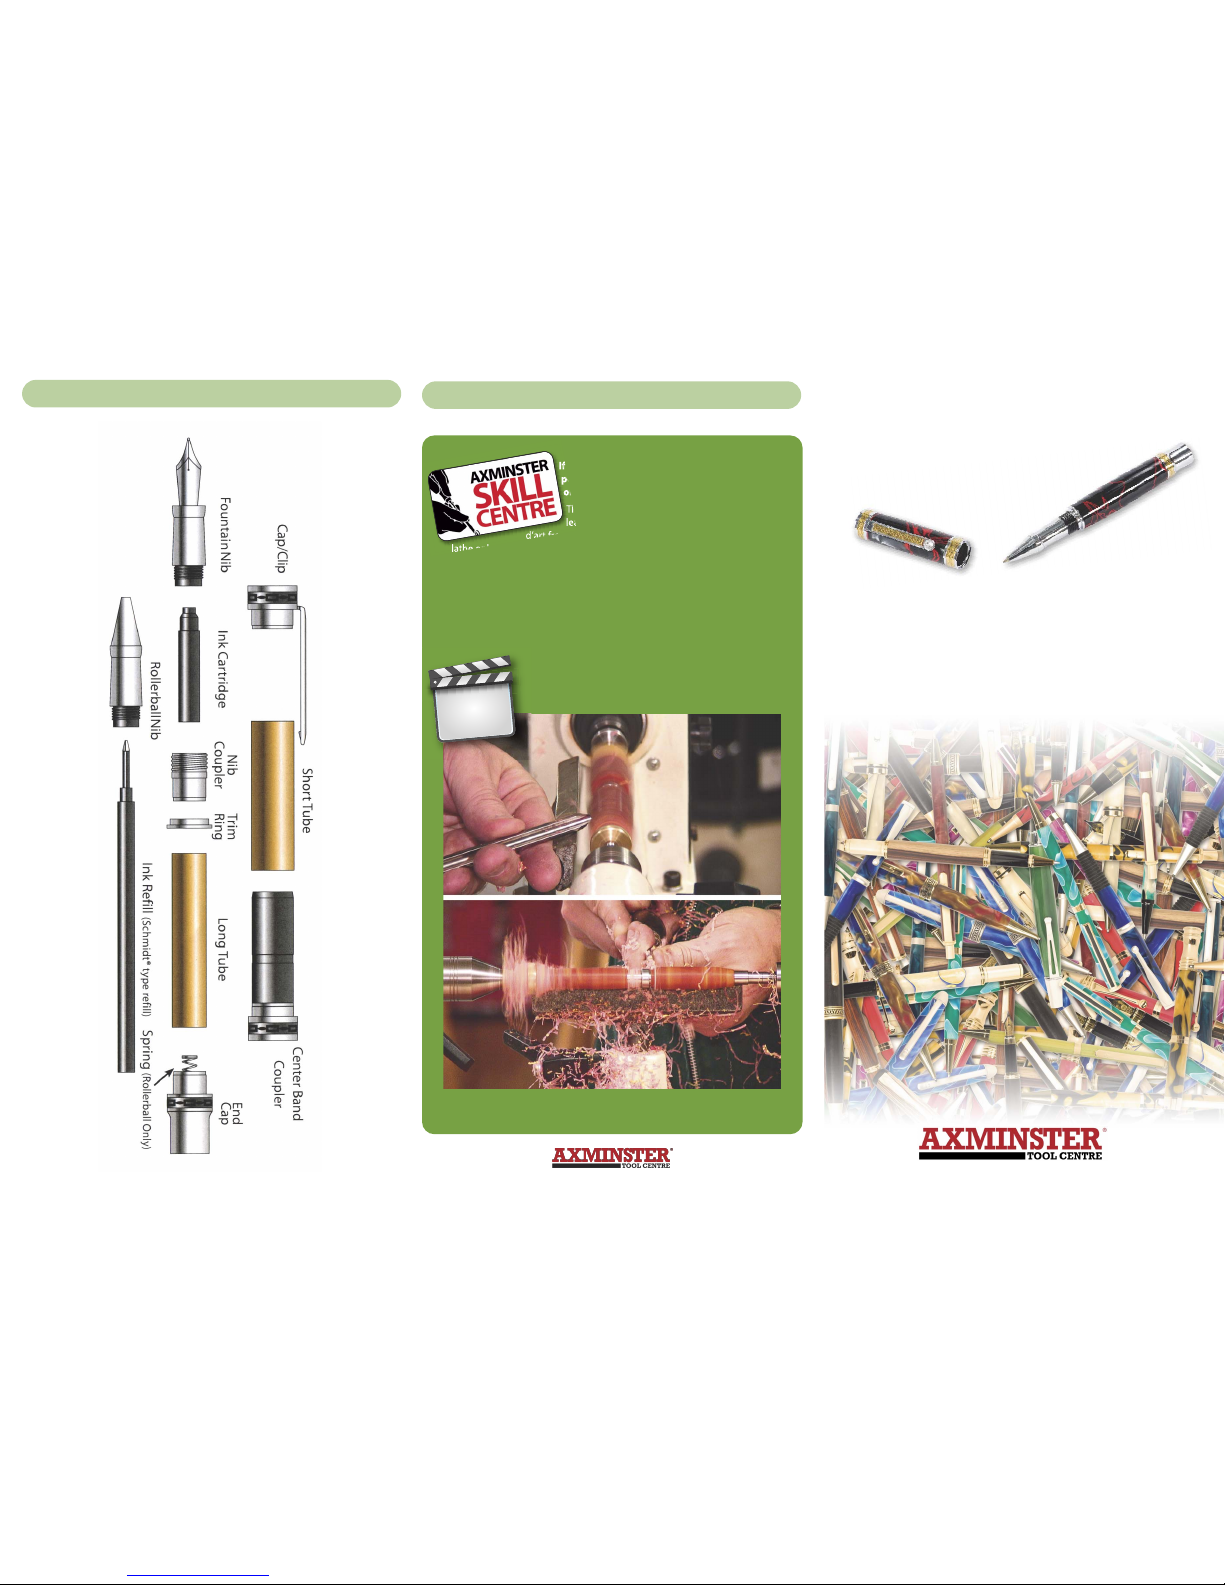
Pen parts assembly...
Axminster. Devon. EX13 5PH. UK
FREEPHONE 0800 371822
If you are still a little unsure about getting into
pen and project kit making, why not come on
one of our one day courses here at Axminster.
This is a one day course for anyone who wants to
learn the art of pen making and producing objet
d’art from project kits. If you are thinking of buying a small
lathe or have a lathe, this is the course for you. Gaining a real insight into what
can be achieved, after one day you will be able to leave with the
completed, professionally finished masterpieces and a multitude of ideas and
skills.
For details visit: www.axminsterskillcentre.co.uk
or call: Vicky Turner on 0800 9751905.
online
VIDEO
!
available
Pen Kits The Principles of Turning
www.axminster.co.uk/penmaking
4
Page 2
Instructions for the pen kits...
Kit No’s. 951809-951810 Empress
Pictures of samples of the finished articles, in both timber and acrylic, can be found
in our catalogue in the ‘Woodturning Projects’ Section.
Below is a list of the items required to make the finished items from the purchased
kits (Not including the body blanks). If you do not possess these items we have
offered our catalogue stock code numbers alongside the items as a quick guide.
We have tried to include everything in the list, although we realise that many
woodturners will already have most of them.
Required items...
Dust mask
should be worn
Ear protection
should be worn
Eye protection
should be worn
Fully read manual
and safety instructions
before use
Foot protection
should be worn
Alternatives are listed to cater for different lathe configurations.
Code No:
Deluxe Pen Mandrel 1MT 211322
Deluxe Pen Mandrel 2MT 211323
60˚ Live Tail Stock Centre 1MT 340202
60˚ Live Tail Stock Centre 2MT 340203
60˚ Live Tail Stock Centre 3MT 340204
Bushing Set (4 pieces) 951820
11/32” drill bit 702557
15mm drill bit 702584
Axminster Universal Barrel Trimmer 700265
2 Part Rapid Epoxy Resin Adhesive 340282
Alternative Zap-A-Gap Adhesive (Cyanoacrylate) 990095
Recommended accessories...
Quick Action Pen Blank Vice 600771
Pen Blank Sizing and Cutting Jig 600623
Axminster Pen Assembly Press 200205
Preparing the blanks...
Setting up the mandrel for turning...
Using 19mm (3/4”) Square stock; cut the blanks to the length of the brass tubes
adding 2-3mm to allow for trimming. A Pen Blank Sizing and Cutting Jig makes
thisprocess very much easier.
Drill an 15mm diameter hole through the centre of the shorter blank and an 11/32”
hole through the longer one. Care must be taken not to force the drill bit, (this may
cause it to ‘wander’ from the centre line), and remember to back out the drill
frequently to clear the debris from the hole. If you are using a pillar drill the Quick
Action Pen Blank Vice is a very useful accessory for this task, it ensures that the
blank is held upright and firmly in position. Moreover, if the vice is clamped to the
table of the drill, it will provide accurate repeatability for all the blanks that require
drilling.
When the holes are drilled, spread the adhesive randomly over the brass tubes
and insert the tubes into the blanks using a twisting motion to ensure the glue is
spreadevenly between the two surfaces. Over insert the tubes into the blanks by
approximately 1mm giving an allowance for the blank to be trimmed to size and
the excess glue to be removed. Using the Barrel Trimmer, trim the ends of the
blanks squarely and neatly to the ends of the brass tubes; this will also remove any
excess glue that may have exuded from the joint. Take care not to undercut the
brass tubes.
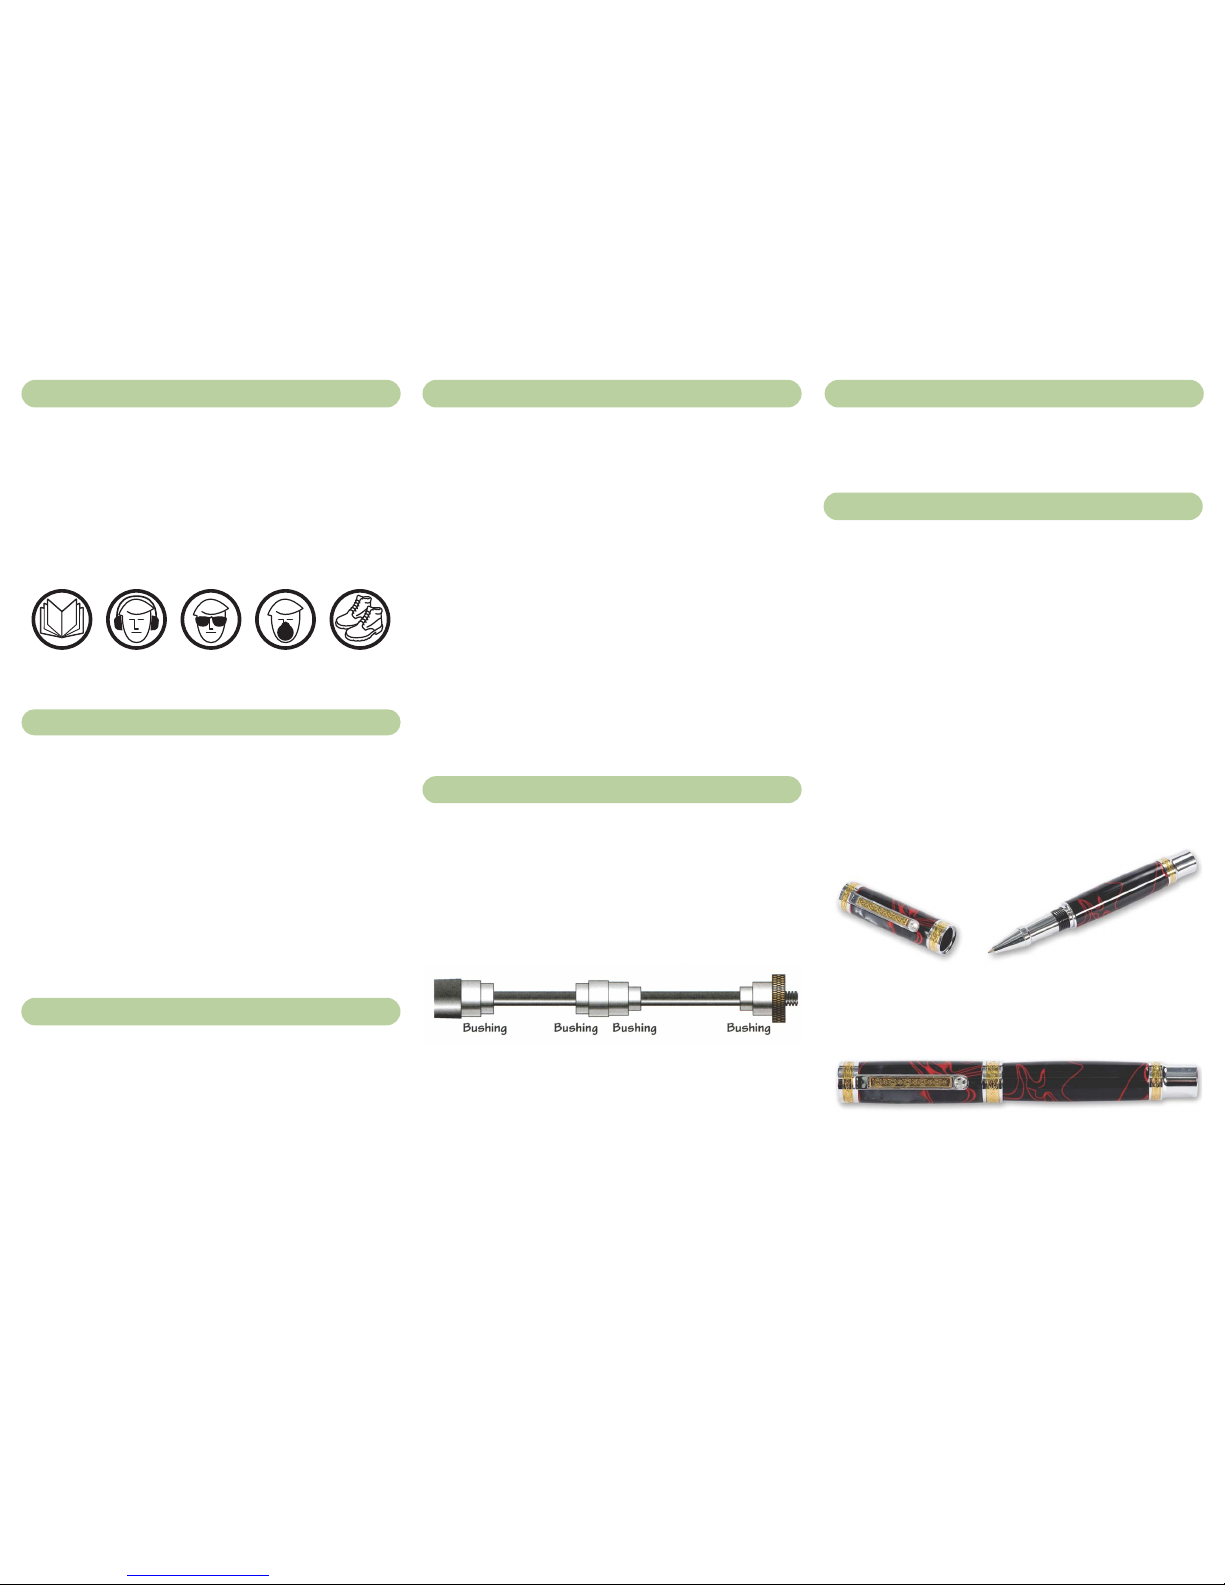
Slide a mandrel spacer bush onto the shaft, add a 16.5mm diameter bush from
the bushing set and add the 15mm ‘tubed’ blank. Next add the matching bush
followed by the 15mm diameter bush, add the 11/32” ‘tubed’ blank and the other
15mm diameter bush.
Slide a mandrel spacer bush up to the assembly and add the locking nut. Tighten
the locking nut to allow the assembly to be turned without ‘creeping’. Do not
overtighten, this may cause the assembly to distort and you will not achieve
accurate alignment.
1
23
Turning the blanks...
Pen assembly...
Turn both blanks to the desired shape leaving slightly proud at the bushings. Sand
the blanks using progressively finer grits of abrasive until the desired finish is
achieved then apply your chosen finish. If using polyester or acrylic pen blanks we
recommend using Micro-Mesh abrasives used wet.
• Layout the parts as in the diagram below paying attention to any grain alignment
requirements on the blanks.
• Press the end cap into the back end of the longer tube.
• Slide the trim ring as shown below over the unthreaded end of the nib coupler,
then press them into the end of the longer tube.
• Rollerball pen: Insert the spring then the ink refill into the long tube. Fountain
pen: Attach the ink cartridge to the back of the fountain nib.
• Thread the Rollerball or fountain nib into the nib coupler.
• Press the cap/clip into the short tube.
• Press the centre band coupler into the other end of the short tube to complete
the pen.
(See parts diagram on reverse side)
16.5mm 16.5mm 15mm 15mm
 Loading...