

Page 1
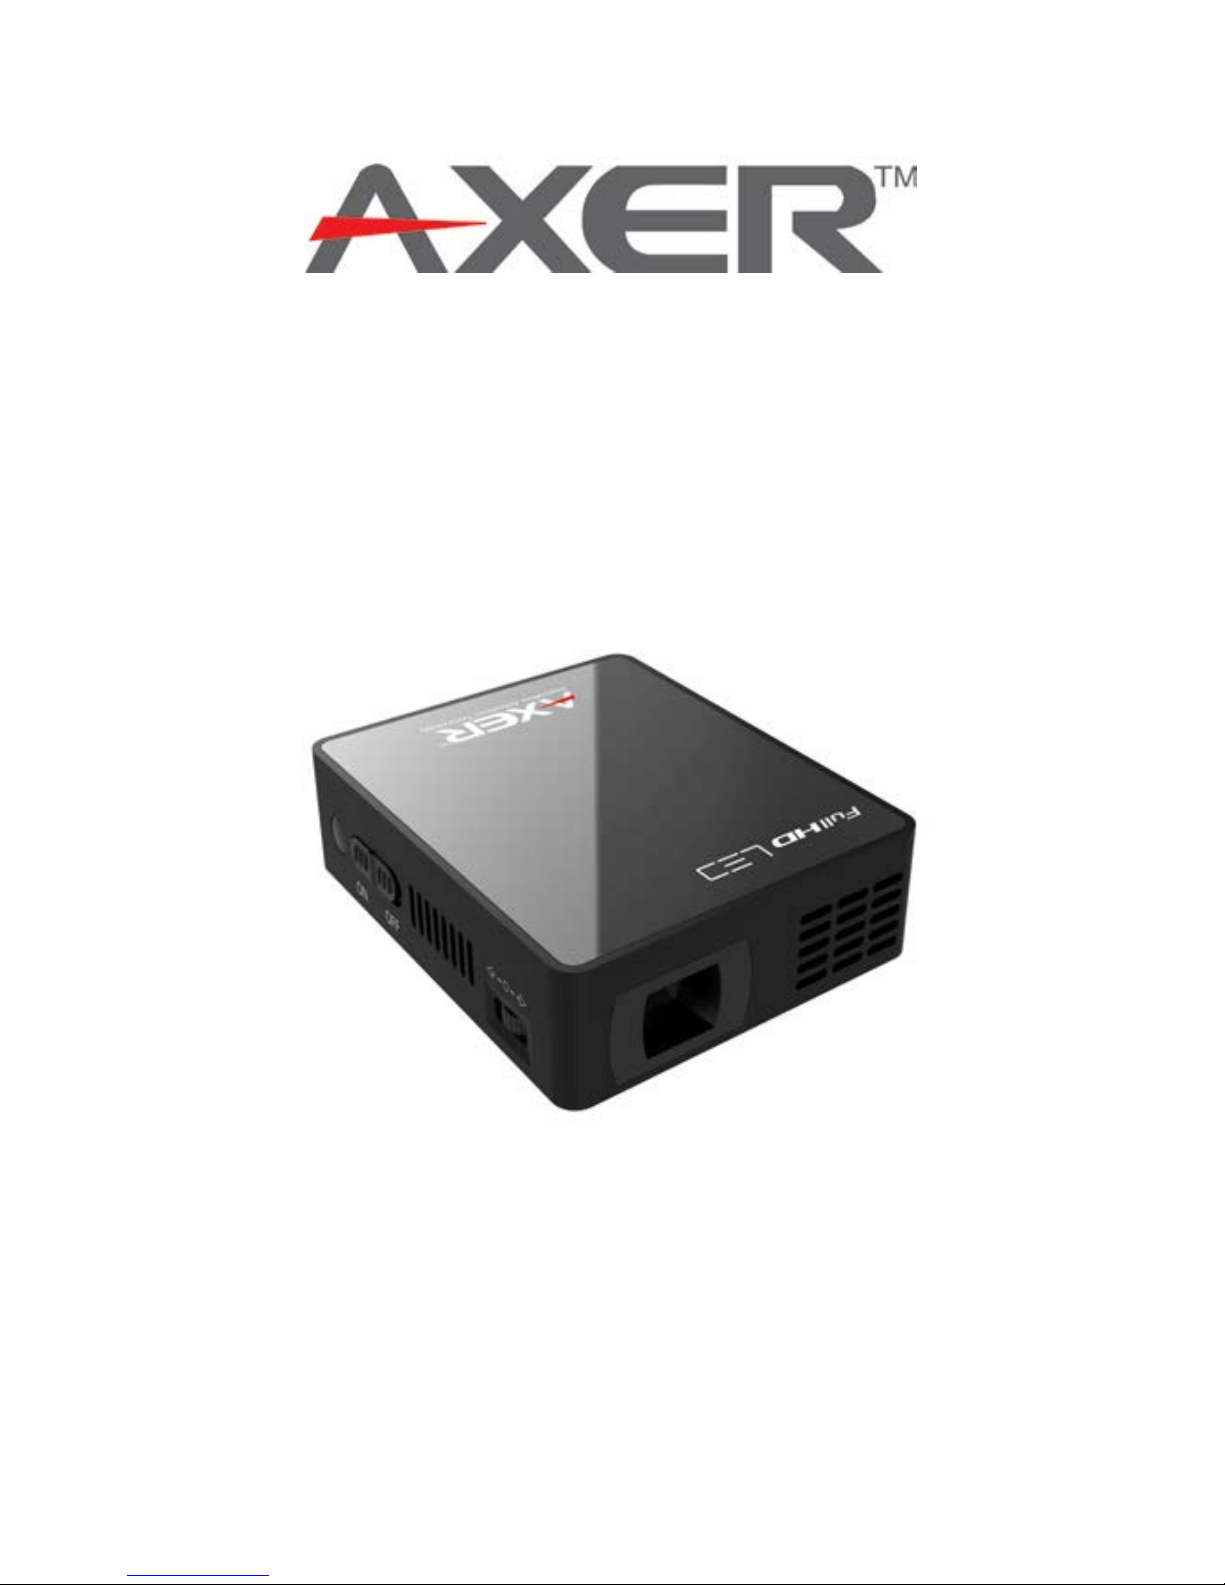
User’s Manual
FHD-85
User Manual
Page 2

User Manual
1
General Safety Information
1. Keep the device and packaging materials out of reach of
infants and children.
2. Keep the power adapter and other contacts from water,
Dry your hands before use, do not place objects filled with
liquids such as Drinks, etc. on or near the device.
3. If your Power Fluctuates, Plug into a certified Surge
Protector
4. Keep your device away from all open flames i.e. Candles.
5. Keep the unit at least 4 inches (10 cm) away from other
objects.
Do not block the ventilation on the unit, Keep away from
Newspapers tablecloths or curtains etc.
6. Relative Humidity should be at 25% ~ 80%, non-condensing.
7. The battery is integrated with the device. Do not dissemble or
modify. The battery should be replaced by a Axer authorized
service center.
8. Ensure that the ambient room temperature is within 40 -
95°F (35 - 35°C).
9. Under normal use the Projector may get Warm
10. Wait before use if the device has been moved from a cold
location into a warm one. Any condensation that has
formed may damage the device.
11. Handle the product with care. Avoid contact with sharp
objects. Keep device away from metallic objects.
12. Place the projector on a flat surface. Any collision or falling
is likely to damage the product.
13. Do not drop or disassemble the product it may void the
warranty. Opening or removing covers may expose you to
dangerous voltage or other hazards. Refer all servicing to an
authorized service center.
Page 3
User Manual
2
14. Only use the accessories supplied by the manufacturer.
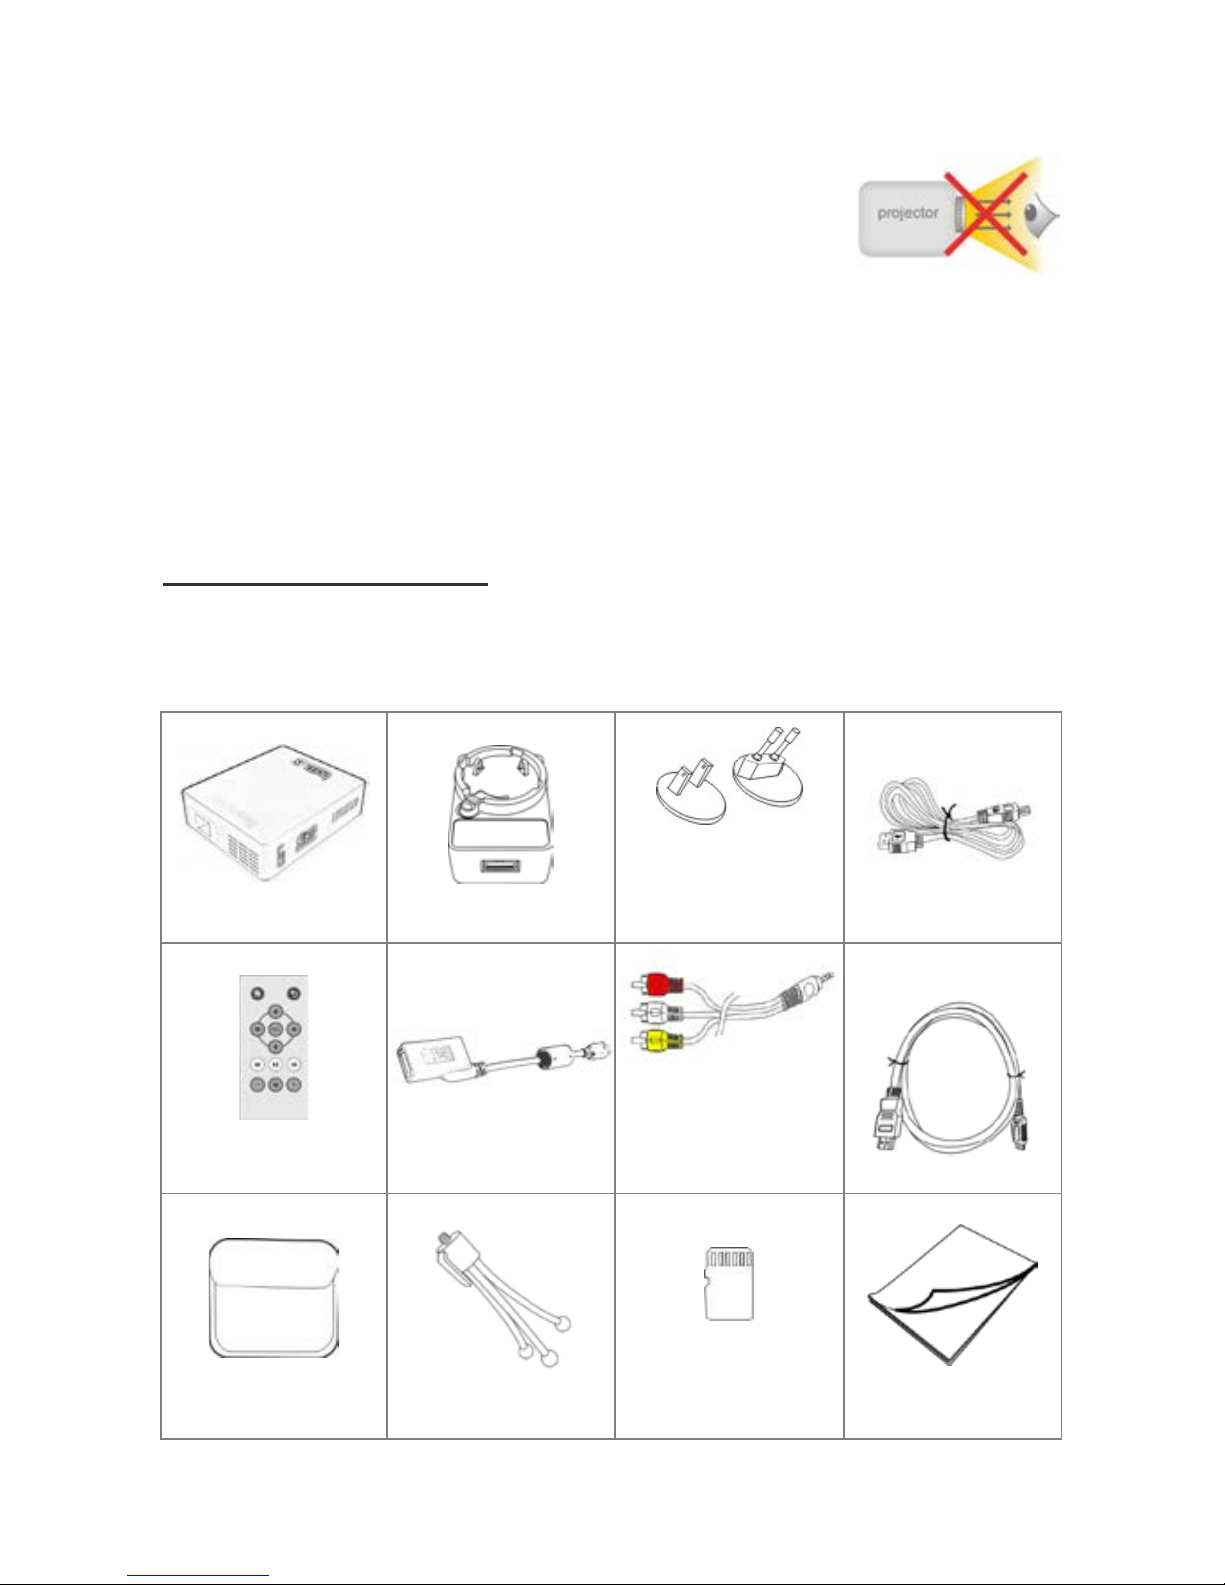
15. Avoid looking directly into the projector’s
lens.
16. The device should not be used in a dusty environment. Dust
particles and other foreign Objects may damage the unit.
17. Only use the enclosed power adapter (see Technical Data).
18. Both the Product and the User’s Manual are subject to
change without further notice
Package Contents
Please check if the following items are located in your
packaging:
Projector
AC Adapter
Interchangeable
Plug
Use Cable
Remote
Controller
USB Adapter
Composite AV
Cable
HDMI Cable (A to C)
Protective case
Tripod
Micro SD Card
(optional)
QSG &
User Manual
Page 4

User Manual
3
FCC Compliance Statement:
This device complies with Part 15 of the FCC
Rules. Operation is subjected to the following
two conditions: (1) this device may not cause
harmful interference, and (2) this device must accept any
interference received, including interference that may cause
undesired operation.
This equipment has been tested and found to comply with limits
for a Class B digital device, pursuant to Part 15 of the FCC rules.
These limits are designed to provide reasonable protection
against harmful interference in residential installations. This
equipment generates, uses, and can radiate radio frequency
energy, and if not installed and used in accordance with the
instructions, may cause harmful interference to radio
communications.
However, there is no guarantee that interference will not occur in
a particular installation. If this equipment does cause interference
to radio or television equipment reception, which can be
determined by turning the equipment on and off, the user is
encouraged to try to correct the interference by one or more of
the following instructions:
- Reorient or relocate the receiving antenna.
- Move the equipment away from the receiver.
- Plug the equipment into an outlet on a circuit different from
that to which the receiver is connected.
- Consult the dealer or an experienced radio/television
technician for additional suggestions.
Page 5

User Manual
4
Contents
Devices Overview ........................................................................... 5
Getting Started ............................................................................... 7
Charging Your Pico Projector
.............................................. 7
Connecting an External Input Source ................................... 7
Connecting Micro SD/SDHC Card ........................................ 9
Connecting USB Device ...................................................... 9
Using Headphones .......................................................... 10
Functions and Operations ............................................................ 11
Main Menu
..................................................................... 11
Photo ............................................................................. 11
Audio ............................................................................. 11
Video ............................................................................. 12
Source ............................................................................ 13
Settings .......................................................................... 13
Specifications ............................................................................... 16
Note: Any change or modifications to the equipment not
expressly approved by the manufacture could void your
warranty.
Page 6
User Manual
5
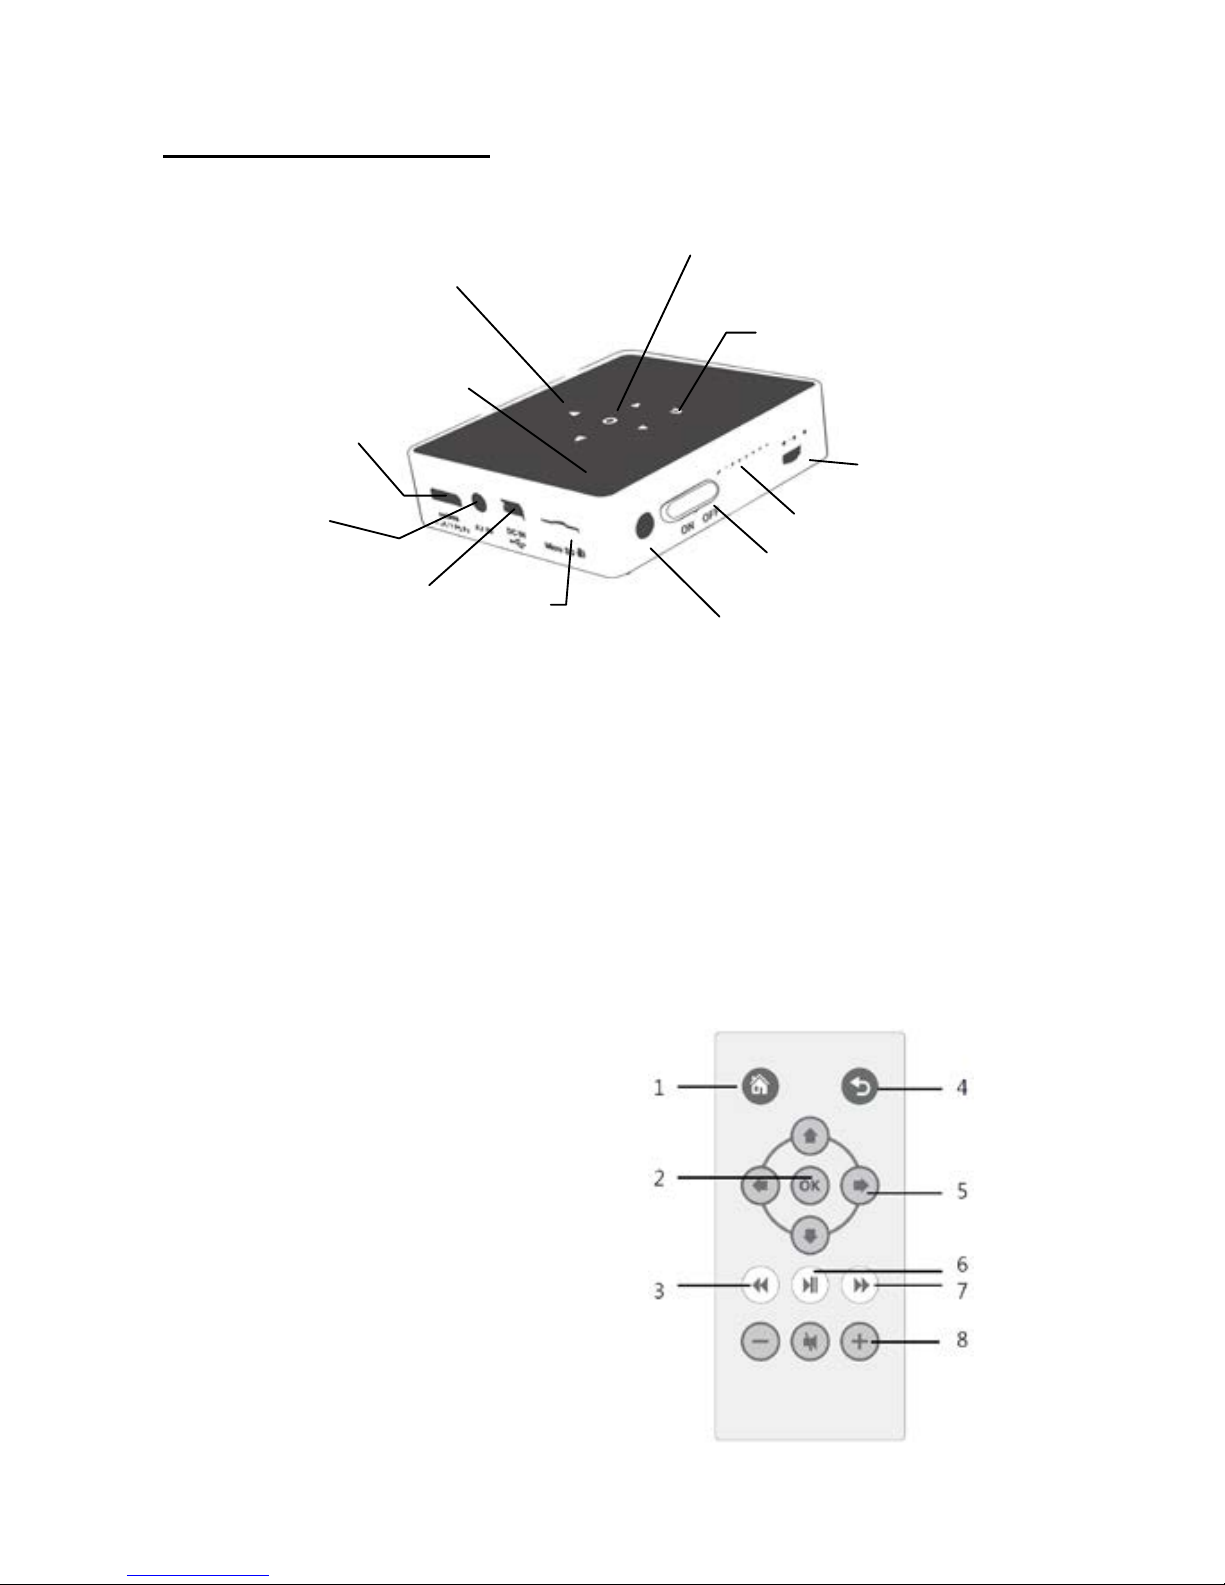
Devices Overview
Projector
1. OK Button
2. Navigation Buttons
3. Return Button
4. LED Indicator
5. Micro SD/SDHC Card Slot
6. Mini USB/DC IN Jack
7. Headphone/AV Jack
8. HDMI Port
9. Focus Wheel
10. Speaker
11. Power Switch
12. Infrared Receiver
Remote Controller
1. Home Button
2. OK Button
3. Rewind Button
4. Return Button
5. Navigation Buttons
6. Play / Pause Button
7. Fast Forward Button
8. Volume Buttons
4
2
8
7
6
5
1
3
10
9
11
12
Page 7
User Manual
6
Warning:
Improper use of the battery may cause
overheating, explosion or ignition, which
can result in an injury or a fire. Battery
leakage may damage the remote control.
Do not expose the remote control to
direct sunlight.
Do not charge, disassemble, or deform the
battery.
Do not expose the battery to fire or water.
Immediately replace an exhausted battery.
Remove the battery when you will not be
using the remote for long periods of time.
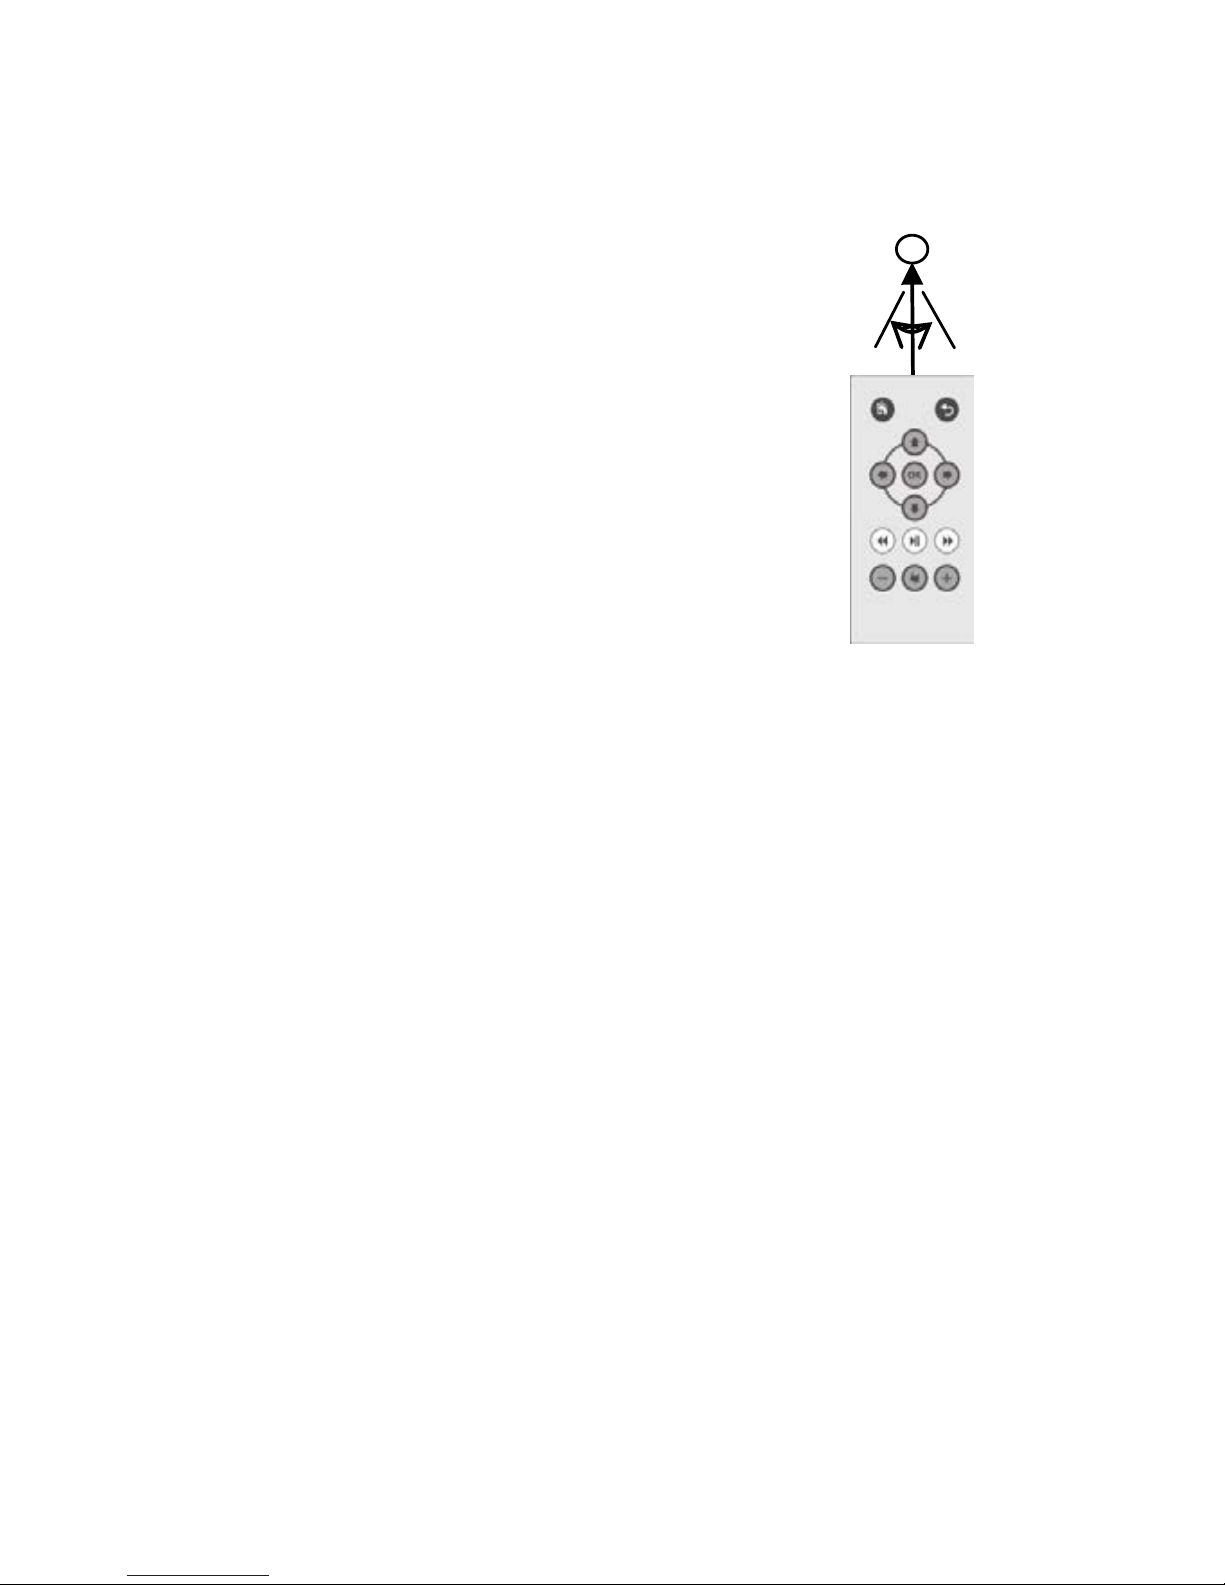
Infrared Receiver
30°
Page 8
User Manual
7
Getting Started
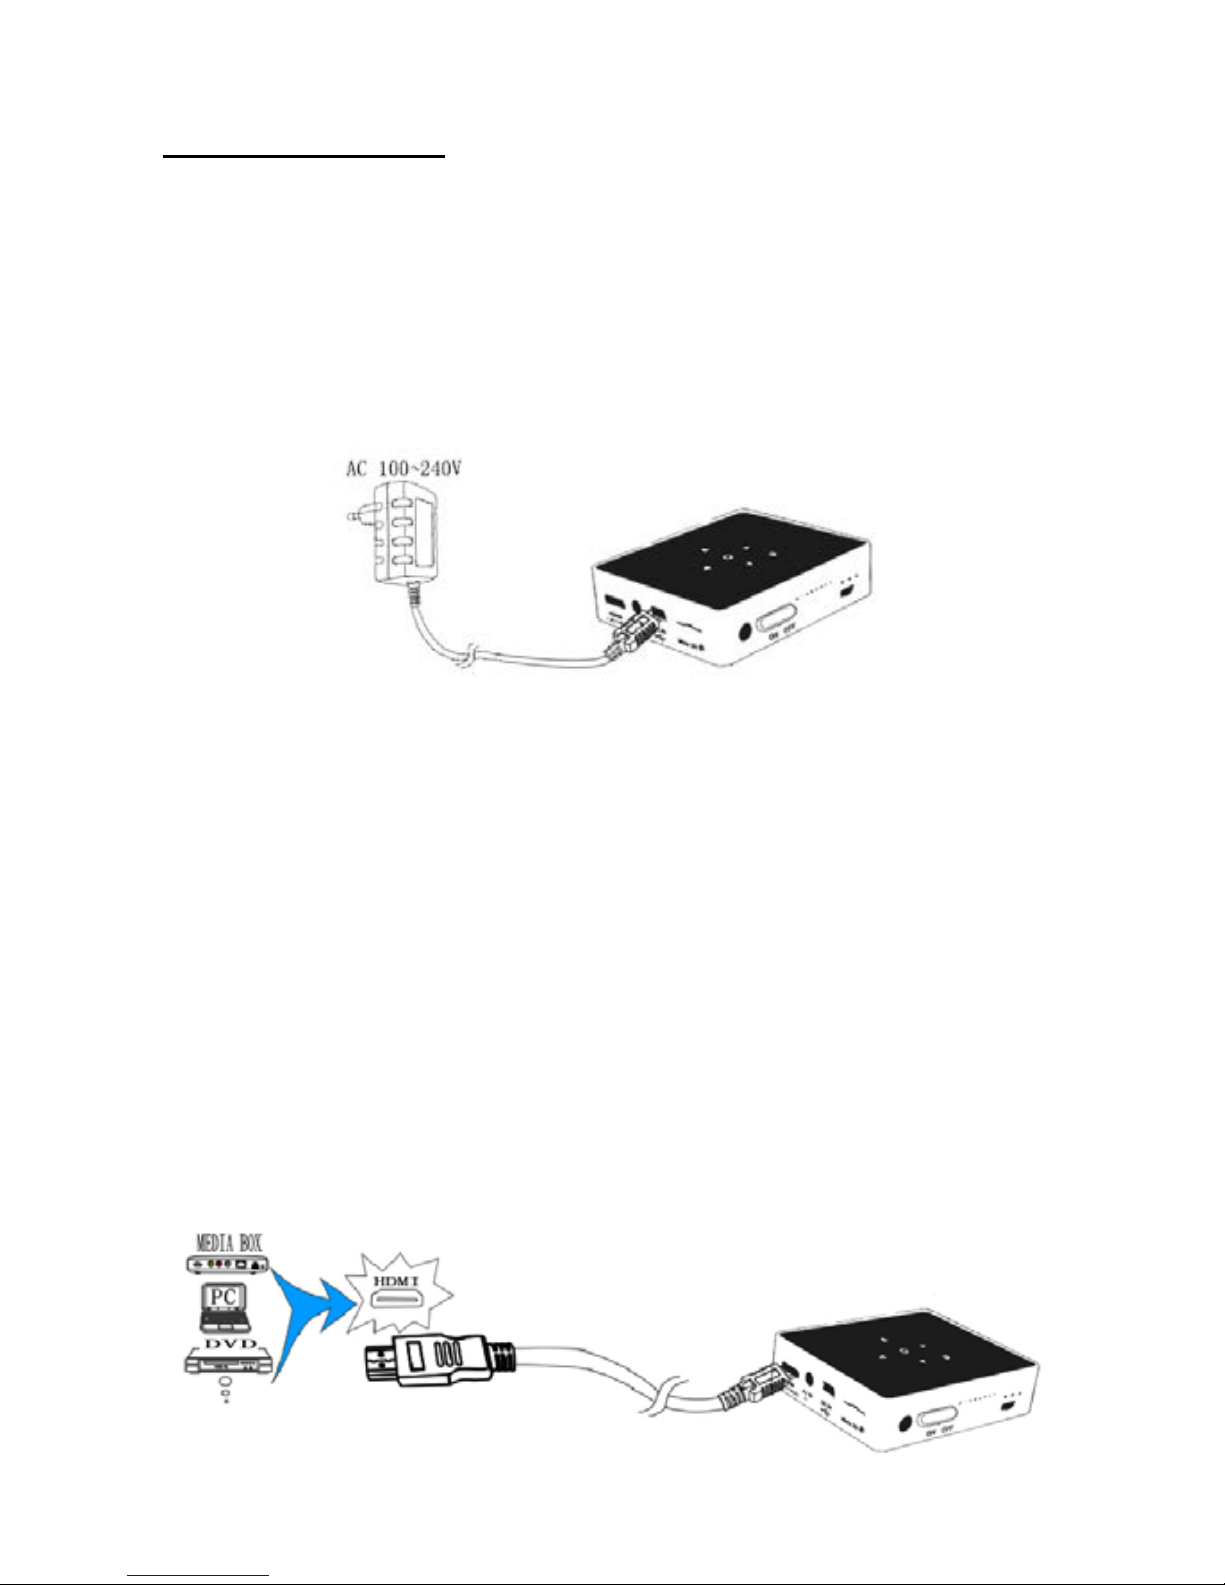
Charging Your Projector
The projector has a built in a Li-polymer battery for mobile use.
Please fully charge the projector before its first use. The projector
can also charge through USB, use the supplied usb cable to plug
your projector into your computer.
LED Indicator
While your Projector is charging the LED on the top panel will be
Red. It will turn Green when is the battery is fully charged.
Connecting an External Input Source
HDMI
1. Use the supplied HDMI cable to connect the projector to
the external HDMI signal source.
2. Enter “Source” in the main menu and select “HDMI”
mode.
Page 9
User Manual
8
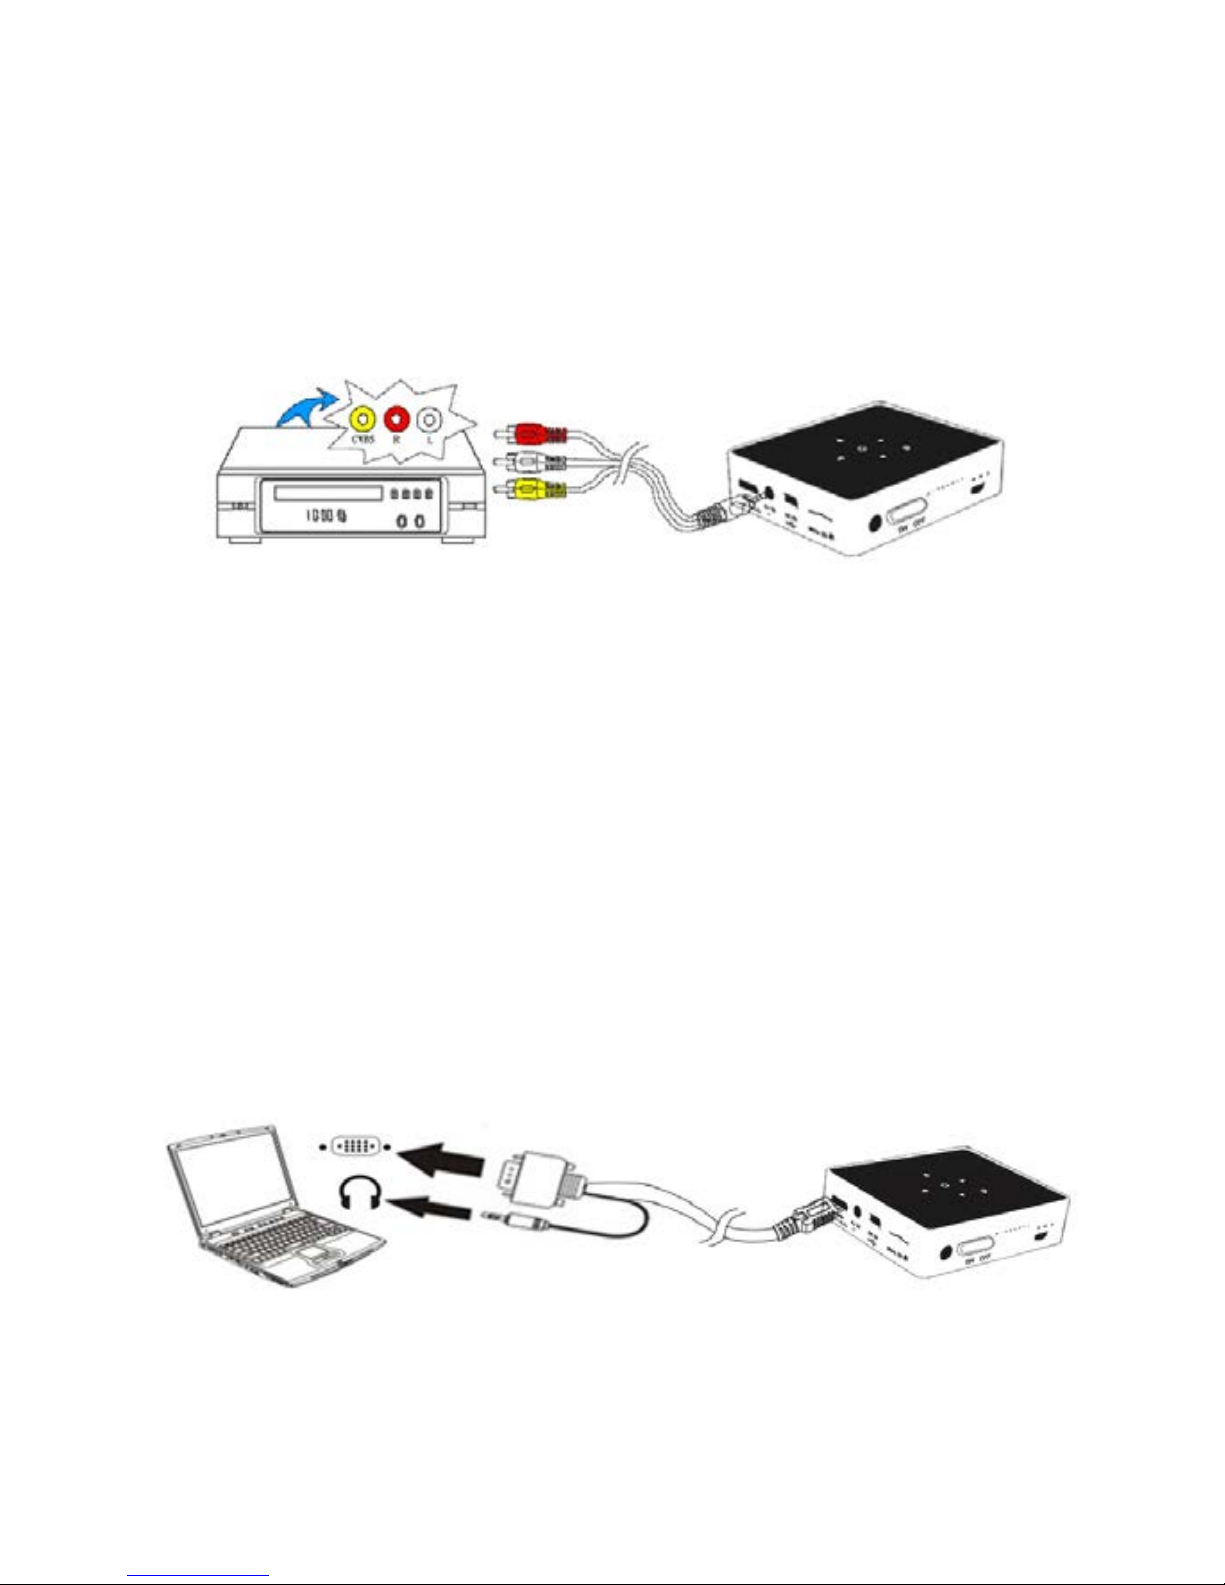
AV IN
1. Follow the figure below to connect an external AV output
device to the Headphone/AV Jack in the rear panel of the
projector unit. Connection is color-coded.
2. Enter “Source” on main menu and select “AV” mode.
VGA (optional)
While this device can connect to a VGA Port, we do not include
the cable in the supplied accessories, this cable is available for
purchase wherever our Projectors are being sold and our Retail
Website, Search for Axer HDVG317.
1. Plug one end of into the HDMI Port on your projector.
2. Plug the other end of the cable into the VGA Port on the
Pc or other external source.
3. In the main menu, select “Source” and select “VGA”.
Note:
1. Make sure the screen refresh frequency of your computer
is 60Hz.
Page 10
User Manual
9
2. Supported screen resolution of PC:
- 1920 x 1080 / 1600 x 1200 / 1280 x 1024
- 1280 x 960 / 1280 x 720 / 1152 x 864
- 1024 x 768 / 800 x 600 / 640 x 480
3. Some laptop computers do not automatically switch to
projection mode when your projector is connected. Please
refer to your computers to correct the settings.
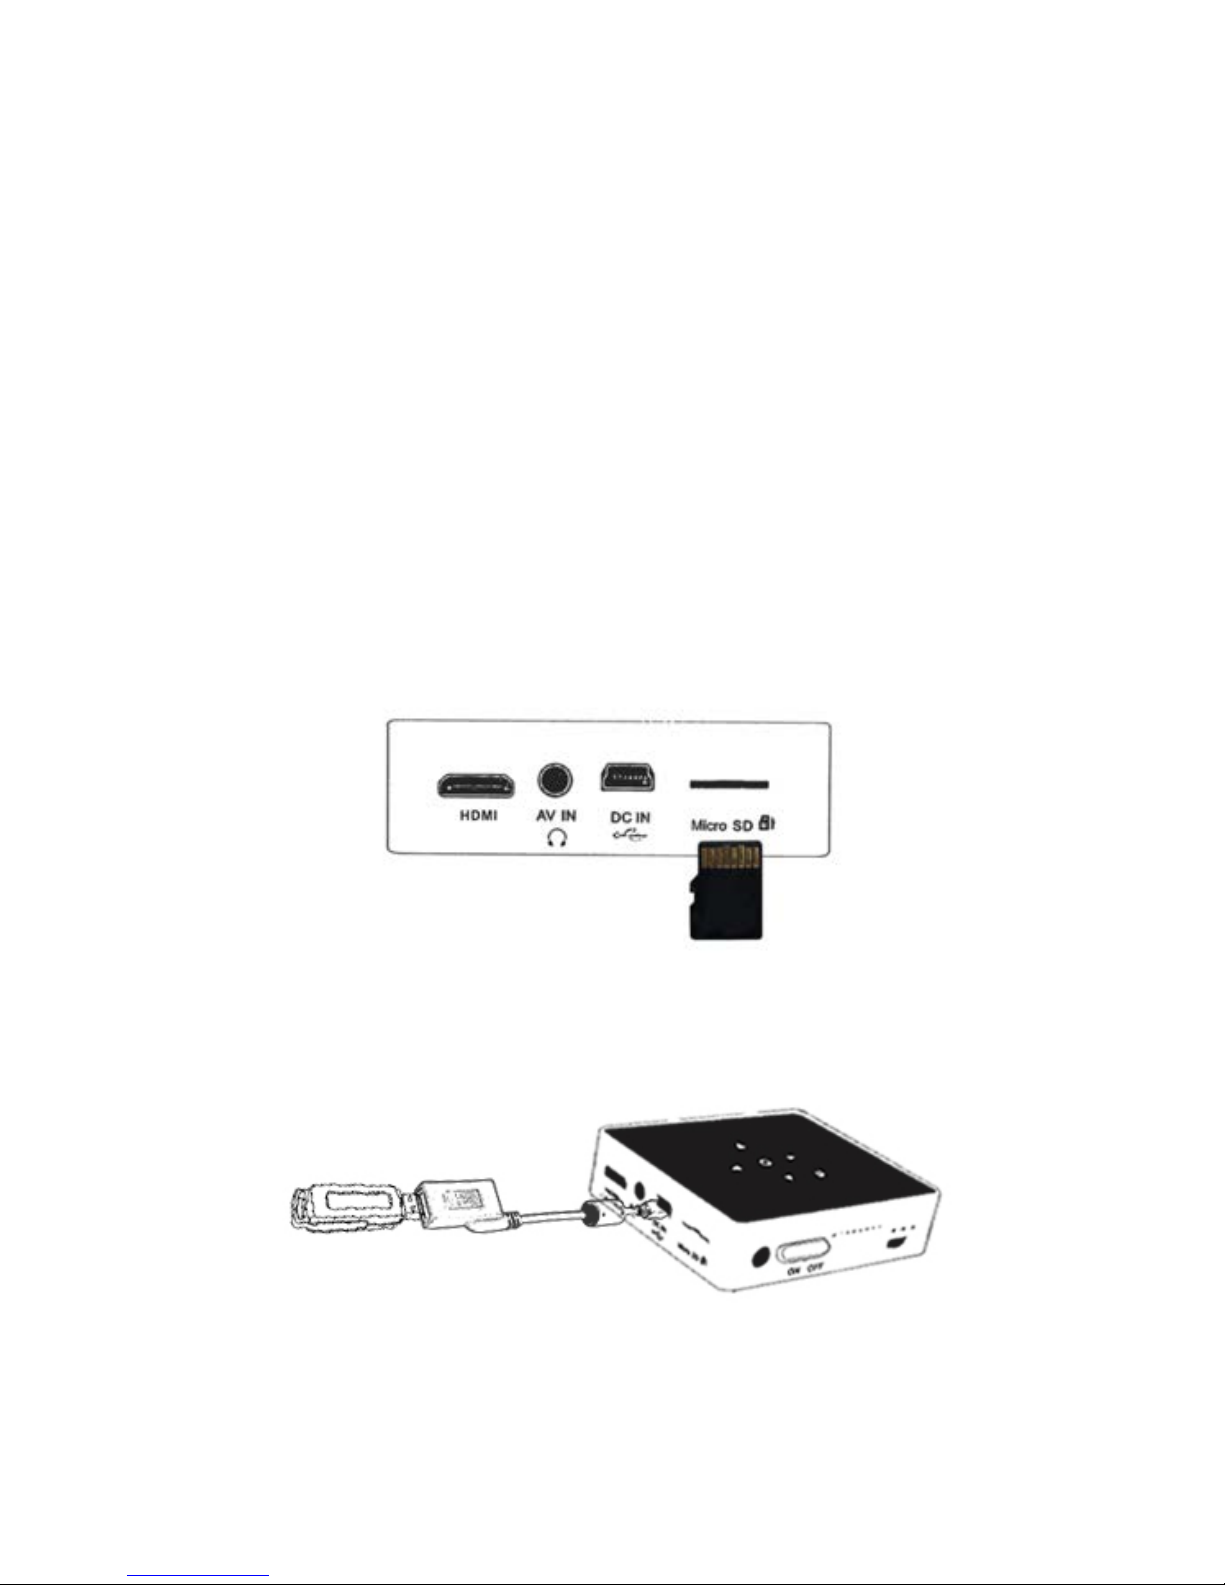
Connecting Micro SD/SDHC Card
The built-in memory card reader can read micro SD/SDHC card.
Gently insert the card just as shown below until you hear a click.
To remove the memory card, gently push the edge of the card in
and pull it out.
Connecting USB Device
Connect one end of the mini USB converter cable into the mini
USB jack of the unit, the other end to USB device, as shown
below:
Note: When connecting a USB device to the mini USB cable, the
AC adaptor can be connected to mini USB jack to simultaneously
charge your projector.
Page 11

User Manual
10
Using Headphones
The projector has a built-in stereo speaker for providing you the
best portable audio experience. Additionally, you can connect
your headphones to the headphone jack of the unit.
Warning: Listening through headphones at a
high volume for extended periods of time can
result in hearing loss
Page 12
User Manual
11
Functions and Operations
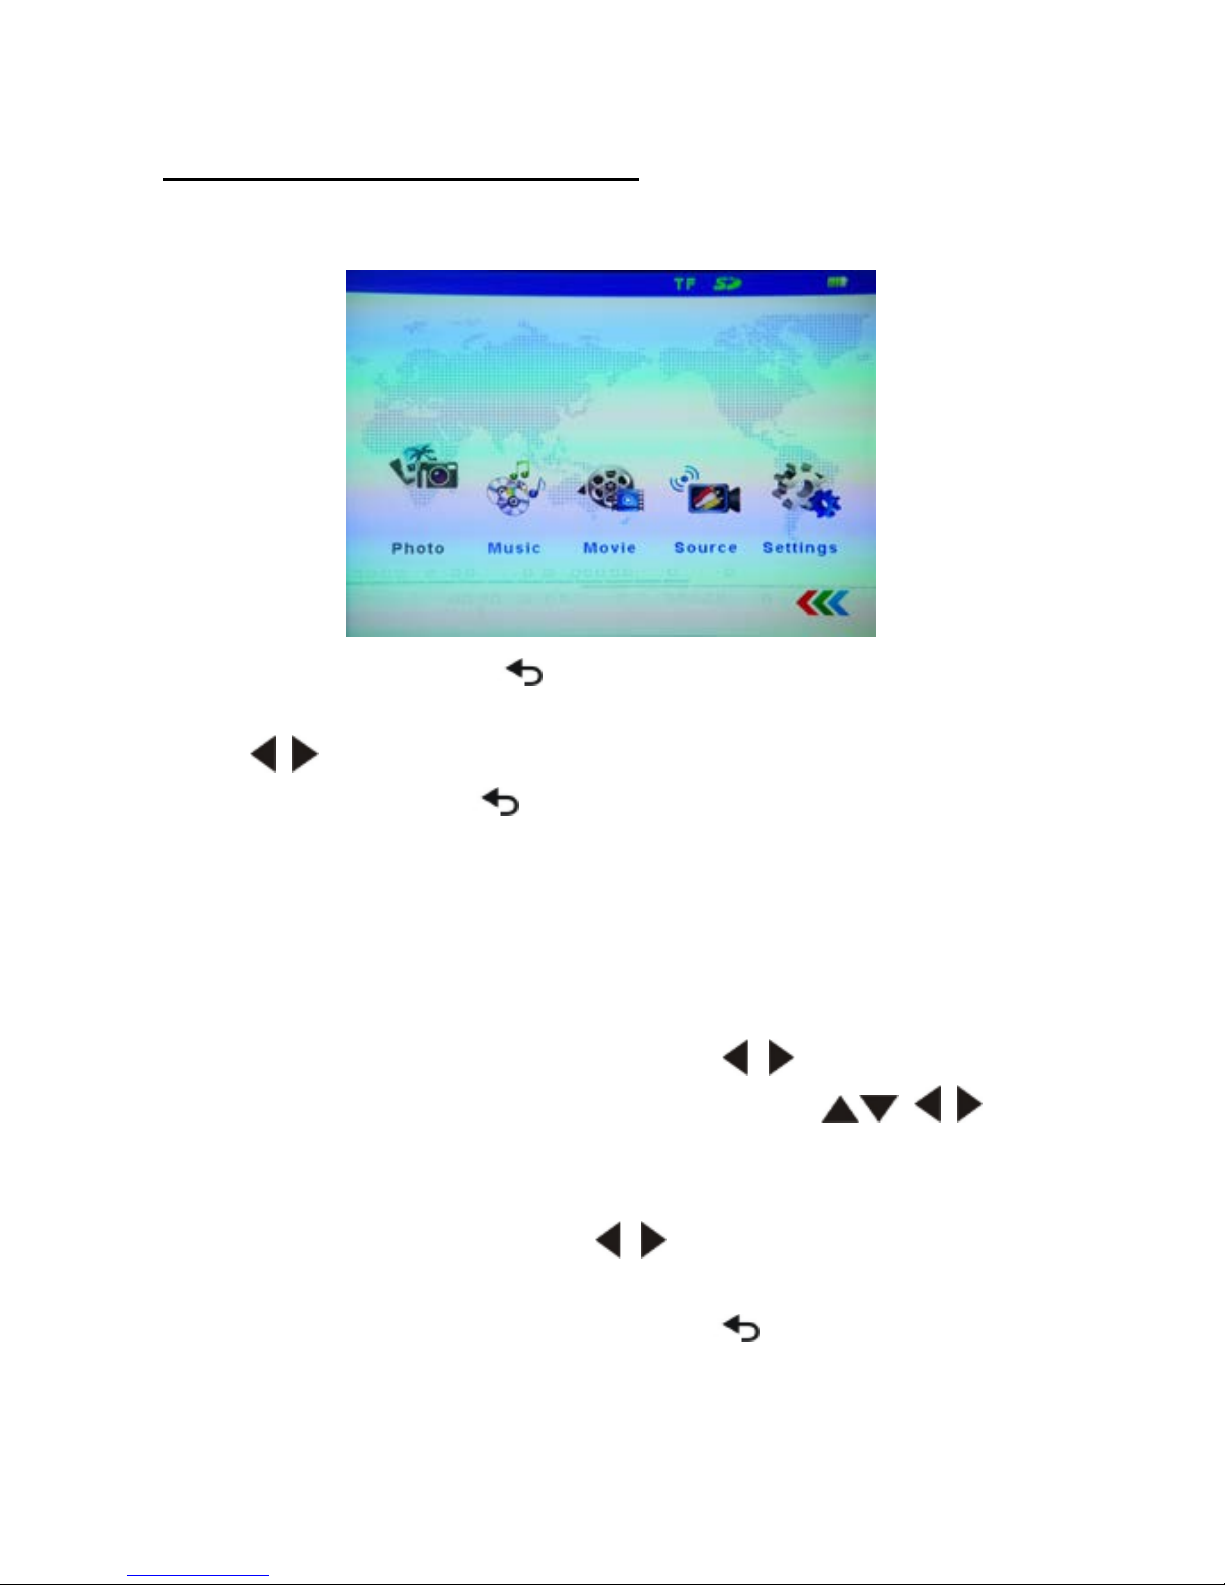
Main Menu
In the main menu, press to select USB or TF (Micro SD/SDHC)
mode as shown on the top-right corner of the main menu,
Press
to highlight the desired item and press OK to enter
the submenu. Press to return to Main Menu.
Photos
Select and open images.
1. In the main menu use the keys to highlight
photos pres
OK to select it, use the keys
to select and open images.
2. During picture playback, press OK to open the function
key menu and use
and OK to achieve their
functions.
3. During picture playback, press
to exit and return to
the previous menu.
4. This Projector supports multiple image formats.
Page 13

User Manual
12
Audio
Select and play audio files.
1. In the main menu use the
keys to highlight music
pres OK to select it, use the keys to
select and open Audio files use the -/+ buttons to adjust
the volume.
2. During Audio playback, press
OK to open the function
key menu and use
and OK to achieve their
functions.
3. During music playback, press
to pause and press it
again to resume and press
to exit and return to the
previous menu.
This Projector supports multiple audio formats.
Video
Select and play video files.
1. In the main menu use the keys to highlight
movie pres
OK to select it, use the keys
to select and open Audio files use the -/+ buttons to
adjust the volume.
2. During video playback, press
OK to open the function
key menu and use
and OK to achieve their
functions.
3. During video playback, press
to pause and press it
again to resume and press
to exit and return to the
previous menu.
This Projector supports multiple Video formats:
AVI, MOV, MP4, MKV, 3GP, DAT, RM, MPG, MPEG, VOB,
XVID, etc.
Page 14
User Manual
13
Source
When projecting from external source (AV, HDMI, and VGA) enter
“Source” in the main menu to select the exact input source.
Note: If the screen shows “No Signal” after connecting the
external AV source, please follow the instructions on
“Connecting External Input Source” to select correct source. Or
check whether the cable is well connected.
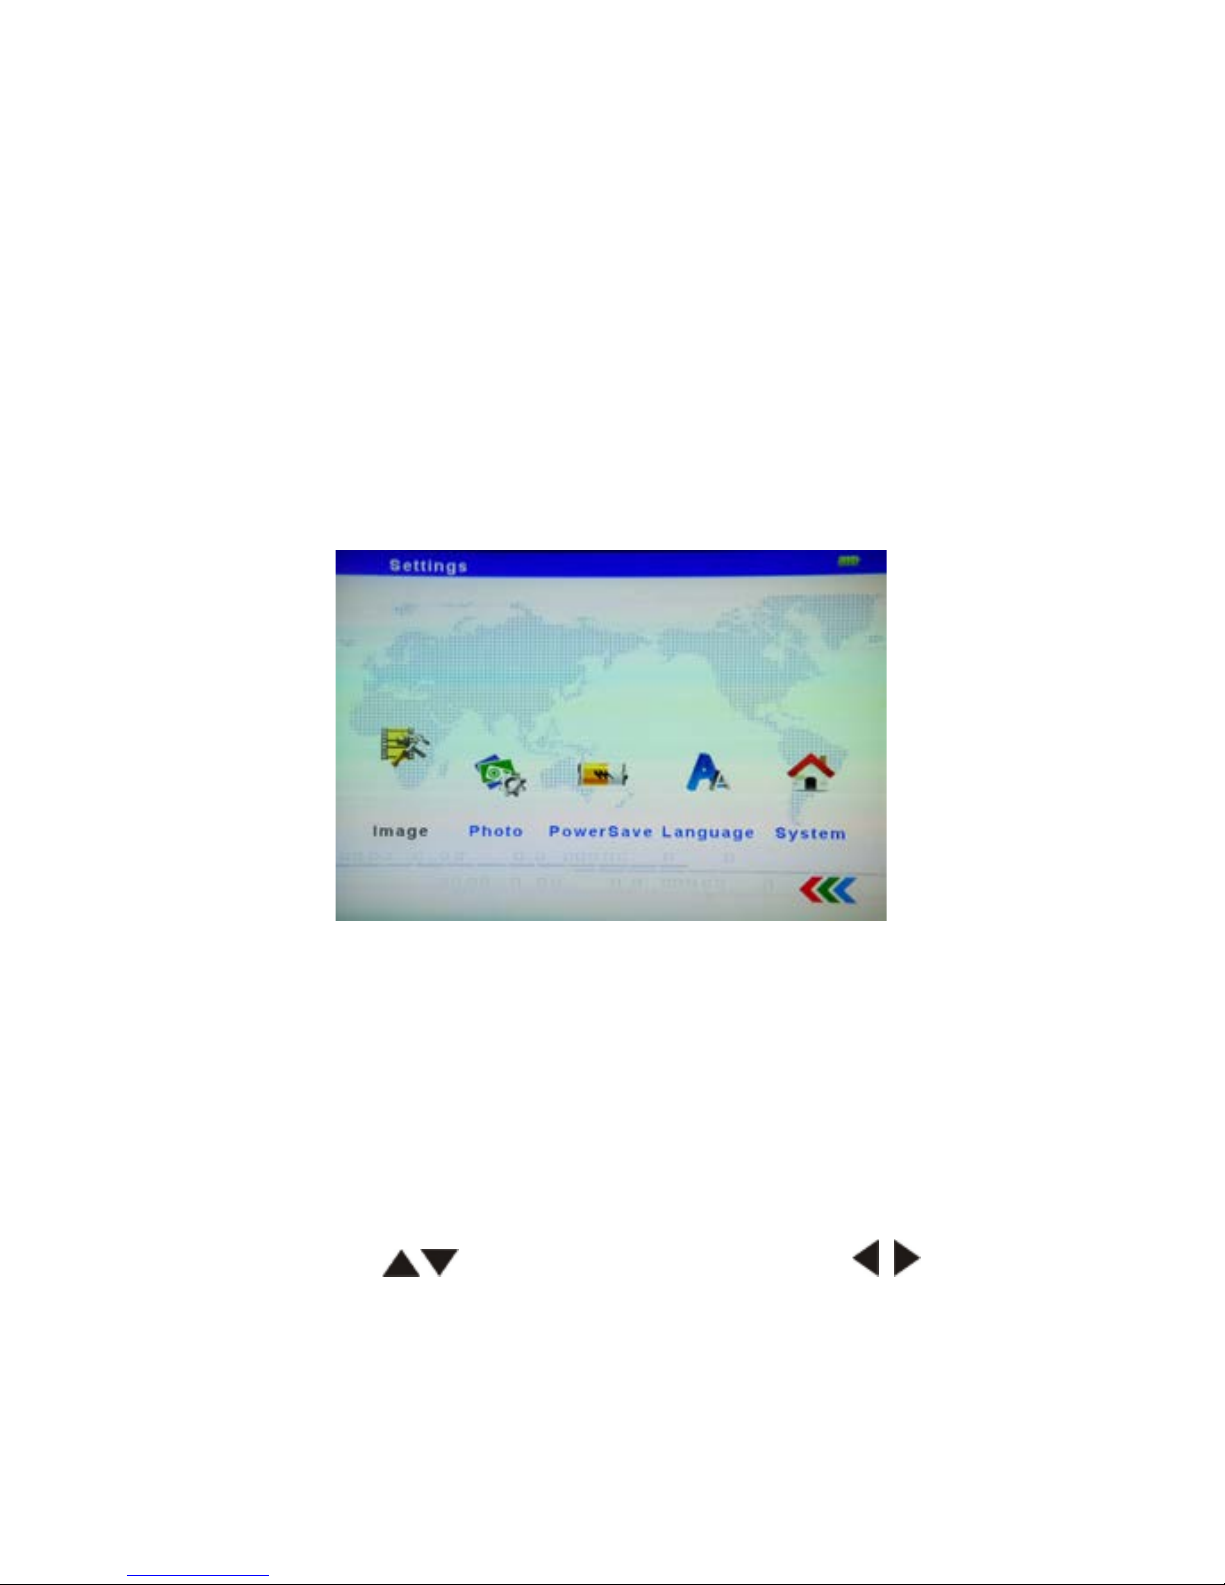
Default Settings
1. Image
Project Mode Front
Smart Settings Standard
Brightness 5
Contrast 5
Saturation 5
Press to select item. Then press to adjust
the settings.
Note: The Brightness settings only work for photo and
video playback.
Page 15

User Manual
14
2. Photo
View List
Slide delay 2s
Repeat All
Slideshow Order By order
Press
to select an item. Then press to
adjust the settings.
3. Power Save
ECO Mode Off
Auto Sleep Off
Press
to select an item. Then press to
adjust the settings.
4. Language
Use keys to select a language in the
language Menu.
5. System
Reset Settings
Software Update (USB)
SW Information
Use
and OK button to achieve the desired
settings.
Page 16

User Manual
15
If projecting over long periods of time
The built-in battery supports about 1.5hrs of projection time. If
you will be projecting over a long period of time, we recommend
that you use the supplied AC adapter.
When the battery gets lo w, the low battery capacity icon
will flash. When you see this you need to plug your projector into
the AC adapter and the AC adapter into a wall outlet.
If your battery gets low and you do plug it into a AC adapter, the
projector will enter standby mode automatically, Plug it in and
press any button to exit standby mode.
In standby mode, the LED Indicator will light up on the top panel.
Due to its high performance engine its normal for the projector to
get warm with continuous work.
If the projector runs for a long time and becomes over-heated,
the High-Temperature icon
will appear on the screen. The
system will automatically enter the standby mode, Let cool and
press any button to exit standby mode.
Page 17
User Manual
16
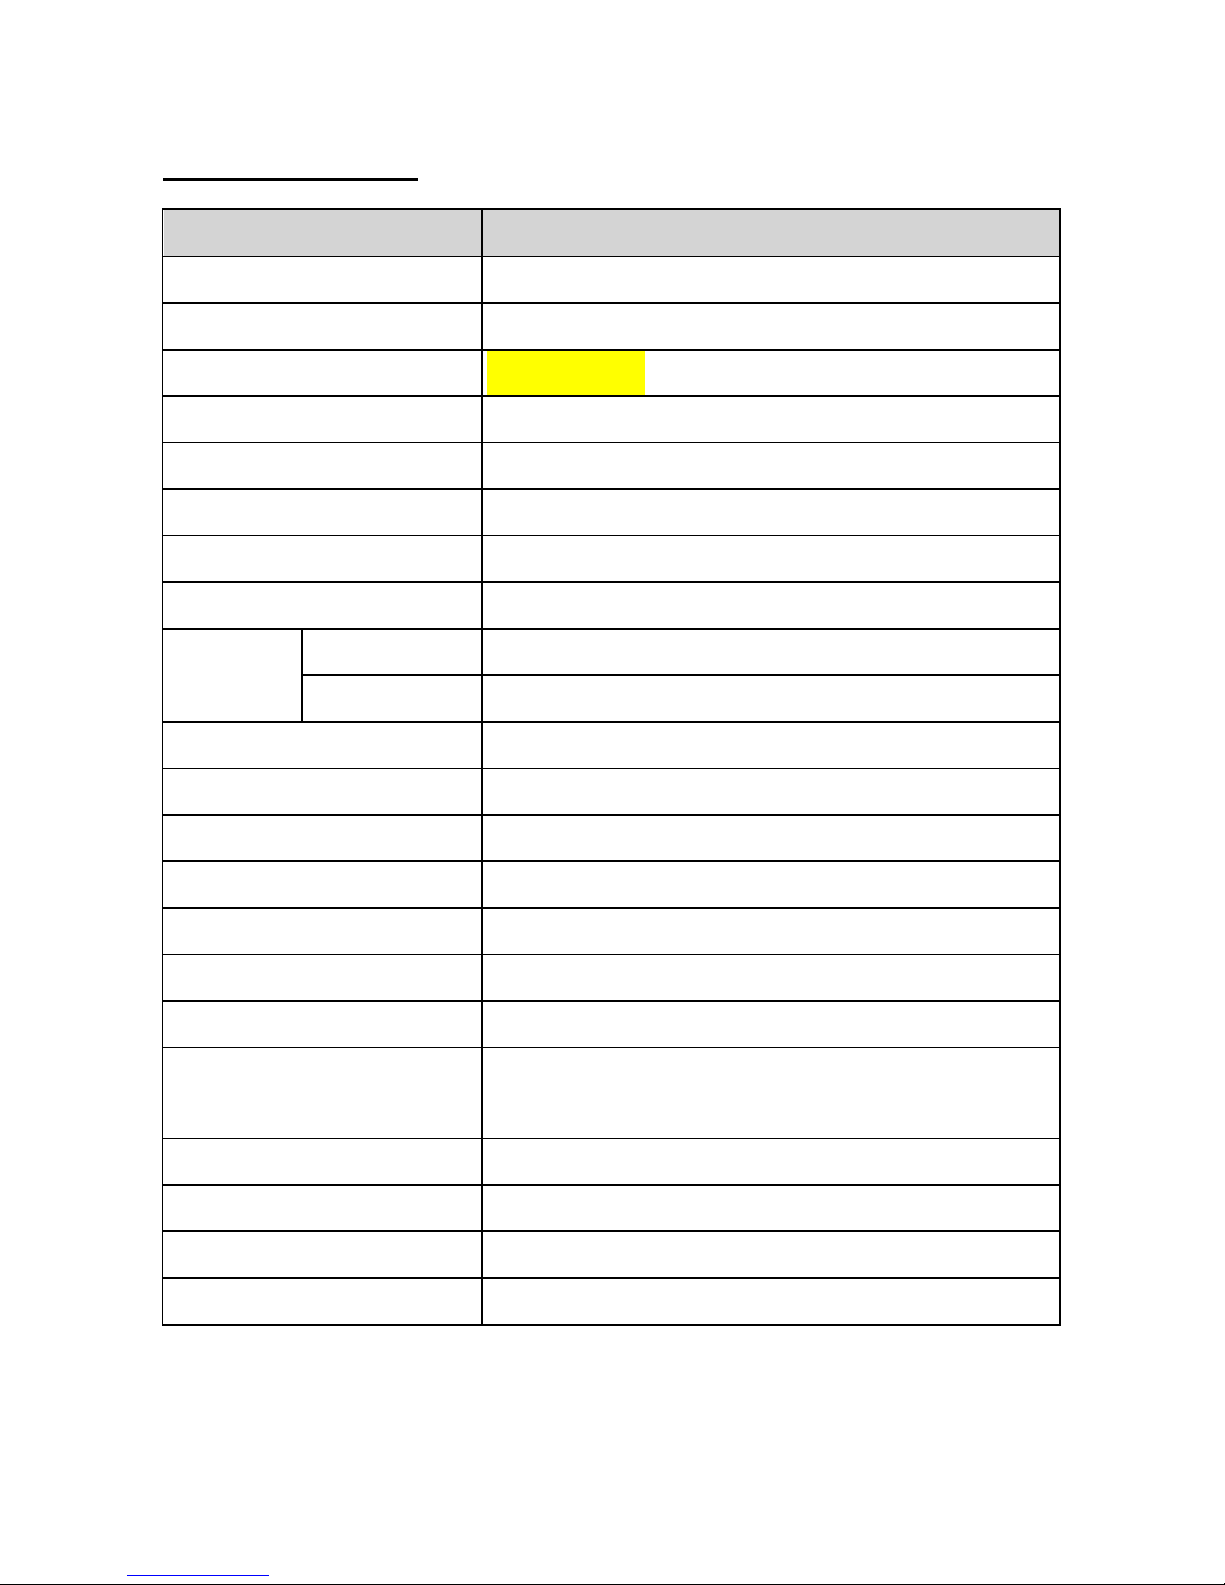
Specifications
Items
Descriptions
Optical Technology
VGA 0.24” DLP
Light Source
RGB LED
LED Lifetime
20,000 hours
Contrast
1000:1
Resolution
640 x 480 (VGA)
Aspect Ratio
4:3
Projection Image Size
5 ” ~ 80 ”
Projection Distance
20 cm ~ 200 cm
Brightness
AC Adaptor
Up to ANSI 85 Lumens
Battery
Up to ANSI 50 Lumens
Focus
Manual
Internal Speaker
Stereo
USB
Mini USB Jack
AV source
AV in (3.5 mm input jack), Mini HDMI
Audio Output
3.5 mm Audio Output Jack
Card slot
Micro SD/SDHC Card up to 32 GB
Power Supply
Input: 100 ~ 240V AC; Output: 5V, 2A DC
Battery Type Built-in 1250mAh, 3.7 V, Li-polymer
Rechargeable Battery
Battery Lifetime
90 min (ECO mode)
Power Consumption
≦
6W
Dimensions ( L x W x H )
81 mm x 67 mm x 21 mm
Weight
100 g
Page 18

User Manual
17
For Questions or Comments Email Us at [email protected]
For Warranty Information & to register Your Product
Please log onto www.AxerUSA.com
© 2014 Axer USA. All Rights Reserved.
 Loading...