

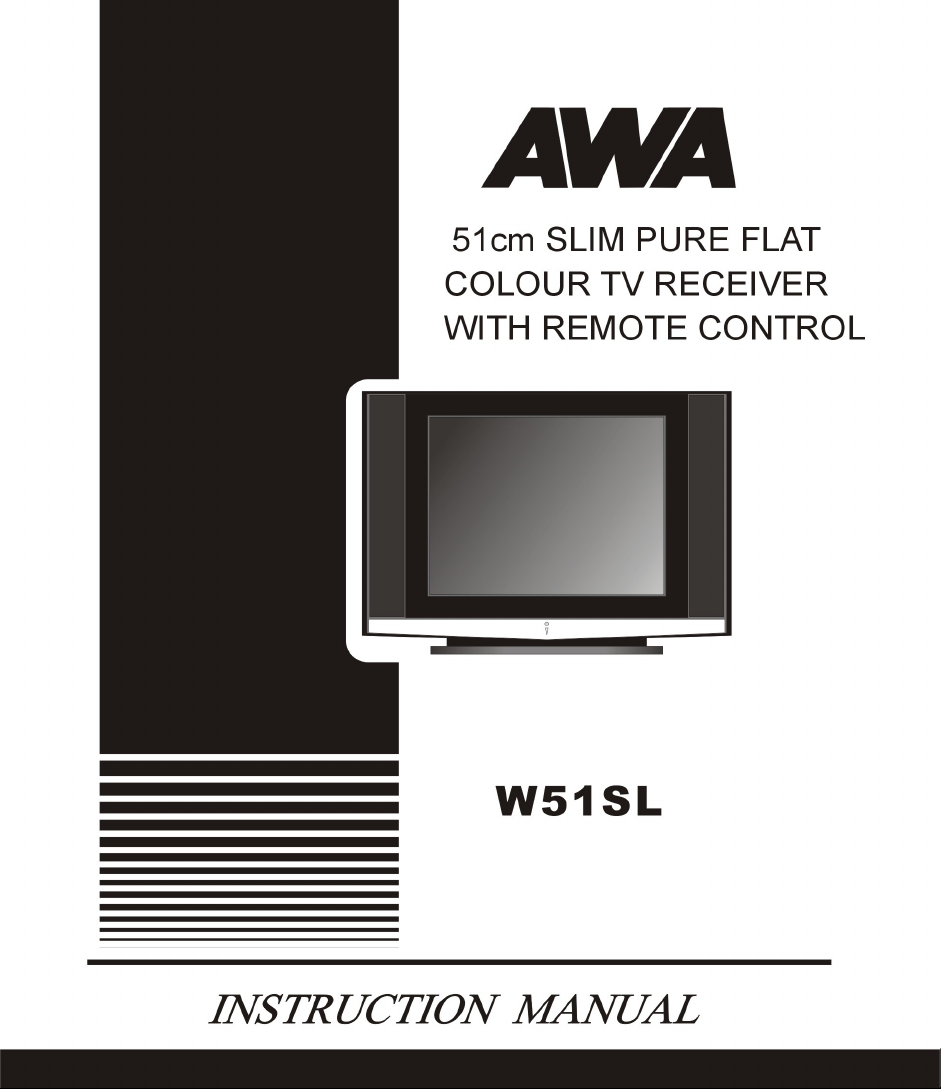
Page 1
Page 2

PREFACE
Thank you for purchasing and using our good quality product. To enjoy
the perfect performance brought by this TV receiver, please spare a little
time to read this instruction manual thoroughly before operating it. Also
keep it handy for reference.
Content
1. Features 2
2. Points to note when installing the TV 2 - 3
3. Operation 4
- Initial Operation 4
- Remote Control Handset Operation 5
- Menu Operation 5
- Picture menu 5 - 6
- Tuning menu 6 - 7
- Language menu 8
- Others menu 8 - 10
- Other key functions 10- 12
- Audio/Video function 12
4. Safety Instructions & Maintenance 13
5. Troubleshooting 14
6. Specifications 15
1
Page 3

1. Features
* Store up to 100 TV Channels * Scan Preset Channels
* Full Function Remote Control * PAL-B/G, NTSC AV
* On-Screen Display * Blue Screen (when no signal)
* Auto Power-Off * Options for Curtain-Drawing
(15 minutes no signal) methods
* AV NTSC 3.58/4.43 * PAL/NTSC tint function
* Child Lock * DVD YUV input
2. Points to note when installing the TV
2.1 Connect the TV unit AC line cord to AC mains supply but never to
DC supply. (Refer to the specified power rating to the back plate of
the TV unit.)
2.2 Do not place the TV near any fire sources such as lit candles,
matches etc.
2.3 To avoid fire or electricity leakage, never place it near your kitchen
or any place where water easily splashes over or drips on the TV
unit.
2.4 Locate it in a place where light does not strike directly on its
screen because light reflection could cause eyestrain. Entirely
dark surrounding is also not suitable for watching TV so soft and
indirect lighting is recommended.
2.5 Allow enough space between the back of the TV unit and the wall
to permit proper ventilation to prevent the failure of electronic
components. Also, do not place it in an excessively hot location.
2.6 Never place the TV unit near any magnetic objects such as
external speakers without shielding cover because their strong
magnetic field could interfere with picture quality.
2.7 To prevent pre-recorded videotapes from being damaged in the
course of TV degaussing, do not locate your VCR too close to the
TV unit.
2
Page 4

2.8 Automatic degaussing: each time the TV unit is turned on with the
power on/off switch, the automatic degaussing circuitry purges out
the residual magnetism on the CRT’s metal parts. This ensures
clear & vivid picture color. If the TV unit has been moved or its
direction changed, leave the main switch off for at least one hour
and then turn it on again to avoid discolouration.
2.9 Press TV/AV key to enter into TV mode, then press MENU key to
show the master menu. Select TUNING, run the AUTO SEARCH.
The TV will save the channel number of every program till the end
of the search. If you want to stop the tuning, press the Volume “-”
on the unit, or the number keys or “VOL-” on the remote handset.
If no program is found till after searching, please check the
antenna wire. “
” means that the TV is searching.
2.10 Press “CH-” and “CH+” on the remote handset or “▼” and “▲”on
the unit to examine the picture and sound of the different channels.
If there is something wrong with the audio, press the S-SYS key
on the remote handset and select the sound item, then press
“VOL+” or “VOL-” to select “BG”. Press S-SYS key again to exit.
Remarks: If no signal is received for 15 minutes, the unit will shift to
standby mode and the power indicator lights up. You can
resume it by pressing
or one of the number keys on the
remote handset.
Warning: To reduce the risk of fire or electric shock, do not expose
this unit to rain or moisture, and do not place any objects
filled with liquids such as vases on the unit.
Do not place bare fire sources such as lit candles or
matches on the unit.
3
Page 5

3. Operation
Note:
Initial operation
Note: The TV unit will switch to standby mode if no TV Channel is
3.1 Take out the remote control handset; remove the battery cover;
3.2 Plug TV antenna cable into the antenna socket in the back of the
3.3 Plug the AC line cord plug of the unit into your AC socket, then
3.4 You can now start the following operations. Press the TV/AV key
Note: There are four buttons “▼CH-”, “▲CH+”, “►VOL+” and
4
Most of the functions of the TV unit can be operated and
controlled with the remote control handset; therefore, the
buttons mentioned below refer to those on the remote control
handset unless otherwise specified.
received in 15 minutes. When this occurs, the red standby
indicator lights up.
place 2 pieces 1.5V UM-4 AAA dry battery with correct polarity into
the battery compartment and then replace the battery cover.
unit.
push down the MAINS POWER button, and the red power
indicator lights up.
to select the TV mode and then press the MENU key on the
handset or the TV unit to show the master menu.
“◄VOL-” around the MENU button on the remote handset.
After entering the menu, the “▼” and “▲” have the same
function as the channel “CH-” and “CH+” on the TV unit. The
“►” and “◄” on the remote handset have the same function
as the Volume “+” and “-” on the TV unit.
Page 6

Remote Control Handset Operation
A. POWER ON/OFF
B. DIRECT PROGRAM NUMBER
SELECT (0-9, -/--)
C. PROGRAM NUMBER UP “+”/ DOWN
“-” OR FUNCTION UP “▲” / DOWN “▼”
D. VOLUME CONTROL UP “+”/DOWN
“-” OR FUNCTION LEFT “
” / RIGHT “ ”
E. TV/AV SELECT
I
M
L
K
F
D
G
23
1
45
7
8
-/--
0
P.P
CH+
MENU
VOL-
CH-
PIC
VOL+
A
B
6
9
TV/AV
E
DISP
J
H
S.SYSSLEEP
C
F. RETURN
G. PIC
H. S-SYS
I. SLEEP
J. DISPLAY
K. P.P
L. MUTE
M. MENU
Menu Operation
The master menu contains 4 submenus named PICTURE, TUNING,
LANGUAGE and OTHERS. There is no TUNING menu under the AV mode.
To exit the master menu, press the MENU key again. You can perform
operations according to the instructions at the bottom of the screen.
(Note: There is no Timer function on the TV unit)
PICTURE Menu
COLOUR CONTROL
In the PICTURE menu, press “▼” or “▲”to select COLOR and then press
the “►” or “◄” keys to adjust the colour.
5
Page 7

BRIGHTNESS CONTROL
Select BRIGHT in the PICTURE menu and then press the “►” or “◄” keys
to adjust the brightness.
CONTRAST CONTROL
Select CONTRAST in the PICTURE menu and then press the “►”or “◄”
keys to adjust the contrast.
SHARPNESS CONTROL
Select SHARP in the PICTURE menu and then press the “►” or “◄” keys to
adjust the sharpness.
TINT CONTROL
Select TINT in the PICTURE menu and then press the “►” or “◄” keys to
adjust the tint.
BLUE BACKGROUND CONTROL
Select B.B in the PICTURE menu and then press “►” or “◄” to turn the blue
background function “ON” or “OFF”. If you select “ON”, the TV will display a
blue screen without sound when no signal or weak signals are received. On
the contrary, if you select “OFF”, the TV will display the picture and the audio
with noises when no signal or weak signals are received.
TUNING menu
Press “►” or “◄” to select the TUNING menu. Then you can perform the
following operations:
POSITION
Press “▼” or “▲” to select POSITION, then press “►” or “◄” to select the
channel you are searching for. (Use unused channel positions to save new
programs that have not been received before. To delete repeated programs,
please select the channel.)
6
Page 8

SKIP
Press the “▼” or “▲” keys to select SKIP. You can shift the status ON and
OFF by pressing the “►” or “◄” keys. ON stands for skipping the channel
when you press the CH “▼” or “▲” while choosing channels. OFF means
that you can see the channel when you search through programs with the
CH “▼” or “▲” keys.
Note: Skipped channels can still be accessed directly by pressing the
assigned channel number.
BAND
You can use this function when you are tuning via manual search. You can
select from three bands: VHFL, VHFH, UHF.
SEARCH
Press “▼” or “▲”to highlight the SEARCH item, then press “►” or “◄” to
search upwards or downwards respectively. ‘SEARCH’ is displayed on the
screen.
MANUAL FINE TUNE (MFT)
If a TV channel is not satisfactorily received, you can use this function to
acquire the best results. After entering the TUNING menu, press “▼” or “▲”
to select MFT and then “►” or “◄” to adjust it. Over-adjustment may result
in losing that channel after changing to other channels.
AUTO MEM (AUTO MEMORY)
Press “▼” or “▲” to select AUTO MEM and then press “►” to commence
the auto search operation. Each Program found will be stored in
consecutive Channel numbers. If you want to pause during the searching,
please press the “◄”. If there are still no programs after searching, check
the antenna or the cable line.
7
Page 9

LANGUAGE menu
Press the MENU button to select the LANGUAGE menu, then press “▼” or
“▲” to move the cursor to the required language item. Press “►” to confirm
and the chosen language will change to italics.
OTHERS menu
There are three sub items under the ‘OTHERS’ menu - SYS, POS.VIEW
and FUNCTION MENU:
SYS
If colour or sound is abnormal, press the S-SYS button to open the
SYSTEM menu on the screen, and then press “►”or “◄” to select the
proper colour and sound systems. The color system choices include AUTO,
PAL, 4.43NTSC, 3.58NTSC. The appropriate sound system is BG.
POS.VIEW
To scan all the programs stored in your TV use the POS.VIEW function. Just
move the cursor to the item, then press “►” to run. Press any key to stop
scanning.
FUNCTION MENU
There are five sub-items under the Function Menu including SEL CURT,
MENU BACK, POS.GP, LOCK and PASSWORD. After selecting
FUNCTION MENU item, press “►” to enter. If there is no password, you can
enter directly. But if you have a preset password, a dialogue frame will show
and will let you input the password. You can input the password with the
number keys on the remote handset.
(Initial password: 000 ; Omnipotent password: 505)
8
Page 10

1. SEL CURT
You can select your favourite configuration of curtain drawing from the 4
kinds on offer:
0: No curtain drawing
1: Curtain drawing is applicable when turning on the TV and when
changing channels. The TV becomes darker gradually while it is
being turned off.
2: Curtain drawing is applicable while turning the TV on and off; no
curtain drawing occurs with channel changes.
3: You can see curtain drawing whenever channels are changed and
when the TV is turned on or off.
2. MENU BACK
You can select your favourite menu background colour from amongst
the 4 offered by pressing “►” or “◄”.
3. POS.GP
Use this function to divide the channels into groups. For example, to
associate Channels 2, 3 and 5 with Group 1, select Group 1 from
POS. GP, then go back to the TUNING menu. Set POSITION to “4”
with SKIP “ON” (to skip Channel 4), then press “▲” or “▼”. Then,
repeat this procedure for channel 6 & other channels. (of course,
Channels 2, 3 and 5 should have SKIP set to “OFF”)
This allows you to view only the channels within the selected Group by
pressing “▲” or “▼”. If you want to watch a channel that is not within
the current Group (in the example, Channel 4 for instance), simply
press the number on the remote handset.
4. LOCK
The lock can limit some functions of the TV, such as ON TIMER, POS
TIMER, cooperation with the POS.GP function; you can hide some
channels that are not suitable for children. For example, if you set Child
Lock to ON, then allocate programs that are suitable for children to
channel Group 1, the other channels which are set to SKIP “ON” can
not be found by any means.
9
Page 11

5. PASSWORD
This function can prevent unauthorised users entering into the
FUNCTION MENU to change any data and selections in the menu. The
TV will require you to enter the new password when turning on.
OTHER KEY FUNCTIONS
-/- - KEY
You can use the -/- - key on the remote handset to select the channel. To
select channel 0-9, please press the number key directly. If you are
watching Cable TV and require selection of two-digit channel numbers, first
press the -/- - key. “- -” will be shown on the screen. Then you can press
0-9 to select a two-digit number.
KEY
To turn off the sound from the TV, press the
key. You can see
displayed at the bottom of the screen and the TV has picture but no sound.
You can resume the audio by pressing the
key again or with the
Volume control (“◄” or “►”) keys on the remote handset, or the Volume
control (“+” or “-”) on the TV unit.
P.P KEY
Press the P.P key to change the picture status as you select in the menu.
There are four types for selection. Three of them have been set by the
manufacturer. DYNAMIC, STANDARD and MILD stand for vivid, standard
and soft respectively. The users can set MEMORY as they like in the
PICTURE menu.
S-SYS KEY
If colour or sound is abnormal, press the S-SYS button to open the
SYSTEM menu on the screen, and then press “►” or “◄” to select the
proper colour sound system. The colour systems including AUTO, PAL,
4.43NTSC, 3.58NTSC appear in turn on the screen. The appropriate
sound system is BG.
10
Page 12

SLEEP KEY
The sleep timer switches the TV unit into standby mode automatically when
the preset sleep time comes up. The sleep time can be set in 10-minute
steps up to 120 minutes. You can press “►” or “◄” to set the sleep time as
below:
OFF 120 MIN 110MIN … 20MIN 10MIN
Note: If you turn the TV unit into standby mode while the sleep timer is
operating, the sleep time setting will be cancelled.
KEY
Press the
sound. Electricity is still running through the unit, however. Press the
key or number keys on the remote handset to switch on the TV.
DISP KEY
You can see the channel number when you press the DISP key once. If
pressed once more, the display disappears.
TV/AV KEY
Press the TV/AV button to shift among AV1, AV2, DVD and TV modes.
When the screen shows AV, it indicates the TV unit is in AV mode. You can
watch your favourite video programs from AV sources such as VCRs or
DVD players that are connected to the TV unit via its AV input terminals.
When you press the TV/AV button successively AV1, AV2, DVD and
Channel number will be shown in turn.
KEY
Pressing the
watched.
11
key to enter into remote off status, the TV has no light and
key switches between the last two channels that were
Page 13

PIC KEY
Press the PIC key, the PICTURE menu will be shown on the screen for
adjustment. You can then adjust the color, brightness, contrast, sharpness,
tint, and blue background settings.
AUDIO/VIDEO FUNCTION
Video input
1. Connect the video output jack of VCD, DVD, VCR and other video devices with
the input jack of the TV by video cable ( the yellow hole is video input jack, and
the white & red are audio input jack.)
2. The TV has two audio & video inputs. On the sides there are the AV2 connectors
and on the back are the AV1 connectors.
3. DVD: At the back of the unit, there is a DVD YUV jack. The audio input of the
DVD share the same group of input jacks as the AV1 connectors.
4. Press the
audio equipment.
5. If the picture has no color, press S-SYS key to check if it is set as AUTO. If not,
press “►”or “◄” to set it as AUTO.
Remarks: Press the number keys, TV/AV on the remote handset or TV/AV on
Video output
Connect the video output jack of the TV with the video input jack of VCR to
record the program you are watching.
Attn: connect the audio and video jack correspondingly.
TV/AV key to select the corresponding method for your connecting
the unit to exit the AV mode and enter into TV mode.
12
Page 14

4. Safety Instructions and Maintenance
* Prevent TV unit from being splashed with water or rain to avoid fire or
electricity leakage.
* Do not drop any objects inside TV unit.
* Do not place near open flames such as lit candles etc.
* No naked flame sources, such as lit candles, should be placed on the
TV unit.
* Do not locate TV unit in a place where little children can reach it.
* High voltage exists inside TV unit; do not remove its back cover. In case
of failure, call qualified service personnel.
* Do not overload AC outlet socket to avoid fire or electricity leakage.
* Do not block TV unit’s ventilation slots when in use.
* Unplug TV unit if not used for a long period.
* The mains plug shall remain readily operable.
* Use appropriate power source.
* Clean TV unit with a cloth moistened lightly with water or detergent but
never use any other solvents or chemicals. Remember to unplug from
mains before starting cleaning.
* Check outdoor antenna periodically to see whether it is damaged or
becomes loose.
* During lightning, unplug the antenna socket to protect the TV unit from
damage.
* Never try to remove or adjust any components not mentioned in this
manual.
13
Page 15

5. Troubleshooting
SYMPTOM Solution
No Picture
No Sound
Snowy Picture Check whether the antenna cable is damaged.
Normal Picture
but no Sound
No Colour or
Abnormal Color
in a Colour TV
Program
Colour Spots,
Normal Sound
Spots or Streaks
Interference
Ghosting
Remote Control
Malfunction
Incorrect Picture
Colour
Check whether the AC power cord is properly
connected to AC outlet.
Check whether the main switch is turned on.
Check whether contrast, brightness and volume are at
their minimum level. If yes, adjust them to a higher level.
Press the Standby Button to check it works normally.
Check whether the VCR (if any) is properly connected.
Check whether the antenna is properly connected and
placed including location and direction.
Perform fine-tuning.
Press the Volume Up button of either the main unit or
remote control to adjust volume to a higher level.
Check with the remote control whether the mute
function is on.
Check whether colour is correctly adjusted
Check whether TV colour system is correctly selected.
May be subjected to electromagnetic interference from
nearby unshielded objects.
The TV unit has been moved while switched on.
May arise from other local sources such as other
electric appliances, motor cars, neon lamps. Adjust the
antenna to reduce interference to a minimum.
May arise from the reflection from the hills or tall
buildings. Check the antenna including direction,
location and connection.
Batteries have run out.
Batteries are installed in wrong polarities.
Tint may be adjusted unsatisfactorily.
14
Page 16

6. Specifications
TELEVISION SYSTEM: PAL B/G
COLOR SYSTEM: PAL, NTSC3.58/4.43
CHANNEL MEMORY: 0-99
ANTENNA INPUT: 75 Ω (unbalanced)
VIDEO INPUT: 1 Vp-p
AUDIO INPUT: 0.4 Vrms
MAX. AUDIO OUTPUT: ≥ 1.5W x 2
WORKING VOLTAGE: REF BACK PLATE
POWER CONSUMPTION: REF BACK PLATE
SPECIFICATIONS ARE SUBJECT TO CHANGE WITHOUT PRIOR NOTICE.
15
 Loading...