

Page 1
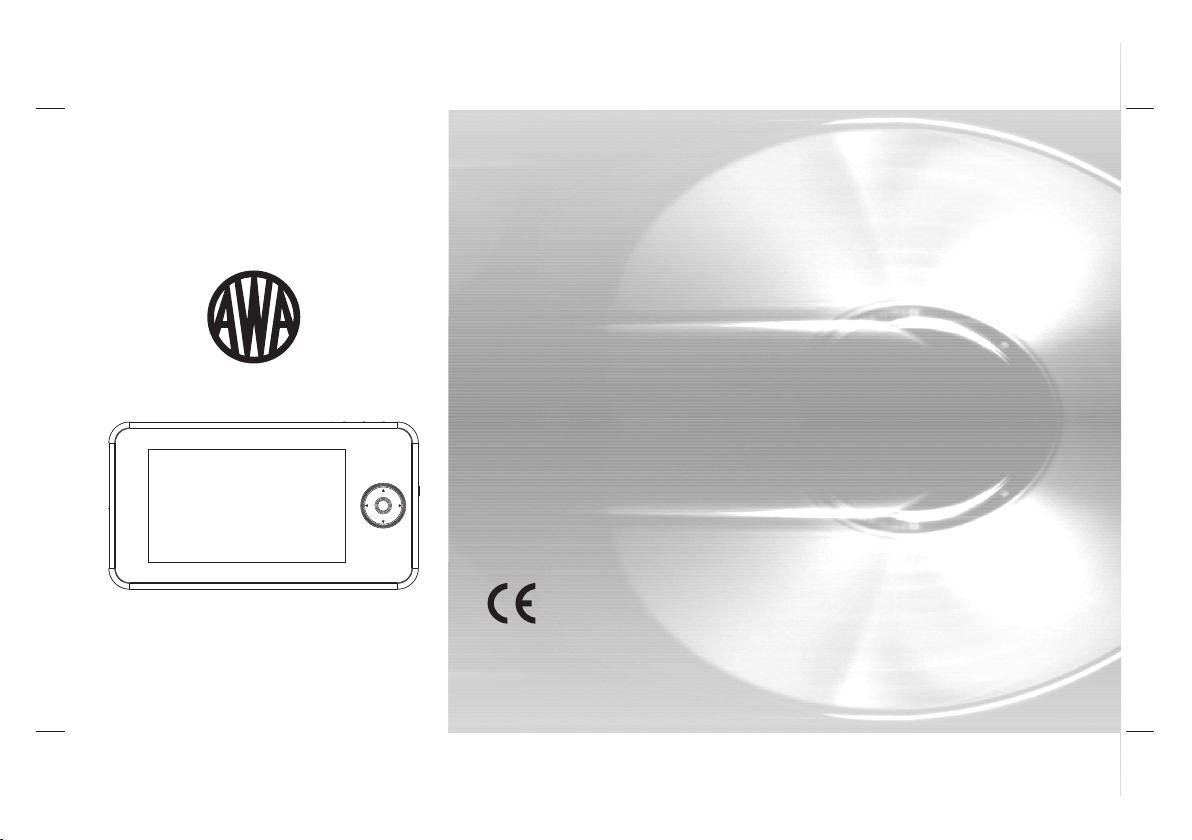
4.3” LCD TV
USER'S MANUAL
CHCH
VOLVOL VOLVOL
OKOK
CH CH
4.3” LCD TV
Before connecting, operating or adjusting this product,
please read this user's manual carefully and completely.
Page 2

Safety Precautions
Before Use(Continued)
Safety Precautions
Always read the safety instructions carefully
Keep this User s Manual for future reference
Keep this equipment away from humidity
Lay this equipment on a reliable flat surface before setting it up.
Do not stand it on soft furnishings.
If any of the following situation arises, get the equipment checked
by a service technician:
1.The equipment has been exposed to moisture.
2.The equipment has been dropped and damaged.
3.The equipment has obvious sign of breakage.
4.The equipment has not been working well or you cannot get it
work according to User’s Manual.
War ning
To prev en t th e ri sk o f el ec tr ic s ho ck , do n ot o pe n th e co ve r or t he
back of the receiver.
Do not block the ventilation holes of the device. Leave appropriate
gap above and around it to allow for adequate ventilation.
Do not place the device in an unventilated cabinet or on top of a
unit which emits heat.
Copy ri ght Sta te ment
No part of this publication may be reproduced in any form by any
means without the prior written permission. Other trademarks or
brand names mentioned here in are trademarks or registered
trademarks of their respective companies.
Disc la imer
Information in this document is subject to change without notice.
The manufacturer does not make any representations or warranties
(implied or otherwise) regarding the accuracy and completeness of
this document and shall in no event be liable for any loss of profit or
any commercial damage, including but not limited to special,
incidental, consequential, or other damage.
Introduction
This DVB- T pl ayer is a Fre e- To-A ir d ig ital terr es tr ia l re ce iver,
allowin g yo u to a cc es s free-to -a ir d ig it al terres tr ia l TV channe ls a nd r ad io
broadca st s. It s di gital rec ep ti on c ov ers VHF & UHF b an d.
Feat ur es
1.Mpeg- 2& Mp eg -4 D VB T re ce ive
2.PVR fun ct io n (r ec ord TV pr og ra ms to USB)
3.Teletex t fu nc ti on
4.Multi pl e- la ng uage OSD
5.Suppo rt s su bt it le
6.Bandw id th o f 7/ 8M Hz suppor te d
7.Autom at ic /m an ual chann el s ea rc h
2
Page 3
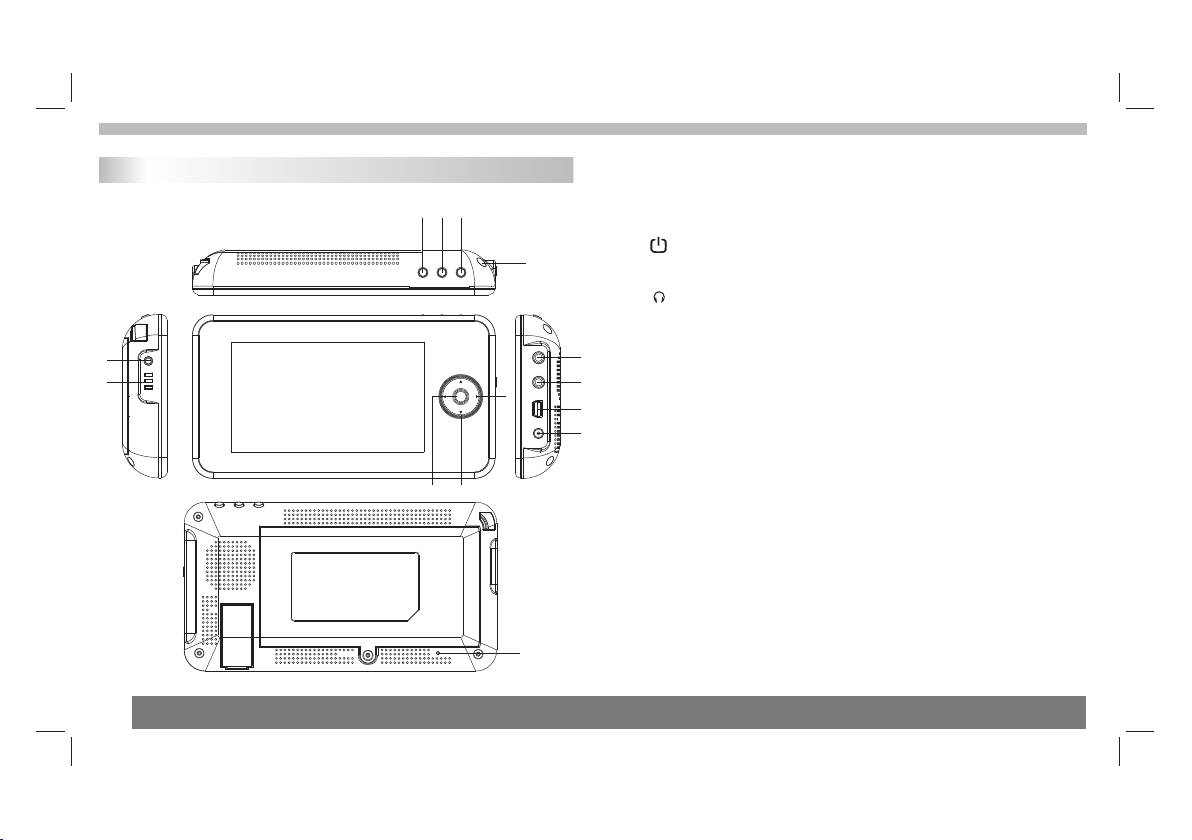
Identification of Controls
Main Unit
8
9
3
1 2 3
VOLVOL VOLVOL
1.EXIT
used to return to the previous screen or menu.
2.MENU
Used to open the main menu window.
3.
13
CHCH
OKOK
11
CH CH
1012
14
Power on/off, Co nt in ui ng p re ss 2 s ec on ds .
4..AV/ OU T
5.
Headphone out jacks
6.USB
mini USB jocks
4
7.DC in 5V
8.ANT
5
Extra antenna connector
6
9.LED Display
7
Full charged is green lanp,charging is red lanp.
10.PROG+/PROGto select channels upward or downward,or move
upward or downward in menu operation
11.V OL +/ VO LTo adjust volume or selected menu item in menu operation;
to move left or right menu operation.
12.OK
Used to confirm a selection within a menu.
13.Builtin in Antenna,when DVBT si ng al i s st re ng th en y ou
can use this antenna watching TV.
14.RESET
In case of system crashed, please reset the unit by using a
pin to press the reset key at the back of the product
(see pic below).
Page 4

Identification of Controls
First Time Installation
After all connections have been made properly, switch on TV and make
sure the receiver is connected to the Main Power. Press Power Button to
switch receiver on. If you are using the receiver For the first time or
restored to Factory Default, the Main Menu will appear on your TV screen.
FIRST INSTALLATION
OSD LANGUAGE ENGLISH
COUNTRY
TIME ZONE GMT+10
LCN ON
START
OSD LANGUAGE:Press OK key to select Osd language
COUNTRY:Press OK key to select Country.
TIME ZONE:Press OK key to select Time zone
LCN:Press OK key to select lcn ON or OFF
START:Press OK key to start first programs search.
AUSTRALIA
Setup Installation
Pres s me nu key to ent er s etup in st all at ion
Home Menu
Settings
Television
USB
Radio
Multimedia
Settings:enter system setup
Television:enter Television mode
USB:Display USB information and software upgarde
Radio:enter Radio mode
Multimedia:enter Multimedia play mode
system setup
System SetupSystem SetupSystem SetupSystem Setup
OSD Language
Country
LCN
Time Zone
System Information
Factory Reset
4
Page 5

Identification of Controls
OSD LANGUAGE:Select an OSD LANGUAGE
COUNTRY:Select your country of residence.
LCN:Set LCN on or off
TIME ZONE: a.TIME ZONE : Select Time zone of the country.
b.SUMMER TIME: Select Summer timer on or off.
SYSTEM INFORMATION:Show some information of the player.
FACTORY RESET:Reset the factory setting of player.
Function
Teletext
Subtitle
Audio
PVR
Aspect Conversion
Teletext :enable/disable Teletext
Subtitle: Enter
Type:select Subtitle type standard,teletext,off
Language:select Subtitle language
Audio:Enter Audio setting
L/R mode:setting sound output Mode:left,right,mix,stereo
Audio: program audio
PVR:Real-time Recorder
Aspect Conversion:Select Video aspect: Full, Letter Box ,Panscan.
Subtitle setting
select
5
Setup Installation
Installation
Manual Search
Auto Search
Manual Search:Installation new chanels manuauy
Auto Search:Search and install all chanels autoomaticauy
Settings
System Setup
Funct
Bright 8/15
Contrast 8/15
Chann
Color 8/15
Color
Bright:Adjust TFT Bright
Contrast:Adjust TFT Contrast
Color:Adjust TFT Color
Page 6

Identification of Controls
PVR (Personal video recorder)
1.USB PVR has the following features:
-Support one-channel TS r ec od in g
-Support program playback
The storage media supported :
-USB disk (depending on the read-write speed, 100mA)
-In order to delete recorded files on a USB stick then please
connect the
USB stick to your computer and then delete the recorded files.
The TV pr og ra m is r ec or de d to f il e at . PV R fo rm at , wh ic h ca n be
played
back on this unit and PC using a suitable player, but can not be
played
The file system format support :
-FAT
-FAT 32
2.Before recording
Must plus USB disk .
3.Real-time recording
In the normal play mode, Press Menu Settings Funtion PVR
to enter the recording status. Once video
recording starts, the upper left crner will display the recording icon.
Press EXIT ke y to s to p re co rd in g.
4.Recorder file play
-Press Menu Multimedia,Enter USB mode and select video,then
open file of USB and select target document in “PVR”folder.
Troubleshooting
Problem Potential Reasons What to do
No picture
Screen shows
No Signal
No sound from
speaker
The ima ge s to pp ed
sudde nl y or m os aic
Power isn't connected
The power switch is not on Switch on the power
DVB -T c able no t co nne ct ed
Incorrect setting
No or incorrect connection
with audio cable
Sound on volume low
Incorrect sound track Try another sound track
The signal is too weak
Connect the power
Plug in t he D VB -T c able
Reset setting
Connect the audio cable
correctly
turn volume high
Strengthen the signal
6
Page 7

Identification of Controls
Technical Specifications
Item Sub Item Parameter
Tuner
Vid eo
Audio
Power
Input Frequency
RF Input level
IF Bandwidth
Modulation
Decoder Format
Output Format
Output Port
Decoder Format
Audio output
Voltage
Working Power
Standby power
170~230MHz
470~860MHz
-25~-82dBm
7MHz and 8MHz
QPSK,16QAM,64QAM
MPEG4 AVC/H.264 HP@L4
MPEG2 MP@ML.HL
NTSC
CVBS
MPEG-1 (layer1&2 )&3
Stereo
DC 5V (1.5A)
5W
0.5W
Please fill the blank with the model number
of this player for future reference
Model no.:
 Loading...