

Page 1
6
80
15
2008/12/22
EB-817
EHWO1-080245
AWA
309-081753-0001
Page 2
403Ej"Fqemkpi"U{uvgo"
ykvj"Cncto"Enqem"cpf"Tcfkq
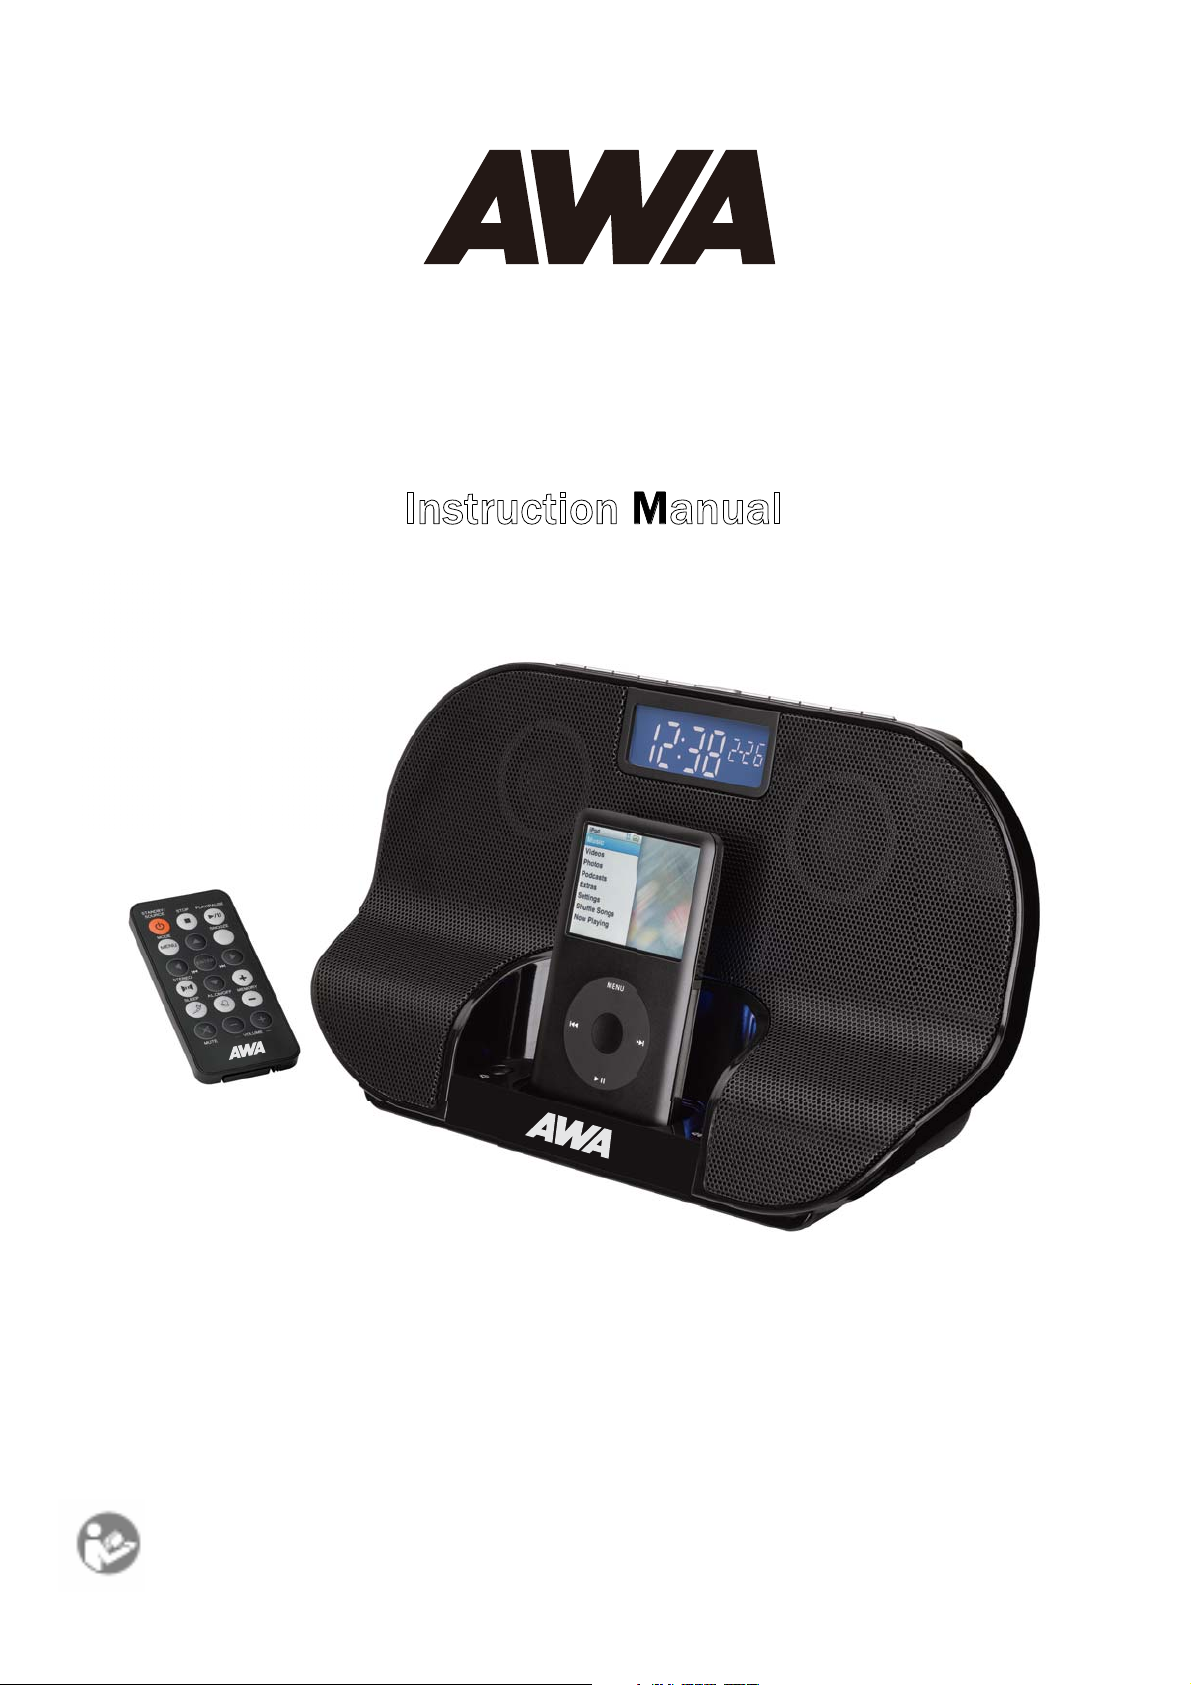
Instruction Manual
OQFGN<"GD/:39
READ THIS INSTRUCTION MANUAL BEFORE OPERATING THE APPLIANCE.
SAVE THIS MANUAL FOR FUTURE REFERENCE.
Page 3
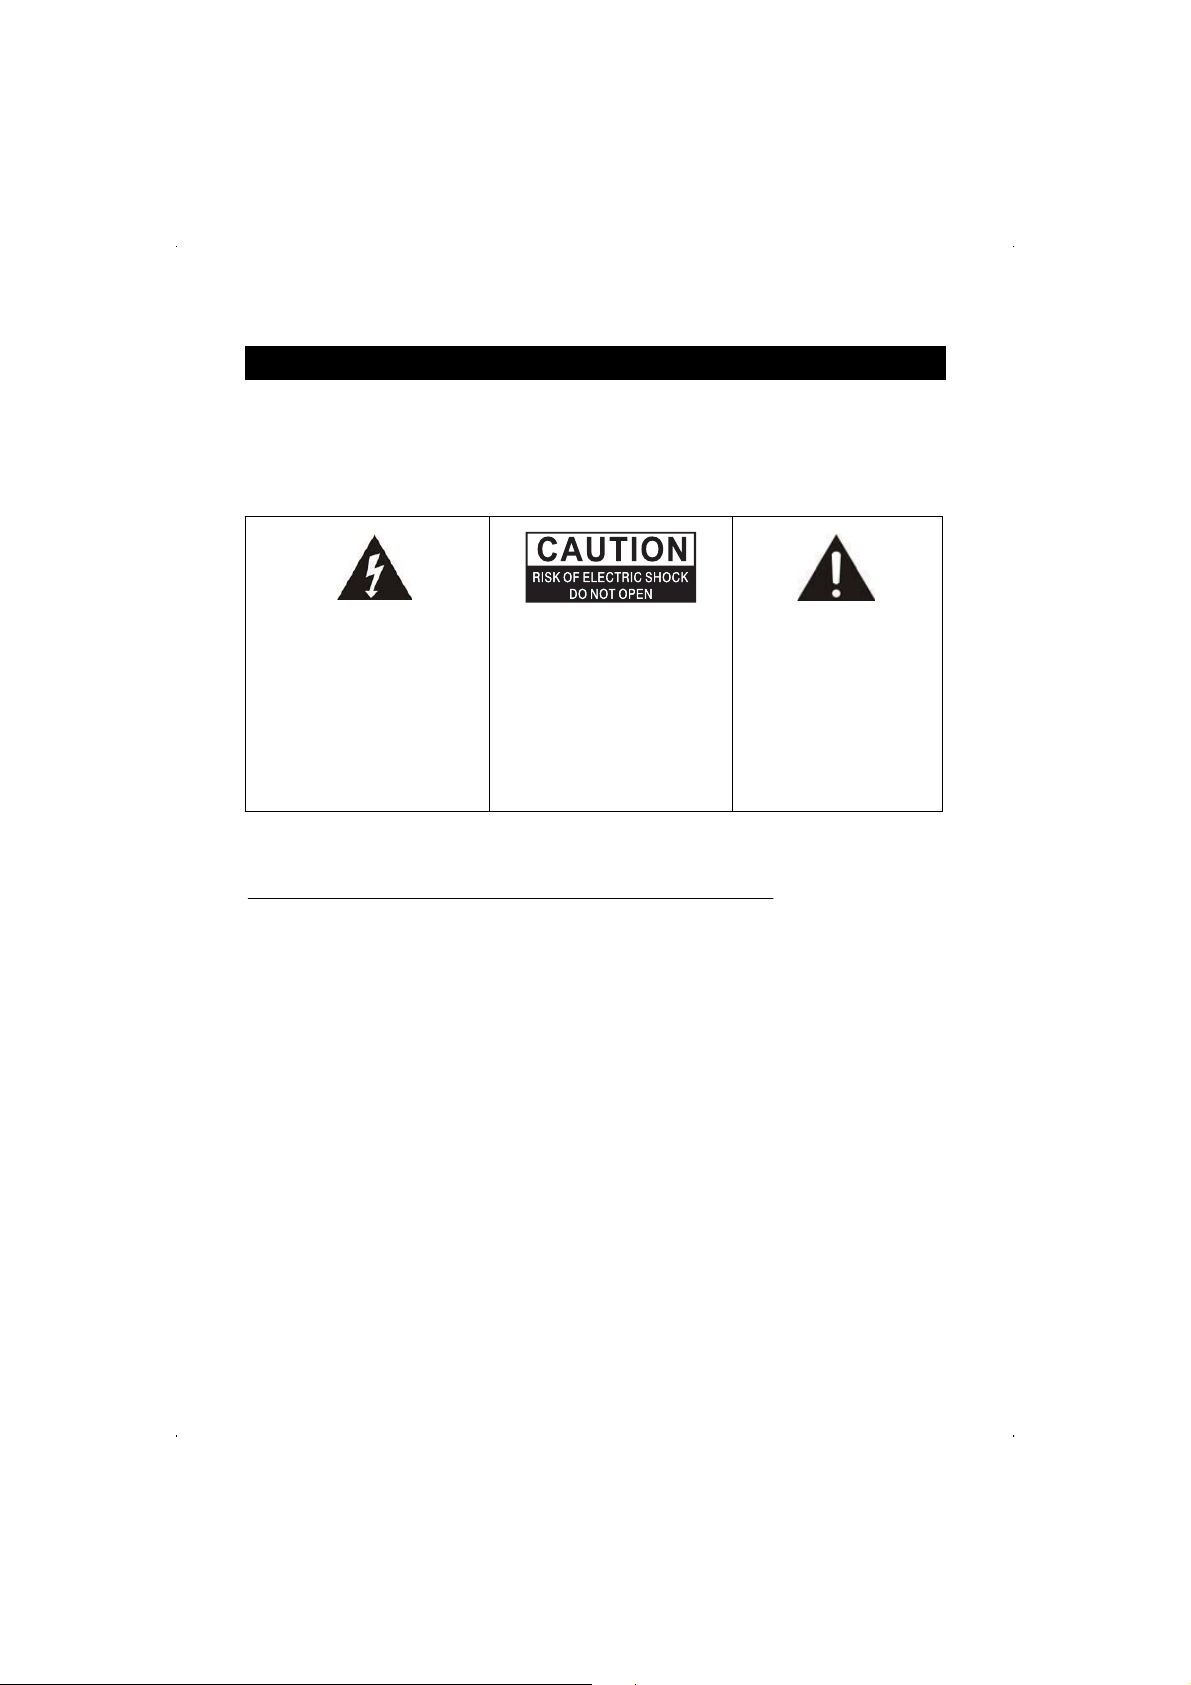
CAUTION
TO PREVENT FIRE OR SHOCK HAZARD, DO NOT USE THIS PLUG WITH
AN EXTENSION CORD, RECEPTACLE OR OTHER OUTLET UNLESS THE
BLADES CAN BE FULLY INSERTED TO PREVENT BLADE EXPOSURE.
TO PREVENT FIRE OR SHOCK HAZARD, DO NOT EXPOSE THIS
APPLIANCE TO RAIN OR MOISTURE.
The lightning flash with
arrowhead symbol, within an
equilateral triangle is intended
to alert the user to the presence
of insulated ‘dangerous voltage’
within the product’s enclosure
that may be of sufficient
magnitude to constitute a risk of
electric shock to persons.
WARNING: TO REDUCE THE
RISK OF ELECTRIC SHOCK,
DO NOT REMOVE COVER
(OR BACK) , NO USER
SERVICEABLE PARTS INSIDE.
REFER SERVICING TO
QUALIFIED SERVICE
PERSONNEL.
The exclamation point within
an equilateral triangle is
intended to alert the user to
the presence of important
operating and maintenance
(servicing) instructions in
the literature accompanying
the appliance.
IMPORTANT SAFETY INSTRUCTIONS
1.) Read these instructions.
2.) Keep these instructions.
3.) Heed all warnings.
4.) Follow all instructions.
5.) Do not use this apparatus near water.
6.) Clean only with dry cloth.
7.) Do not block any ventilation openings. Install in accordance with the
manufacturer’s instructions.
8.) Do not install near any heat sources such as radiators, heat registers,
stoves, or other apparatus (including amplifiers) that produce heat.
9.) Do not defeat the safety purpose of the plug. If the provided plug does not
fit into your outlet, consult an electrician for replacement of the obsolete
outlet.
10.) Protect the power cord from being walked on or pinched particularly at
plugs, convenience receptacles, and the point where they exit from the
apparatus.
11.) Only use attachments / accessories specified by the manufacturer.
12.) Unplug this apparatus during lightning storms or when unused for long
periods of time.
- 1 -
Page 4
13.) Refer all servicing to qualified service personnel. Servicing is required
when the apparatus has been damaged in any way, such as power-supply
cord or plug is damaged, liquid has been spilled or objects have fallen into
the apparatus, the apparatus has been exposed to rain or moisture, does
not operate normally, or has been dropped.
14.) This appliance shall not be exposed to dripping or splashing water and no
object filled with liquids such as vases shall be placed on the apparatus.
15.) Do not overload wall outlet. Use only power source as indicated.
16.) Use replacement parts as specified by the manufacturer.
17.) The product may be mounted to a wall only if recommended by the
manufacturer.
18.) Upon completion of any service or repairs to this product, ask the service
technician to perform safety checks.
19.) Attention should be drawn to the environmental aspects of battery disposal.
20.) When the unit is affected a dead by strong electromagnet field or by other
interference just turn on/off switch and reset the product, it will return to
normal operation.
PREPARATION FOR USE
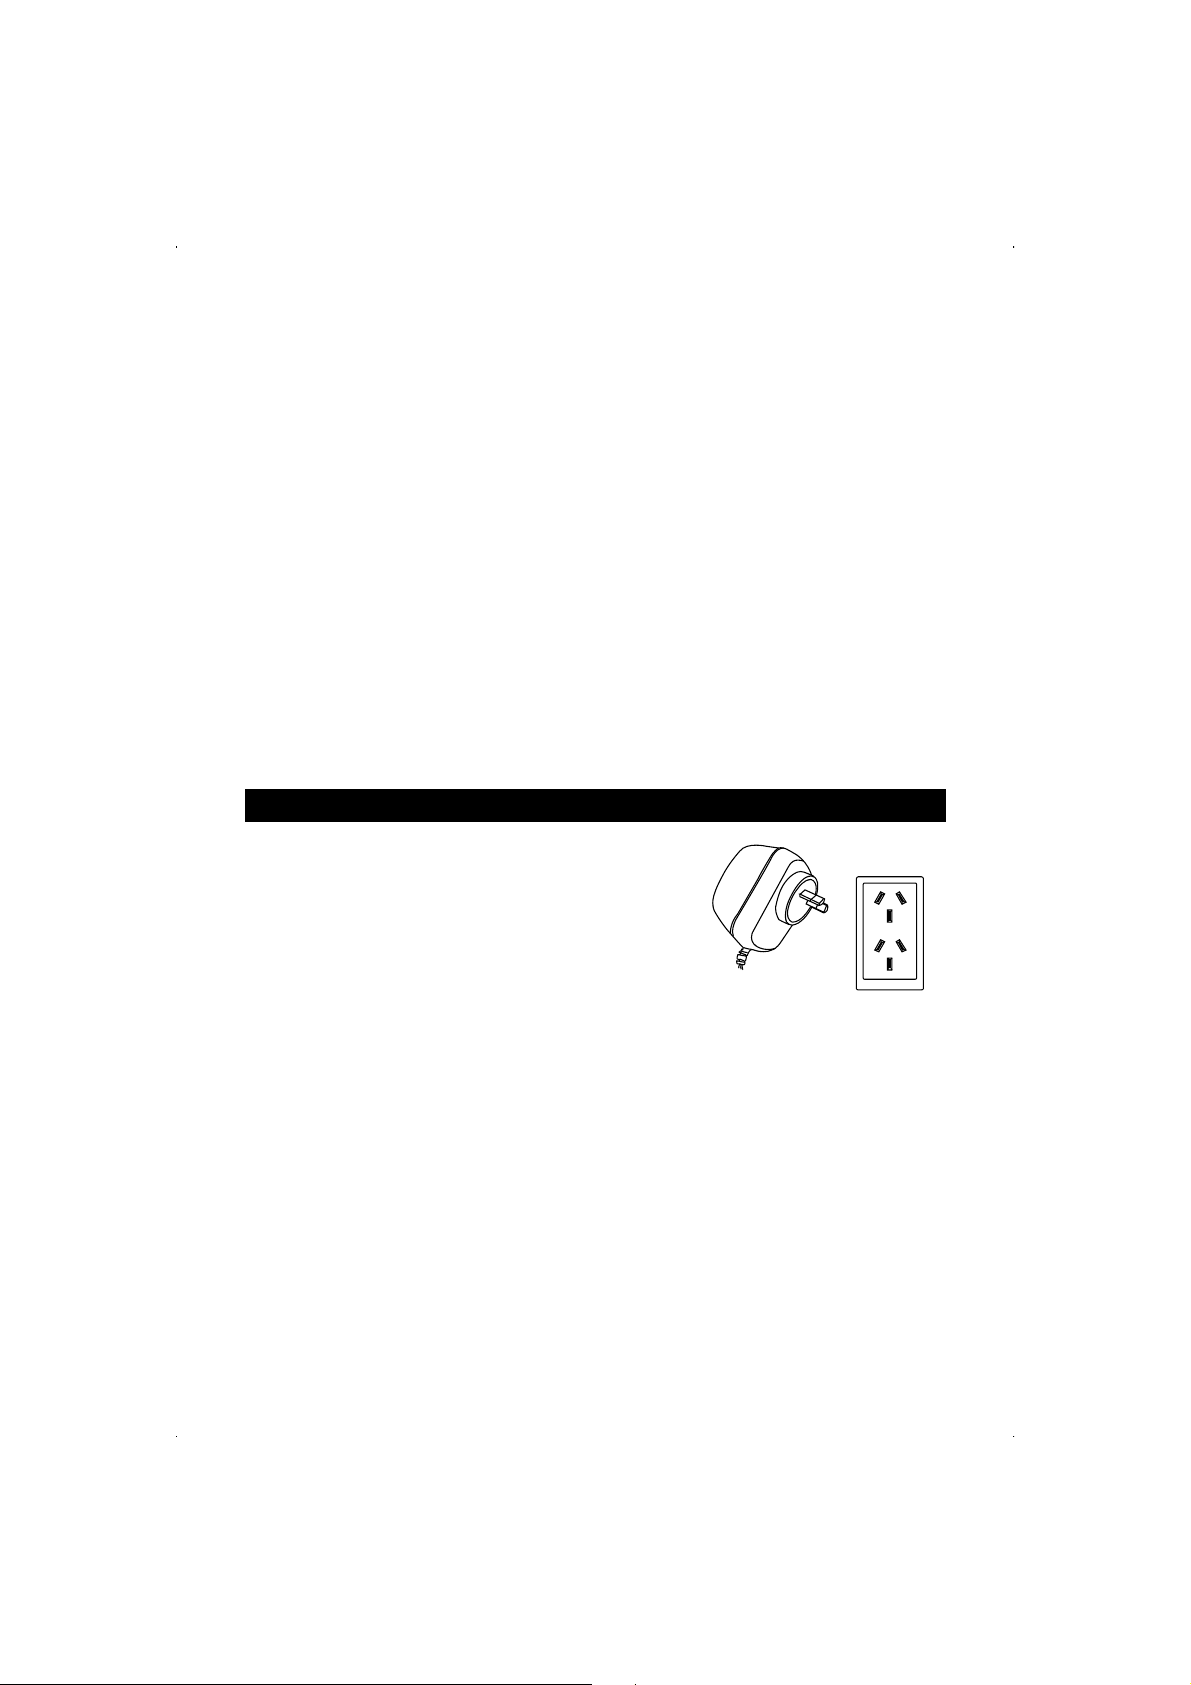
RQYGT"UQWTEG
This system is designed to operate on 240V AC
50Hz house current only.
Connecting this system to any other power source
may cause damage to the system and such
damage is not covered by your warranty.
PQVG<"The system has an AC plug and will only fit into matching AC outlets.
This is a safety feature to reduce the possibility of electric shock. If the plug will
not fit in your AC outlets, you should have the outlet changed by a qualified,
licensed electrician. Do not use an adapter to make the plug fit into your outlet.
This defeats the safety feature and could expose you to electric shock.
- 2 -
Page 5
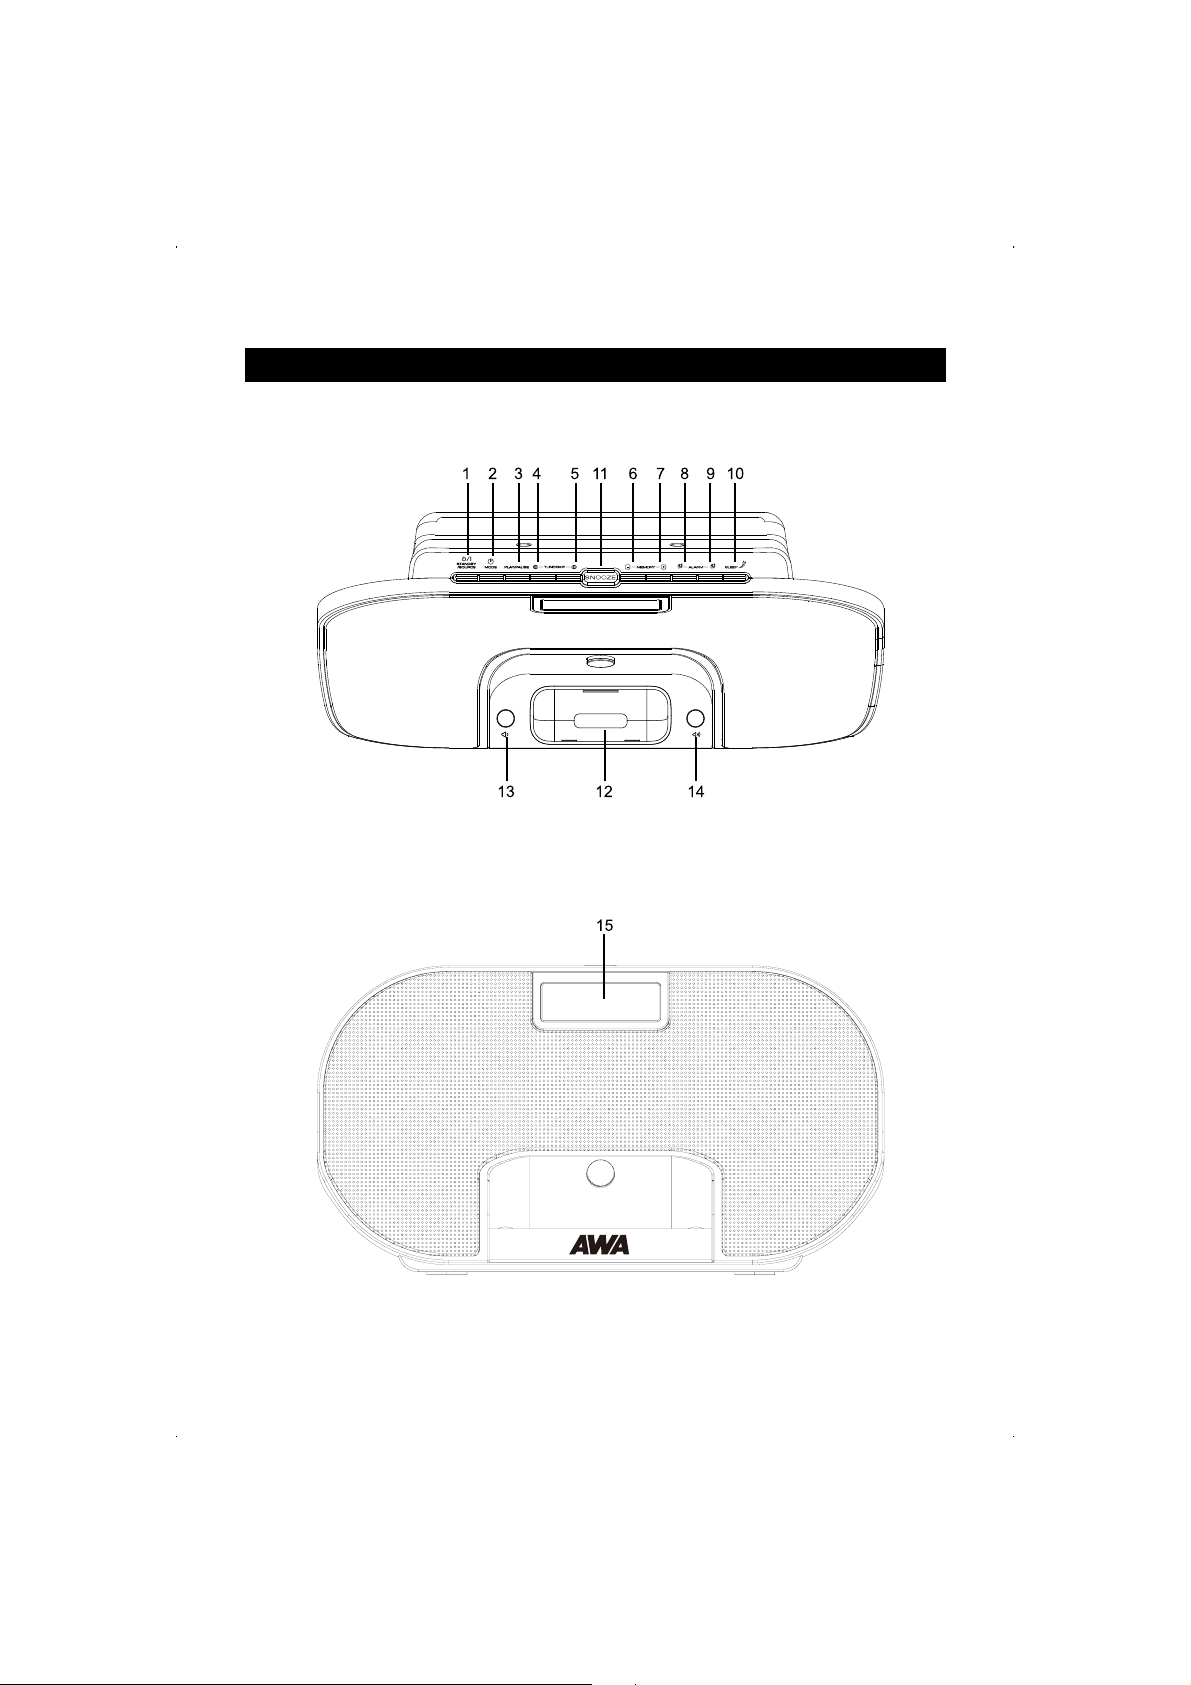
LOCATION OF CONTROLS AND INDICATORS
VQR"RCPGN"
HTQPV"RCPGN"
- 4 -
Page 6

DCEM"RCPGN"
NEF"FKURNC["
1. UVCPFD["1"UQWTEG"Button
2. OQFG Button
3. RNC["1"RCWUG Button
4. VWPG1UMKR/"Button
5. VWPG1UMKR- Button
6. OGOQT["/"Button
7. OGOQT["-"Button
8. CNCTO"3 Button
9. CNCTO"4"Button
10. UNGGR Button
11. UPQQ\G Button
12. iPod socket
13.
XQNWOG/ Button
14. XQNWOG-
15. LCD Display
16. AUX Input
17. DC Input
18. Battery Compartment
19. FM Antenna
20. PM Indication (For 12H set)
21. Time Display
22. iPod/AUX/FM Frequency/AM
Frequency/Date Mode Display
23. Wake Up Mode Indication
24. Alarm Function Indication
Button
- 4 -
Page 7

1) UVCPFD[1UQWTEG Button
2) OGPW Button
3) GPVGT Button
4) VWPG1UMKR"Button
5) UVGTGQ Button
6) CNCTO"QP1QHH"Button
7) UNGGR Button
8) OWVG Button
9) UVQR Button
10) RNC[1RCWUG"Button
11) KRQF"WR"Button
12) UPQQ\G Button
13) VWPG1UMKR"Button
14) KRQF"FQYP"Button
15) OGOQT["-"Button
16) OGOQT["/"Button
17) XQNWOG"/"Button
18) XQNWOG"-"Button
Tgoqvg"Eqpvtqn"
REMOTER CONTROL BATTERY
The remote control requires one "CR2025 type" 3-volt lithium battery, included.
To extend the life of the original battery we have inserted a small clear plastic
spacer tab between the lithium battery and the battery terminal. You must
remove this battery spacer tab before you can use the remote control. To
remove the tab, pull the tab out of the battery compartment as shown.
- 5 -
Page 8

When the operation of the remote control becomes intermittent or
unsatisfactory, replace the original battery with a new 3-volt lithium battery.
1. Slide out the battery holder from the remote control case.
2. Place one 3V CR2025 battery in the battery holder with the print face up.
If the battery is placed incorrectly the remote control will not work.
- 6 -
Page 9

4. When the hour is confirmed, the minute digit
‘00’ will begin flashing. Press the VWPG1UMKR"
button on the top panel or remote control to
set the minute. Press the OQFG button to
confirm.
5. When the day is set, ‘1’ in the Date box will
begin flashing for the month setting. Press the
""""VWPG1UMKR button on the top panel or remote
control to set the month. Press the OQFG
button to confirm.
6. ‘01’ in the Date box will begin flashing for the
day setting. Press the VWPG1UMKR button on
the top panel or remote control to set the day.
Press the OQFG button to confirm.
PQVG< At 12:00 Midnight on ‘2-28’, the calendar display will change to ‘2-29’.
Reset the day to ‘3-01’ for non-leap year.
UGVVKPI"VJG"CNCTO"3"CPF"4
You can only set your Alarm mode in the Standby mode. "
Ugv"Cncto"3
1. In the Standby mode, press and hold the
""""CNCTO"3"button on the top panel for 2 sec.
and the hour digit ‘12’ will begin flashing.
Press the VWPG1UMKR button to set the hour.
Press the
2. Minute digit ‘00’ will begin flashing; press the
""""VWPG1UMKR button to set the minute. Press
the CNCTO"3 button to confirm.
3. The wake up mode display will begin flashing, and then press VWPG1UMKR
repeatedly to select the desired wake up mode.
CNCTO"3 button to confirm."
- 7 -
Page 10

• Wake up to ‘AM Broadcasting’ - You have to
pre-tune your desired radio channel in AM
radio mode before setting the wake up
function.
• Wake up to ‘FM Broadcasting’ - You have to
pre-tune your desired radio channel in FM
radio mode before setting the wake up
function.
• Wake up to iPod playback.
• Wake up to Buzzer.
4. Press the CNCTO"3"button to confirm.
5. The alarm can be enabled and disabled by pressing the CNCTO"3"button
on the unit or repeatedly pressing the CNCTO"QP1QHH"button on the
remote control.
• The ALARM 1 Icon will display when alarm 1 is enabled.
Ugv"Cncto"4
Press and hold the CNCTO"4"button on the top
panel for 2 sec and repeat and above 1), 2) & 3)
steps in Set Alarm 1 to set ALARM 2. Pre
CNCTO"4 button to confirm.
ss the
The alarm can be enabled and disabled by pressing the CNCTO"4 button on
the unit or repeatedly pressing the CNCTO"QP1QHH"button on the remote
control.
The ALARM 2 icon will display when alarm 2 is enabled.
Upqq|g"Hwpevkqp
After alarm is ON, you can press the UPQQ\G button on the top panel or
remote control to temporarily deactivate the alarm which will activate again
after approx. 9 minutes. The ALARM icon will flash in the display when
snooze function is enabled."
- 8 -
Page 11

Unggr"Hwpevkqp
1. In the Power on mode, press the UNGGR button on the top panel or
remote control, 120 (minutes) and SLEEP will show in the display.
2. Press the UNGGR button repeatedly to select from 120, 90, 60, 30, 20, 10
or 5 (minutes). Select ‘---’ means SLEEP off.
3. The unit will turn off automatically after the selected time.
4. To cancel sleep, press the UVCPFD[1UQWTEG button for 2 sec. or the
""""UNGGR"button repeatedly until ‘SLEEP’ disappears from the display.
When SLEEP is enabled, you can use the sleep button on the remote to
alter or turn off the sleep time.
Nkuvgpkpi"vq"kRqf
KORQTVCPV#
In order to prevent unwanted distortion during iPod playback, it is
recommended that you set the EQ in your iPod to the Qhh position. Go to the
Main Menu in your iPod and then select the Settings Menu, select the EQ
Setting, and make sure that
Settings Menu > EQ Setting > Select Qhh").
1. Gently push your iPod into the iPod socket.
2. Press the UVCPF"D[1"UQWTEG button on the top panel or remoter control
repeatedly until you select the iPod function.
3. "iPod" will show on the right corner of
display, it indicates the unit is in iPod
mode.
the EQ function is set to Qhh ( Main Menu >
4. Press the RNC[1RCWUG"button on the top panel or remote control or your
iPod to toggle between the play and pause function.
5. Press the VWPG1UMKR button on the top panel or remote control to select
the previous or next song.
6. Press the XQNWOG"-"1"XQNWOG"/"button on the left and right of the iPod
dock or remote control to adjust the VOLUME level as desired.
Pqvg<"The volume control on your iPod will not function whilst docked.
- 9 -
Page 12

Eqpvtqn"kRqf"Ogpw"d{"Tgoqvg"Eqpvtqn"Qpn{
Press the OQFG"button on the remote control, the iPod will go to the
previous menu. Press the kRqf"WR1"kRqf"FQYP"button on the remote control
to select the next / previous iPod menu item; then press the GPVGT"button to
enter the selected menu. Settings are changed in the same way once the
menu item has been highlighted.
kRqf"Ejctikpi
When an iPod is connected to the unit, the iPod will charge automatically in
Standby Mode, iPod Mode, FM Mode or AUX Mode.
Pqvg: The iPod will not charge in AM mode.
NKUVGPKPI"VQ"HO"TCFKQ
Pqvg<"Extend the FM antenna to its full length. It may be necessary to adjust
the direction of this wire antenna until you find the best position for reception
for your favorite FM stations.
1. Press the UVCPFD[1"UQWTEG button on the top panel or remote control
repeatedly until you
2. The FM frequency will show in the
right corner of the display, it indicates
the unit is in FM Radio mode.
select the FM function.
3. Tune to the desired frequency as follows:
Automatic Tuning
Press and hold the VWPG1UMKR button on the top panel or the NGHV/
TKIJV arrow buttons on the remote control for 2 sec., auto tuning will
start. The tuner will search the FM band until it finds a station, it will
then play station. Repeat this procedure until the tuner stops on your
desired station.
Manual Tuning
Repeatedly press the VWPG1UMKR buttons on the top panel or remote
control until the frequency of the desired station appears on the
display.
- 10 -
Page 13

4. Preset FM stations in the tuner memory
This unit includes a 20 stations preset memory. You can store up to 10
FM stations and 10 AM stations in the tuner memory for immediate recall.
The procedure for storing stations in memory is as follows:
1) Follow step 3 to select the first station you wish to store, the FM
frequency will show in the right corner of the display. For example:
106.2 MHz.
2) Press the OQFG button on the top
panel or remote control, the preset
channel number ‘01’ begins
flashing on the display.
3) Press the OGOQT["-"1"/ button on the top panel or remote
control to select the preset channel (CH 01 to CH10).
4) Press the"OQFG"button on the top panel or remote control again to
confirm.
5) Repeat step 2) to 4) until you have memorised up to 10 stations.
Press the OGOQT["-1/ button on the top panel or remote control
to listen to the preset FM channel CH01-CH10 at FM mode.
Pqvg<"The saved preset stations
and the backup batteries are not inserted.
NKUVGPKPI"VQ"CO"TCFKQ
1. Press the UVCPFD[1UQWTEG button on the top panel or remote
control repeatedly until you select the AM function.
2. For presetting and listening to AM
stations, please refer to LISTEN TO
FM RADIO step 3 & 4.
will be lost if the AC Power is interrupted
- 11 -
Page 14

CWZKNKCT["KP
Connect the Audio Output jacks of your auxiliary sound source (TV, VCR,
DVD Player, Cassette Deck, Mini Disc player, etc.) to the CWZ"KP"jack on the
back panel of the unit. Vjg"cwzknkct{"hwpevkqp"yknn"qpn{"hwpevkqp"yjgp"vjg
cwz"kp"lcem"jcu"c"uwkvcdng"uqwpf"uqwteg"crrnkgf"xkc"c"uwkvcdng"eqppgevkqp
ecdng0
Pqvg<"The connection cables are not included.
1. Press the UVCPFD[1UQWTEG button on
the top panel or remote control repeatedly
until ‘AUX’ shows on the right corner of the
display and indicates the unit is in AUX
mode. Connect an audio lead between the
output jacks on the Auxiliary sound source to the AUX IN jack on the back
panel of this unit.
2. Turn your auxiliary source 'Qp' and operate it as usual. The sound from
the auxiliary source will be heard through the speakers of this unit.
3. Adjust the XQNWOG"level controls of this unit as desired.
FKURNC["DTKIJVPGUU"EQPVTQN
In the Standby mode, press any button on top panel or remote control to
brighten the display for a few seconds to enable viewing of the time in a
darkened room.
In the Power on mode, press the UPQQ\G button to
display."
dim or brighten the
TGUGVVKPI
If the system does not function correctly, you may have experienced an
electrostatic discharge or a power surge that caused the internal computer
to lock up (crash). If this occurs, simply disconnect the main power at the
wall socket and reconnect the main power again after one minute.
Pqvg<"Although disconnecting the power will unlock the internal computer
after a power surge, it will also erase all of the settings. After turning on the
unit, you will need to reset the settings again.
- 12 -
Page 15

DCEM"WR"HWPEVKQP"
If the AC supply is interrupted, the clock display
and Radio preset stations will be lost and all
settings will be cancelled. To back up the clock
and preset stations, insert two AAA size batteries
(not supplied) in the battery compartment in the
base of the unit. The back up battery will NOT
backup iPod settings.
Pqvg<
1. Always use alkaline type battery and always remove the battery if the unit
is not to be used for an extended period of time.
2. Make sure you observe the battery polarity markings inside the battery
compartment. Do Not mix old and new or different types of batteries as
this can cause internal damage and functional problems.
CARE AND MAINTENANCE
ECTG"QH"VJG"ECDKPGV"
If the cabinet becomes dusty wipe it with a soft dry dust cloth. Do not use any
wax, polish sprays, or abrasive cleaners on the cabinet.
ECWVKQP<"
Never allow any water or other liquids to get inside the unit while cleaning.
SPECIFICATIONS
Rqygt"
CO"
HO
FE"Dcemwr"
Wpkv"Qwvrwv"Rqygt"
Rqygt"Eqpuworvkqp"
240V AC 50 Hz
522 - 1620 kHz
87.5 -108 MHz
3V(2 x UM-4 AAA size batteries)
2X1.5 Watts RMS + 6 Watts RMS
18W
- 13 -
Page 16

- 14 -
 Loading...