

Page 1
www.avueinc.com
info@avueinc.com
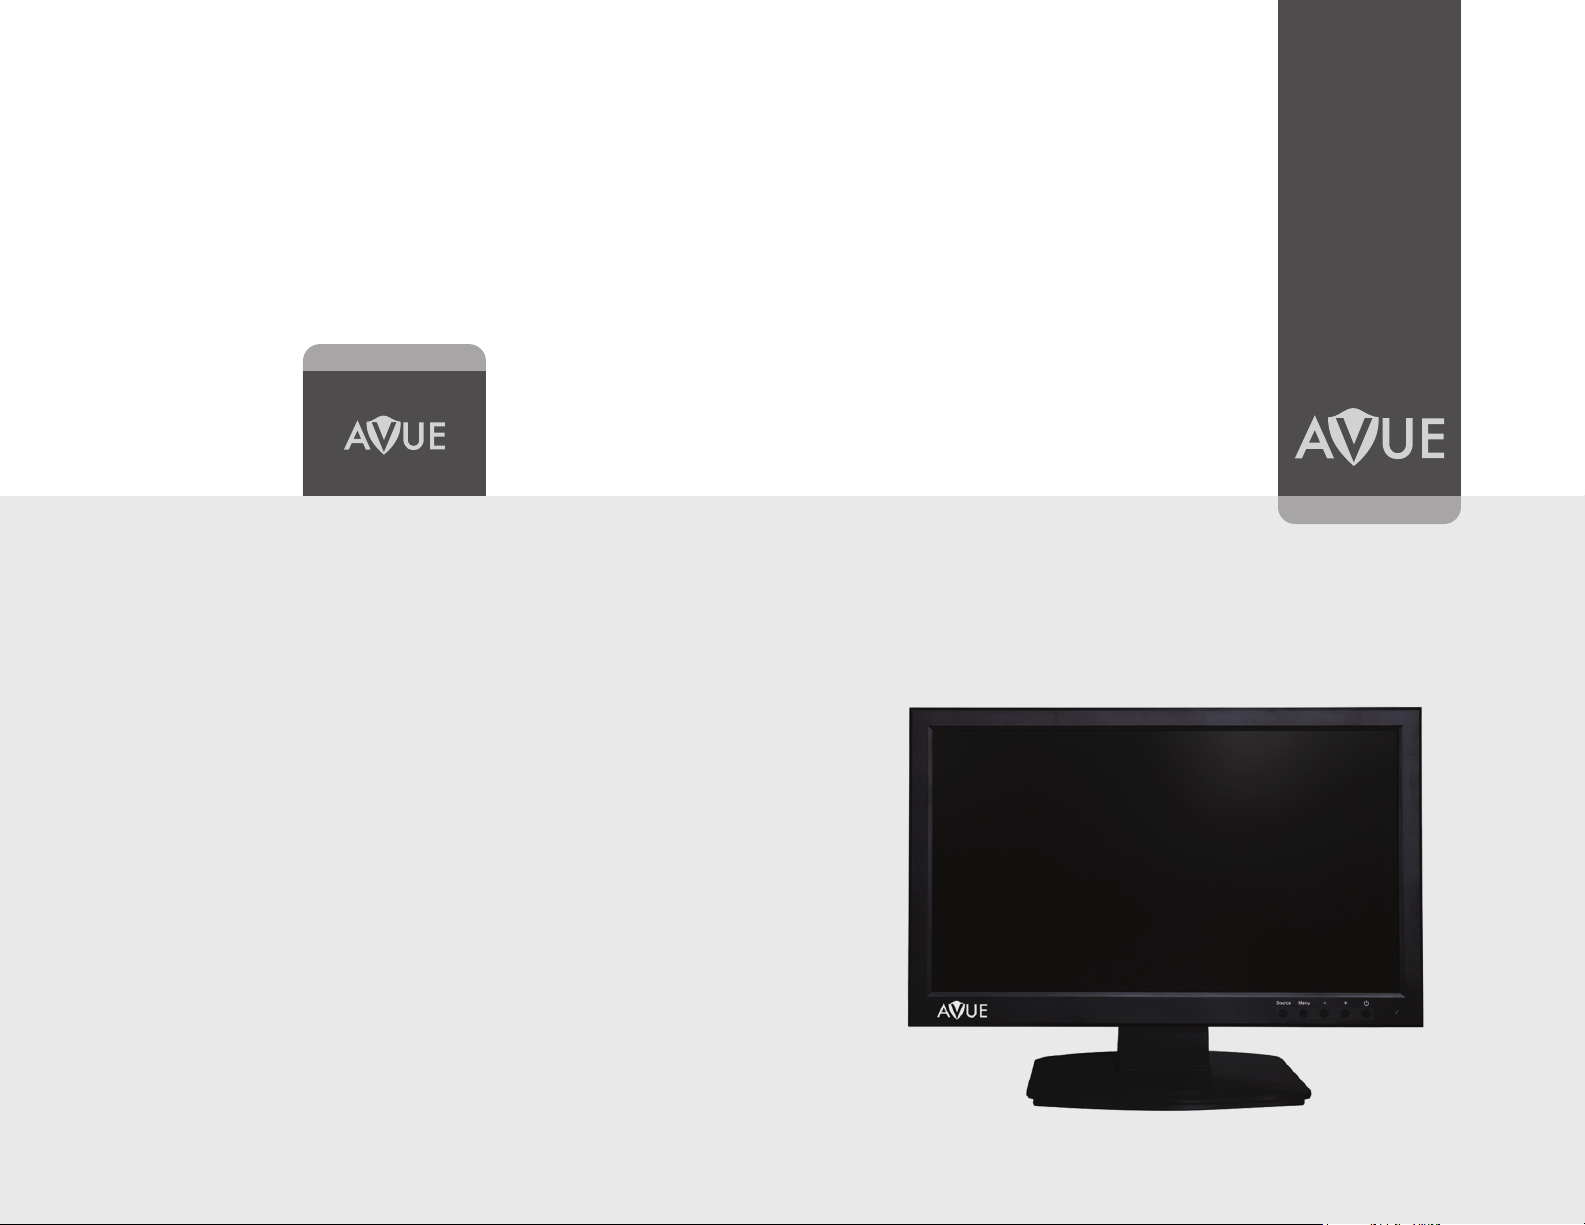
CCTV Monitor
HD Analog Series
Page 2
Dear Customer
Thank you for purchasing this product. For optimum performance and safety, please
read these instructions carefully before connecting, operating or adjusting this product.
Please keep this manual for future reference.
Warning
IMPORTANT SAFETY INFORMATION
Environment
• Do not install the monitor outdoors or in any extreme environments. To prevent re
or electric shock, do not expose the monitor to rain or moisture. Avoid placing the
monitor in areas subject to extreme temperatures such as direct sunlight or near
heating appliances/equipment (such as ampliers, etc) as this may result in
overheating and damage.
• This monitor is designed to be used in an oce or at home. Do not subject it to
vibration, dust or corrosive gases.
• To obtain a clear picture, do not expose the screen to direct illumination or sunlight.
Using the monitor against a bright background or where sunlight and other light
sources can shine directly on to the monitor can increase eye strain.
Power Cord
• Neither the monitor nor any other heavy objects should rest on the power cord.
• Protect the power cord from being walked on or pinched.
• Firmly grasp the plug when disconnecting the power cord. Do not pull the power
cord itself.
• Do not modify or damage the cord. Damage to a power cord can cause re or electric
shock.
• This monitor is designed to operate on a 100-240V AC supply. Take caution in
connecting it to the correct supply using the correct power cord.
Mounting
Using a Wall Mount
Caution: Any wall mount must bear a minimum of 5x the monitor’s net weight to
mount safely. The stand must be removed rst before mounting this way.
1. Place the monitor face down on a surface that is soft, yet strong enough to hold the
monitor.
2. Use a screwdriver to remove the screws from the four holes on each side of the
bottom of the monitor’s base.
3. Make sure all cables are already connected to the monitor.
4. Follow the directions included with the wall mount to x the monitor to the wall.
Storage
• Unplug the monitor if it will not be used for a long period.
Ventilation
• Never cover or block the ventilation slots in the monitor. A minimum distance of at
least 10 cm should be maintained around the unit for sucient ventilation.
• Never insert any foreign object, metal or liquid into the ventilation slots, as this could
result in re or electric shock.
• Avoid installing a DVR or other equipment too close to the monitor. Keep such
equipment at least 30 cm away from the monitor.
Water and Moisture
• The monitor should not be exposed to any moisture or liquid.
• Do not use the monitor near water.
• Do not touch the monitor or cable with wet hands as this may cause electric shock
or damage.
Cleaning
• Unplug the unit from the wall outlet before cleaning.
• Do not use liquid or aerosol cleaners. Use a dry soft lint-free cloth for cleaning. If
dust is persistent, wipe with a slightly damp cloth.
• Always place the monitor on a secure table or have it properly mounted to the wall.
Do not hang anything on the monitor.
• Ensure the monitor is located close to a power outlet that is easily accessible, as
removing the power cord is the only way to isolate power.
Package Contents
LCD Monitor........................................................................................................................................1Pc
AC adapter...........................................................................................................................................1Pc
HDMI cable..........................................................................................................................................1Pc
Remote control.................................................................................................................................. 1Pc
Page 3

Panel Descriptions
Rear Interface
DC: Only use the 12v DC power supply included with the monitor.
HDMI: High-Denition Multimedia Interface connections.
HD Analogue 1 IN: BNC connections support CVBS/CVI/TVI/AHD.
HD Analogue 1 OUT: Video loop though output.
HDA1 Does not support coaxial control protocol.
HD Analogue 2 IN: BNC connections support CVBS/CVI/TVI/AHD.
HD Analogue 2 OUT: Video loop though output.
HDA2 Support for coaxial control protocol.
Control Layout
The control buttons are located on the right hand rear side of the monitor.
SOURCE MENU - + POWER
How to Connect Your Monitor
1. Connecting using HDA - Analogue HD Video.
Connect your video cable with a BNC connector to the HDA1/HDA2 connector on the
rear of the monitor, and the other end to your camera.
Connect power to the monitor and video source, and switch on. Using the SOURCE
button, press repeatedly until either ‘HDA1/HDA2’ (depending on the connection
used) is on the display at the top of the monitor's screen.
2. Connecting using HDMI
Connect one end of a HDMI cable to the HDMI connector on the rear of the monitor,
and the other to the HDMI out connector on the PC/DVR. This connection will support
video transmission. Connect power to the monitor and video source, and switch on.
Using the SOURCE button, press repeatedly until ‘HDMI’ is on the display at the top
of the monitor's screen.
* Ensure all cable connections are secure - tighten all cable screws. Movement and
vibration may dislodge cables that are improperly connected. Route all wiring and
cabling away from any heat sources and sharp metal edges to avoid damage.
Basic On-Screen Display Setup
1. To access the OSD Menu press ‘MENU’.
2. Use the ‘SOURCE’ buttons to select the required menu item, then press the
‘+’ or ‘−’button to select the Sub menu.
3. Continue to use the ‘SOURCE’ button to highlight the required eld, then press
‘+’ or ‘−’ to adjust the setting
4. Press the ‘MENU’ button to return to previous menu.
5. Press the ‘MENU’ button again to exit the OSD Menu completely.
SOURCE: Select input mode – HDA1,HDA2, HDMI.
MENU: Access the On Screen Display (OSD) menu.
+ and −: Controls left/right, Change the size of the value.
POWER: Turns the monitor on or o.
Page 4

Remote control
POWER
Turn on & off the monitor
MENU
Display or exit the main menu
VIDEO/UP
VIDEO Source switching / Cursor
up when OSD appears
MODE/DWON
MODE no effect / Cursor down
when OSD appears
LEFT
Enter the sub-menu to reduce the
value
RIGHT
Enter the sub-menu to increase the
value
2. Menu
Language: OSD language selection.
OSD H Pos.: OSD horizontal position adjustment (0-100).
OSD V Pos.: OSD vertical position adjustment (0-100).
OSD Time: OSD display dwell time selection (5-30s).
Reset: OSD setting data recovery factory settings.
Picture Language English
The layout of the OSD will change depending on the input that is selected.
HDA1/HDA2 Input Conguration
1. Picture
Picture: Setting the image brightness (0-100).
Contrast: Setting the image contrast (0–100).
Saturation: Setting the image Saturation (0–100).
Hue: Setting the image hue (0–100).
Brighten
Picture
ss
Menu Contrast 50
Saturate
Informationon
on
Hue 50
50
50
Menu OSD H Pos.
Information OSD V Pos.
OSD Time 20
Reset >
Exit
3. Information
Display information about the current source.
Picture
Menu HDA1
Information CVI
720P25
Exit
50
50
Exit
Page 5

HDMI Input Conguration
Resolution
Frequency(Hz)
800X600
60
1024X768
60
1280X720
50/60
1280X800
60
1280X1024
60
1366X768
60
1440X900
60
1600X1200
60
1920X1080
24/25/30/50/60
2560x1440
30/60
1. Picture
Picture: Setting the image brightness (0-100).
Contrast: Setting the image contrast (0–100).
Saturation: Setting the image Saturation (0–100).
Hue: Setting the image hue (0–100).
3. Information
Display information about the current source.
Picture
Menu HDMI1
Picture
50
ss
Menu Contrast 50
Saturate
Brighten
Informationon
50
on
Hue 50
Exit
2. Menu
Language: OSD language selection.
OSD H Pos.: OSD horizontal position adjustment (0-100).
OSD V Pos.: OSD vertical position adjustment (0-100).
OSD Time: OSD display dwell time selection (5-30s).
Reset: OSD setting data recovery factory settings.
Picture Language English
Information
1080P60
Exit
HDMI-supported DVR/NVR brand and mode list has been tested
Dahua/HIKVISION/XM/TVT/Uniview/WAPA/TOPSEE/Sunell
Menu OSD H Pos.
Information OSD V Pos.
OSD Time 20
Reset >
Exit
50
50
7
8
Page 6

HDA1/2 has tested the list of supported devices and modes
Brand
Model
Resolution
n
720P25
OK
OK
OK
720P30
OK
OK
OK
720P25
- - OK
720P30
- - OK
720P50
- - OK
720P60
- - OK
720P25
- - OK
720P30
- - OK
720P50
- - OK
720P60
- - OK
720P25
- - OK
720P30
- - OK
1080P25
- - OK
1080P30
- - OK
4M30
- - OK
4M25
- - OK
1080P25
-
OK
-
4M25
-
OK
-
DS-2CE16F1T-IT
3M18
-
OK
-
DS-2CE56C0T-IT3
720P25
-
OK
-
1080P25
OK
OK
OK
1080P30
OK
OK
OK
3M/25
OK
OK
OK
3M/30
OK
OK
OK
5M/20
OK
OK
-
RUISION
1080P25
OK
OK
OK
1080P30
OK
OK
OK
XM
(Xiongmai)
4M25
5M20
OK
OK
-
4M25
OK
OK
OK
4M30
OK
OK
OK
Dahua/HIKVISION/Longse/RUISION/XM/TVT
DH-HAC-HDW1120E
HD-HAC-HDW1020E
Dahua
HD-HAC-HFW1200M-
I1
DH-HAC-HFW1400M-
I1
DS-2CE16G0T-IT3
HIKVISION
AHD TVI CVI
LIMITED WARRANTY LIMITS AND EXCLUSIONS
1. This limited warranty only covers failures due to defects in materials or workmanship, and
does not cover normal wear and tear or cosmetic damage. The limited warranty also does not
cover damages which occurred in shipment, or failures which are caused by products not
supplied by warranter, or failures which result from accidents, misuse, abuse, neglect, mishandling,
misapplication, alteration, faulty installation, set-up adjustments, maladjustment of consumer
controls, improper maintenance, power line surge, lightning damage, modication, or service
by anyone other than a factory service center or other authorized servicer, or damage that is
attributable to acts of God.
2. Thereare no express warranties except as listed under “limited warranty coverage”. The warranter
is not liable for incidental or consequential damages resulting from the use of this product, or
arising out of any breach of this warranty. (As examples, this excludes damages for lost time,
cost of having someone remove or re-install an installed unit if applicable, travel to and from
the service, loss of or damage to media or images, data or other recorded content. The items
listed are not exclusive, but are for illustration only.)
3. parts and service , which are not covered by this limited warranty, are your responsibility.
* NOTICE
Manufacturer reserves the right to upgrade the product without notice.
Longse LBH30THC500ESL
TVT TD-7555AE
RS-HD258-A0
XAG-53X50PS-U
9
OK OK OK
10
 Loading...