

Page 1
USER MANUAL
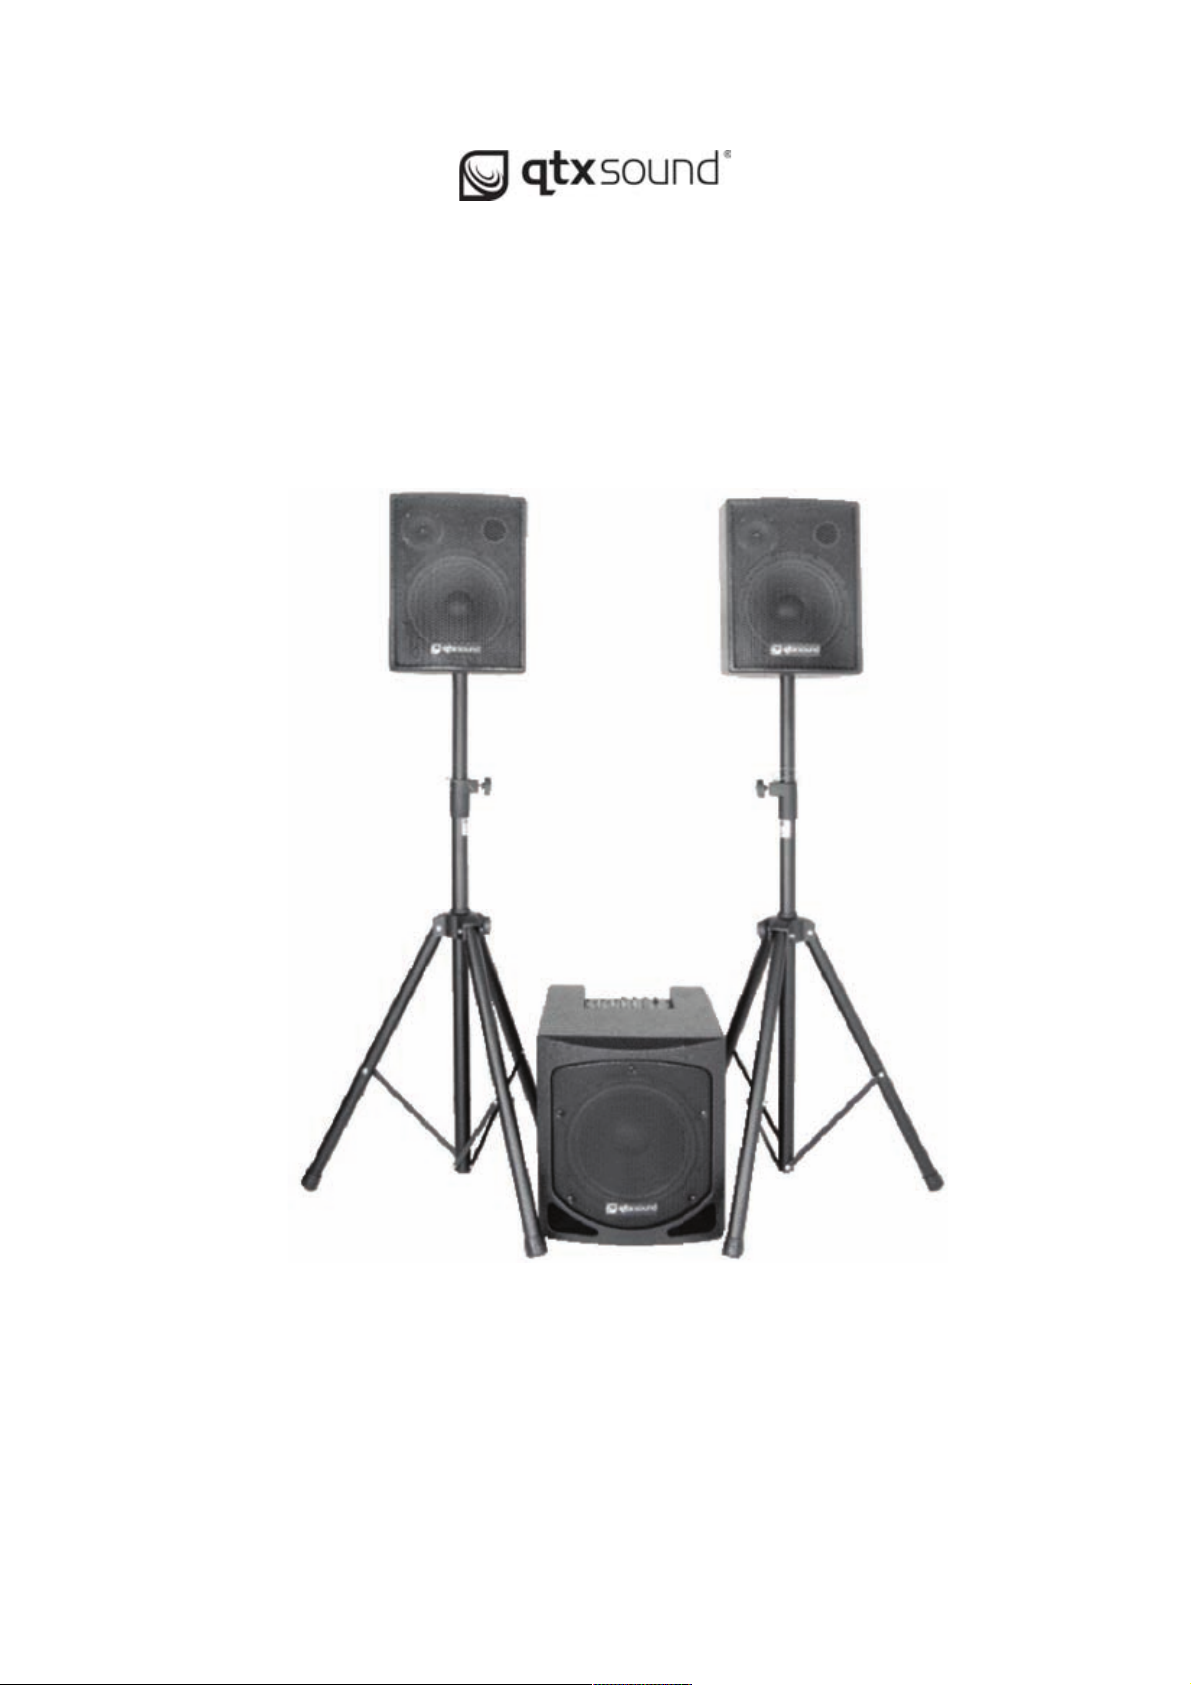
2.1 LIVE SPEAKER SET
178.553
Page 2
User Manual
178.553
2
2.1 ACTIVE LIVE SET - 12" SUB 2 x 10" TOPS
This complete 2-way active subwoofer/satellite sound system has been designed for
maximum performance and superior sound quality. The subwoofer gives high bass
perfectly matched with the clean, crisp sound delivered from the mid/high satellites,
making an ideal system for use in bars, clubs, at small live gigs and by mobile DJs.
Features:
• 30cm (12") active subwoofer
• 2 x 25cm (10") satellite speakers
• 6 input, 2.1 powered mixer
• 2 x balanced XLR inputs with microphone preamp peak indicator
• 2 x balanced 6.3mm inputs microphone/line
• Main, line and pre outputs
• 2 x RCA inputs at the rear
• 3 band EQ and auxiliary control on each channel
• Digital echo with repeat and delay on each channel
• Headphone output
• Dual 6 segment LED level indicator
• Castors fitted
• Supplied with 2 x 5m Speakon® connecting leads and 1 x (180.550) speaker stand set
Safety
Always ensure the unit is disconnected from the mains before you assemble or
disassemble the unit. This unit complies with CE, ROSH and BS standards.
Contents
1 x 12” Sub Woofer
2 x 10” Satellite Speakers
2 x Speaker Stands (180.180)
1 x Speaker carry bag
2 x Speakon® Leads
1 x IEC Power Cable
1 x Instruction Manual
Introduction
In order to take advantage of the functions your equipment has to offer, we suggest you
read this manual carefully before connecting and operating. In addition you will find we
suggest you reserve the original packaging.
Page 3

User Manual
178.553
3
Specification
SATELLITE
SUBWOOFER
Power supply
-
230Vac, 50Hz
Power RMS
2 x 55W
150W
Woofer
2 x 25cm (10")
30cm (12")
Tweeter
7.5cm (3")
-
Impedance
8 ohms
-
Frequency response
80Hz - 20kHz
35Hz - 250Hz
Input sensitivity
-
1V
Sensitivity (1W/1m)
96dB
110dB
Distortion
<1%
<1%.
Dispersion
60 x 40°
-
Dimensions
280 x 300 x 400mm
590 x 400 x 460mm
Weight
14kg
25.5kg
Top Panel
Page 4

User Manual
178.553
4
1. BALANCED INPUT (MIC 1)
Electronically balanced input accepts a standard XLR male connector.
For use with balanced microphones
2. CHANNEL GAIN
This function is to adjust the volume of signal connection into each channel
and adjust the volume of output, together with the master fader.
3. HI EQ
This control gives you up to 10dB of boost or cut at 12kHz and above, and it is also flat
at the detent. Use it to add sizzle to cymbals, and an overall sense of transparency or
edge to keyboards, vocals, guitar, and bacon frying. Turn it down a little to reduce
sibilance, or to hide tape hiss.
4. MID EQ
Short for “midrange”, this knob provides 10dB of boost or cut, centered at 2.5kHz, also
flat at the center detent. Midrange EQ is often thought of as the most dynamic, because
the frequencies that define any particular sound are almost always found in this range.
You can create many interesting and useful EQ changes by turning this knob down as
well as up.
5. LOW EQ
This control gives you up to 10dB boost or cut at 80Hz and below. This circuit is flat (no
boost or cut) at the center detent position. This frequency represents the punch in bass
drums, bass guitar, fat synth patches, and some really serious male singers.
6. AUX IN
You can adjust the volume of AUX IN signal by this when connecting AUX IN.
7. EFF
This is normally derived after the EQ and channel fader (POST FADER, POST EQ),
and is used to set the effects level
8. VOLUME CONTROL
Sets the output signal. Turn clockwise to increase the signal or counterclockwise to
reduce it.
9. BALANCED INPUT (MIC 2)
Electronically balanced input accepts a standard XLR male connector
10. CHANNEL 3 MIC INPUT
To be connected via a 6.3mm stereo jack plug.
Page 5

User Manual
178.553
5
11. CHANNEL 3 LINE INPUT
To be connected via a 6.3mm stereo jack plug.
12. CHANNEL 4 MIC INPUT
To be connected via a 6.3mm stereo jack plug.
13. CHANNEL 4 LINE INPUT
To be connected via a 6.3mm stereo jack plug.
14. MAIN OUTPUT
The final confirmed sound can be sent to the main amplifier via a 6.3mm stereo jack.
15. PRE OUT
To listen to the audio at a point before the master volume takes effect.
16. AUX OUT
This output 6.3mm stereo output jack is used to send line level signals
to external units.
17. PHONES
Headphone socket to monitor the output.
18 & 20. REPEAT/DELAY
These control the amount of effect that is added to the selected channel. To add the
effect turn the EFF (7) control clockwise.
19. LED MONITOR
Twin 6 segment LED ladders show the signal of the master output.
21. SUB-BASS FREQ CUT
A tone control to eliminate sub-bass frequencies.
22. SUB-BASS LEVEL
A volume control to allow a specific level of sub-bass to the output.
23. AUX VOL
A volume control for the AUX output (16).
Page 6

User Manual
178.553
6
24. PHONES
Sets the desired level for the headphones.
25. MASTER VOL
This controls the level sent to the main output (14).
26. SATELLITE SPEAKER OUTPUTS
Speakon outputs for the Left and Right satellite speakers.
27. CHANNEL 3 LINE INPUT
Left and Right RCA Phono sockets for connection of a line source.
28. CHANNEL 4 LINE INPUT
Left and Right RCA Phono sockets for connection of a line source.
29. Power Switch
Flip the switch to “I” to power the unit on and “O” to power the unit down
30. IEC Power Socket
Plug the supplied IEC cable into this socket to power the unit
 Loading...