

Page 1
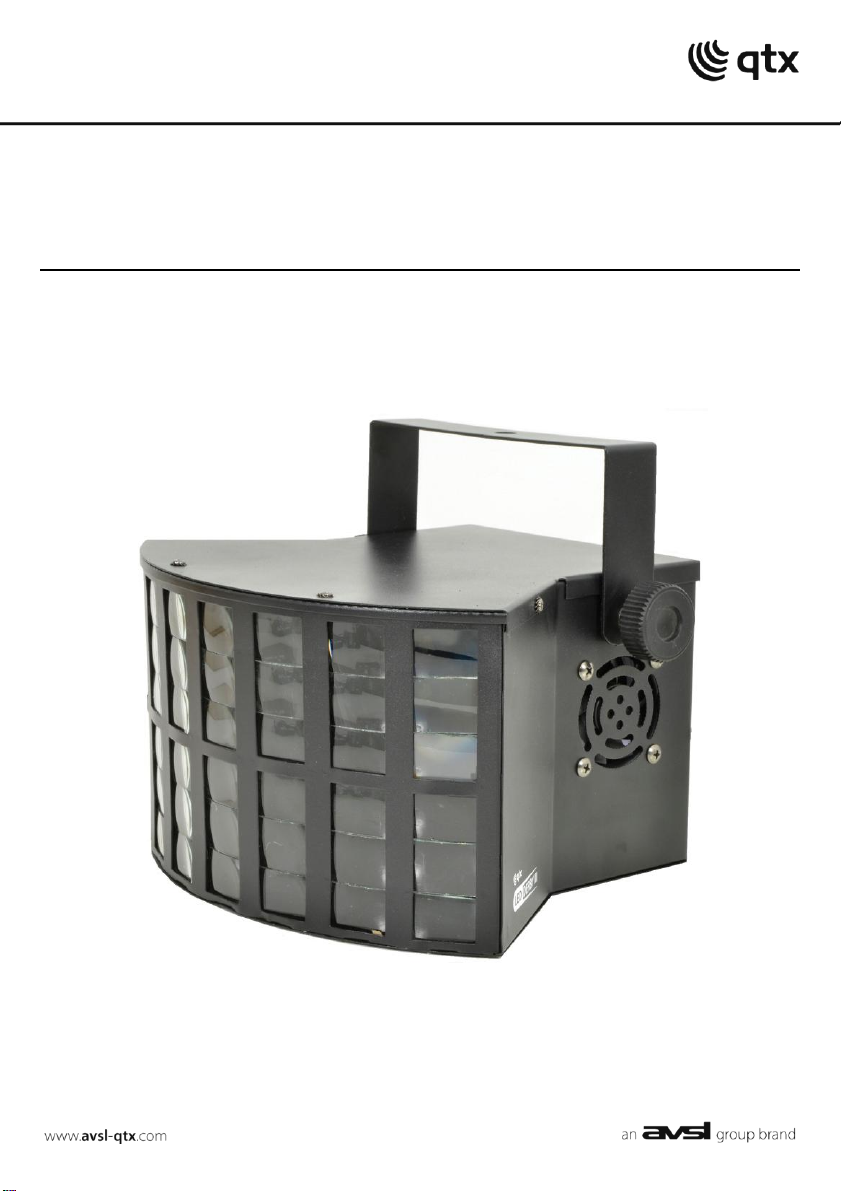
LED DERBY III
Item ref: 151.577UK
RGBW Light Effect
User Manual
Page 2

Caution: Please read this manual carefully before operating
Damage caused by misuse is not covered by the warranty
Introduction
Thank you for choosing the QTX LED DERBY III quad colour multi-point effect as part of your lighting rig.
Please read these instructions in full to gain the best results from this item and avoid damage to the unit.
Unpacking
Your LED DERBY III should reach you in good condition and be supplied with appropriate mains lead(s)
and mounting bracket. If there are any signs of damage or items missing from the packaging, contact
your dealer immediately.
Warning
To prevent risk of fire or electric shock, do not expose any components to rain or moisture.
If liquids are spilled on the housing, disconnect mains and allow unit to dry out & have checked by
qualified personnel before further use. Avoid any impact or extreme pressure to the housing.
No user serviceable parts inside – Do not open the case – refer all servicing to qualified service personnel.
Safety
Check for correct voltage and condition of IEC lead before connecting to power outlet
Placement
Mount the unit to a lighting stand or ceiling using the adjustable bracket included
If the unit is mounted at height, a drop cable should be attached for safety
If free-standing, ensure that the unit is sited on a stable, non-slip surface
Ensure adequate access to controls and connections
Cleaning
Use a soft dry or slightly damp to clean the cabinet. Do not use strong solvents for cleaning the unit
For best results, clean the front optics periodically with a dry, lint-free cloth
151.577UK User Manual
Page 3

Setting up
DIP switche(s) on
Effect
10
Auto colour jump with slow rotation
10 + 5
Auto colour fade + jump with slow rotation
10 + 4
Fast auto colour jump with slow rotation
10 + 2 + 1
Auto colour jump with fast rotation
9 + 10
Sound-activated with slow rotation when no sound detected
1
Number 1 to 10 dip switches
2
Power on/off switch
3
Sound-activation microphone
4
Rotary Mic. Sensitivity control
5
Mains inlet (IEC) & Fuse holder
Install the LED DERBY III so that the front panel is facing the area to be lighted.
Experiment with positioning to get the best coverage from the multi-beam array.
Connect mains using an appropriate IEC lead to the mains inlet
Operation
The LED DERBY III operates as a stand-alone unit in either auto or sound-activated modes.
Settings are accessible via the 10 dip switches situated on the rear panel.
Sound activated mode is governed by a rotary sensitivity control on the rear panel.
Turning this control clockwise increases the sensitivity of the rear panel mounted microphone
Rear Panel
DIP Switch settings
151.577UK User Manual
Page 4

Specifications
Power supply
240Vac 50Hz (IEC)
Power consumption
40W
Operating modes
Auto, Sound activated
LED sources
8 x 3W LED (2 x Red, 2 x green, 2 x blue, 2 x white)
Controls
Power on/off, Mic. Sensitivity, dip switches 1-10
Dimensions
295 x 160 x 275mm (inc. bracket)
Weight
3.85kg
No power
Check mains voltage is correct and outlet is switched on
Check IEC lead and mains fuse (if fuse continually blows, refer to your dealer)
No light output
Check rear panel dip switch settings (8 on its own gives no LED output)
No sound activation
Check that dip switch 9 is switched to “on”
Check rotary control for microphone sound sensitivity is not fully down (left)
Light output is dim
Make sure front panel optics are clean and clear of debris
Overheating/cutting
out
Ensure that the unit is not too close to a heat source
Ensure that the cooling vent on the rear panel is clear and not covered
Disposal: The “Crossed Wheelie Bin” symbol on the product means that the product is classed as Electrical or
Electronic equipment and should not be disposed with other household or commercial waste at the end of its useful life.
The goods must be disposed of according to your local council guidelines
Troubleshooting
Errors and omissions excepted.
Copyright © 2013. AVSL Goup Ltd
151.577UK User Manual
 Loading...