

Avionics / GPS / Mounting/Docking Systems / AirGizmos / Airgizmos Garmin 795 / 796 GPS Panel Docking System Airgizmos Garmin 795 / 796 GPS Panel Docking System Installation Instructions
Page 1
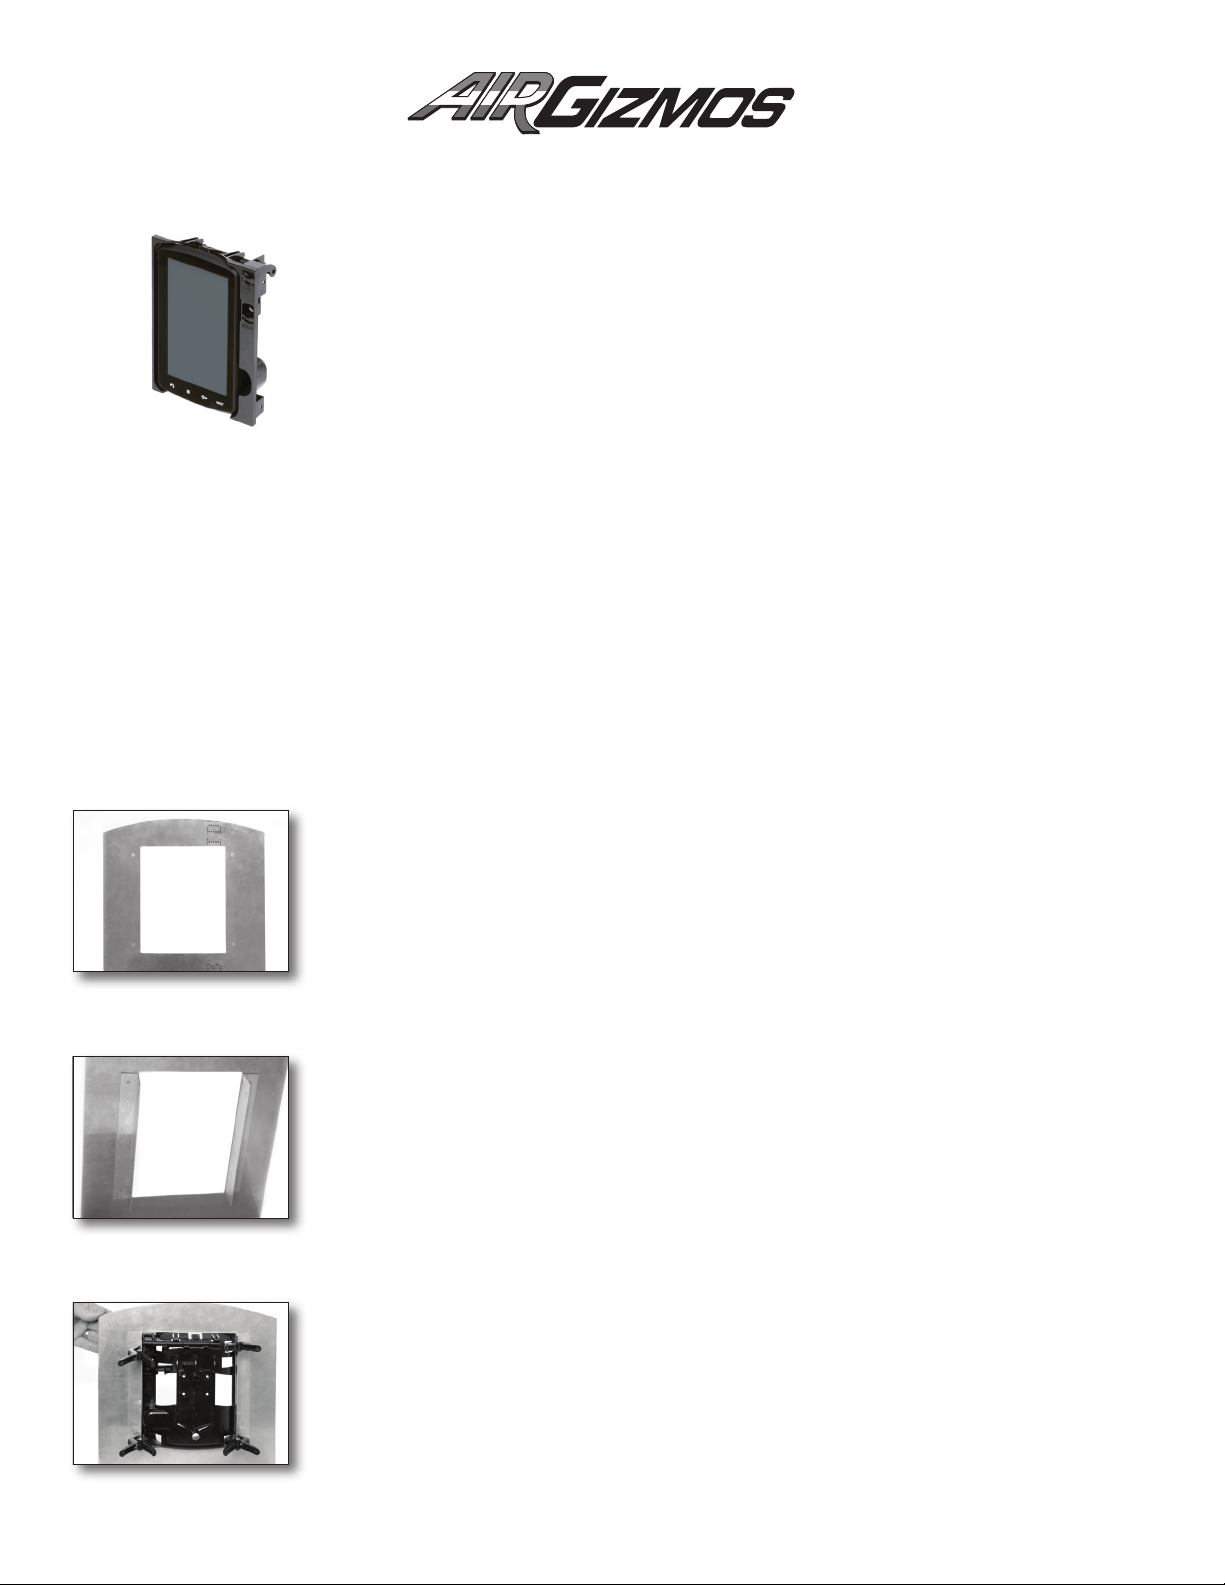
Panel Dock® Installation Instructions for GPSMAP 795/796
Revision 1, March 03, 2012
INST-A_11023009-003
Thank you for purchasing an AirGizmos Panel Dock. This mount was designed to
securely hold your portable electronic device. It allows you to quickly remove your
portable device for upgrades, ight planning, or for use in another aircraft. We also
feel that this is a safer way to use your portable equipment, as it is securely held in
the panel at all times. We hope you receive years of enjoyment from our product.
Before beginning the installation process, please take a moment to ll out the
registration card.
The Panel Dock has been shipped with a set of mounting hardware necessary for attaching it to an avionics
stack. If you intend to install it in a different way, use the included hardware as a reference when deciding what
type of installation hardware you will need. The hardware included is as follows:
8 AN525-832R8 SCREWS WITH INTEGRAL WASHERS, and 8 AN960-8 FLAT WASHERS.
A word of caution: we have designed the mount to be installed using standard screws, and we have fabricated
the anges to allow clearance of the screw heads. Please do not attempt to use countersunk screws. Counter-
sinking plastic is generally not a good idea, and we cannot guarantee that our product will perform its duty if
you choose to countersink the holes. Also, please don’t use Loctite®, or similar adhesive products for additional
security the screws, it will have a negative effect on plastic. Use the included hardware, or something similar,
and everything will be ne. Let’s get started.
8 AN365-832A ELASTIC LOCK NUTS,
Step 1: Prepare a hole in your panel
The dimensions of the 796 Panel Dock are included for reference, but measure
yours just to be safe.
Note: if you are installing this product with Garmin avionics, you will nd that
Garmin uses 6.3” wide trays. To account for the difference it is acceptable to use
washers. One thin washer on each bolt will work just ne.
Step 2: Temporarily attach mounting rails to the Panel Dock
These instructions assume that you are installing the 796 Panel Dock in a standard radio
stack, but that is not the only way to install it. The only requirement for installation is that
you must attach the side anges to two pieces of angle, spaced the correct distance apart.
Two pieces of 1” 6061 aluminum angle works just great. Position your rails as desired,
making sure they are the proper distance apart, and parallel to each other. You can rivet
the rails to the front panel or choose to attach the rails by AN hardware. Either method
works great.
Step 3: Test-t the Panel Dock
Position the 796 Panel Dock in your panel. This will allow you to determine how it should
look from the front before you drill any holes. At this point you should make any adjust-
ments to the rails in order to have your GPS properly positioned in the panel.
2280 Campbell Creek Blvd, # 300, Richardson, TX 75082 • (972) 671-8001 tel • (972) 231-3870 fax
Page 2

Step 4: Verify the look and function of the mount
With the Panel Dock secured with the edge clamps you can verify that it is at the correct
depth and ts to your liking.
Step 5: Mark the holes for drilling
Remove one edge clamp at a time and mark the position of each hole with a pen. Use a
circular motion to mark the outer edges of the hole. This will make it easier to determine
the exact center.
Do this for all four holes, replacing the edge clamps as you go.
Step 6: Drill the holes
There are a number of ways in which you may choose to drill the holes. You can remove
the rails from the panel and drill them on a drill press, or you may use an angle drill to drill
them in the plane. Just be careful to make accurate holes at the marks you made, and
you will be ne.
Step 7: Mount the Panel Dock using the supplied hardware
The bolts we provide have an integral washer on the screw-head side. This provides
adequate distribution of force on the plastic to keep it from cracking. Position the hardware so that the screw head is located on the plastic side and the nut is on the outer side
of the metal rail. Please, be sure not to overtighten the screws, it may result in cracking of
the plastic of the Panel Dock.
Vent Tube: Vent tube can be plumbed for an avionics cooling fan.
Step 8:
Install the provided Mounting Bracket into the Panel Dock
Using the 4 sets of screws and nuts, attach the bracket to the inside of the Panel Dock. Tight
securely but do not overtighten the screws - it may result in cracking of the bracket.
Alternatively, for this step you can use the Bracket and Docking Cable that are supplied from
Note:
Garmin. The Garmin cable is required if you wish to attach power or data connections to your GPS.
If you decide to do so, make sure to remove rubber grommets from the mounting holes before installing Garmin bracket. If grommets are not removed the bracket will not be tightened securely.
Step 9: Insert the GPS and attach cables
To install your GPS into the dock, gently snap it into place in the Mounting Bracket.
On/Off / Brightness lever (top): Turn the 796 GPS on/off and adjust brightness of the
screen while the unit it in the Panel Dock.
Release lever (bottom): To release the GPS, press the down the lever and pull the
GPS out of the Panel Dock.
Congratulations! Your installation is complete. Please email us with any questions you might have at
info@airgizmos.com.
2280 Campbell Creek Blvd, # 300, Richardson, TX 75082 • (972) 671-8001 tel • (972) 231-3870 fax
 Loading...