

Page 1
STEP BY STEP REFERENCE GUIDE
PANASONIC P2
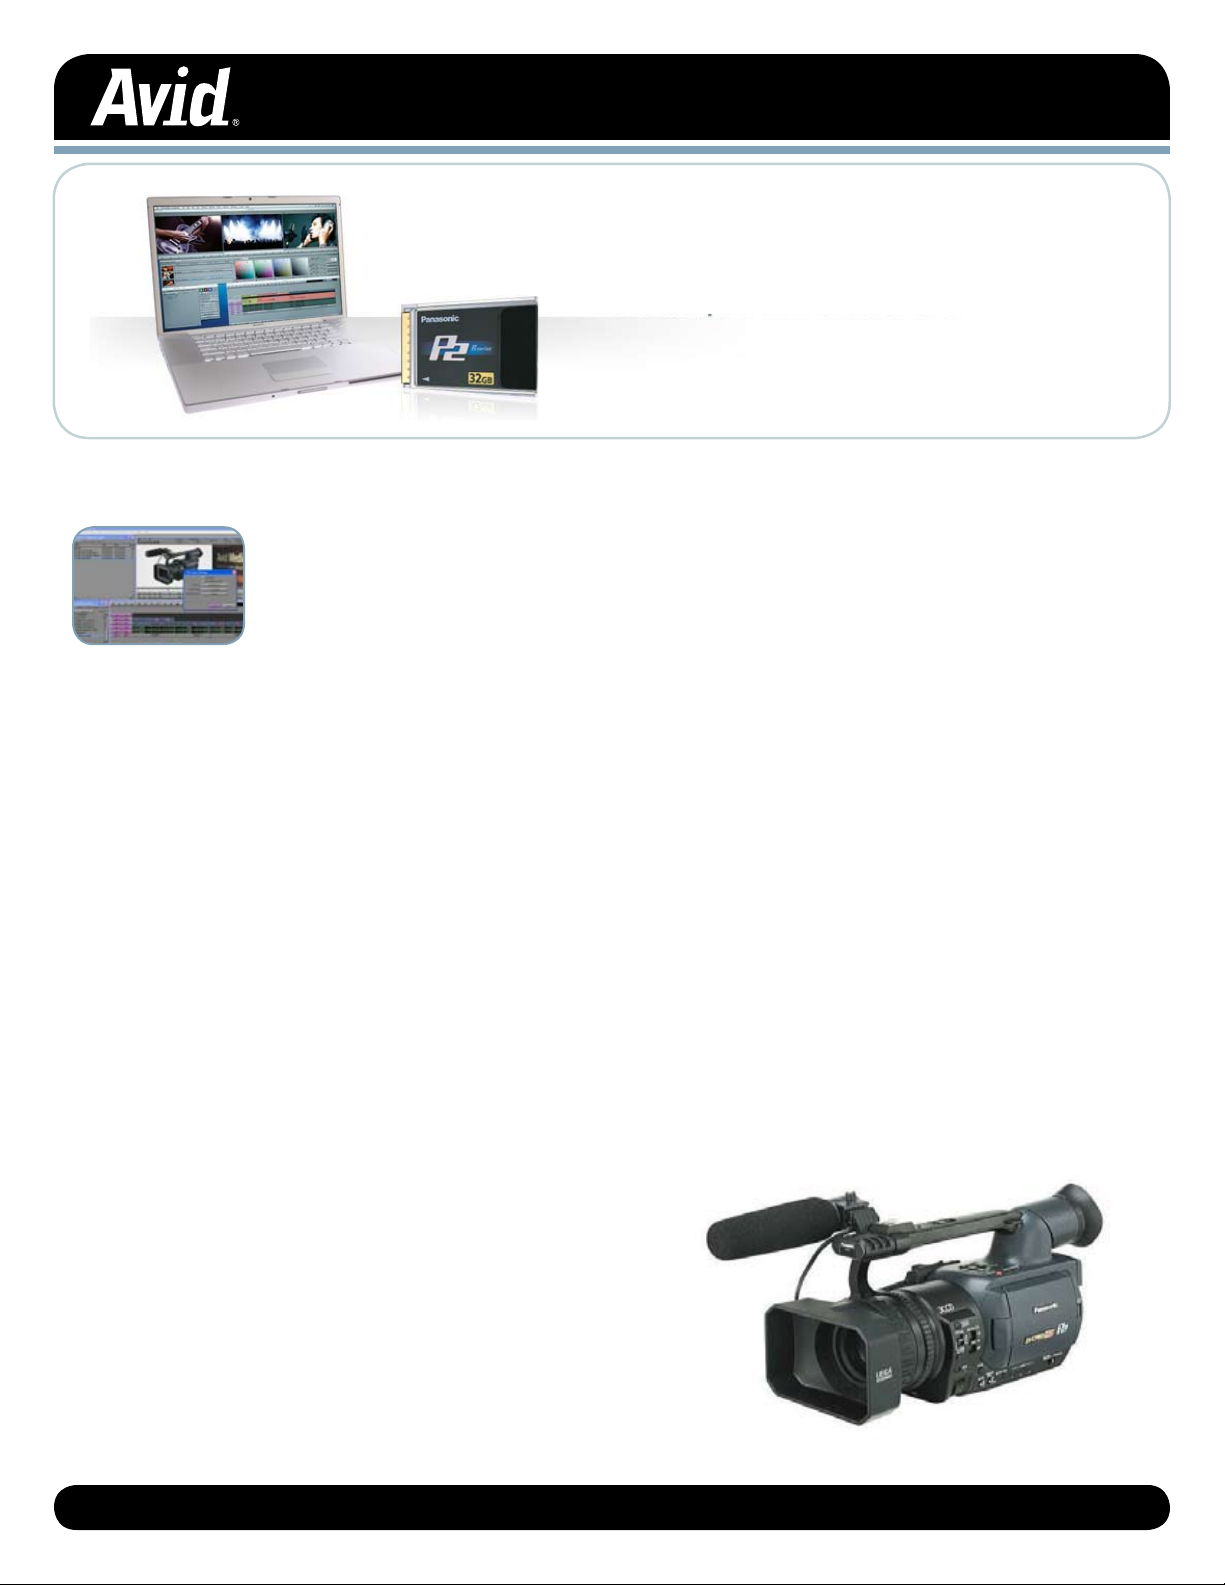
Working with P2: Using the Panasonic HVX200
camera with Avid Media Composer
Overview
With Avid, editing footage captured with the HVX200 camera is fast and easy. Avid® systems use the same
native file format as Panasonic P2 memory cards, so there’s no need for transcode, capture, or file conversion
process of any kind. You can edit directly and immediately from the P2 card if you’d like or have
Media Composer
In addition to providing the fastest path from shooting to editing, the Avid P2 workflow:
Integrates P2 for• mats directly, so you don’t have to shuttle through tapes looking for a shot
Imports metadata automatically into the Avid bin •
Supports P2 media natively over 24p as well as 60i•
Provides an easy mechanism to copy the P2 media to Avid local or shared storage so you can reuse the P2 card as quickly •
as possible
®
create a rapid backup of your files. Nothing could be simpler or more immediate.
®
The sections that follow introduce the specific workflow for the Panasonic HVX200 P2 camera and Avid
version 2.7 onwards. Earlier versions of Media Composer do support more basic P2 workflows. Please consult the product
documentation for details.
The workflow referenced above applies whether you’re using a laptop or workstation, a Mac or PC. Check system requirements
for your configuration before you begin at www.avid.com/products/media-composer/systemrequirements.asp.
The following pages cover:
Choosing Format and Frame Rate 1.
Accessing P2 Media in Media Composer2.
Protecting P2 Assets http://www.dv24p.net/hvx200/hvx200.1b.jpg3.
Outputting P2 4. Media from Media Composer
Media Composer®,
Check out the corresponding Video Quick Tours at www.avid.com/P2
Page 2
Panasonic HVX200 CAMERA MENU ITEM:
Step 1. 5. RECORDING SETUP REC FORMAT
(For example: to shoot 24p – Select
720p/24PN)
Step 2. 5. RECORDING SETUP UB MODE (User Bit Mode) FRM RATE (Frame Rate)
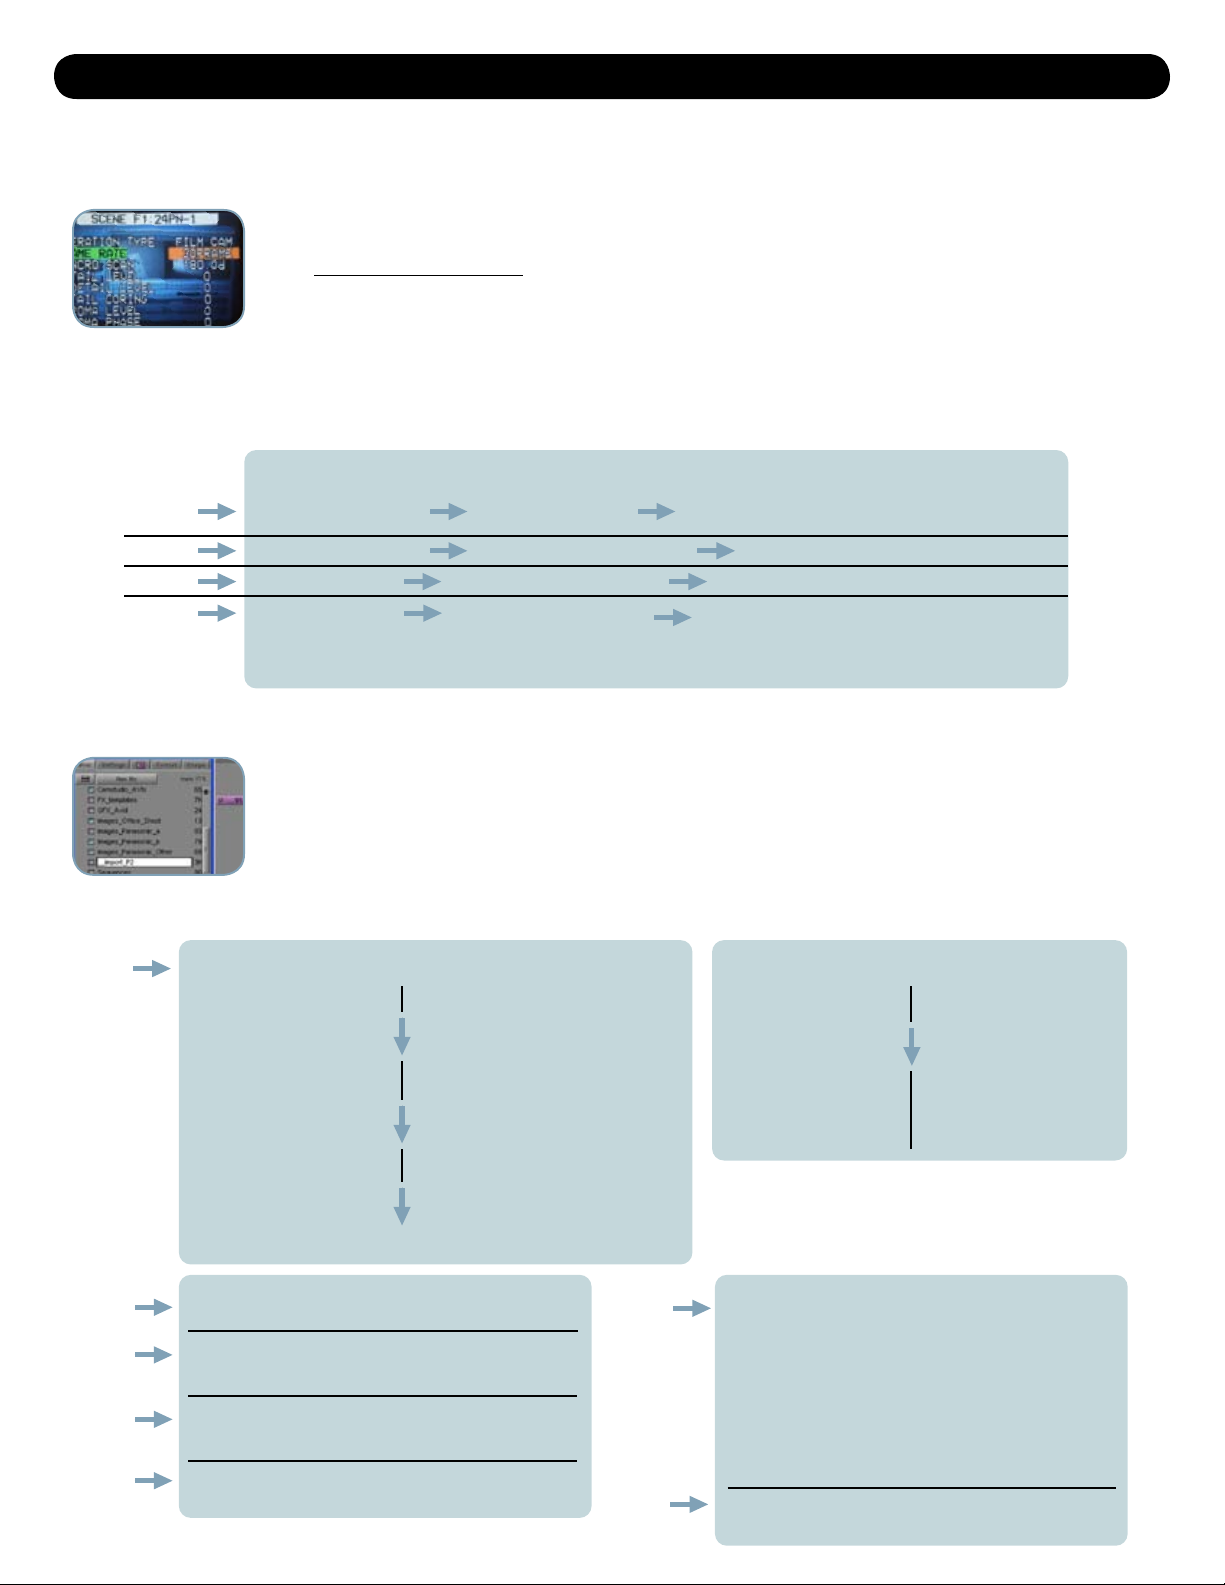
Step 3. 1. SCENE FILE OPERATION TYPE FILM CAM
Step 4. 1. SCENE FILE FRAME RATE in this case choose 24FRAME (This is
also where you would select for overcranking or under-cranking in the native
mode on the camera
To access material on P2 Cards:
Step 1.
Via PCMCIA slot (PC),
or an PCMCIA adapter
(Mac):
Panasonic P2 card reading hardware
(connected via FireWire or USB):
AJ-PCD20 P2 drive
AJ-PCS060G P2 Store
AJ-SPD850 DVCPRO 50/25 and DV P2
Studio Deck
Panasonic HVX200 camera
Ensure you’ve installed
the correct drivers from
Panasonics website.
Connect the device via FireWire
or USB
Insert the card and ensure
the operating system
recognizes it
Insert the card(s) into the slot
provided and ensure the operating
system recognizes it
Step 2. Now launch Media Composer
Step 6.
With that bin selected, go to the main “File” menu.
Select “Import P2” > Choose “Clips to Bin”
Step 3.
Create or select the appropriate project type for
the material
At the dialog, browse to the location of the P2 card
you want to import. If you’re selecting a location on a
local or network drive, it is critical to select that folder
at its root level containing the P2 card contents
Notes:
• Selecting the video or audio folders from the P2
card will not work properly. You must select one
folder above this level.
• With a backup usually the entire contents of a card
will be copied to a folder with a meaningful name
The new master clips have appeared in your bin –
you can view, play back, or edit them immediately
Step 4.
Step 5.
To access P2 material backups:
Optical Disk: FireWire, USB or other
type of hard disk:
Insert disk into the
DVD reader
Connect the hardware
and ensure the
operating system
recognizes the device
Once inside the Avid project, create or open a bin
into which you will import your P2 media
Step 7.
P2 Step By Step Reference Guide
1: Choosing Format and Frame Rate
Since the Panasonic HVX200 can originate twenty one different format and frame rate combinations one of
the most important decisions before your project begins shooting is what frame rate and format you will use.
Go to www.avid.com/P2Formats to ensure that the frame rate and format you are using is compatible with
Media Composer and therefore which Avid project type you’ll be using for post production.
Below are the basic steps to ensure the metadata associated with your clips is usable and complete for post production using Avid
Media Composer. In this example Panasonic format 24PN is chosen. This material can be edited natively in a 720p/23.976 Avid project
type or edited as Avid DNxHD
®
media in a 1080p/23.976 project type.
2: Accessing P2 Assets within Media Composer and Edit
There are a few different ways that P2 material can be delivered from production to editorial.
P2 car• ds
Backup • of P2 cards on disk (USB, FireWire hard drives or DVD)
Avid Media Composer provides fast and flexible accessing, reviewing and editing of P2 originated material
regardless of how it is delivered to the edit bay.
Page 3

3: Protecting P2 Assets
Step 1.
Select the clips you
want to work with in
your bin
With those clips
selected, go to
the main “File”
menu
Choose “Media” The media will be automatically consolidated
as per the settings defined via the
Media Creation Tool
Select “Import P2”
Step 2. Step 3. Step 4.
Step 1.
Select the
clips you want
to work with
in your bin
Go to
the main
“Clip”
menu
At the Consolidate
/ Transcode dialog,
choose “Consolidate”
Select “Consolidate
/ Transcode”
Step 2. Step 3. Step 4. Step 5. Step 6. Step 7. Step 8. Step 9.
Choose “Video
and Audio on
same drives”
Choose
the Drive,
Avid Unity
or network
location to
which you
wish to
consolidate
the media
Make sure
that the
master clips
are re-linked
to the media
on the new
drive
The media
will now be
consolidated
as per the
custom
settings
specified
Eject or
disconnect
the device
or path to
the original
P2 media,
to ensure
you’re editing
the copied
media
In the field
Use a laptop to copy
the media to a USB or
FireWire disk, or burn it
onto a data DVD
Use a laptop or workstation to
copy the media to an archival
device such as a DLT or a
mirrored or RAID protected
stripe set
At an editing facility
Whatever your workflow, Avid strongly recommends protecting your original P2 assets prior to post-production.
The safest and most efficient way is to access the material with Media Composer and consolidate it onto a local
drive or Avid Unity
Consolidating within Media Composer:*
•Safeand simple
•Fast and efficient
•Incorporated failsafe checksum
•Creates an instant backup
To automatically consolidate:
P2 Step By Step Reference Guide
™
storage system.
To use the manual consolidate function - For greater control, choose the location for the media each time you perform the operation.
* Note: Having both the original media and the consolidated copy of that media online at the same time can cause problems and confusion both for
the operators and for the software.
To back up footage manually on a Mac or PC:
* Note: Back up all of the media exactly as it is presented on the P2 cards. The directory structure should remain intact with all files present and in the
directories created by the camera. Also, run a comparison between each P2 card and its backup prior to erasing and re-using it to make sure that the
correct numbers of folders, files and bytes have been duplicated.
Page 4

Step 1.
Select the sequence
you wish to output
Go to the main
“Output” menu
Choose “P2” The write-back will take place over
FireWire, USB or direct to a PCMCIA slot
mounted card
Select “Export
to Device”
Step 2. Step 3. Step 4.
Step 1.
Select the sequence
you wish to output
Ensure the video
quality is set to full
green mode
Go to the main
“Output” menu
Choose “1394” The Digital Cut will take
place over FireWire
Select “Digital Cut”
Step 2. Step 3. Step 4.
Step 1.
Select the sequence
you wish to output
Go to the main
“File” menu
(or use right click)
Select the format
and other parameters
for your desired export
Select “Send To”
Step 2. Step 3.
or
Step 4.
Use the “Export Settings”
quick drop down menu, or
the “Options” panel in
order to select the format
and other parameters for
your desired export.*
Select “Export”
The Digital Cut will take place over FireWire.
P2 Step By Step Reference Guide
4: Outputting P2 Media from Media Composer
You have several options for delivering your final product. By exporting directly from a timeline containing
P2 compatible media, you can:
write back to a P2 card•
export to a DVCPRO HD VTR via FireWire•
export an alternative file type for web, DVD or multimedia from Media Composer or Sorenson Squeeze•
In addition, you can deliver from a timeline where you’ve transcoded the media to:
uncompressed HD (8 bit or 10-bit)•
Avid DNxHD •
transcode direct to SD for PAL/NTSC•
With a transcoded HD or SD master you can output your work via:
HDSDI to VTR such as D5 or HDCAM•
“Direct to air” for immediate playback•
SD to DVCPRO or Digital Betacam VTR (PAL or NTSC delivery is dependent upon HD format chosen)•
To deliver P2 sequences back to a P2 card:*
To deliver P2 sequences to a DVCPRO HD VTR via FireWire:*
* Notes:
Make sure the P2 device is correctly installed and recognized by the operating system before launching Media Composer.•
Due to capabilities of current Panasonic card writing hardware, this process will work only with non-native Panasonic frame rates.•
To export sequences as a file type appropriate for web, DVD or multimedia distribution:
* Note: The “Export Settings” quick drop-down menu also allows for rapid access to Sorenson Squeeze, where many other file types are available
for creation.
Page 5

Step 1.
Transcode the
sequence to
Avid DNxHD
format
Connect Avid
Adrenaline
hardware
to your Mac
or PC
Select the sequence
you wish to output
Ensure the video
quality is set to
full green mode
Step 2. Step 3. Step 4. Step 5. Step 6. Step 7. Step 8.
Go to the main
“Clip” menu
Select
“Consolidate
/ Transcode”
At the Consolidate
/ Transcode
dialog, choose
“Transcode”
Choose
“Video and
Audio on
same drives”
Step 9.
Choose the
Drive, Avid Unity
or network
location on
which you wish
to store the
new DNxHD
media
Choose
“Convert
Video”
Choose “Create
New Sequences”
if you want to retain
a copy of your
original sequence
that remains linked
to the original
P2 media
Choose the
Avid DNxHD
resolution you
want to create
Step 10. Step 11. Step 12. Step 13. Step 14.
When the transcode
procedure is
complete; with
the newly created
sequence selected
go to the main
“Output” menu
Select
“Digital Cut”
Choose
“HDSDI”*
The Digital Cut will take
place over Baseband HDSDI
Step 1.
First use the
“Format” tab to
select the SD format
of the project
Transcode and
Output as
described
above
Step 2.
P2 Step By Step Reference Guide
To output your work on tape via HDSDI to an VTR such as D5 or HDCAM:
* Note: Make sure the HD VTR is correctly installed and available in Media Composer beforehand.
The process to deliver an SD master (over SDI component or composite) is similar to the above, but it will be highly dependent on the
acquisition frame rate and format you chose at the shooting stage.
If the frame rate and format you are using have and SD counterpart:
Check out all the Avid and P2 resources available at www.avid.com/P2.
Corporate Headquarters Asian Headquarters European Headquarters
800 949 AVID (2843) + 65 6476 7666 + 44 1753 655999
© 2008 Avid Technology, Inc. All rights reserved. Product features, specifications, system requirements, and availability are subject to change without notice. Avid, Avid DNxHD, Avid Unity, and Media
Composer are registered trademarks or trademarks of Avid Technology, Inc. or its subsidiaries in the United States and/or other countries. All other trademarks contained herein are the property of
their respective owners.
To learn more—visit www.avid.com/p2
P2RG1108
 Loading...