

Page 1
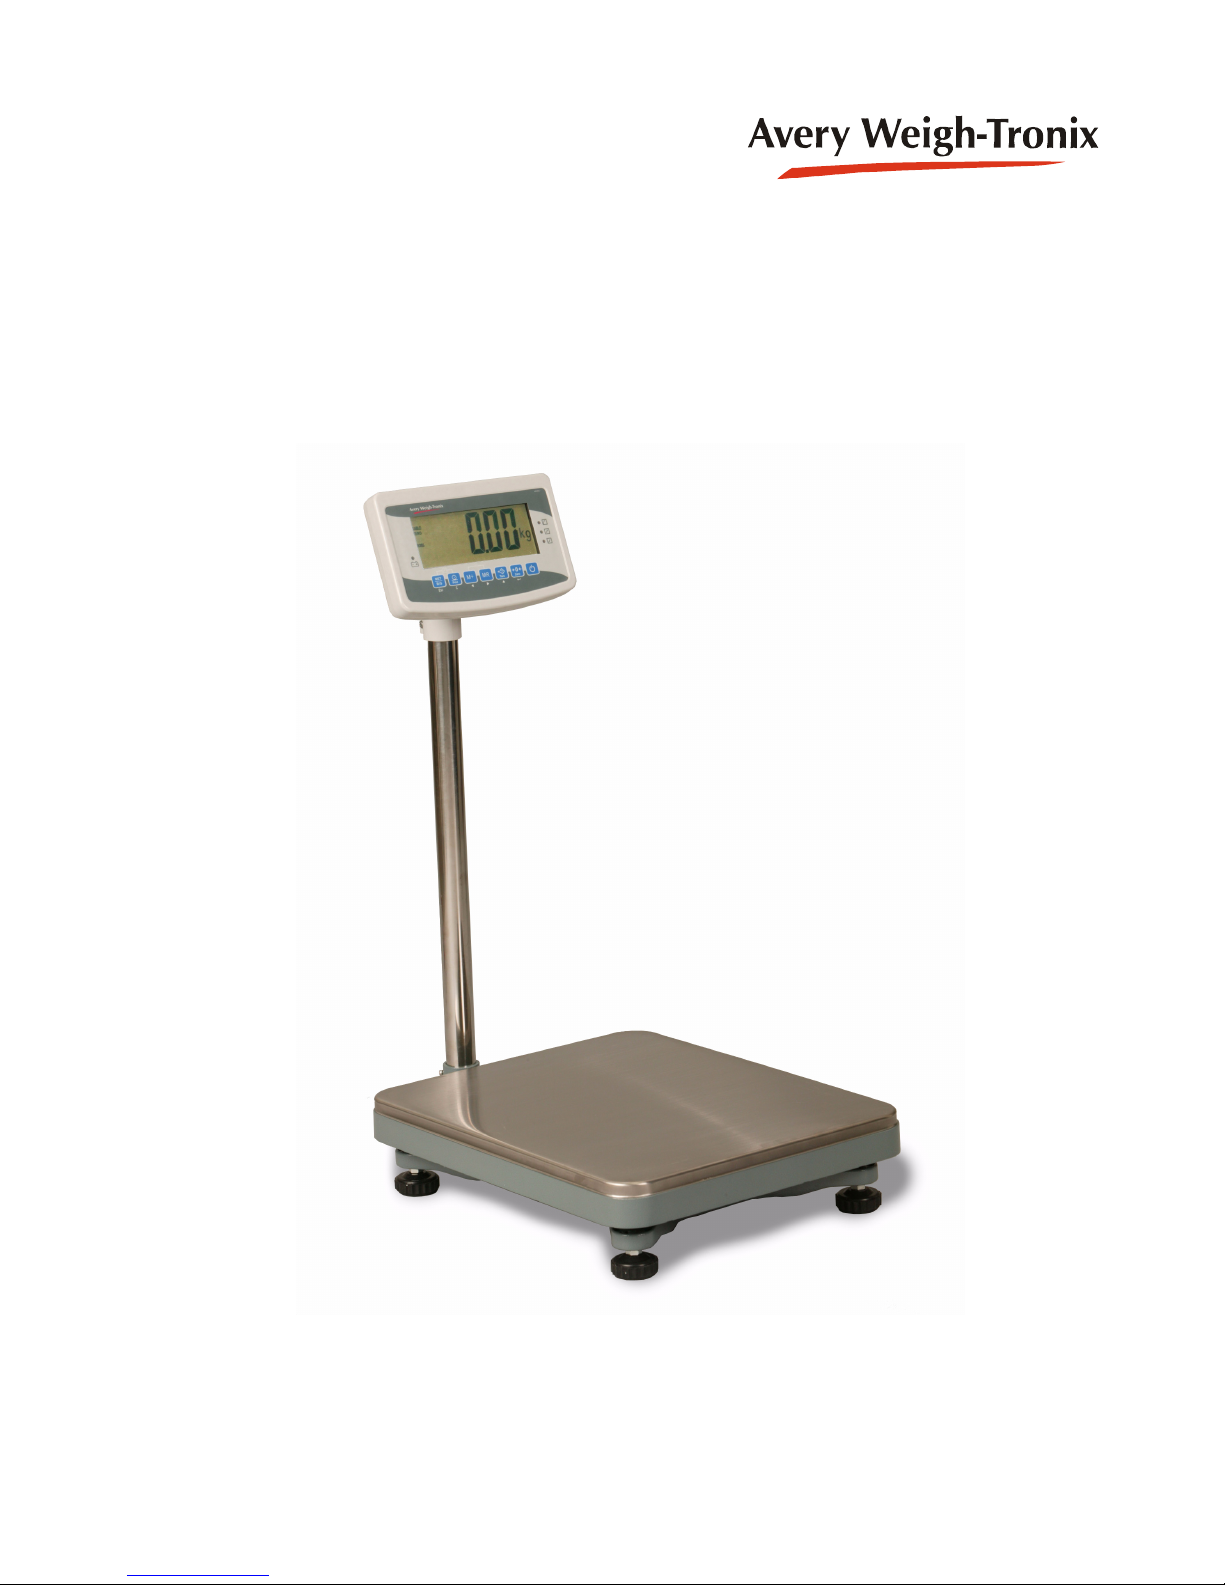
AWB 120
Bench Scale
User Instructions
AWT 35-500362 Issue AA April 2009
Page 2

© Avery Weigh-Tronix group of companies 2009. All rights reserved.
No part of this publication may be reproduced, stored in an electronic retrieval system, or transmitted in any form
or by any means, electronic, mechanical, photocopying, recording or otherwise without the prior written consent of
the copyright owner, or as permitted by law or under license. Full acknowledgment of the source must be given.
Avery Weigh-Tronix is a registered trade mark of the Avery Weigh-Tronix group of companies. This publication was
correct at the time of going to print however, Avery Weigh-Tronix reserves the right to alter without notice the
specification, design, price or conditions of supply of any product or service at any time.
All third party brands and product names used within this document are trademarks or registered trademarks of
their respective holders.
AWB120_u_en_500362.book
Page 3

Table of Contents
page
Chapter 1 General information and warnings ........................................................................................ 5
About this manual ..............................................................................................................5
Text conventions ......................................................................................................... 5
Special messages ....................................................................................................... 5
Installation .......................................................................................................................... 6
Electrical installation .......................................................................................................... 6
Routine maintenance ......................................................................................................... 6
Cleaning the machine ........................................................................................................ 6
Training .............................................................................................................................. 6
Sharp objects ..................................................................................................................... 7
EMC declaration of compliance ......................................................................................... 7
CE Declaration of Conformity ............................................................................................ 8
Chapter 2 Introduction ............................................................................................................................. 9
Installation .......................................................................................................................... 9
General Guidelines ...................................................................................................... 9
Scale Installation ....................................................................................................... 10
Powering Up and Powering Down the Scale ................................................................... 12
Indicator Description ........................................................................................................ 13
Key Descriptions ....................................................................................................... 14
Battery Operation ............................................................................................................. 15
Error Codes ...................................................................................................................... 15
Chapter 3 Operation ...............................................................................................................................16
Zeroing the Scale ............................................................................................................. 16
Gross Weighing ............................................................................................................... 16
Net Weighing Using a Tare .............................................................................................. 17
Removing a Tare ....................................................................................................... 17
Checkweighing ................................................................................................................. 17
Setting Checkweighing Limits and Beeper Mode ...................................................... 18
Accumulating Weights ..................................................................................................... 20
Animal Weighing .............................................................................................................. 20
User Settings ................................................................................................................... 21
Set Backlight ............................................................................................................. 21
Set Auto Power Off .................................................................................................... 21
AWB 120 Bench Scale User Instructions 3
Page 4

4 AWB 120 Bench Scale User Instructions
Page 5
1 General information and warnings
1.1 About this manual
This manual is divided into chapters by the chapter number and the large text at the top
of a page. Subsections are labeled as shown by the 1 and 1.1 headings shown above.
The names of the chapter and the next subsection level appear at the top of alternating
pages of the manual to remind you of where you are in the manual. The manual name
and page numbers appear at the bottom of the pages.
1.1.1 Text conventions
Key names are shown in bold and reflect the case of the key being described.
Displayed messages appear in bold italic type and reflect the case of the displayed
message.
1.1.2 Special messages
1.1 About this manual
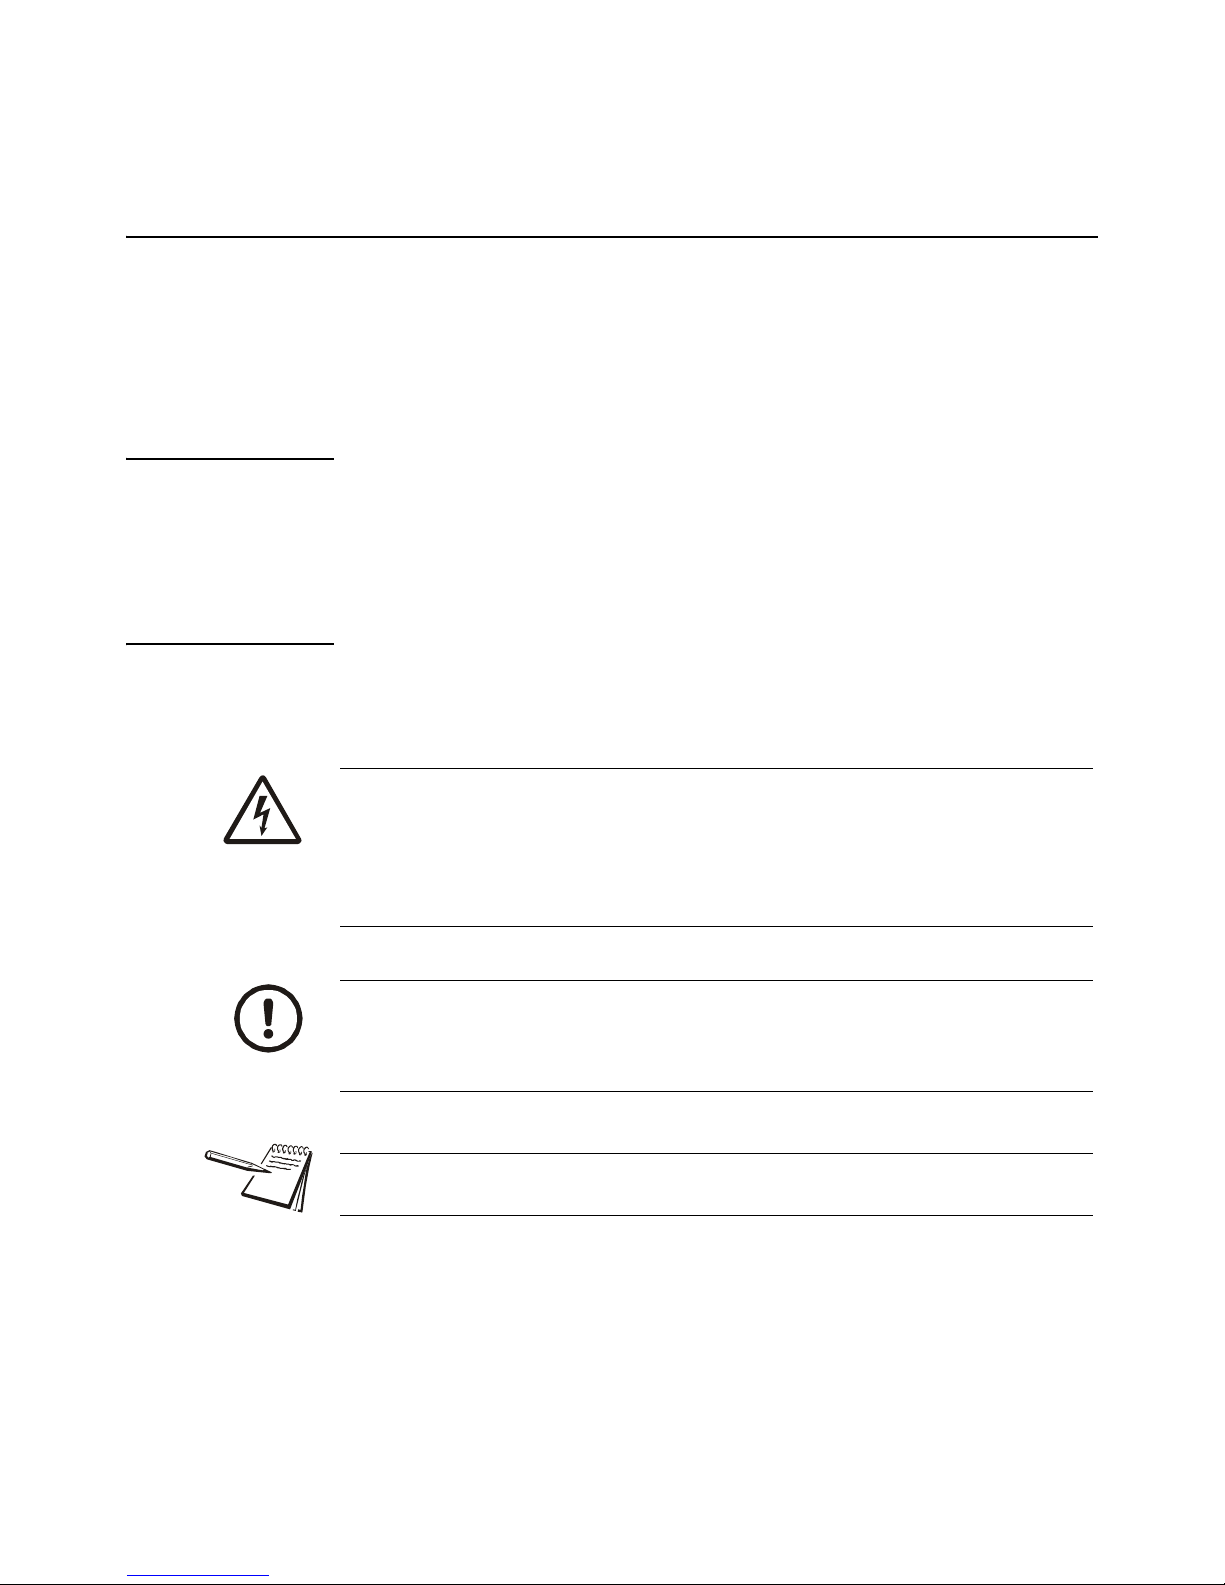
Examples of special messages you will see in this manual are defined below. The
signal words have specific meanings to alert you to additional information or the relative
level of hazard.
ELECTRICAL WARNING!
THIS IS AN ELECTRICAL WARNING SYMBOL.
ELECTRICAL WARNINGS MEAN THAT FAILURE TO FOLLOW
SPECIFIC PRACTICES OR PROCEDURES MAY RESULT IN
ELECTROCUTION, ARC BURNS, EXPLOSIONS OR OTHER HAZARDS
THAT MAY CAUSE INJURY OR DEATH.
CAUTION!
This is a Caution symbol.
Cautions give information about procedures that, if not observed, could result
in damage to equipment or corruption to and loss of data.
NOTE: This is a Note symbol. Notes give additional and important information, hints
and tips that help you to use your product.
AWB 120 Bench Scale User Instructions 5
Page 6
1 General information and warnings
1.2 Installation
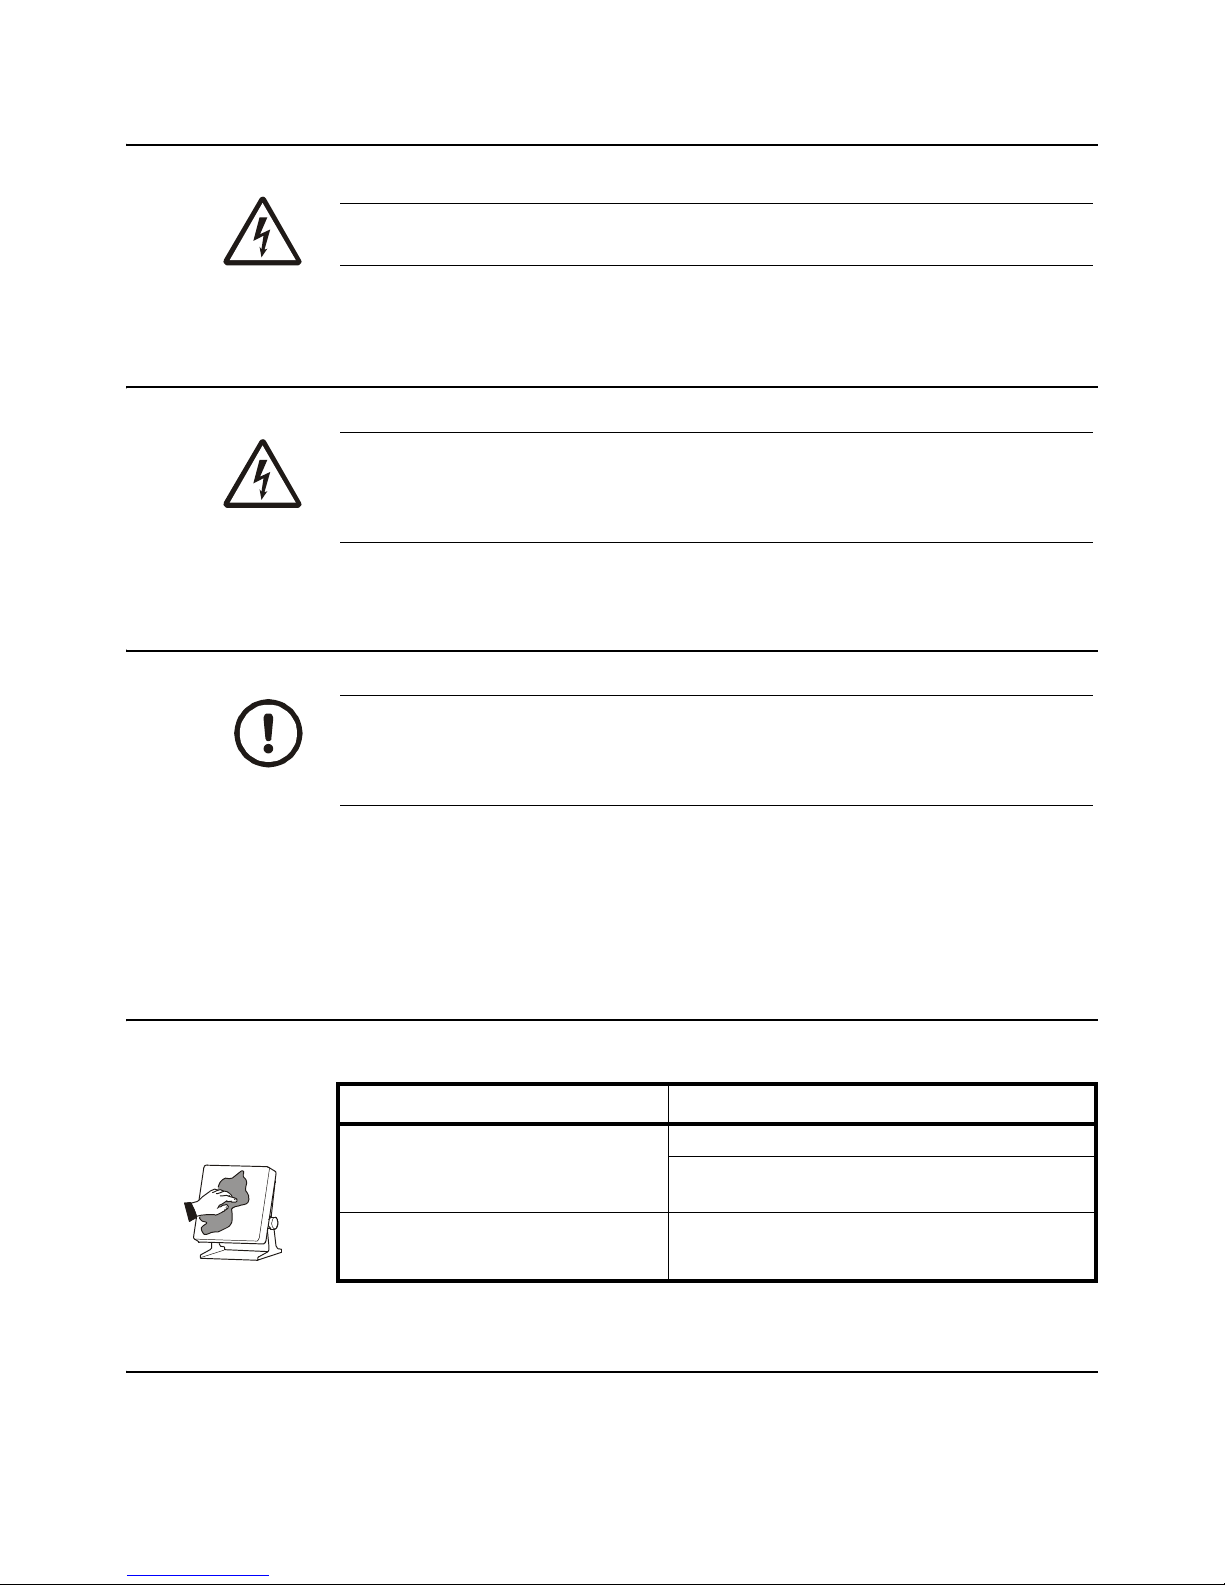
DANGER: RISK OF ELECTRICAL SHOCK. NO USER SERVICEABLE
PARTS. REFER TO QUALIFIED SERVICE PERSONNEL FOR SERVICE.
1.3 Electrical installation
DANGER: THE POWER ADAPTOR MUST BE CONNECTED TO A
SUITABLE ELECTRICAL OUTLET. THE ELECTRICAL SUPPLY MUST
HAVE A CIRCUIT BREAKER WITH AN APPROPRIATE RATING TO
PROTECT FROM OVER-CURRENT CONDITIONS.
1.4 Routine maintenance
CAUTION: This equipment must be routinely checked for proper operation and
calibration.
Application and usage will determine the frequency of calibration required for
safe operation.
Always turn off the machine and isolate from the power supply before starting any
routine maintenance to avoid the possibility of electric shock.
Make sure that it is placed securely on a flat and level surface.
1.5 Cleaning the machine
Table 1.1 Cleaning DOs and DON’Ts
DO DO NOT
Wipe down the outside of standard products
with a clean cloth, moistened with water and
a small amount of mild detergent
Spray the cloth when using a proprietary
cleaning fluid
Attempt to clean the inside of the machine
Use harsh abrasives, solvents, scouring cleaners or
alkaline cleaning solutions
Spray any liquid directly on to the display windows
1.6 Training
Do not attempt to operate or complete any procedure on a machine unless you have
received the appropriate training or read the instruction books.
6 AWB 120 Bench Scale User Instructions
Page 7
1.7 Sharp objects
To avoid the risk of RSI (Repetitive Strain Injury), place the machine on a surface which
is ergonomically satisfactory to the user. Take frequent breaks during prolonged usage.
1.7 Sharp objects
Do not use sharp objects such as screwdrivers or long fingernails to operate the keys.
1.8 EMC declaration of compliance
European Countries
Table 1.2
WARNING: This is a Class A product. In a domestic environment, this product may cause radio interference in which the user may be
required to take adequate measures.
AWB 120 Bench Scale User Instructions 7
Page 8
1 General information and warnings
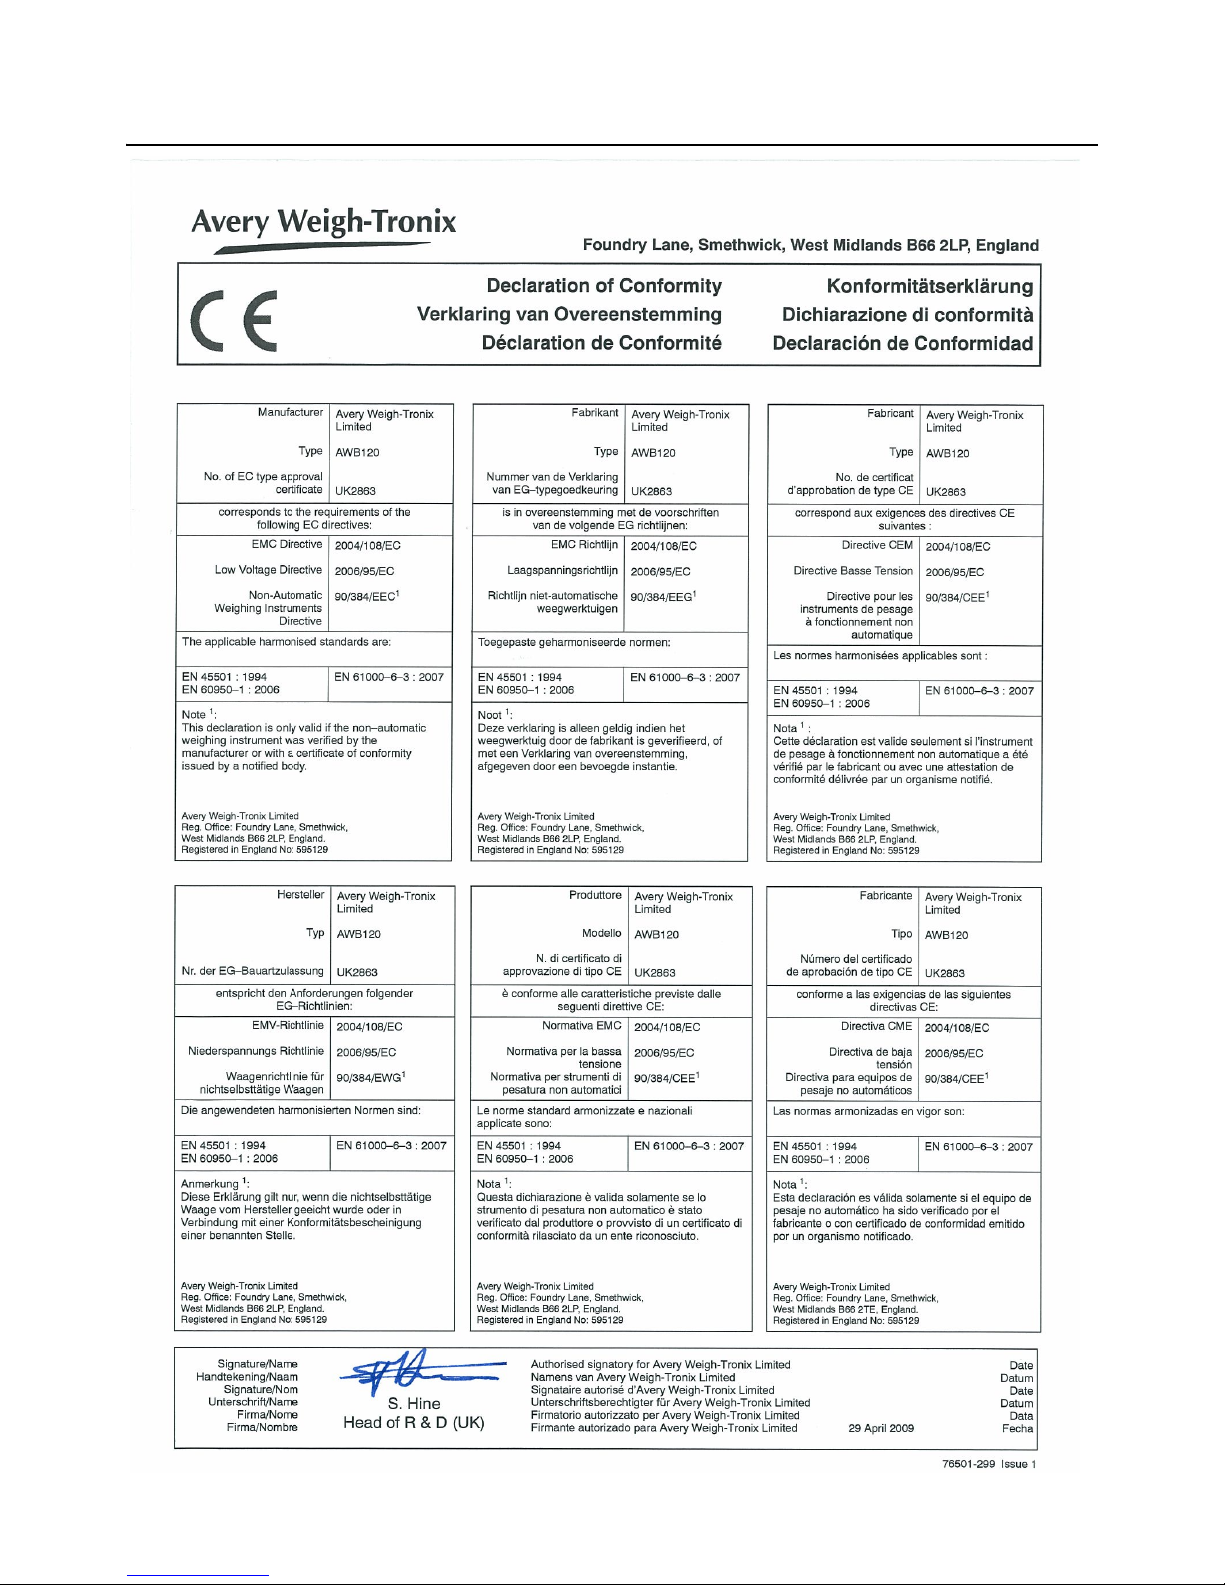
1.9 CE Declaration of Conformity
8 AWB 120 Bench Scale User Instructions
Page 9

2 Introduction
The AWB 120 is a general purpose bench scale that combines a robust base and pole
mounted indicator complete with checkweighing and accumulation functions.
2.1 Installation
2.1.1 General Guidelines
The AWB 120 must be placed in a location that will not degrade the accuracy.
Avoid extremes of temperature. Do not place in direct sunlight or near air conditioning
vents or fans.
Avoid unsuitable tables. The table or floor must be rigid and not vibrate. Do not place
near vibrating machinery.
Avoid unstable power sources. Do not use near large users of electricity such as
welding equipment or large motors.
2.1 Installation
Avoid high humidity that might cause condensation. Avoid direct contact with water. Do
not spray or immerse the AWB 120 in water.
Keep the indicator clean.
AWB 120 Bench Scale User Instructions 9
Page 10

2 Introduction
Lock nut - Tighten
after adjusting the
foot.
Adjustable foot
Bracket
Mounting
screws
(3 mm
hex key)
Support
column
2.1.2 Scale Installation
1. Level the scale using the four adjustable feet on the bottom of the scale,
Figure 2.1, and the bubble level near the base of the column, Figure 2.2.
Figure 2.1 Adjust scale feet to level the scale
Figure 2.2 Adjust feet until bubble is centered in black circle
2. Attach the support column to the bracket at the back of the scale base using
the three mounting screws. Use a 3mm hex (Allen) key to tighten the screws.
See Figure 2.3.
Figure 2.3 Insert column into bracket and secure with three screws
10 AWB 120 Bench Scale User Instructions
Page 11

2.1 Installation
Adjustment knob
3. Place the indicator on the top bracket as shown in Figure 2.4 and slide it down
until it snaps into the final position.
Figure 2.4 Slide indicator head onto column bracket
4. Loosen the adjustment knob shown in Figure 2.4 and adjust the indicator’s
angle for best viewing of the display, then tighten the knob.
5. The cable from the base to the indicator is run through the column and out
through the plastic bracket at the top when you unpack the scale. Make sure
the connector is free of obstructions, i.e. packing foam, and plug the cable into
the connector, as shown in Figure 2.5. Tighten the threaded collar.
AWB 120 Bench Scale User Instructions 11
Figure 2.5 Signal cable plugged into back of the indicator
Page 12

2 Introduction
6. Attach the AC power adapter to the connector on the back of the indicator. See
Figure 2.6.
Figure 2.6 Connect power cord to indicator
2.2 Powering Up and Powering Down the Scale
With the battery charged or the AC adaptor plugged into the indicator, press the ON/
We strongly recommend you charge the battery fully before turning on the scale. See
Battery Operation on page 15.
OFF key to power up the scale. A display test will be performed on power up and the
scale will finish in normal weighing mode.
Press the ON/OFF key to turn the scale off. The ON/OFF key is shown below:
12 AWB 120 Bench Scale User Instructions
Page 13

2.3 Indicator Description
OVER annunciator
ACCEPT annunciator
UNDER annunciator
The indicator has a sealed keypad and the display is a large, easy to read liquid crystal
display (LCD). The display also has a backlight for better visibility. See Figure 2.7.
The scale has automatic zero tracking (AZT) and an audible alarm for out-of-range
weights in the checkweighing function.
2.3 Indicator Description
Figure 2.7 Front panel of the AWB 120’s indicator
The front panel has Over, Under, and Accept annunciators along the right side. See
Figure 2.8.
Figure 2.8 OVER, UNDER, and ACCEPT annunciators
AWB 120 Bench Scale User Instructions 13
Page 14

2 Introduction
2.3.1 Key Descriptions
Keys are shown below along with their functions. Some keys have secondary functions
and these are also described below.
Key Function
ON / OFF key. Turn power on or off.
Zero key. Set the zero point for all subsequent weighing. The display shows
zero.
Secondary Function: Acts as an Enter key when setting parameters or other
functions.
Tar e key. Tares the scale. Stores the current weight in memory as a tare value,
subtracts the tare value from the weight and shows the results.
Secondary Function: Increments the active digit when entering a numeric value
and also scrolls through item list in the configuration menu.
Press Zero and Tare key together in normal weighing mode to toggle the
animal scale function on/off. The beeper will sound twice when the animal scale
mode is enabled or disabled.
MR (Memory Recall) key, shows total accumulated weight in memory.
Secondary Function: Moves active digit to the right when entering a numeric
value.
Accumulate key. Use this key to store current weight in memory.
Secondary Function: Moves active digit to the left when entering a numeric
value.
Press M+ and MR keys for MC (memory clear)
Print key. Press this key to print to a PC or printer using the optional RS-232
interface.
Secondary Function: Clears the displayed numeric values in configuration
mode.
Press Print during self checking countdown to access password entry screen.
NET key. Press this key to shift between Net and Gross weighing.
14 AWB 120 Bench Scale User Instructions
Secondary Function: Acts as an Esc (Escape) key to return to normal
operation when the scale is in a configuration mode.
Press NET and Print key together to set the checkweighing limit.
Page 15

2.4 Battery Operation
The AWB 120 can be operated from a battery located inside the indicator or plugged
into an acceptable power outlet. Battery life is approximately 20 hours with the
backlight off.
When the battery needs charging this symbol, , appears in the upper left corner
of the weight display. The scale will still operate for about 10 hours after which it will
automatically switch off to protect the battery.
To charge the battery, plug the transformer into the mains power and the connector into
the receptacle on the back of the indicator. The scale does not need to be turned on.
The battery should be fully charged before use. This takes approximately 12 hours.
To the left of the display is a battery symbol with an LED above it. When the transformer
is plugged in, if the LED is green the battery has a full charge. If it is red the battery is
charging.
As the battery is used it may fail to hold a full charge. If the battery life becomes
unacceptable then contact your distributor.
2.4 Battery Operation
2.5 Error Codes
Listed below are possible error codes you may see during operation of this scale.
Error Codes Description Resolution
Over range
Zero Setting Error
Key is shorted out. Contact your dealer.
A/D Out of Range
Tare or Zero key has
been pressed when the
scale is unstable.
Remove weight from the scale.
If the problem persists contact your dealer.
The scale was outside the normal zero setting range
either when it was turned on or when the Zero key was
pressed.
Remove weight from the scale and try again.
Power down the scale and repower.
Use the Tar e key to set the display to zero value.
If the problem persists contact your dealer.
The values from the A/D converter are outside the
normal range.
Remove the weight from the scale if overloaded. Make
sure the scale platform is properly placed.
This may indicate the loadcell or electronics are faulty.
If the problem persists contact your dealer.
Try key press again after Stable annunciator lights.
AWB 120 Bench Scale User Instructions 15
Wrong value for gravity
parameter.
Contact dealer to reset gravity factor.
Page 16

3 Operation
3 Operation
This section covers the general weighing procedures you can perform with the
AWB 120:
l Zeroing the Scale
l Gross Weighing
l Net Weighing Using a Tare
l Checkweighing
l Accumulation
There is a keypad lock function that can be enabled or disabled.
If enabled, after the keypad has not been used for 10 minutes, the keypad will be
locked. When locked, if you press any key, the display will show k-lck.
To unlock the keypad, hold the Print, MR and Zero keys for two seconds. The display
will show Ulck and the keypad will function normally.
3.1 Zeroing the Scale
Empty the platform and press the Zero key to zero the scale. The display will show 0
weight.
Weight within ±2% of the power up zero value can be zeroed.
The scale has an automatic zero tracking (AZT) to account for minor drifting or
accumulation of material on the platform. However you may need to press the Zero key
to rezero the scale if small amounts of weight are shown when the platform is empty.
3.2 Gross Weighing
To perform a gross weighment, follow these steps:
1. Press the Zero key to zero the scale
2. Place the object to be weighed on the scale.
…
0 is displayed and the ZERO annunciator lights on the left side of the
display.
The gross weight is displayed.
3. Remove the item from the scale.
4. Repeat steps 1 through 3 for other items to be weighed.
16 AWB 120 Bench Scale User Instructions
Page 17

3.3 Net Weighing Using a Tare
To perform a net weighment using a tare, follow these steps:
3.3 Net Weighing Using a Tare
1. Press the Zero key to zero the scale
2. Place the container to be tared on the scale.
3. Press the Ta r e key…
4. Place the item(s) to be weighed in the container.
5. Remove the items from the scale.
6. Repeat steps 1 through 5.
3.3.1 Removing a Tare
To remove the tare value from the scale, empty the scale and press the Tar e key.
3.4 Checkweighing
…
0 is displayed and the ZERO annunciator lights.
The gross weight is displayed.
0 is displayed and the NET annunciator lights.
The net weight is displayed.
Checkweighing is a function that allows you to enter an upper and lower acceptable
weight for a product or item that must be checked for weight conformity. After you set
the limits of the acceptable target weight you can choose one of three modes of beeper
operation:
Beep when OK
(OK)
Beep when no good
(NG)
No beep (NO) When the weight on the scale is between the upper and lower limits, the
When the weight on the scale is between the upper and lower limits, the
ACCEPT annunciator lights and the beeper sounds. When the weight is outside
the acceptable range, the OVER or UNDER light will illuminate.
When the weight on the scale is between the upper and lower limits, the
ACCEPT annunciator lights. When the weight is outside the acceptable range,
the OVER or UNDER light will illuminate and the beeper sounds.
ACCEPT annunciator lights. When the weight is outside the acceptable range,
the OVER or UNDER light will illuminate. The beeper does not sound during
checkweighing when this is chosen.
AWB 120 Bench Scale User Instructions 17
Page 18

3 Operation
3.4.1 Setting Checkweighing Limits and Beeper Mode
To set the checkweighing upper and lower limits follow these steps:
1. Press the Net and the Print keys simultaneously and release…
SEt H is displayed. This stands for the high or upper weight limit
acceptable for the item being weighed.
2. Press the Enter (Zero) key to access this item.
The current value of the upper limit is displayed with the right most digit
flashing.
3. Use the keys, as described in the table below, to change the value.
Press this key to move the flashing cursor to the left.
Press this key to move the flashing cursor to the right.
Press this key to increment the value of the flashing digit.
When finished, or if you do not want to change the current value, press the
Enter (Zero) key to accept the displayed value.
SEt H is displayed.
4. Press the Ta r e key to move to the next item
SEt L is displayed. This is the lower acceptable weight limit.
5. Press the Enter (Zero) key to access this item.
The current value of the lower limit is displayed with the right most digit
flashing.
6. Use the keys, as described in the table above, to change the value. See note
below. When finished, or if you do not want to change the current value, press
the Enter (Zero) key to accept the displayed value.
Use the Clear (Print) key to clear a value on the screen.
18 AWB 120 Bench Scale User Instructions
SEt L is displayed.
Page 19

3.4 Checkweighing
7. Press the Ta r e key to move to the next item
bEEP is displayed. Set the beeper function with this item.
8. Press the Enter (Zero) key to access this item.
The current setting for the beeper is displayed.
9. Scroll through the three settings using the Tare key. These are shown and
described below:
This stands for OK (or Beep on OK)
In this mode, when the weight on the scale is between the upper and lower limits,
the ACCEPT annunciator lights and the beeper sounds. When the weight is
outside the acceptable range, the OVER or UNDER light will illuminate but the
beeper will not sound.
This stands for NG (or Beep when No Good)
In this mode, when the weight on the scale is between the upper and lower limits,
the ACCEPT annunciator lights. When the weight is outside the acceptable
range, the OVER or UNDER light will illuminate and the beeper sounds.
This stands for NO (no Beeper)
When the weight on the scale is between the upper and lower limits, the
ACCEPT annunciator lights. When the weight is outside the acceptable range,
the OVER or UNDER light will illuminate. The beeper will never sound.
10. With your choice displayed, press the Enter (Zero) key to accept the displayed
choice.
bEEP is displayed.
11. Press the key to return to normal operating mode.
Checkweighing function only available when weight is more than 20 divisions. The
Under annunciator will not light until weight on the scale exceeds the 20 division
minimum.
To disable the checkweighing function enter zero into both limits by pressing the
PRINT key when the current limits are shown then pressing ZERO to store the zero
values.
AWB 120 Bench Scale User Instructions 19
Page 20

3 Operation
M+ means there is
weight in accumulator
memory.
3.5 Accumulating Weights
The scale has an accumulate function which stores the displayed weight in memory.
Follow these steps to use the accumulate function:
1. Power up the scale, zero the scale if necessary and place the object to be
weighed on the scale platform…
Gross weight is displayed.
2. When the weight is stable press the M+ key…
The display will show ACC 1 and then the total in memory for two seconds
before returning to gross weight display. Also, the M+ annunciator in the
lower right corner of the display will appear briefly as a reminder that there
is weight in the accumulator memory. See Figure 3.1.
3. You must remove the weight from the scale and allow the display to return to
zero before you add another weight to be accumulated. Repeat the process:
Place the weight on the scale, press the M+ key to accumulate the weight, and
remove the weight until you have weighed everything you want in memory.
4. Press the MR (memory recall) key to see the information stored in the
memory…
5. To remove the accumulated weight from the memory, press and release the
M+ and MR keys simultaneously…
3.6 Animal Weighing
The scale can be used to weigh small animals. It has a filtering mode to slow the weight
display response so the movement of the animal does not constantly affect the weight
reading.
Figure 3.1 M+ annunciator
ACC X is displayed briefly. X is the total number of instances a weight
has been accumulated. This is followed by a brief display of the total
weight that has been accumulated. The screen will return to normal
mode automatically.
ACC 0 is briefly displayed showing the accumulator has been cleared
and the indicator returns to normal operating mode.
To enable or disable this function press the Zero and Tare keys simultaneously. You
should hear 2 or 3 beeps to let you know you’ve toggled the setting.
Place the animal on the platform and the reading will gradually change. When the
weight reading is steady, note the weight then remove the animal and place the next
one on the scale.
Press the Zero and Tar e keys simultaneously again to return to normal weigh mode.
20 AWB 120 Bench Scale User Instructions
Page 21

3.7 User Settings
The user has access to two settings: Backlight and Auto Power Off.
3.7.1 Set Backlight
To change the operation of the backlight, follow these steps:
1. Hold the Zero key for three seconds
2. Press the Enter (Zero) key to enter backlight setting
3. Press the Ta r e key to scroll through backlight modes:
4. Press the Enter (Zero) key to accept displayed choice.
5. Press the Esc (Net) key to return to normal operating mode.
3.7 User Settings
SEtbL is displayed. This stands for the Set Backlight function.
BL ON = backlight always on
BL AU = auto backlight, backlight will go on when any key is pressed or a load
is placed on the scale
BLOFF = backlight always off
3.7.2 Set Auto Power Off
To change the operation of the Auto Power Off function, follow these steps:
1. Hold the Zero key for three seconds
2. Press the Ta r e key…
3. Press the Enter (Zero) key to enter this item…
4. Press the Ta r e key to scroll through the choices:
OF ON = the scale remains on constantly
OF 5 = scale powers off after 5 minutes of inactivity
OF 15 = scale powers off after 15 minutes of inactivity
5. Press the Enter (Zero) key to accept displayed choice.
6. Press the Esc (Net) key to return to normal operating mode.
SEtbL is displayed.
SEtoF is displayed. This stands for the Set Off function.
Current setting is displayed.
AWB 120 Bench Scale User Instructions 21
Page 22

3 Operation
22 AWB 120 Bench Scale User Instructions
Page 23

Page 24

Avery Weigh-Tronix USA
1000 Armstrong Dr.
Fairmont MN 56031 USA
Tel:507-238-4461
Fax:507-238-4195
Email: usinfo@awtxglobal.com
www.wtxweb.com
Avery Weigh-Tronix UK
Foundry Lane,
Smethwick, West Midlands,
England B66 2LP
Tel:+44 (0) 8453 66 77 88
Fax: +44 (0)121 224 8183
Email: info@awtxglobal.com
www.averyweigh-tronix.com
 Loading...