

Avaya PARTNER PC CARD Installation Instructions Manual

PARTNER PC CARD
Installation Instructions
This PC Card is used with a PARTNER® Advanced Communications System (ACS). These instructions are
designed for any one of the following types of PC Cards:
■ Backup/Restore Card
■ Software Upgrade Card (for one-time upgrade only)
■ Automatic System Answer/Direct Extension Dialing (ASA/DXD) Card
■ PA RT NE R
®
Remote Access PC Card
The PARTNER Remote Access PC Card is a multi-purpose card that accompanies all
PARTNER ACS Release 3.0 and later processors. This PC Card can be used to upgrade
previous versions of PARTNER ACS Release 3.0 and later, to perform backup and restore
functions, and, with additional software (for the PC, not the PARTNER system), it can also be
used to administer the PARTNER system from local and remote locations using a PC.
WARNING:
Remove all other PC Cards from the processor before initiating an upgrade.
Important Safety Instructions
WARNING:
The following list provides basic safety precautions that should always be followed when using this product:
1. Read and understand all instructions.
2. Follow all warnings and instructions marked on the product.
3. Do not drop, bend, or crush the card.
4. Keep the card away from moisture, high temperatures, and direct sunlight.
5. Keep the connector on the card clean.
CAUTION:
Before starting, verify that you have batteries properly installed in the processor module. Extension 10 will
show
ChgBat W/PowerOn or ReplaceSysBat W/Power On on the display if the batteries need to be
replaced, or if they are not installed properly. To avoid damage to the processor module or to the card, do not
install or remove the card when power is on.
SAVE THESE INSTRUCTIONS
Copyright 2001
Avaya Inc.
All rights reserved
Printed in U.S.A.
Document Number 518-457-101
Comcode: 700017981
May 2001 (Issue 4)
PARTNER is a registered trademark of Avaya Inc.
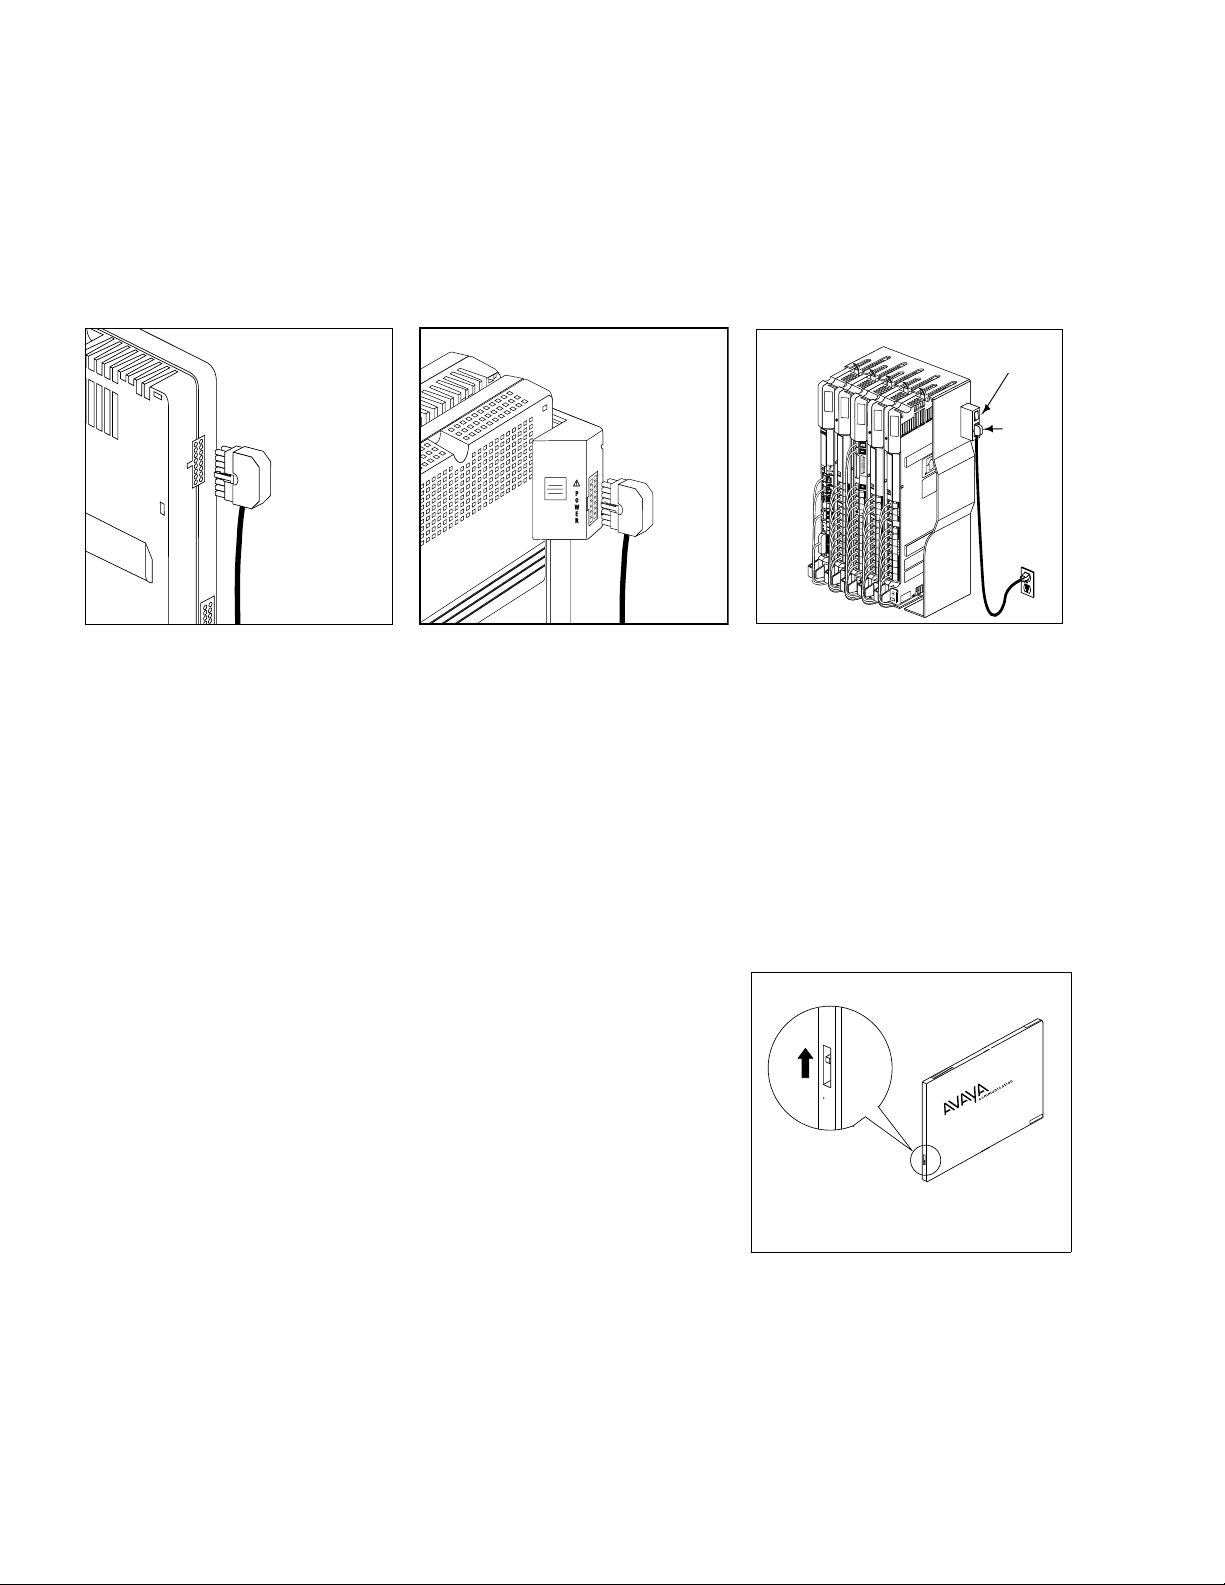
1 Power down the system before inserting or removing a PC Card.
A) If you have a Stand-alone or 2-Slot Carrier, disconnect the power cord from the power jack on the carrier
and unplug the power cord from the wall outlet.
B) If you have a 5-Slot Carrier, move the carrier’s On/Off switch to Off (“O”) and unplug the power cord from
the wall outlet.
Stand-alone
Processor Module
2-Slot Carrier
5-Slot Carrier
PARTNER
3000
PARTNER
3000
P
A
R
T
N
E
R
3
0
0
0
On/Off Switch
PARTNER
3000
PARTNER
3000
Power
Jack
2 If you do not have a 5-slot carrier or have a system of Release 4.0 or later, go to Step 3. If you have a 5-slot
carrier and a system of Release 3.0 or earlier:
A) Loosen the screw on the lower front of the cover.
B) Place one hand on the handle on the bottom front of the cover, and place your other hand on the top of
the cover. Gently pull the cover up and away from the carrier–be careful not to break the tabs that attach
the cover to the carrier.
3 If your card comes with a write-protect tab, verify that the
write-protect tab on the PC Card is not in the write-protected
position. If it is, use a paperclip or another pointed object to push the
write-protect tab on the end of the PC Card upward to the
nonprotected position.
If your new PC Card is a Software Upgrade Card, or if you are
using your PARTNER Remote Access PC Card to upgrade your
processor, remove all other PC Card(s) from the PC Card slot(s)
on the processor module by gently pulling each card straight
out (with the power off).
 Loading...