

Page 1
User Manual
True Wireless Earbuds for
Clear Phone Calls
TWS120
Product Overview ·················································································································1
How to wear ····························································································································1
How to charge ························································································································2
Basic operations ····················································································································· 3
LED Indications ······················································································································3
How to pair ······························································································································4
How to clear pairing history / reset ················································································5
Support ····································································································································· 6
Page 2
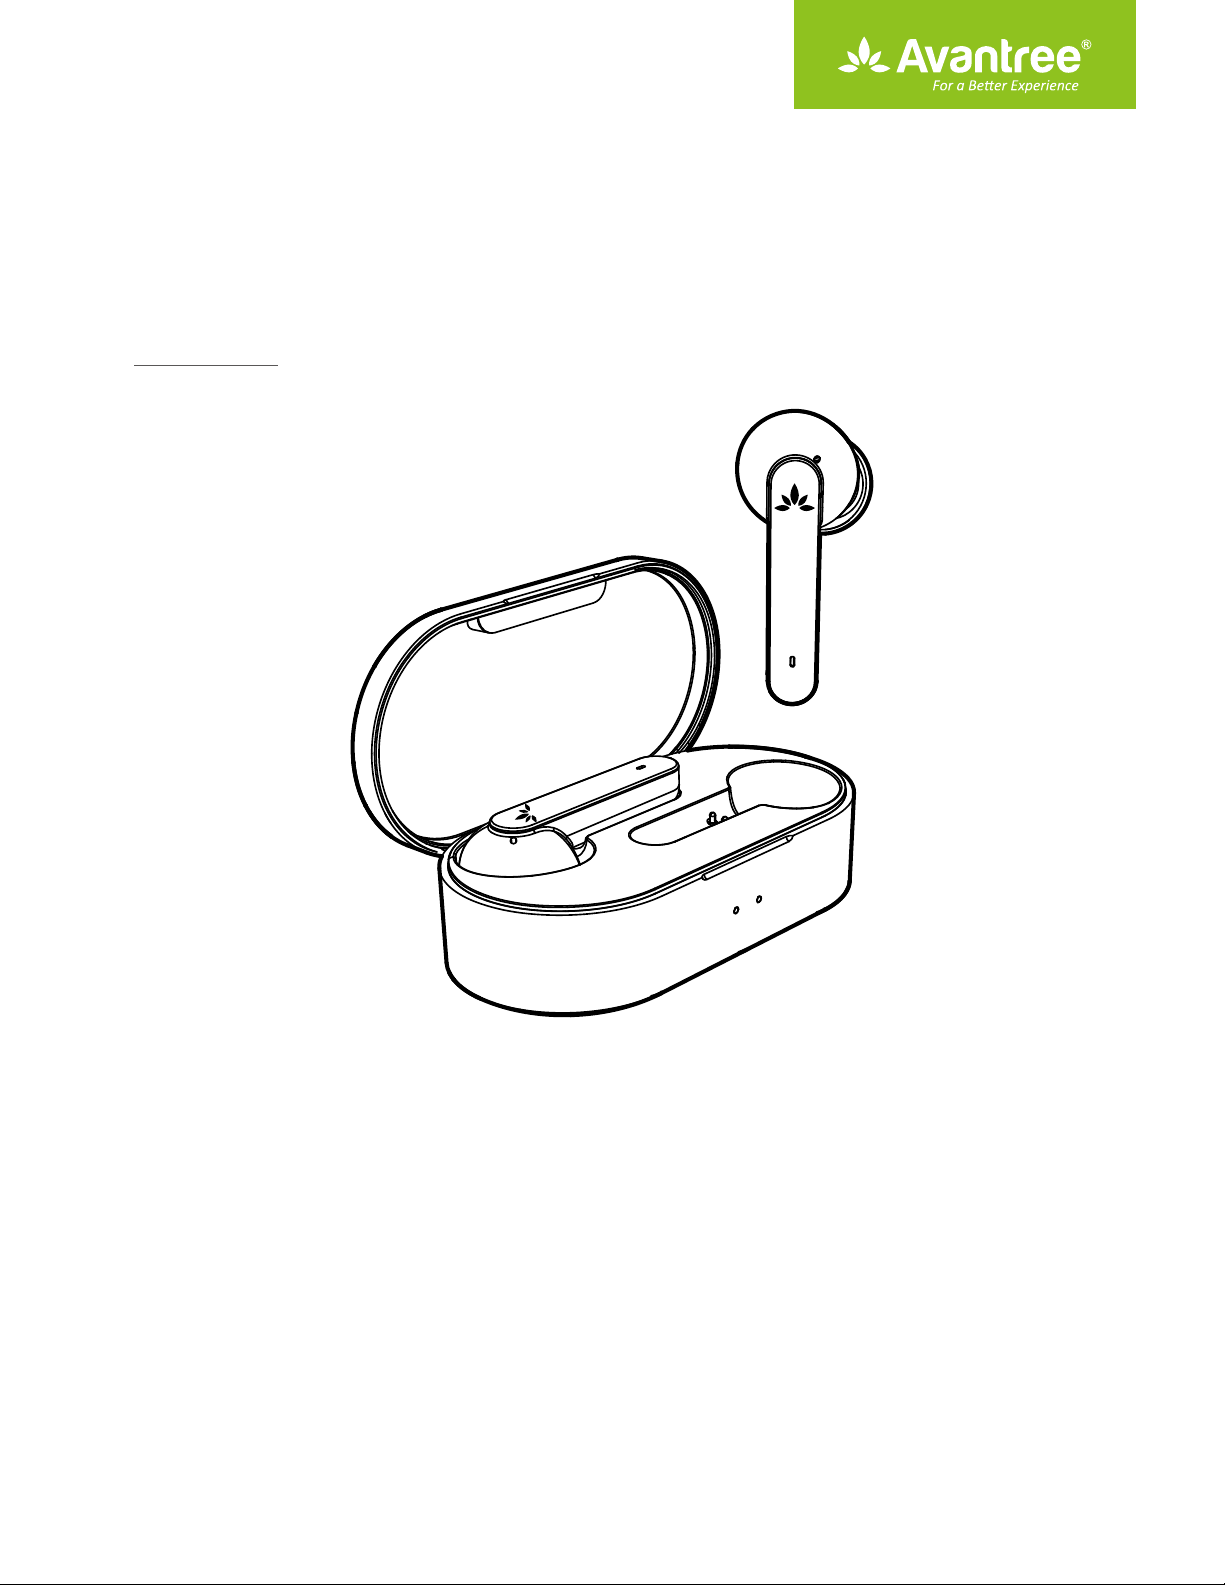
Product Overview
Touch
area
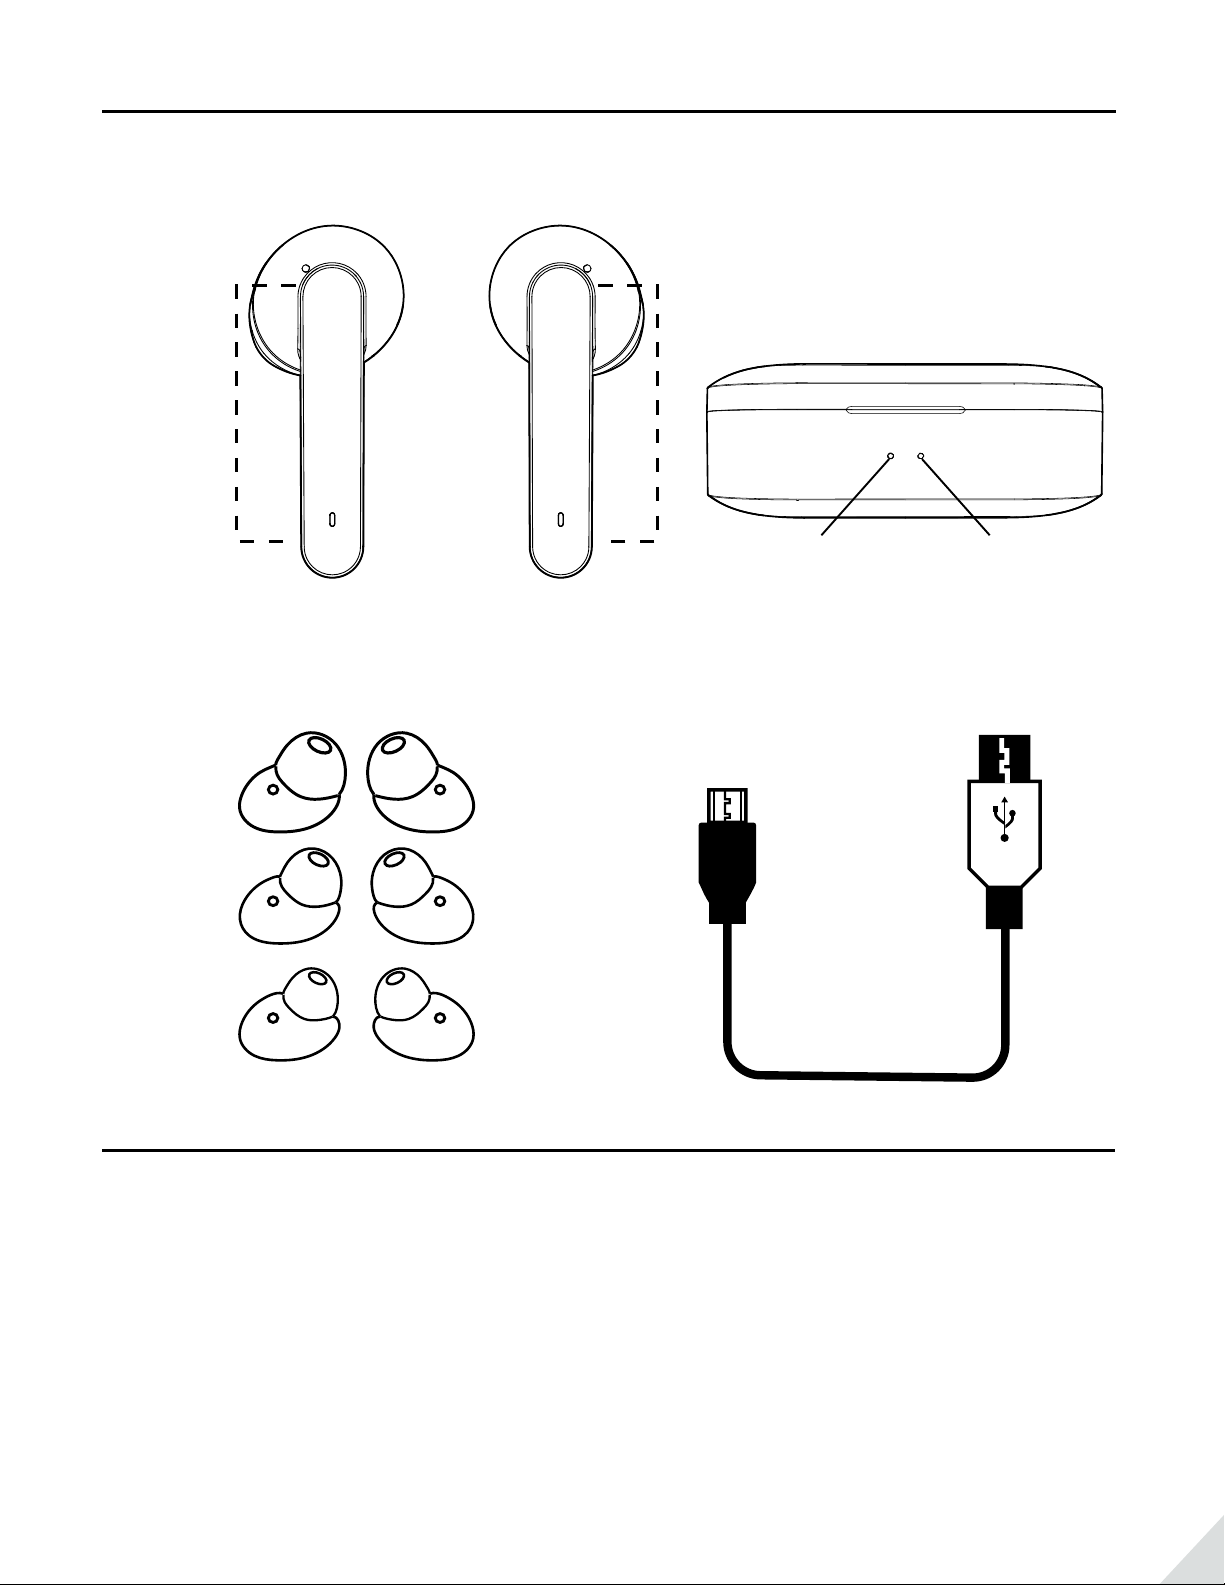
Earbuds
S
M
L
EarGels Micro-USB Cable
L R
Charging case
LED 1 LED 2
Included accessories
How to wear
Select & replace eartips
To get the optimal experience, we recommend that you give each of the dierent sized eartips a try and nd the
pair that ts your ears the best. The medium-sized eartips are pre-mounted onto the earphones. Please ensure
that the eartips are rmly attached.
Flip the eartips over and mount them onto the earphones. Then adjust the whole to aim at the microphone
hole.
1
Page 3

Microphone hole Overlapping microphone holes
Fitting adjustment
Insert the earphone into your ear and adjust to a position that you’re comfortable with. The better the t, the
better the noise isolation will be.
How to charge
With up to 8 hours of battery in the earphones, and 3-3.5 charges in the charging case, Avantree TWS120 oers
up to 36 hours of playtime.
Charging the earphones
When you start hearing the “battery low” voice prompt, please charge the earphones by putting them back
into the charging case. It takes about 1.5 hours to fully charge. The LED indicators on the earphones will
illuminate RED while charging. Once the charging has completed, the LED indicators will turn WHITE for 10
seconds before automatically turning o.
battery low
Charging-Illuminate RED Fully charged-Illuminate White
then go o
(Note: The earphones will automatically turn o about 10 minutes after the rst low battery warning.)
2
Page 4

Charging the case
Please charge the case if you see its left-side LED (LED 1) ashing RED. Charging the case will also charge the
earphones if the earphones are inside the case.
Please use a DC 5V / 0.5-2A USB wall charger /car charger / computer USB port with the included Micro-USB
cable to charge.
The left-side LED (LED 1) will illuminate RED while charging. When fully charged, the left-side LED (LED 1) will
turn o and the right-side LED (LED 2) will illuminate GREEN.
DC 5V / 0.5-2A
OR
Basic operations
Function
Power On
Power O
Pairing
Play / Pause Double tap the touch area on either earphone.
Volume Up Slide up on the touch area on the L earphone.
Volume Down Slide down on the touch area on the L earphone.
Previous Track Slide up on the touch area on the R earphone.
Next Track Slide down on the touch area on the R earphone.
Answer / End a Call Double tap the touch area on either earphone.
Operation
Open the case lid, LED light will illuminate WHITE for about 1s.
Put the earphones back into the charging case and close the case lid; they will
power o and start charging. LED light will illuminate RED and then turn o.
Once powered on, the 2 earphones will connect with each other. The R earphone
will enter pairing mode with its LED ashing WHITE and RED alternately.
LED Indications
For earphones
Connected with mobile device LED on the R earphone double-ashes WHITE every 5s.
Not connected with mobile device LED on the R earphone ashes WHITE once every 1s.
3
Page 5

Earphones connected with each other LED on the L earphone double-ashes WHITE every 5s.
Earphones not connected with each other LED on the L earphone ashes WHITE once every 1s.
Battery low LEDs will ash RED 4 times every 2 mins.
Charging LEDs stay SOLID RED.
Fully charged RED LEDs turn to WHITE for about 10s then turn o.
For charging case
Battery low Left-side LED (LED 1) ashes RED
Charging Left-side LED (LED 1) stays SOLID RED
Fully charged Right-side LED (LED 2) turns SOLID GREEN
How to pair
Connect to a Bluetooth device
1. Open the case to turn ON the earphones. Note: LED indicators on the earphones should already be ashing
WHITE.
2. Wait for LED on the R earphone to start ashing WHITE & RED alternately – Pairing Mode. (Fig 1-1)
3. Search & select Avantree TWS120 from the Bluetooth menu on your device, you will see Avantree TWS120
shown as “Connected”. (Fig 1-2)
4. The earphones will auto-reconnect to your device the next time you take them out of the case.
4:30
Settings Bluetooth
Bluetooth
Now discoverable as “iPhone(2)”
R
L
MY DEVICES
Avantree HS134
OTHER DEVICES
Avantree TWS120
To pair an Apple Watch with your iPhone, go to the Watch
app.
Not Connected
5G
4:30
Settings Bluetooth
Bluetooth
Now discoverable as “iPhone(2)”
MY DEVICES
Avantree TWS120 Connected
Avantree HS134 Not Connected
OTHER DEVICES
To pair an Apple Watch with your iPhone, go to the Watch
app.
5G
Fig 1-1 Fig 1-2
NOTE: to connect with ANOTHER device, please turn o Bluetooth on the previously connected device rst.
Mono earphone use
Both R and L earphone can be used independently.
When you want to use the R earphone independently, please:
1. Open the case to turn on both earphones. (Fig 2-1)
2. Pick out the R earphone and close the case. Wait for auto-reconnection to your device. You will see Avantree
TWS120 shown as “Connected” and hear “Connected” from the R earphone. (Fig 2-2)
4
Page 6

4:30
Settings Bluetooth
Bluetooth
Now discoverable as “iPhone(2)”
R
R
L
MY DEVICES
Avantree TWS120 Connected
Avantree HS134 Not Connected
OTHER DEVICES
To pair an Apple Watch with your iPhone, go to the Watch
app.
4G
Connected
&
Fig 2-1 Fig 2-2
When you want to use the L earphone independently, please:
1. Open the case to turn on both earphones. (Fig 3-1)
2. Pick out the L earphone and close the case. Wait for LED on the L earphone to ash WHITE & RED alternately –
PAIRING MODE. (Fig 3-2)
3. Search & select Avantree TWS120S from the Bluetooth menu on your device. (Fig 3-3)
4:30
Settings Bluetooth
Bluetooth
Now discoverable as “iPhone(2)”
L
R
MY DEVICES
Avantree TWS120S Connected
Avantree HS134 Not Connected
OTHER DEVICES
To pair an Apple Watch with your iPhone, go to the Watch
app.
L
4G
Fig 3-1 Fig 3-2 Fig 3-3
How to clear pairing history / reset
Reset the R earphone
1. Open the case to turn ON the earphones. Note: Earphone LED indicators should already be ashing WHITE. (Fig 4-1)
2. Wait for LED on the R earphone to ash WHITE & RED alternately – Pairing Mode. (Fig 4-2)
3. Long press the R earphone for about 10 seconds until LED lights on
PINK) for about 5 seconds. (Fig 4-3)
WHITE & RED
simultaneously (looks like
R
Hold 10s
R
L
Fig 4-1 Fig 4-2 Fig 4-3
5
Page 7

Reset the L earphone
1. Open the case and pick out the L earphone only. Then close the case. (Fig 5-1)
2. Wait for LED on the L earphone to ash WHITE & RED alternately – Pairing Mode. (Fig 5-2)
3. Long press the L earphone for about 10 seconds, until LED lights on WHITE & RED simultaneously (looks like
PINK) for about 5 seconds. (Fig 5-3)
L
Hold 10s
R
L
Fig 5-1 Fig 5-2 Fig 5-3
Note: the steps above can only clear the pairing history between TWS120 / TWS120S with your Bluetooth
device. If you experience one side sound, please visit here to connect the two earphones manually avantree.
com/tws120/video
Please forget / delete any TWS120 / TWS120S on the Bluetooth list of your device before you want to pair it
again.
4:30
Settings Bluetooth
Bluetooth
Now discoverable as “iPhone(2)”
MY DEVICES
Avantree TWS120 Connected
Avantree HS134 Not Connected
OTHER DEVICES
To pair an Apple Watch with your iPhone, go to the Watch
app.
5G
4:30
Bluetooth Avantree TWS120
Forget This Device
5G
Support
FAQ
View the FAQs on https://avantree.com/product-support/BTHS-TWS120-BLK.
6
Page 8

How to take care of your TWS120
- Always store the earphones inside the charging case and make sure that they are safely protected.
- If you would like to clean your earphones, we recommend that you follow these instructions.
- The TWS120 is designed to function optimally between the temperatures of 0°C and 40°C (32-100°F.)
Although it can and will function beyond this temperature range, performance may be impaired.
- Avoid storing the earphones for extended periods of time without recharging them (max. three months.)
- The charging case is designed to charge using standard USB voltage (5v ± 0,25v). It is not recommended to
charge this product using power supplies/sources with higher voltage.
7
 Loading...