


Smart Voice Service
Speaker Phone PH637N User Guide
(Version 2.0)

Smart Voice Service
Table of Content
1. Product Overview ........................................................... 4
1.1 KEYPAD INSTRUCTION ............................................................................................ 4
1.2 LCD SCREEN ........................................................................................................ 5
1.2.1 Scroll Keys .......................................................................................................... 5
1.2.2 Item Selection ...................................................................................................... 5
1.2.3 Character Input .................................................................................................... 5
1.2.4 Input Modes ......................................................................................................... 5
1.3 LED INDICATORS ................................................................................................... 6
2. Basic Features.............................................................. 7
2.1 PLACING A CALL .................................................................................................... 7
2.1.1 Dialing a Phone Number ...................................................................................... 7
2.1.2 Dialing from Call History ...................................................................................... 7
2.1.3 Redialing ............................................................................................................. 8
2.1.4 Terminating a Call ............................................................................................... 8
2.1.5 Answering a Call .................................................................................................. 8
2.1.6 Denying a Call ..................................................................................................... 8
2.1.7 Muting a Call ....................................................................................................... 9
3. Advanced Features ....................................................... 10
3.1 CALL BLOCKING .................................................................................................... 10
3.1.1 Incoming Call Block List ..................................................................................... 10
3.2 CALL HOLD ........................................................................................................... 10
3.3 CALL WAITING ................................................................................................ ....... 10
3.4 CALL TRANSFER ................................................................ .................................... 11
3.4.1 Unattended Call Transfer ................................................................................... 11
3.4.2 Attended Call Transfer ....................................................................................... 12
3.5 3-WAY CONFERENCING .......................................................................................... 12
3.6 DO-NOT-DISTURB ................................................................................................. 13
3.6.1 Activating Do-Not-Disturb by using Do-Not-Disturb Button................................. 13
3.6.2 Activating Do-Not-Disturb by using Menu Button ............................................... 13
3.7 CALL HISTORY ...................................................................................................... 14
3.7.1 Checking Call History by using Menu Button ..................................................... 14
3.7.2 Checking Call History on Standby Mode ............................................................ 15
3.8 SPEED DIAL .......................................................................................................... 15
3.9 PHONE BOOK ........................................................................................................ 16
3.9.1 Adding Contact in Phone Book by using Menu Button ....................................... 16
3.9.2 Making a Phone Call from Phone Book ............................................................. 17
3.9.3 Modifying a Contact in the Phone Book ............................................................. 18
3.9.4 Saving a Number to Old Contact from Call History ............................................ 19
3.9.5 Saving a Number to New Contact from Call History ........................................... 20
3.10 VOICE MAIL ................................ ................................................................ .......... 21
4. Audio Features ............................................................ 22
Version 2.0 2 ©WTT HK Limited 2017

Smart Voice Service
4.1 CHANGE RINGTONE ............................................................................................... 22
4.2 CHANGE VOLUME .................................................................................................. 22
4.2.1 Adjusting the Ringer Volume ................................................................ ............. 22
4.2.2 Adjusting the Handset Volume ........................................................................... 22
4.2.3 Adjusting the Speaker Volume ........................................................................... 22
Version 2.0 3 ©WTT HK Limited 2017

Smart Voice Service
1. LINE Indicator
Show the line status
12. HISTORY
Retrieve call history
2. CALL WAIT
Indicator
Show the call waiting status
13. MENU
Enter the phone menu
3. MSG Indicator
Show voicemail message
status
14. DELETE
Delete button
4. UP/DOWN
Control up and down action
15. ENTER
Select an item
5. + /- KEY
Volume Up/Down
16. BACK
Go back to the previous
menu
6. FLASH
Flash button
17. CONF
Activate 3-way conference
7. HOLD
Hold the call
18. TRANSFER
Transfer the call during
conversation
8. REDIAL
Redial previous dialed number
19. DO NO DISTURB
Turn on/off Do Not Disturb
9. SPEAKER
Speakerphone mode /
Hands-free mode
20. MUTE
Mute a phone conversation
10. M1-M3
Speed Dial buttons
21. 0-9 KEYS, *, #
Number keypad
11. MSG
Retrieve voice mails
22. IN USE Indicator
Show the online status
1. PRODUCT OVERVIEW
WTT Smart Voice service uses wideband technology to provide a wide array of advanced call features and enables
high quality audio communications.
1.1 Keypad Instruction
Version 2.0 4 ©WTT HK Limited 2017

Smart Voice Service
1 > P h o n e b o o k
2 C a l l H i s t o r y
↓
2 > C a l l H i s t o r y ↑ 3 C a l l F e a t u r e s
↓
1 > P h o n e b o o k 2 C a l l H i s t o r y
↓
D I s p l a y N a m e
A
_
D i s p l a y N a m e
A
R F C _
Important Note: If you unplug the power cord, please remember to wait for at least 5 seconds before
plugging in the power cord to the Speaker Phone again.
1.2 LCD Screen
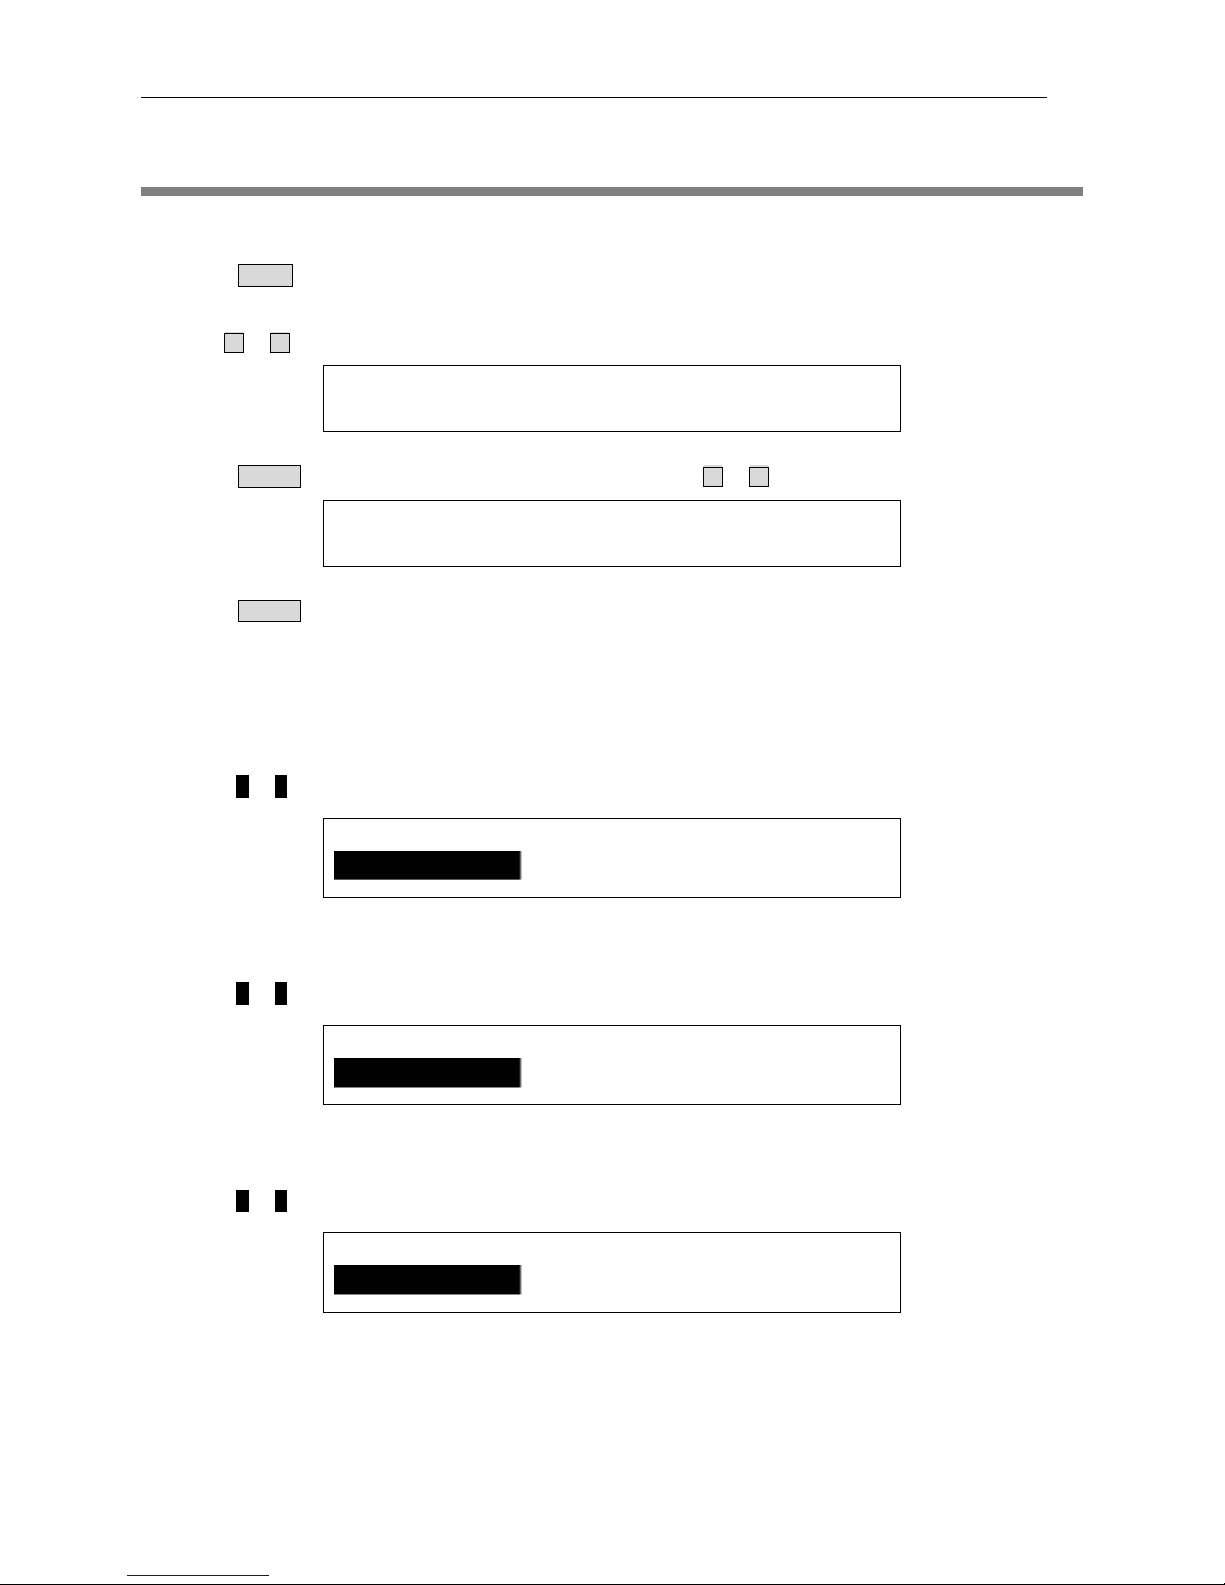
1.2.1 Scroll Keys
For information with more than two rows, “↓” will display on the bottom right hand corner on the LCD screen.
LCD Screen
Press to scroll down, and “↑” will display on the top right hand corner on the screen. Press if you want to scroll
up.
1.2.2 Item Selection
If an item can be selected, “>” (selection cursor) indicator will display on the LCD screen. Press or to move the
cursor. Press ENTER to confirm the selection.
1.2.3 Character Input
“_” (input cursor) shows you the position of your entry. To delete the last input character, press DELETE.
Press ENTER to save the information upon completion of your entry.
1.2.4 Input Modes
Press # to toggle the input mode. The input modes on the top right hand corner on LCD screen represented by each
character are depicted as below:
A: Alphabet
N: Number
The input mode of Display Name is defaulted as alphabet mode.
Version 2.0 5 ©WTT HK Limited 2017

Smart Voice Service
D i s p l a y N a m e N R F C 3 2 6 1 _
Press # if you want to alter to the number mode.
1.3 LED indicators
There are 4 LED indicators on the phone:
“LINE” indicates an incoming call (flashing red) or the phone is in use (steady red).
“CALL WAIT” indicates a second incoming call (flashing red).
“MSG” indicates there is new voicemail message.
“IN USE” indicates the phone is in use.
Version 2.0 6 ©WTT HK Limited 2017

Smart Voice Service
E n t e r n u m b e r
_
E n t e r n u m b e r 2 1 1 2 _
C a l l i n g 2 1 1 2 . . .
C o n n e c t e d t o 2 1 1 2
1 > M i s s e d C a l l s
2 R e c e i v e d C a l l s
↓
1 > 2 1 1 2
2 3 7 5 3
1 > C a l l 2 S a v e
2. BASIC FEATURES
2.1 Placing a Call
2.1.1 Dialing a Phone Number
1. Pick up the handset or press SPEAKER, you will hear the dial tone with LINE LED indicator turns on. If there
is a Message Waiting Notification, you will hear the 5-second stutter tone and then the dial tone.
2. Enter the phone number (e.g. 2112).
3. Press ENTER or # to make the call. You will see the following display on LCD screen:
4. When the call is connected, the following display will be shown on LCD screen:
2.1.2 Dialing from Call History
The last 30 missed calls, dialed calls and received calls will be saved in the call history. You can dial a call directly from
the call history:
1. Press HISTORY.
2. Use or to select the call history type (“1 Missed Calls”, “2 Received Calls” or “3 Dialed Calls” ).
3. Press ENTER and the corresponding phone numbers will display on LCD screen.
4. Use or to browse the numbers. Press ENTER and select the number, and the following screen will be
shown:
Version 2.0 7 ©WTT HK Limited 2017

Smart Voice Service
C a l l i n g 2 1 1 2 . . .
C a l l i n g 2 1 1 2 . . .
C a l l t e r m i n a t e d b y
2 1 1 2
F r o m 2 3 4 J o h n
5. Press ENTER to call the number and the speakerphone will automatically turn on. Pick up the handset to
switch the call to the handset if necessary.
2.1.3 Redialing
1. Lift the handset and press REDIAL. You will see the following display on LCD screen:
Note: You can also press REDIAL to place the call directly without pressing the SPEAKER via speaker phone.
2.1.4 Terminating a Call
There are 4 options for terminating a call:
1. Go on-hook;
2. Press the hook switch;
3. Press BACK; or
4. Press SPEAKER when using speaker phone mode.
If the other party terminates the call, you will hear the busy tone with the following LCD screen display:
2.1.5 Answering a Call
The LCD screen shows a normal phone icon in standby mode.
If there is an incoming call, the phone will ring with flashing LINE (or CALL WAIT) LED indicator. The caller number
and name will display on the LCD screen if available:
To answer a call, lift the handset or press SPEAKER via speaker phone.
Note: “X” indicator will display on the LCD screen if the phone cannot receive incoming calls.
2.1.6 Denying a Call
To ignore and terminate an incoming call, press BACK and the phone will stop alerting.
Version 2.0 8 ©WTT HK Limited 2017

Smart Voice Service
C o n n e c t e d t o 2 0 0 0 J o h n
M
2.1.7 Muting a Call
1. Press MUTE to mute the microphone during an active call. “M” indicator will display on the bottom right hand
corner on the screen.
2. To resume the conversation, press MUTE again and the “M” indicator will disappear.
Version 2.0 9 ©WTT HK Limited 2017

Smart Voice Service
5 > B l o c k L i s t
6 S e t t i n g s
1 B l o c k L i s t 1
↑
2 > B l o c k L i s t 2
↓
B l o c k n u m b e r
C a l l o n h o l d w i t h 2 0 0 0
C o n n e c t e d t o
2 0 0 0
F r o m L 1 : 3 0 0 0
3. ADVANCED FEATURES
3.1 Call Blocking
3.1.1 Incoming Call Block List
You can block the nuisance calls by adding the unwanted numbers to your incoming call block list. Maximum 10
blocked numbers can be stored. All incoming calls defined in the block list will be rejected by the phone. The calls are
diverted to a busy tone signal.
1. Press MENU. Use or to select “5 Block List” and press ENTER.
2. Use or to select a specific “Block List” (e.g. Block List 2). Press ENTER.
3. Enter the phone number you want to block and press ENTER to confirm.
3.2 Call Hold
1. Press HOLD to put an active call on hold and activate music-on-hold.
2. Press HOLD again to resume the conversation. The original screen will be shown again:
3.3 Call Waiting
If you are engaged in an active call and a new call comes in, the call waiting feature will be triggered.
1. If a new call comes in (e.g. from 3000) when you are on the phone, you will hear a call waiting tone with flashing
CALL WAIT indicator. The caller ID of incoming call will be shown on the phone’s LCD screen as below:
Version 2.0 10 ©WTT HK Limited 2017

Smart Voice Service
C o n n e c t e d t o 3 0 0 0
C o n n e c t e d t o 2 0 0 0
T r a n s f e r t o _
T r a n s f e r t o
3 0 0 0 _
C a l l t r a n s f e r r e d
t o 3 0 0 0
C a l l t e r m i n a t e d b y
2 0 0 0
2. Press FLASH to answer the second call and put the first call on hold. The CALL WAIT LED turns on with
flashing held line LED. The caller ID of the second call will be shown on the LCD screen:
3. To return to the original call, press FLASH again.
Important Note: If you wish to retrieve your call with the first calling party, please do not press FLASH until you have
answered the second call.
3.4 Call Transfer
The phone supports both Unattended and Attended call transfer modes.
3.4.1 Unattended Call Transfer
You can perform an unattended (blind) call transfer during an active call by the following steps:
1. Press TRANSFER to enter the call transfer screen:
2. Enter the number you want to transfer (e.g. 3000).
3. Press ENTER to transfer the call to the target number.
4. The call termination screen will be shown upon the completion of call transfer operation.
5. Hang up the call.
Version 2.0 11 ©WTT HK Limited 2017

Smart Voice Service
C a l l o n h o l d w i t h 2 0 0 0
C o n n e c t e d t o
3 0 0 0
C a l l T r a n s f e r r i n g
C o n n e c t e d t o 2 0 0 0
C a l l o n h o l d w i t h
2 0 0 0
C o n n e c t e d t o 3 0 0 0
1 - * 2 0 0 0 2 - * 3 0 0 0
3.4.2 Attended Call Transfer
You can perform an attended call transfer during an active call by the following steps:
1. Press HOLD to hold the call.
2. Press FLASH to place another call (e.g. 3000).
3. Press TRANSFER to transfer the call. The call transfer screen will be shown:
Note: For attended call transfer to be successful, the transfer target must enable call waiting. Otherwise, the transfer
target will not be able to receive the new call from the transferee.
3.5 3-way Conferencing
The phone supports 3-way conferencing with two other parties.
1. Set up a call first and a screen will be shown as below:
2. Press HOLD to hold the call.
3. Press FLASH and then place another call. The following screen will be shown:
4. Press CONF to bridge two calls and the conferencing call will be set up. The phone number on each line will be
shown (* indicates the line is active).
5. End the conferencing call by terminating any one of the lines.
Version 2.0 12 ©WTT HK Limited 2017

Smart Voice Service
1 - O 2 0 0 0 2 - O 3 0 0 0
1 0 0 0 A l
i c e A u 0 2 : 5 1 : 3 0 P M D
2 C a l l H i s t o r y
↑
3 > C a l l F e a t u r e s
↓
3 C a l l W a i t i n g 4 > D o N o t D i s t u r b
1 > E n a b l e
2 - D i s a b l e
To hold the conferencing call, please follow these steps:
1. Press HOLD and you will see the following screen (O indicates the line is held):
2. Press HOLD again to un-hold the conferencing call.
3.6 Do-Not-Disturb
3.6.1 Activating Do-Not-Disturb by using Do-Not-Disturb Button
1. Press DO NO DISTURB to reject all incoming calls and give busy tone. “D” indicator will display on the
bottom right hand corner on the LCD screen when Do-Not-Disturb is activated.
2. Press DO NOT DISTURB again to disable the Do-Not-Disturb.
3.6.2 Activating Do-Not-Disturb by using Menu Button
1. Press MENU. Use or to select “3 Call Features”.
2. Press ENTER. Use or to select “4 Do Not Disturb”.
3. Press ENTER. To activate the function, use or to select “1 Enable” and press ENTER; or use or to
select “2 Disable” and press ENTER to disable the function.
Important Note: The new setting will be applied at least 5 seconds upon the completion of new phone configuration.
Please do not use the phone during this period.
Version 2.0 13 ©WTT HK Limited 2017

Smart Voice Service
2 > C a l l H i s t o r y
3 C a l l F e a t u r e s
↓
1 > M i s s e d C a l l s 2 R e c e i v e d C a l l s
↓
1 > 2 0 0 0 J o h n 2 3 0 0 0 M a r y
↓
1 > C a l l 2 S a v e
↓
1 C a l l
2 > S a v e
↓
1 > A d d t o O l d C o n t a
2 C r e a t e N e w C o n t a
↓
3 > D a t e & T i m e
↑
4 R e m o v e
↓
3.7 Call History
The phone can store the last 30 missed calls, dialed calls and received calls. Each record contains the phone number,
calling date and time.
3.7.1 Checking Call History by using Menu Button
1. Press MENU. Use or to select “2 Call History”.
2. Press ENTER. Use or to select the information you want to know.
3. Press ENTER and use or to view the call records.
4. Press ENTER. You can either place a call, save the number, check the calling date and time and remove the
call records by following these steps:
i) Placing a Call
To place a call, select “1 Call” and press ENTER. Speakerphone will automatically turn on for
calling. Pick up the handset to switch the call to the handset if necessary.
ii) Saving a number
To save the number, select “2 Save” and press ENTER.
Press or and then choose “1 Add to Old Contact” or “2 Create New Contact”.
Press ENTER to save the record.
iii) Checking calling date and time
To check the calling date and time, press or to select “3 Date & Time”.
`
Version 2.0 14 ©WTT HK Limited 2017

Smart Voice Service
2 0 1 1 - 0 9 - 2 5 1 7 : 0 3 : 2 7
4 > R e m o v e
↑
5 R e m o v e A l l
4 R e m o v e
↑
5 > R e m o v e A l l
M i s s e d c a l l s : 1
1 > 2 0 0 0 J o h n 2 3 0 0 0 M a r y
2 C a l l H i s t o r y ↑ 3 > C a l l F e a t u r e s
↓
1 P r e f i x
↑
2 > S p e e d D i a l i n g
↓
iv) Removing call records
To remove the call record, press or to select “4 Remove” and press ENTER.
To remove all history of the selected call history type, press or to select “5 Remove All”
and press ENTER.
Press ENTER and the details will be shown.
Press ENTER again to go back to the call records.
3.7.2 Checking Call History on Standby Mode
Missed calls will also be shown when the phone is on standby mode.
1. When you have missed calls, you will see “Missed calls” on LCD screen.
2. Press ENTER to view the call history.
3.8 Speed Dial
Speed dial enables you to place a call by simply pressing the M1-M3 shortcut keys.
1. Press MENU and use or to select “3 Call Features”.
2 Press ENTER and use or to select “2 Speed Dialing” setting up your speed dial number.
Version 2.0 15 ©WTT HK Limited 2017

Smart Voice Service
1 > 1 0 0 0
2 2 0 0 0
S p e e d D i a l i n g 1 3 0 0 0 _
1 > P h o n e b o o k
2 C a l l H i s t o r y
↓
1 C a l l C o n t a c t
2 > A d d C o n t a c t
↓
N a m e
A
S u s a n _
M o b i l e _
M o b i l e 9 8 7 6 X X X X _
3 Press ENTER and you will see the current phone number(s) for speed dialing (blank if the phone has not
configured). Use or to select the specific speed dial number.
4 Press ENTER and enter the number you want to use for Speed Dialing.
5 Press ENTER to save the record.
3.9 Phone Book
The phone book enables you to store and manage contacts easily. Maximum100 entries can be stored.
3.9.1 Adding Contact in Phone Book by using Menu Button
1. Press MENU. Use or to select “1 Phonebook”.
2. Press ENTER. Use or to select “2 Add Contact”.
3. Press ENTER and enter a person’s name (e.g. Susan).
4. Press ENTER to save the name. Enter the mobile number (e.g. 9876xxxx).
Version 2.0 16 ©WTT HK Limited 2017

Smart Voice Service
H o m e _
H o m e 2 1 X X X X X X _
O f f i c e
_
O f f i c e 2 2 X X X X X X _
1 > S a v e
2 D i s c a r d
1 > P h o n e b o o k 2 C a l l H i s t o r y
↓
1 > C a l l C o n t a c t
2 A d d C o n t a c t
↓
> A l e x A l i c e
↓
A m a r e
↑
> A n d r e w
↓
5. Press ENTER to save the number. Input the home number (e.g. 21xxxxxx).
6. Press ENTER to save the number. Input the office number (e.g. 22xxxxxx).
7. Press ENTER. Use or to select “1 Save” to confirm the setting.
3.9.2 Making a Phone Call from Phone Book
1. Press MENU. Use or to select “1 Phonebook”.
2. Press ENTER and use or to select “1 Call Contact”.
3. The LCD screen will show the name list in alphabetical order.
4. Use or to select the contact (e.g. Andrew).
Version 2.0 17 ©WTT HK Limited 2017

Smart Voice Service
> M : 9 8 7 6 X X X X H : 2 2 X X X X X X
↓
C a l l i n g C h r i s [ M ] 9 8 7 6 X X X X . . .
1 > P h o n e b o o k
2 C a l l H i s t o r y
↓
2 A d d C o n t a c t ↑ 3 > M a n a g e C o n t a c t
> A l e x A l i c e
↓
1 > E d i t C o n t a c t
2 R e m o v e C o n t a c t
N a m e A J a s o n _
M o b i l e
9 8 7 6 X X X X _
1 > S a v e
2 D i s c a r d
5. Press ENTER and the phone menu will show the details of the selected contact, which M represents
mobile number, H represents home number and O represents office number.
6. Select the phone number and press ENTER. The phone will dial out to the selected number.
3.9.3 Modifying a Contact in the Phone Book
1. Press MENU and use or to select “1 Phonebook”.
2. Press ENTER and use or to select “3 Manage Contact”.
3. Press ENTER. The LCD screen will show the name list in alphabetical order.
4. Use or to a select the contact (e.g. Jason). Press ENTER and the following screen will be shown:
5. Select “1 Edit Contact” and press ENTER. Change the contact person’s name if necessary.
6. Press ENTER. Change the mobile number if necessary.
7. Press ENTER. Select “1 Save” to confirm the setting.
Version 2.0 18 ©WTT HK Limited 2017

Smart Voice Service
1 P h o n e b o o k
2 > C a l l H i s t o r y
↓
1 > M i s s e d C a l l s 2 R e c e i v e d C a l l s
↓
1 > 2 1 1 2 X X X X 2 8 5 2
↓
1 C a l l
2 > S a v e
↓
1 > A d d t o O l d C o n t a
2 C r e a t e N e w C o n t a
> A l l e n
A m a r e
↓
> M : 9 8 8 X X X X X
H :
↓
H : ↑ > O : 2 1 1 X X X X X
R e p l a c e d w i t h
3 1 X X X X X X ?
3.9.4 Saving a Number to Old Contact from Call History
1. Press HISTORY, or press MENU to enter the phone menu and use or to select “2 Call History” ,
and then press ENTER.
2. Select the call type and press ENTER (e.g. Missed Calls).
3. Press ENTER and use or to select the phone number.
4. Press ENTER and use or to select “2 Save”.
5. Press ENTER and use or to select “1 Add to Old Contact”.
6. The contact list will be shown.
7. Select the contact person’s name (e.g. Tim). Press ENTER and the details of the contact will display on
LCD screen.
8 Select the phone number to be replaced.
9 Press ENTER and the following screen will be displayed.
Version 2.0 19 ©WTT HK Limited 2017

Smart Voice Service
S a v e d
1 P h o n e b o o k
2 > C a l l H i s t o r y
↓
1 > M i s s e d C a l l s 2 R e c e i v e d C a l l s
↓
1 > 2 1 1 X X X X X
2 3 7 5 X
↓
1 C a l l 2 > S a v e
↓
1 A d d t o O l d C o n t a
2 > C r e a t e N e w C o n t a
> M : H :
↓
N a m e
A
T i m _
M o b i l e 9 8 7 X X X X X _
10 Press ENTER to confirm the setting.
3.9.5 Saving a Number to New Contact from Call History
1. Press HISTORY, or press MENU to enter the phone menu and use or to select “2 Call History”,
and then press ENTER.
2. Select the call type and press ENTER (e.g. Missed Calls).
3. Press ENTER and use or to select the phone number.
4. Press ENTER and use or to select “2 Save”.
5. Press ENTER and use or to select “2 Create New Contact”.
6. Select the type of phone number to be saved (e.g. mobile).
7. Enter the contact person’s name (e.g. Tim).
8. Press ENTER. Enter the mobile number.
Version 2.0 20 ©WTT HK Limited 2017

Smart Voice Service
H o m e 2 1 1 X X X X X _
O f f i c e
2 1 1 2 X X X X _
1 > S a v e
2 D i s c a r d
S a v e d
1 > T i m [ M ] 9 8 7 X X X X X
2 J a s o n
↓
9. Press ENTER. Enter the home number.
10. Press ENTER. Enter the office number.
11. Press ENTER and the following screen will be displayed.
12. Press ENTER to confirm the setting.
13. The phone menu returns to the call history list and the followings will display on LCD screen.
3.10 Voice Mail
The MSG LED will turn on when there are new voicemail messages. Press MSG to retrieve the voice messages.
Version 2.0 21 ©WTT HK Limited 2017
Smart Voice Service
4 > R i n g T o n e
↑
5 B l o c k L i s t
↓
1 D e f a u l t R i n g t o n e
↑
2 > R i n g t o n e 1
↓
R i n g e r V o l u m e
- - -
H a n d S e t V o l u m e
- - - -
S p e a k e r V o l u m e
- - - -
4. AUDIO FEATURES
4.1 Change Ringtone
1. Press MENU .
2. Use or to select “4 Ring Tone”.
3. Press ENTER and different types of ringtone are displayed. Use or to select and play a sample.
4. Press ENTER to confirm your selection.
4.2 Change Volume
4.2.1 Adjusting the Ringer Volume
Press VOL + or – when the phone is ringing or idle (standby mode) to increase or decrease the ringer volume.
4.2.2 Adjusting the Handset Volume
Press VOL + or – when the handset is off-hook to increase or decrease the handset volume.
4.2.3 Adjusting the Speaker Volume
Press VOL + or – when the speaker is turned on to increase or decrease the speaker volume.
Version 2.0 22 ©WTT HK Limited 2017

Smart Voice Service
Version 2.0 23 ©WTT HK Limited 2017
 Loading...