

Avantco UDD1, UDD1S, UDD2448, UDD2448S, UDD2460 User Manual
...
User Manual
Beer Dispenser User’s Manual
UDD1, UDD1S, UDD2448, UDD2448S, UDD2460,
UDD2460S, UDD2472, UDD2472S
Please read the manual thoroughly prior to equipment set-up,
operation and maintenance.
07/ 2015
- 1 -

User Manual
Table of Contents
Installation and Operation
Uncrating ............................................3
Locating .............................................3
Proper Disposal .......................................4
Shelf Installation ......................................4
Electrical Instruction ...................................5
Draft Tower Installation .................................6
Drain Installation ......................................7
Startup ..............................................7
Temperature Setting ...................................7
Temperature .........................................8
Pressure ............................................8
Tapping .............................................8
Storage & Handling ....................................8
Regular Maintenance & Beer Setup
Knockout CO2 Installation ..............................9
Changing CO2 Gas Cylinder ............................10
CO2 Pressure Adjustment ..............................10
Cleaning the Bar System ...............................11
Cleaning the Condenser Coil ............................12
Cleaning the Fan Blade and Motor ........................12
Cleaning the Interior of the Unit ..........................12
Stainless Steel Care & Cleaning ..........................13-14
Troubleshooting
Dispenser ...........................................15
Draft Beer ...........................................16 -17
Warranty Information ...............................17
PLEASE READ HANDBOOK BEFORE USING EQUIPMENT
AND KEEP FOR FUTURE USE
Notice: Use this appliance for its intended purpose as described in this
User Manual. A properly maintained unit will give you many years
of trouble free service.
- 2 -

User Manual
Installation & Operation
Uncrating
If the unit has recently been transported on its side, please let the unit stand upright for a
minimum of 24 hours before plugging it in.
1. Remove the outer packaging. All of the packaging (including cardboard, bubbles and plastic
wrap) should be removed from the unit.
2. Move the unit as close to the final location as possible before removing the wooden pallet.
3. Use a screwdriver to remove the screws
from the L-bracket connecting the unit to
the wooden pallet.
4. Remove pallet by unscrewing all base rail
anchor brackets. Place pallet to the side.
5. Carefully upright the cabinet.
Caution: When lifting unit
!
do not use the countertop
as a lifting point.
Locating
- Install the unit on strong and level surfaces, keep the cooler
stable to avoid vibration and noise.
- Install the unit in an indoor, well-ventilated area. A space of at
least 3” should be allowed between the surrounding walls and the
cabinet wall for air circulation.
- Unit should be placed far from any heating source to avoid
decrease of refrigeration efficiency.
- Install the cooler in a dry place to prevent rust from forming on
the compartment body, which may affect electrical insulation.
- The appliance shall not be exposed to rain or sun. Outdoor use
may cause decrease in efficiency and damage to the unit.
- The unit should be placed close enough to the electrical outlet
so that extension cords are never used.
Caution: Problems caused by improper
!
position of units are not covered by warranty
- 3 -
User Manual
Proper Disposal of the Refrigerator
PROPER DISPOSAL OF EQUIPMENT DANGER!
!
If you are getting rid of an old refrigerator, please follow the below instructions to help prevent a
terrible accident.
- Remove the doors.
- Leave shelves in place to prevent children from easily climbing inside.
Do not allow children to climb, stand or hang on the shelves in the cooler. They could damage the
unit and seriously injure themselves.
Refrigerant Disposal
Your old refrigerator may have a cooling system that uses Ozone Depleting Chemicals. If you are
throwing away your old refrigerator, make sure the refrigerant is removed for proper disposal by a
qualified service technician. If you intentionally release any refrigerant, you can be subject to fines
and imprisonment under provisions of the environmental regulations.
RISK OF CHILD ENTRAPMENT SAFETY
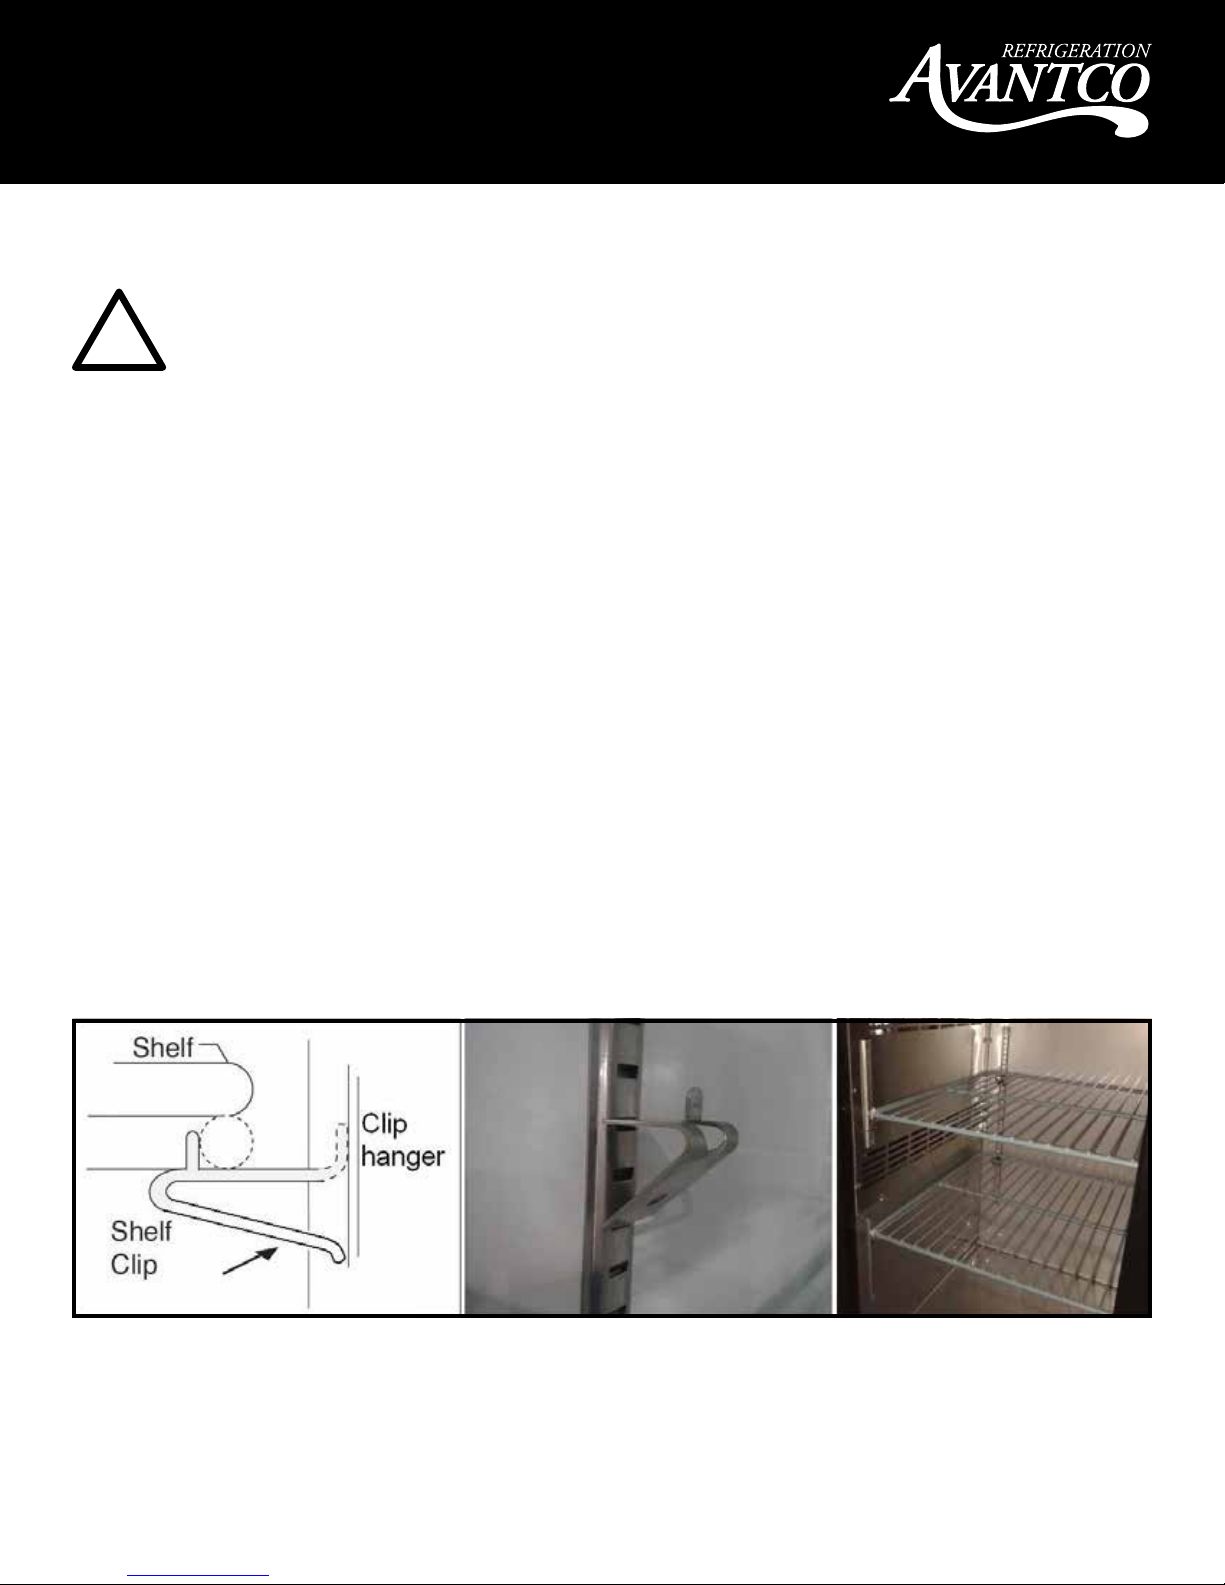
Shelf Installation
Shelves are included with the beer dispensers to provide the option for storage.
1. Hook shelf clips onto clip hanger.
2. Place shelves on shelf clips making sure all corners are seated properly.
- 4 -
User Manual
Electrical Instruction
When using electrical appliances basic safety precautions should be followed:
- This cooler must be properly installed and located in accordance with the installation
service representative.
- Do not store or use gasoline or other flammable vapors and liquids in the vicinity of this
or any other appliance.
- Unplug the unit from the electrical outlet before cleaning or making repairs.
- Setting the temperature controls to the (0) zero position does not remove all power.
Please ensure that the required voltage for the compressor is being supplied at all times.
If the voltage is unstable, please select a suitable automatic voltage regulator.
!
CAUTION: Low or high voltage can damage the refrigeration unit.
- All units should be plugged into a grounded and properly-sized electrical outlet with appropriate
overcurrent protection. Please refer to the electrical requirement on the nameplate. The power
cord of this cooler is equipped with a grounding plug which fits a standard grounding wall outlet
to minimize the possibility of electrical shock hazard.
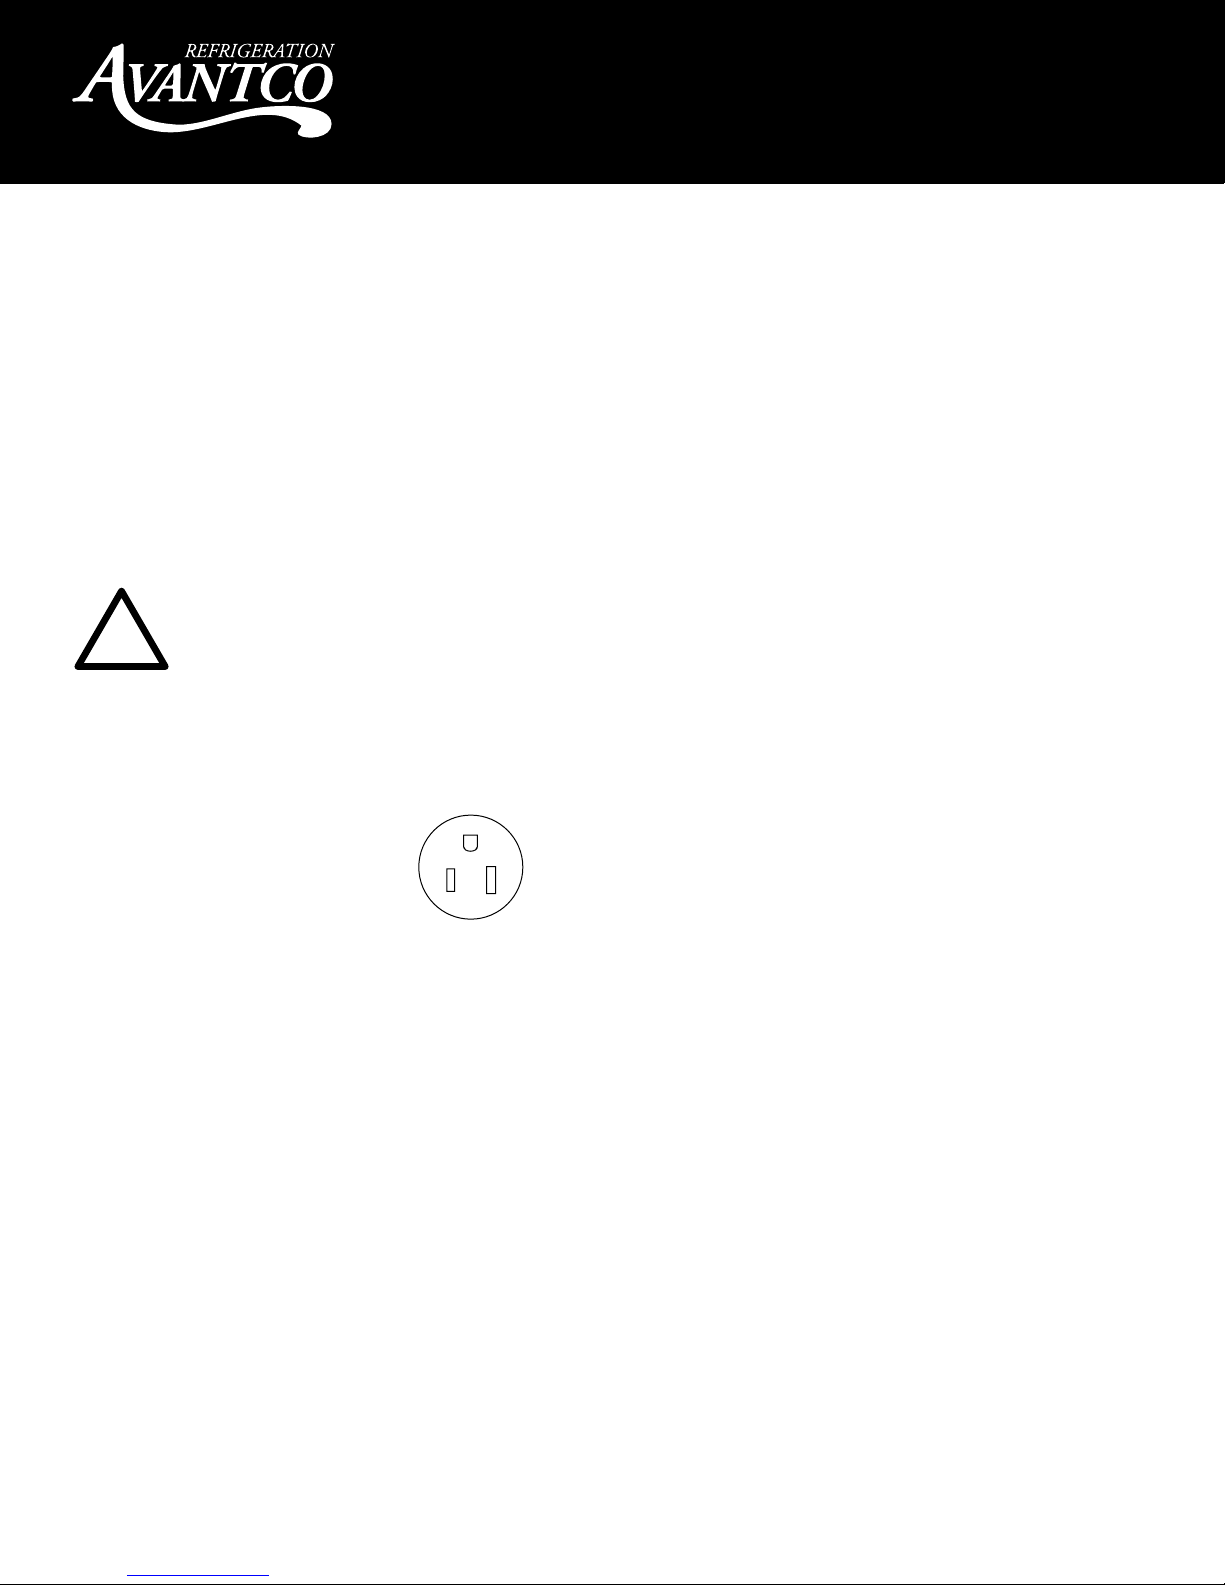
Standard Plug: NEMA 5-15P
If the outlet is a standard 2-prong outlet, it must be replaced with the properly
grounded wall outlet. NEVER USE AN ADAPTER PLUG!
- Have the wall outlet and circuit checked by a qualified electrician to make sure the
outlet is properly grounded. Check the incoming voltage with a voltmeter.
- DO NOT USE EXTENSION CORDS. The use of extension cords to connect the cooler will void
warranty. The unit must be close enough to the electrical outlet so that extension cords are
never used.
- The cooler should always be plugged into its own dedicated circuit with a voltage rating that
matches the rating plate. This provides the best performance and also prevents overloading
wiring circuits which could become a fire hazard from overheated wires.
- Never unplug your cooler by pulling on the power cord. Always grip the plug firmly and pull
straight out from the outlet.
- Immediately repair or replace all power cords that have become frayed or otherwise damaged.
Do not use a power cord that has cracks or abrasion damage along its length or at either of
its ends.
- When moving the cooler away from the wall be careful not to run over or damage the power cord.
It is strongly recommended that any servicing be performed by an
authorized service representative.
- 5 -

User Manual
Draft Beer Tower Installation
Beer Tower
Install Contents
Installing Draft Tower
1. Connect beer line connector to keg coupler.
2. Place rubber washer over draft arm
mounting holes in cabinet.
3. Put beer line connector down through hole.
4. Secure draft arm with four screws.
5. Insert air hose in draft arm, being careful
not to disturb insulation.
6. Remove top cover of draft arm and attach
air hose clip to the insulating sleeve at the
top of the draft arm. This will assure that the
hose remains in the proper place at all times,
which will keep the beer faucet cold.
32 4
7. Replace top cover.
8. Screw the handle onto the beer faucet.
1
7
5
6 8
- 6 -
 Loading...