

AUVIO 4000334 User Manual

T H E P E R F O R M A N C E Y O U N E E D
®
TM
40 W 2-Way
5.25’’ In-Ceiling Speaker
User’s Guide 4000334
Please read this user’s guide before using your new
speaker.
2
2
Package Contents
Speaker
Template/Paint mask
User’s Guide
Features
Mounts flush inside your ceiling for a sleek appearance
Two-way acoustic design provides great audio quality
from both ends of the sound spectrum
Spring-loaded terminals work with any standard
speaker wire
Foam edge forms a snug fit to reduce disruptive
vibrations
Grille and frame can be painted to match your decor
Easy to install using the included template
Required Tools
To mount your speaker, you need these tools
(not supplied):
Drywall or keyhole saw
Phillips screwdriver
18-20 gauge speaker wire
Wire stripper
Pencil or marker
1 Prepare Speaker and Location
Be sure the mounting surface is:
between
2
/5 inch and 1 3/8 inch (10 – 35 mm) thick.
3
3
has at least a 3 inch (76 mm) clearance behind the
mounting surface. Avoid wall studs or other objects that
might block the back of the speaker.
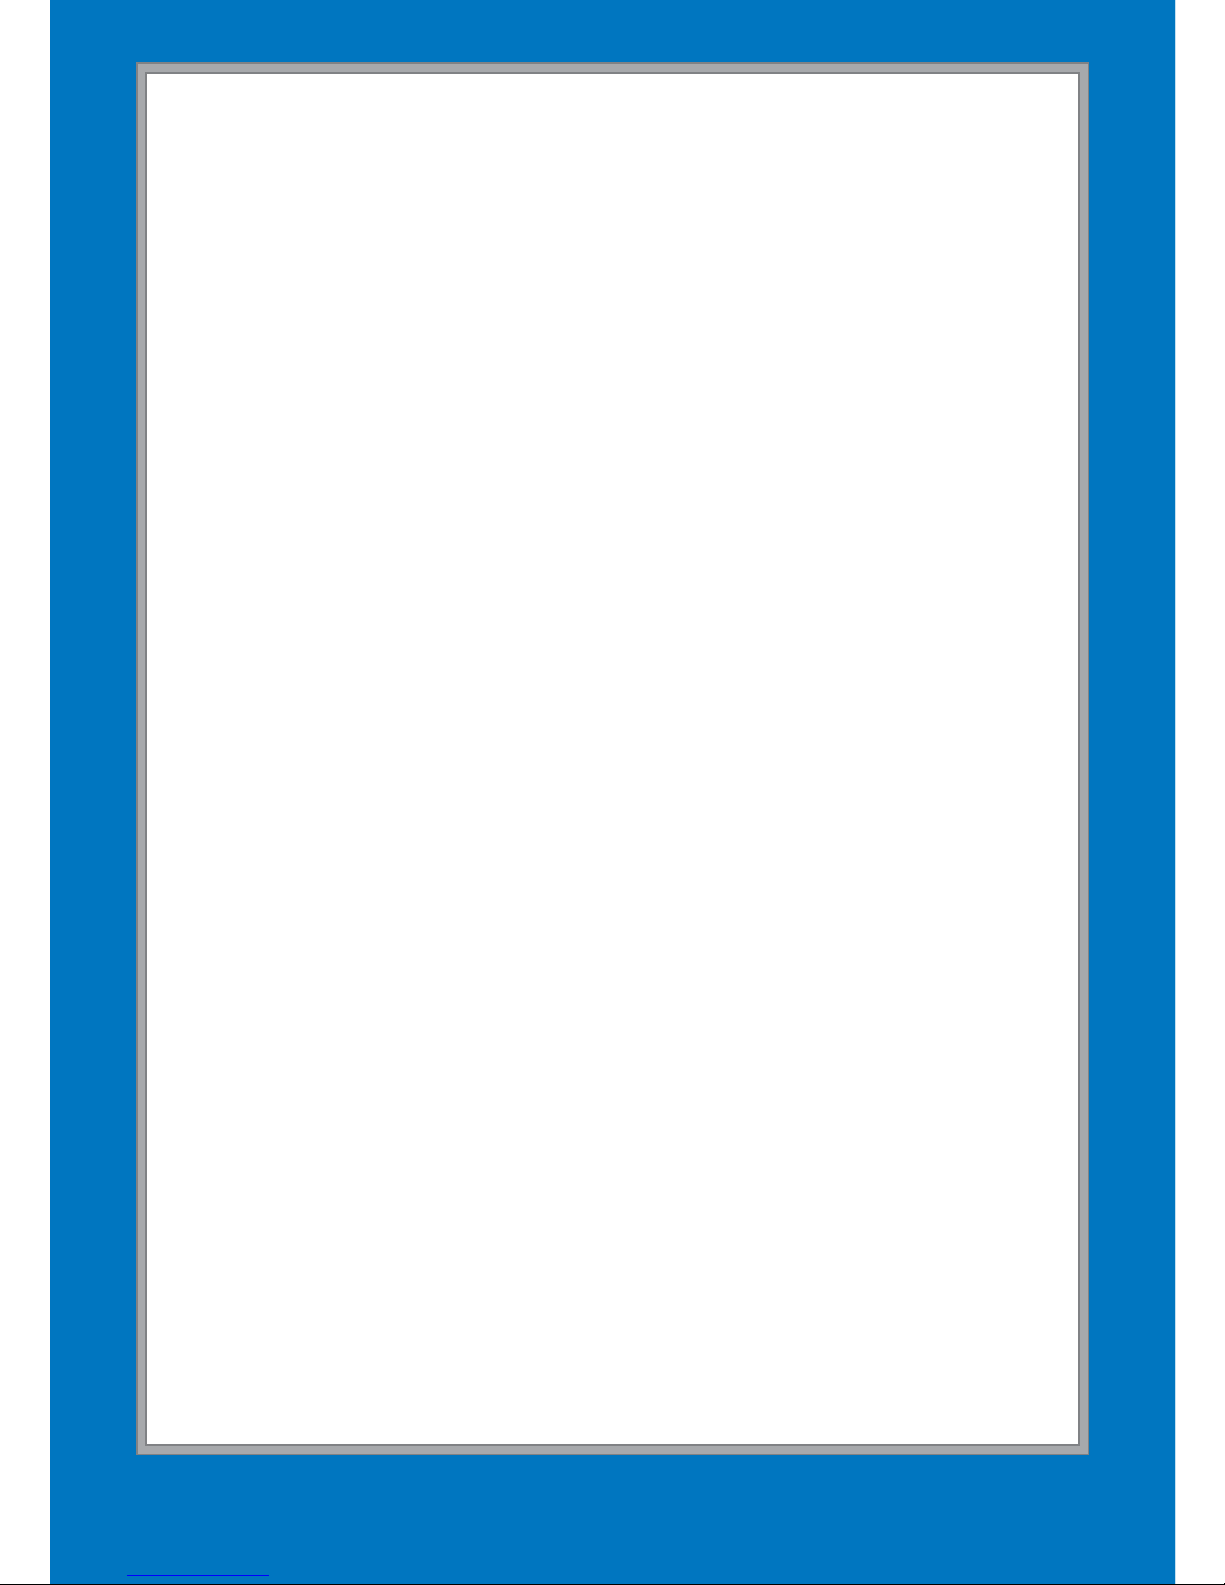
1. Remove the inner cardboard disc
from the supplied template/paint
mask and keep it for later. Use
the outer portion of the mask as a
template to mark the cutout hole
size and location for mounting the
speaker.
2. Use a drywall or keyhole saw to cut the hole.
(Optional) Paint the Grille
nNote: Do not paint internal speaker components. We
recommend you spray-paint the grille so no paint gets in or
blocks the holes.
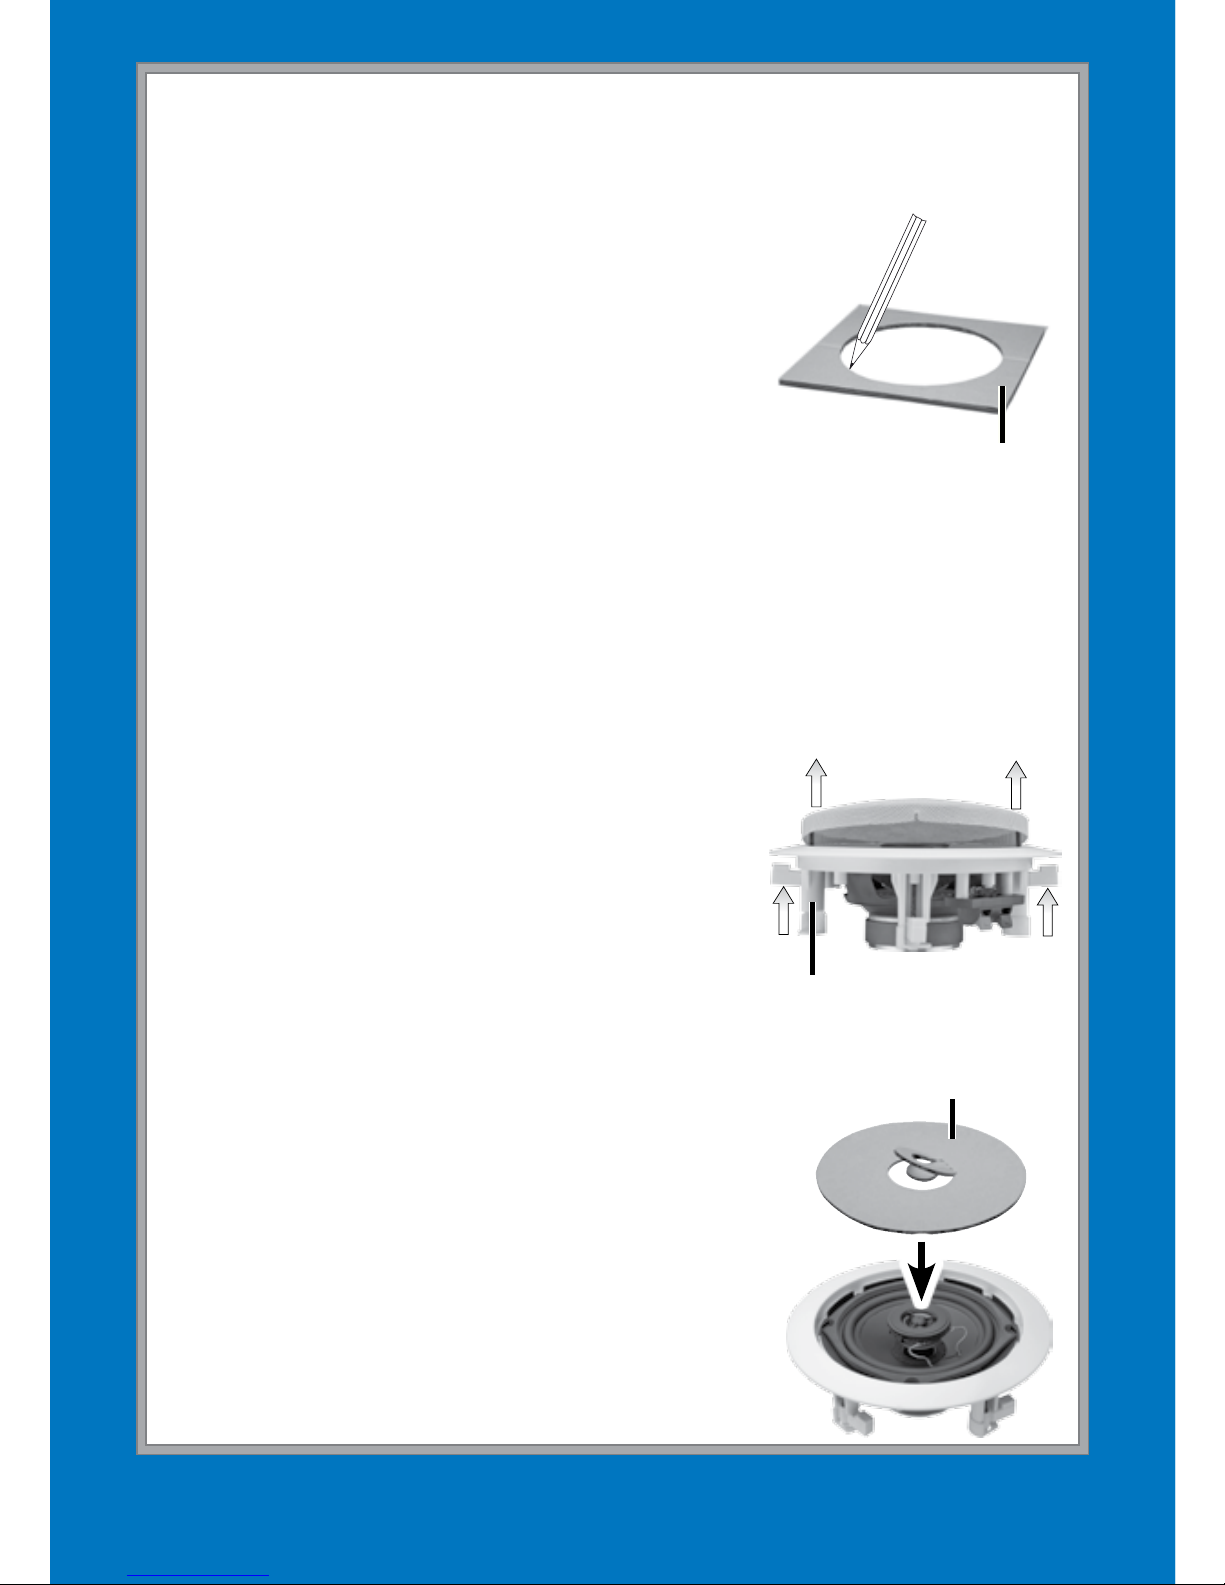
1. Push any two opposite mounting
tabs and remove the grille.
2. Remove the dust cloth from behind
the grille.
3. Paint the grille and replace the dust
cloth after the paint is dry.
(Optional) Paint the Frame
To prevent paint from entering the
speaker, remove the grille and insert
the supplied cardboard paint mask.
After the paint is dry, remove the paint
mask and replace the grille.
Template
Paint mask
Mounting tab
 Loading...