

AUVIO 15-317 User Manual
T H E P E R F O R M A N C E Y O U N E E D
TM
2-In/1-Out HDMI
Selector Switch
with Remote Control
User’s Guide 15-317
Please read this user’s guide before using
your new HDMI Selector Switch.
2/3

2
2
Package Contents
HDMI Selector Switch
AC Adapter
Remote Control
Velcro Strips (2 pairs)
User’s Guide
Quick Start
Features
Supports full HD 1080p resolution
for the best possible HD picture and
digital sound.
Connect two high-definition
components to a single HDMI jack,
and switch between them remotely.
Simplay HD™ ready.
Gold-plated connectors improve
signal and reduce interference.
3
3
4
4
DC 5V
5
5
Setup
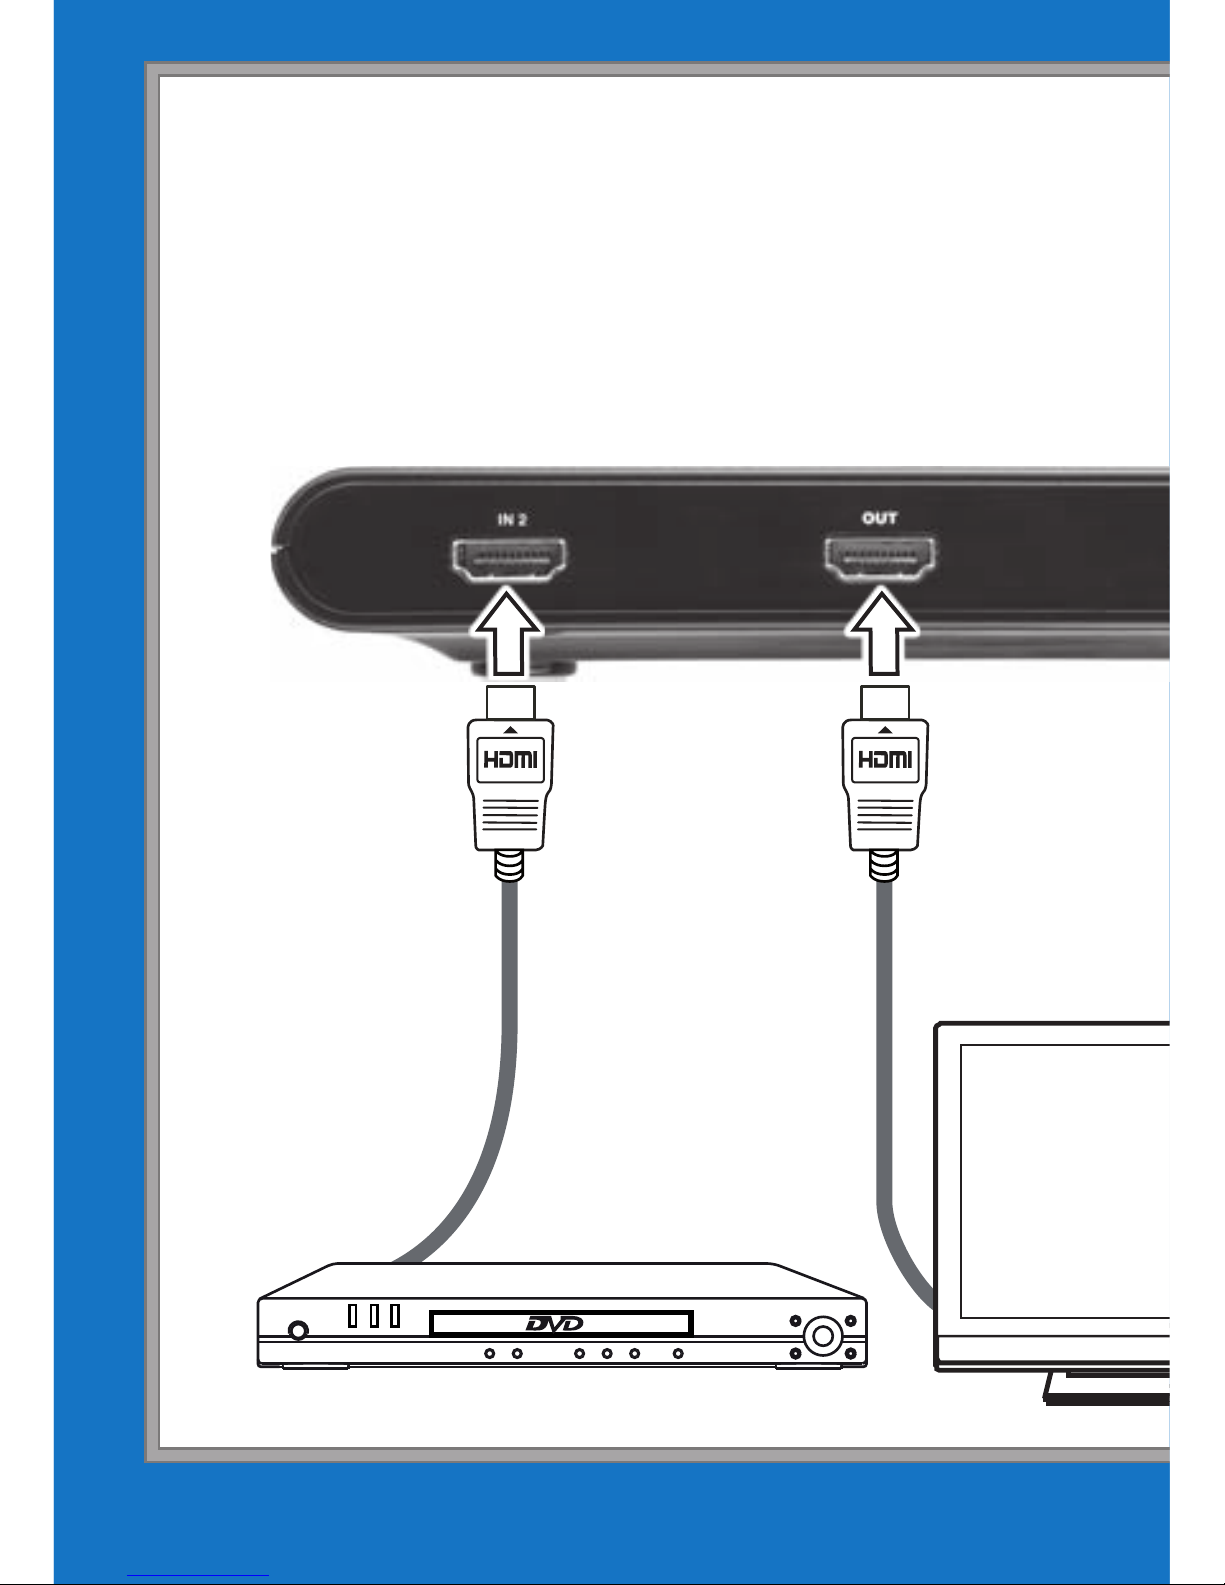
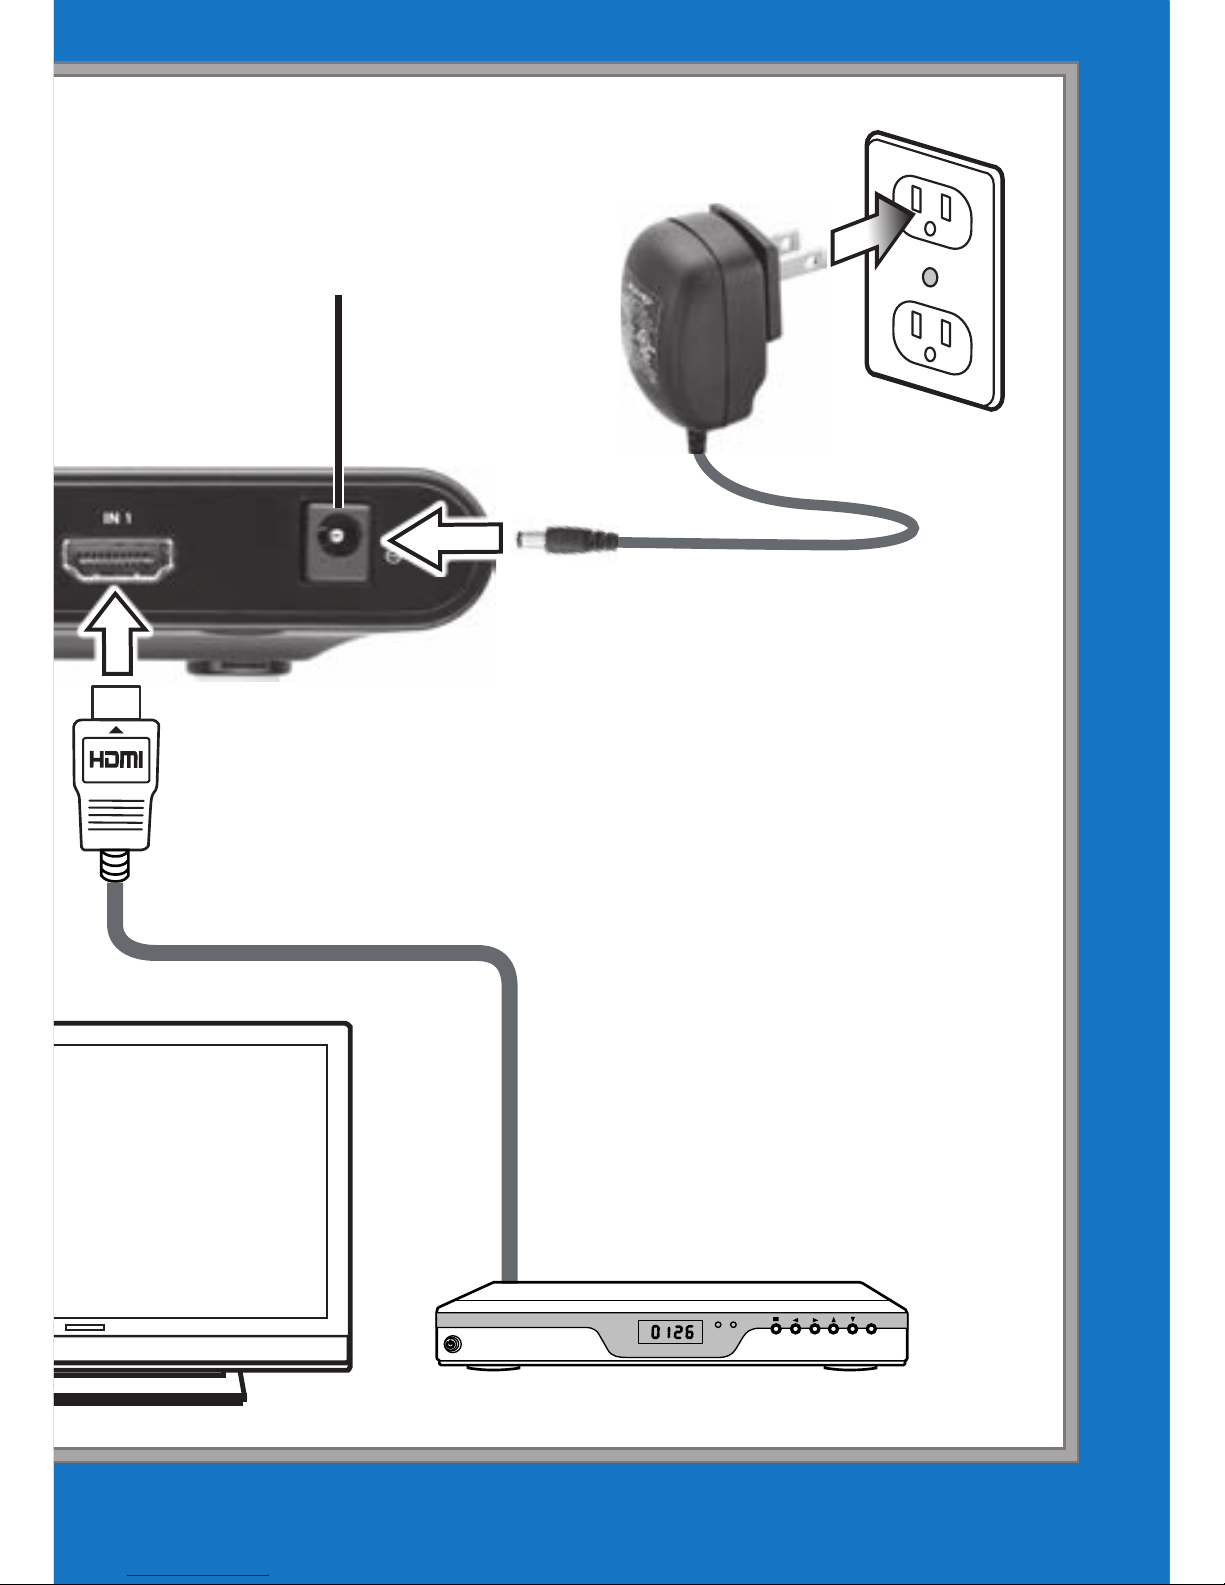
1. Connect your HD audio/video device
to the selector switch’s IN1 or IN2 port
using an HDMI cable (not included).
2. Connect your HDTV to the selector
switch’s OUT port using an HDMI
cable (not included).
3. Connect the provided AC Adapter to
the selector switch’s DC 5V jack, and
then plug it in to a standard household
outlet.
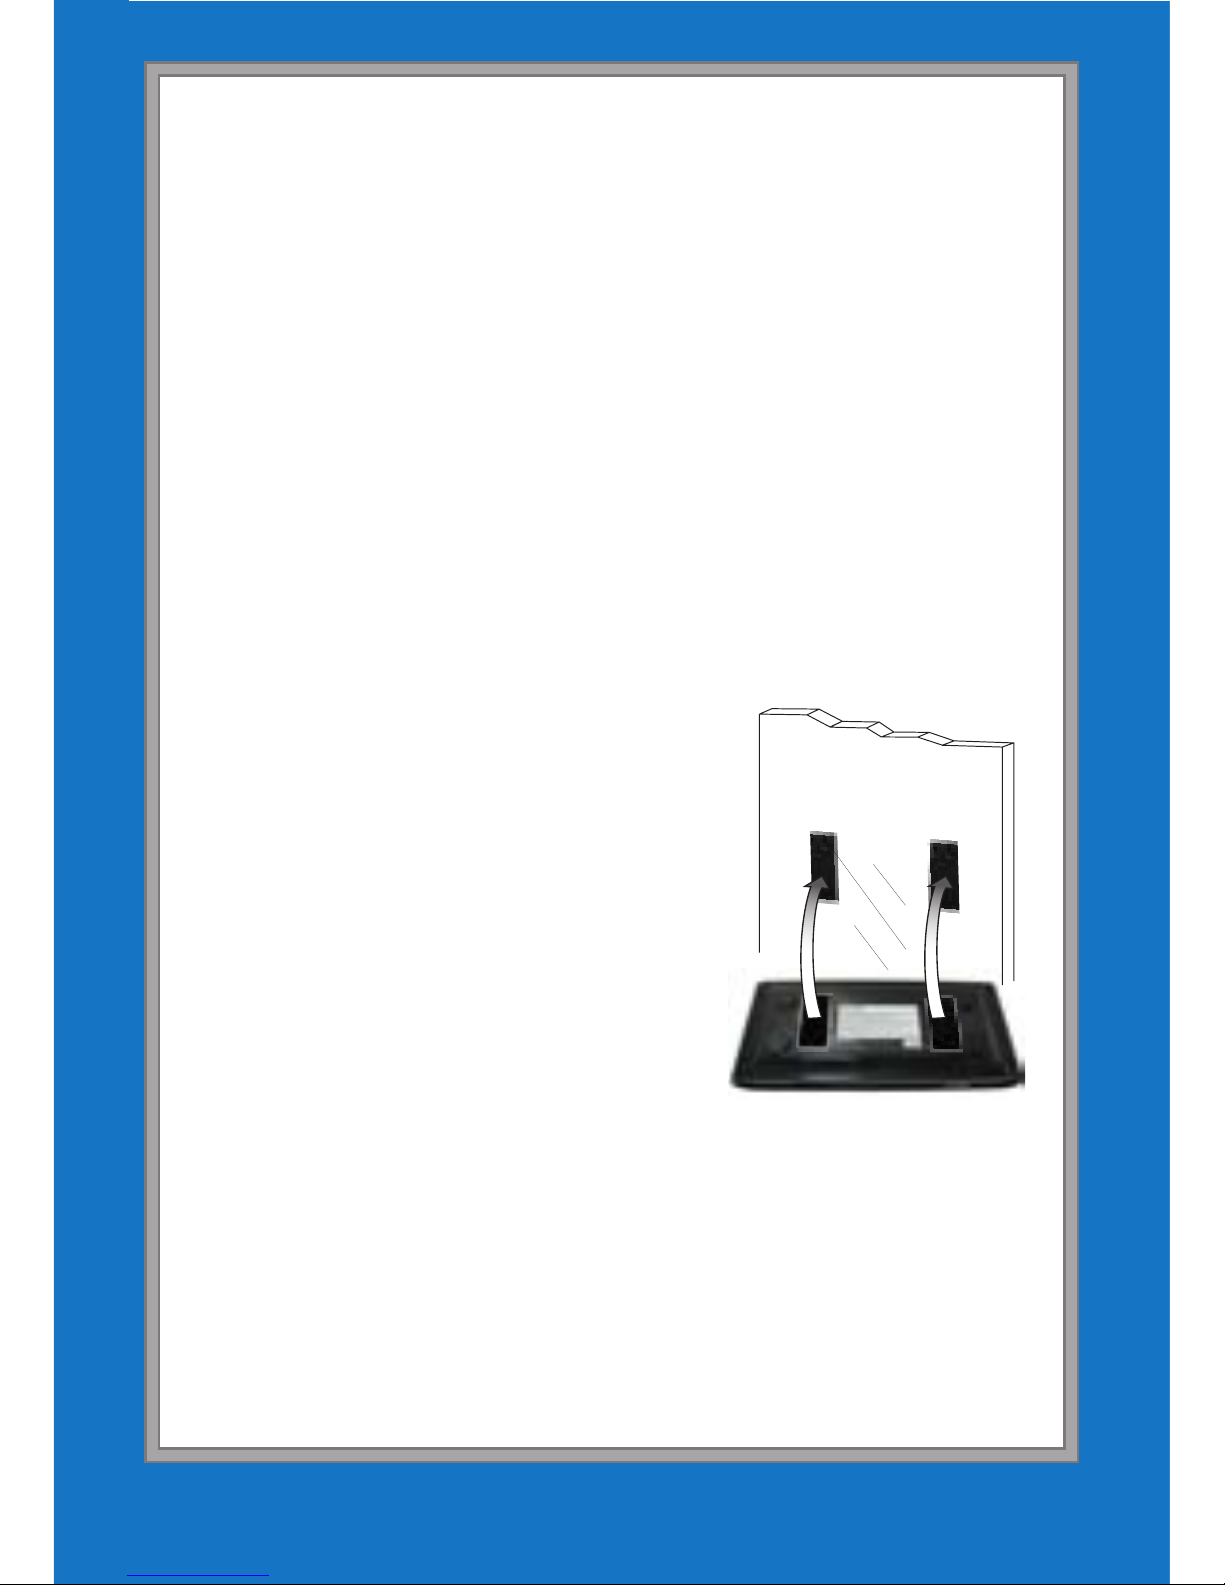
4. Use the supplied
Velcro strips (optional)
to secure the selector
switch to the wall or
other flat surface.
5. Press G/SELECT on
the selector switch to turn it on.
6. Pull the plastic tab from the battery
compartment before using the remote
control. The remote comes with a 3V,
CR2025 battery already installed.
 Loading...