

Page 1
Display Compatibility
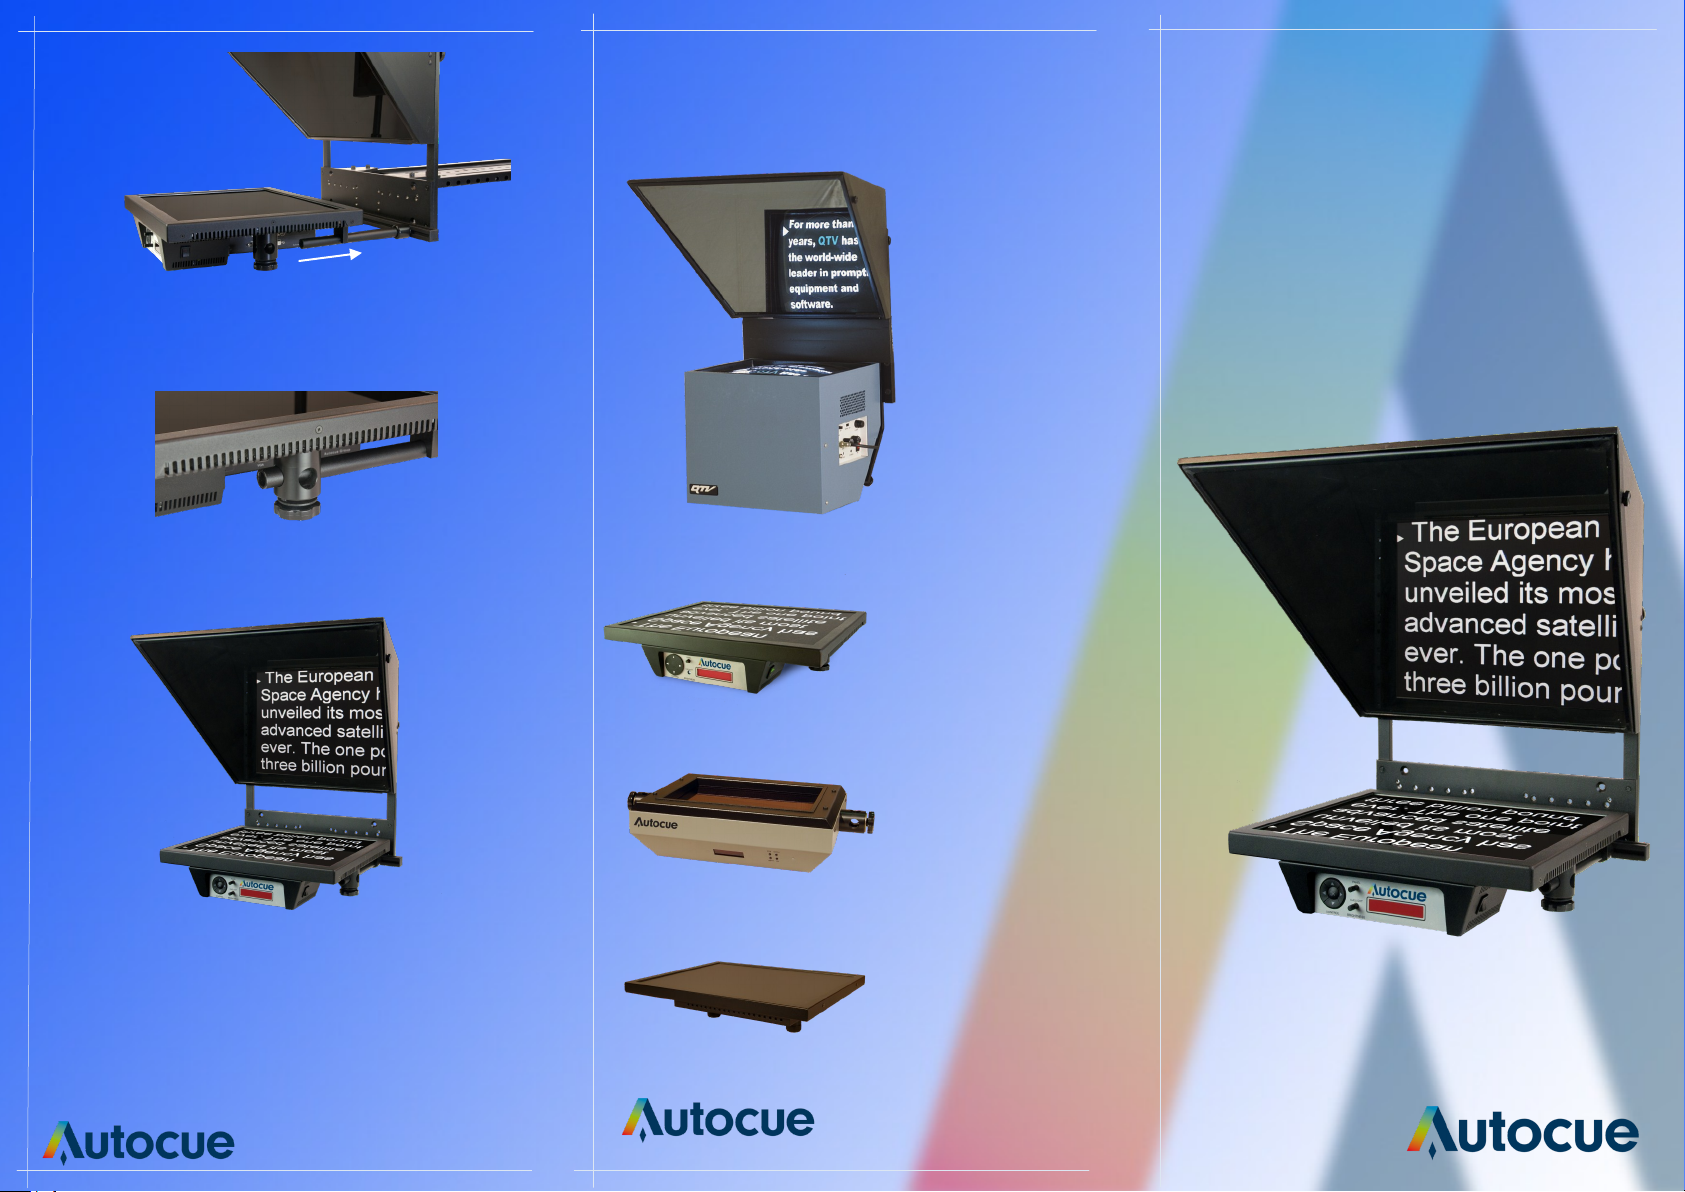
CRT
6. To mount the monitor slide it onto the monitor
mounting tubes, ensuring that the tube passes
through the clamp.
A
7. Ensure that the monitor is secured in place by
tightening the clamp screw. (A)
The old CRT Display
can be upgraded to
all the new display
sizes shown below.
MSP 17” and 20”
Monitor
Upgrade
Kit
Guide
Completed Unit
Note: Caution, the new flat panel displays are much
lighter than the CRT units. The balance of the camera
will need to be adjusted to compensate for the change
in weight.
MSP 12”
PSP 12” and 17”
Monitor
autocue.com
Page 2
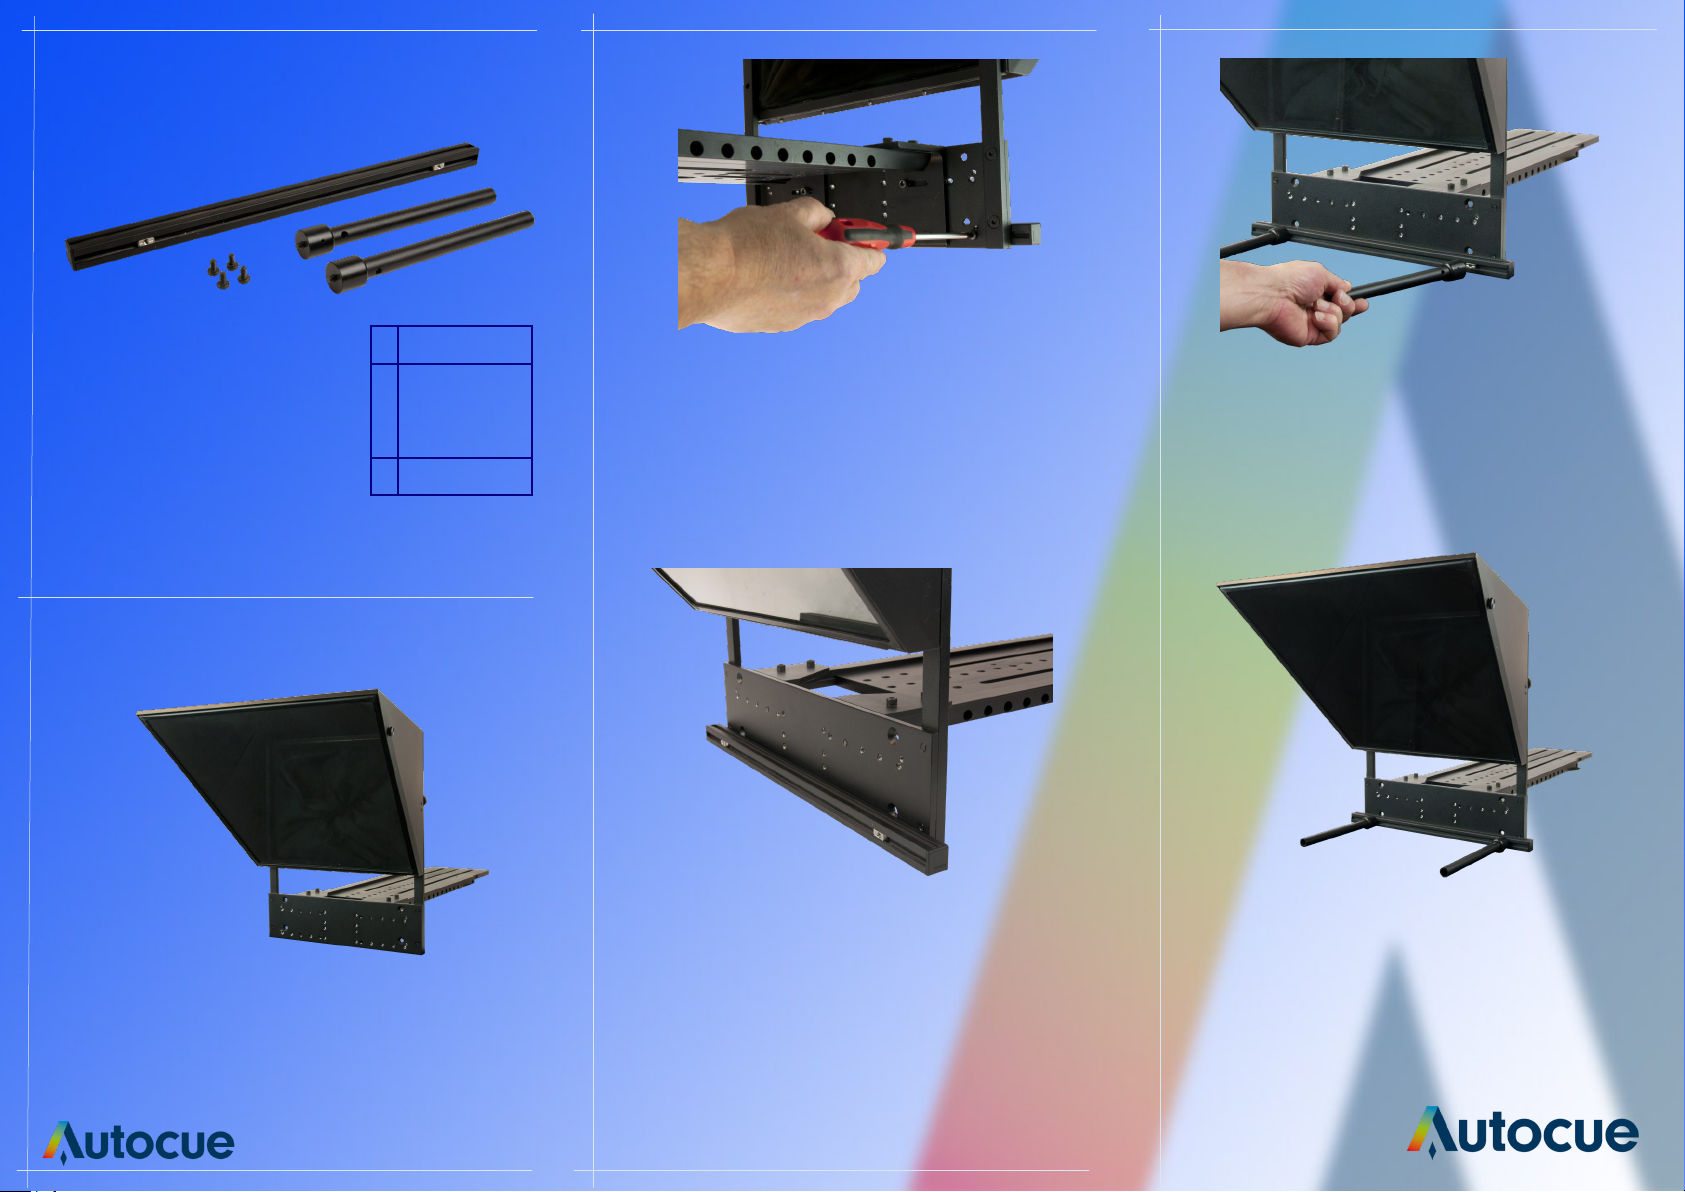
Components
C
A
A
B
Extrusion
Monitor
B
Mounting
Rods
C Screws
Assembly
1. Remove your old CRT Display from the back plate,
including its mounting bracket (above).
2. Mount the extrusion to the back plate using the
four screws provided.
3. To mount the monitor rods, screw them into the two
sliding nut inserts. It is possible to move the monitor
rods to mount any of the displays in our product
range.
4. Install monitor rods and adjust the distance
between the rods to correspond with the
display you have purchased.
5. With the monitor rods installed, it is now
possible to mount the monitor.
 Loading...