

Page 1
Instructions
Please read the following instructions carefully before setting up the Aurender Music
Player.
• Be careful not to drop the device to avoid internal damage.
• Do not disassemble the device.
• Keep magnetic materials away from Aurender to prevent any damage to data.
• Do not expose device to oil, dust, water, high humidity, or smoke.
• Keep ventilation openings free from obstruction.
• When cleaning, use only a soft cloth. Keep out of contact with water or other liquids.
• All servicing must be performed by a qualified representative, or the warranty will be
voided.
Page 2
• Unplug power cord during severe lightning storms or when unused for a long period
of time.
• Unplug the device from the outlet only after completely turning off the unit.
• Always turn the power off before connecting or disconnecting any cables.
• Please note that hard drives can break down.
It is important to back up your music collection periodically to a separate memory
device. In the event of drive failure, Aurender is not responsible for any loss of data.
The drive manufacturer will only replace faulty drives under warranty and do not
compensate for any loss of data.
Positioning
• Place your device on a flat, horizontal, and stable surface.
• Keep away from heat sources, such as radiators.
• Do not stack other products on top of the Aurender.
• Allow space around the device for ventilation.
• Do not place inside an enclosed cabinet.
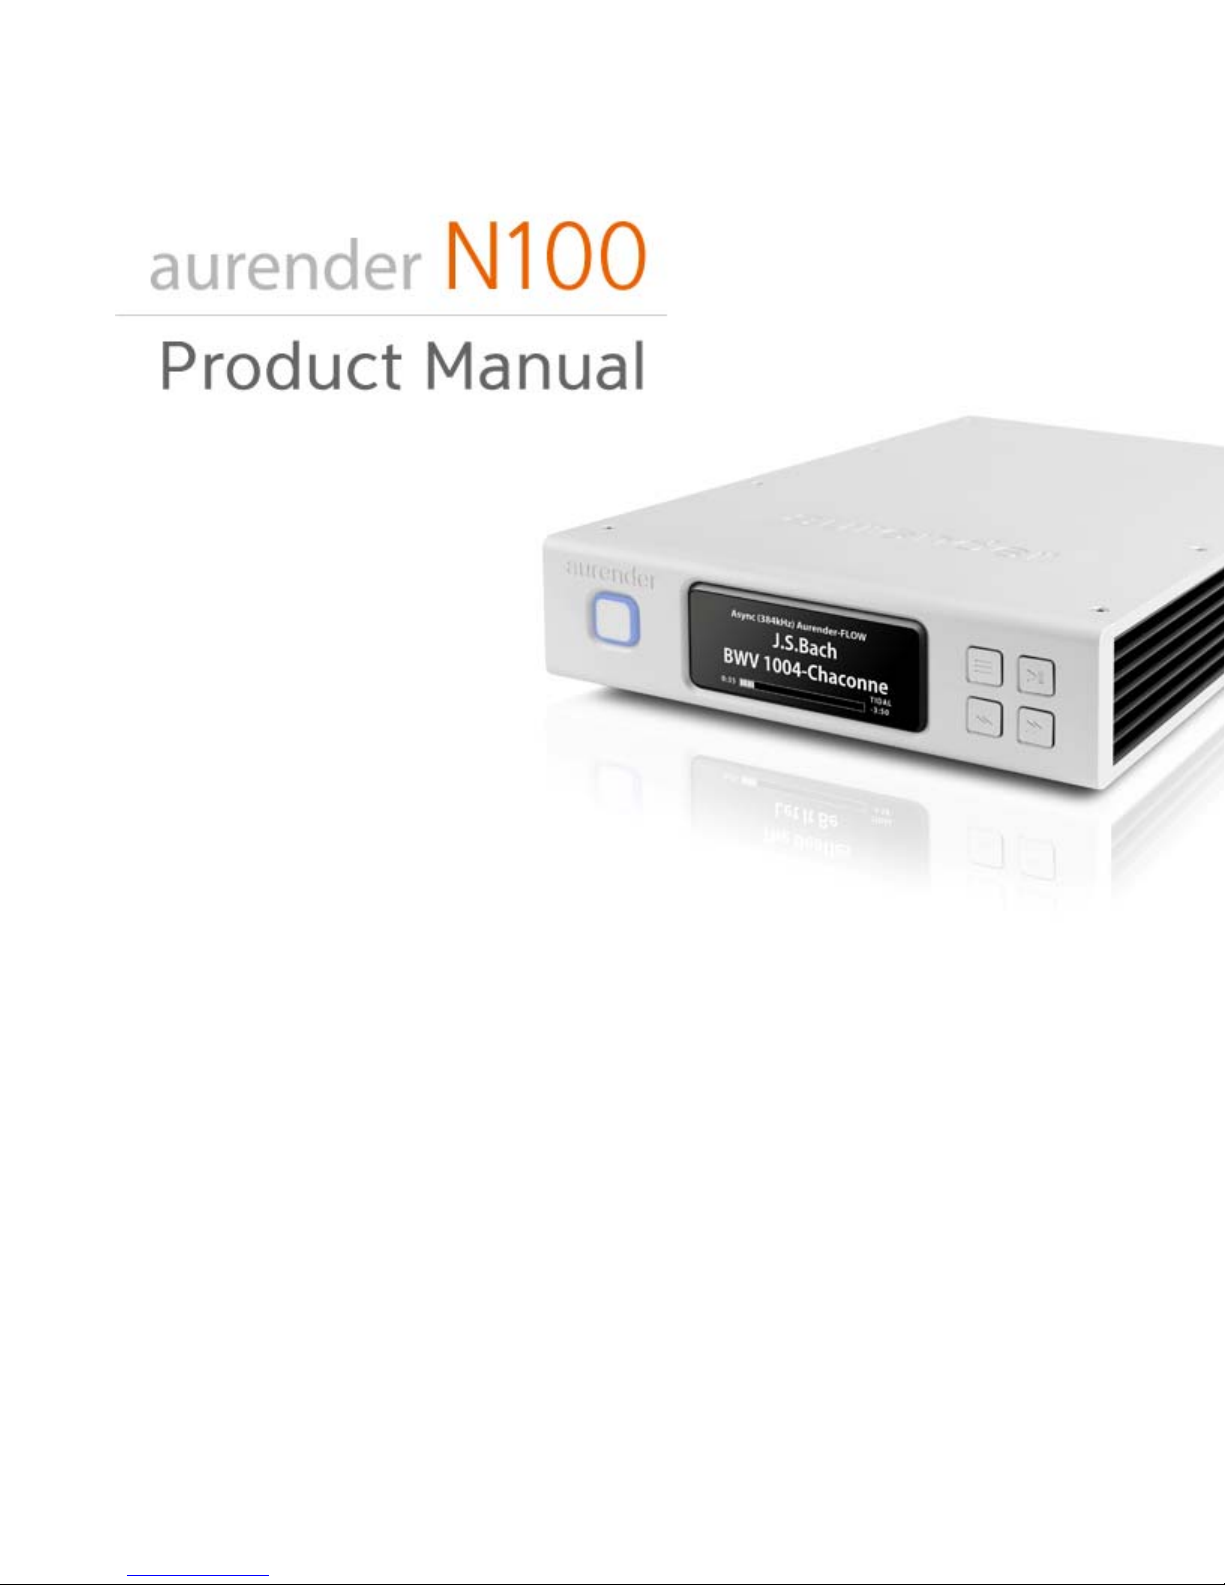
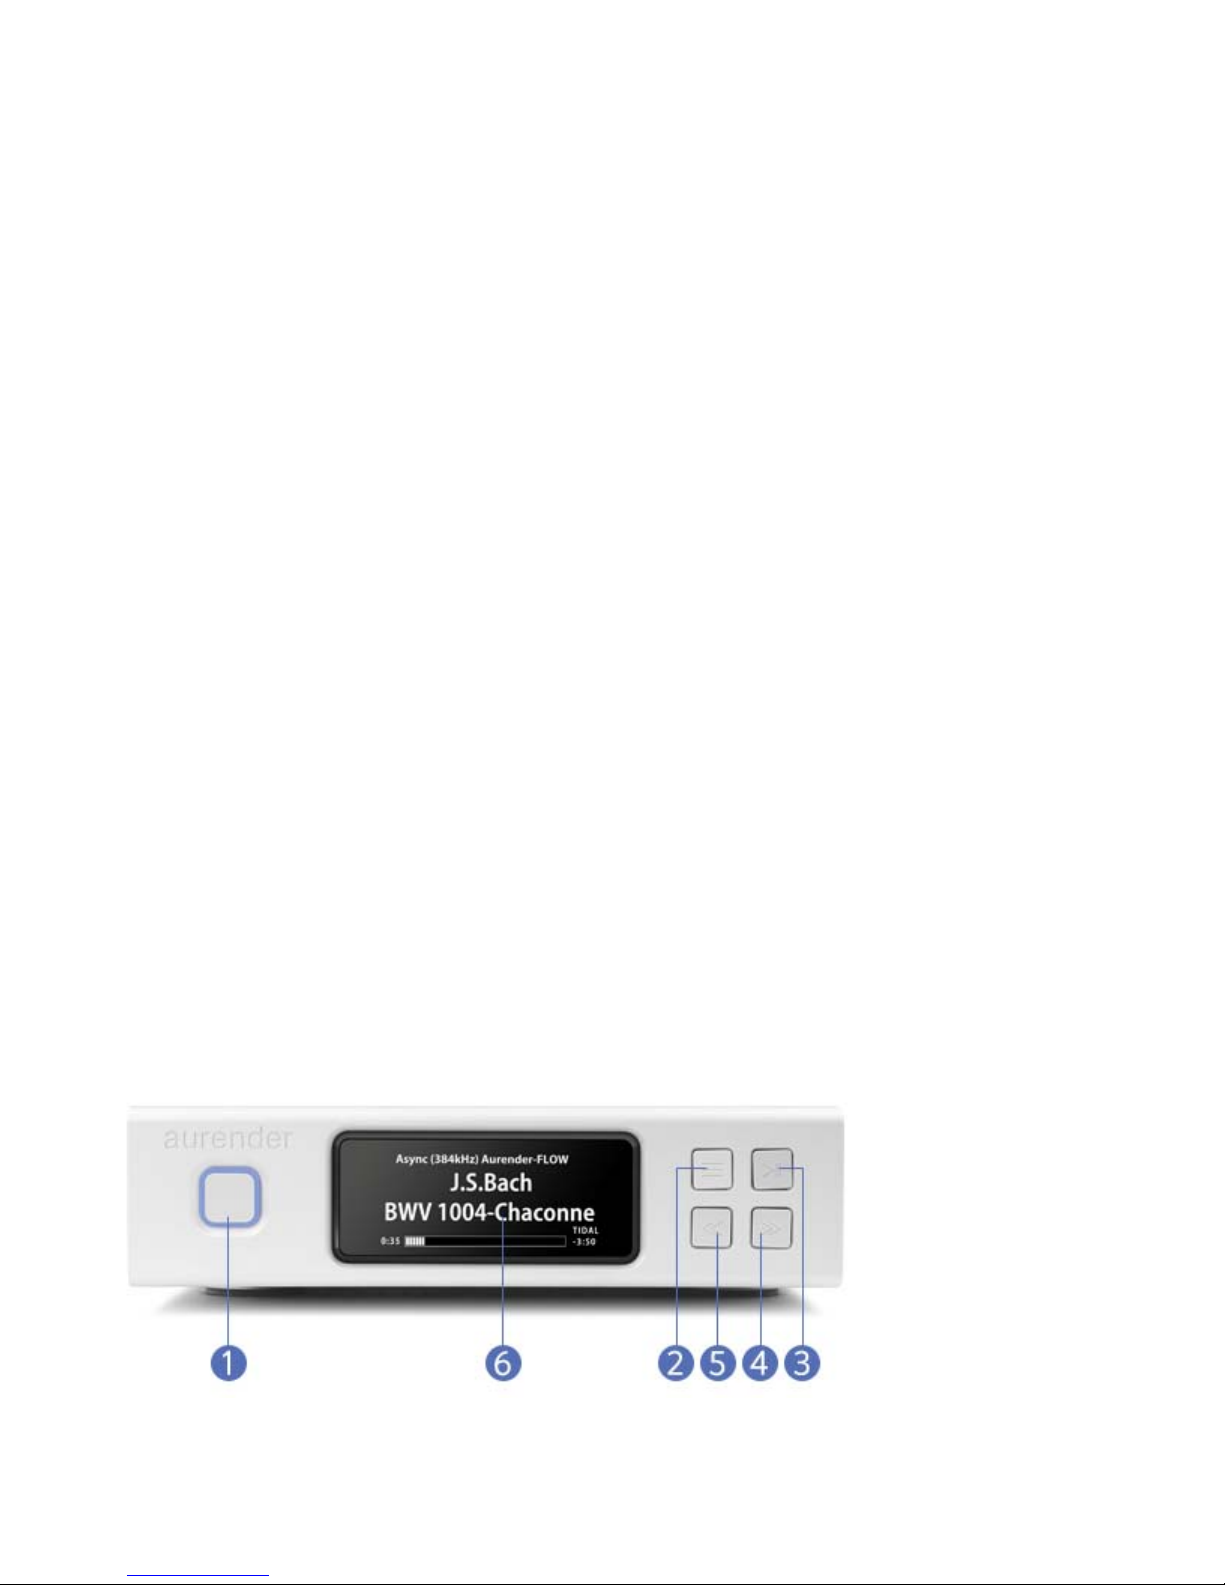
Front and Rear Panel
Front Panel
Page 3

1. On/Off/Standby
In the default mode, pressing will power the unit on and completely off. In
the Standby mode, pressing the front panel button will put the unit into
standby, and the unit will turn on instantly. In standby mode, to turn the
unit completely off, keep the front panel power button depressed until the
button light begins to flash and then release. Flashing will stop when the
unit is off. To switch to the Standby mode, go to the Server Menu under
Settings of the Aurender application. Scroll to the bottom to find the
Standby On/Off button.
2. Display Menu
Press to cycle through 2 display options: Song Information and Playlist.
Songs from playlists may be selected using the four buttons on the right
side of the front panel display. Use buttons 4 and 5 to scroll between
playlists and button 2 to select a playlist. After the playlist is selected, press
button 2 again to start playback. Once the playlist is selected, buttons 4 and
5 buttons can be used to select songs within the selected playlist. To see the
Device Information Display, please keep the button depressed for about
three seconds until the display blinks, release the button and wait. The
Device Information Display with details about Server name, LAN/Wi-Fi
status, IP address, and other details will appear. To return to the normal
display, press the button again.
3. Play/Pause
Press to start or stop playback.
4. Play Next
Press to skip to the next track.
5. Play Previous
Press to skip to the previous track.
6. AMOLED Display
For display options, please refer to the section on AMOLED Display. The
display will automatically dim after being idle for longer than 3 minutes.
Rear Panel
Page 4

1. USB Audio Class 2.0 Output
Connect to the USB input of a USB compatible digital-to-analog converter.
2. Gigabit Ethernet port
To connect to home networks and Network Attached Storage (NAS) devices.
The Ethernet cable should be connected to the network router before
turning on the Aurender.
3. USB 2.0 data ports
For copying from external USB memory devices.
4. AC Power Switch
Press top to turn on, bottom to turn off. The rear panel power switch
should be used, only after the unit has been turned off completely.
Abnormal shutdown or using the rear panel power button while the unit is
in operation or standby can cause the system to to into check mode. In this
case, a message will appear on the display stating that the unit is checking
the system.
5. AC Power Socket
Connect to a power outlet with AC Power cord.
Warning
Before connecting audio cables, first check to see that all devices are grounded
using grounded plugs and grounded sockets. In addition, all devices should be
turned off, before connecting any audio or digital cables. If the devices are not
grounded, a voltage potential difference between devices can cause a voltage
surge through the audio cable that can weaken and eventually damage sensitive
circuits in D/A converters and other devices.
 Loading...