

AURATON RTH User Manual
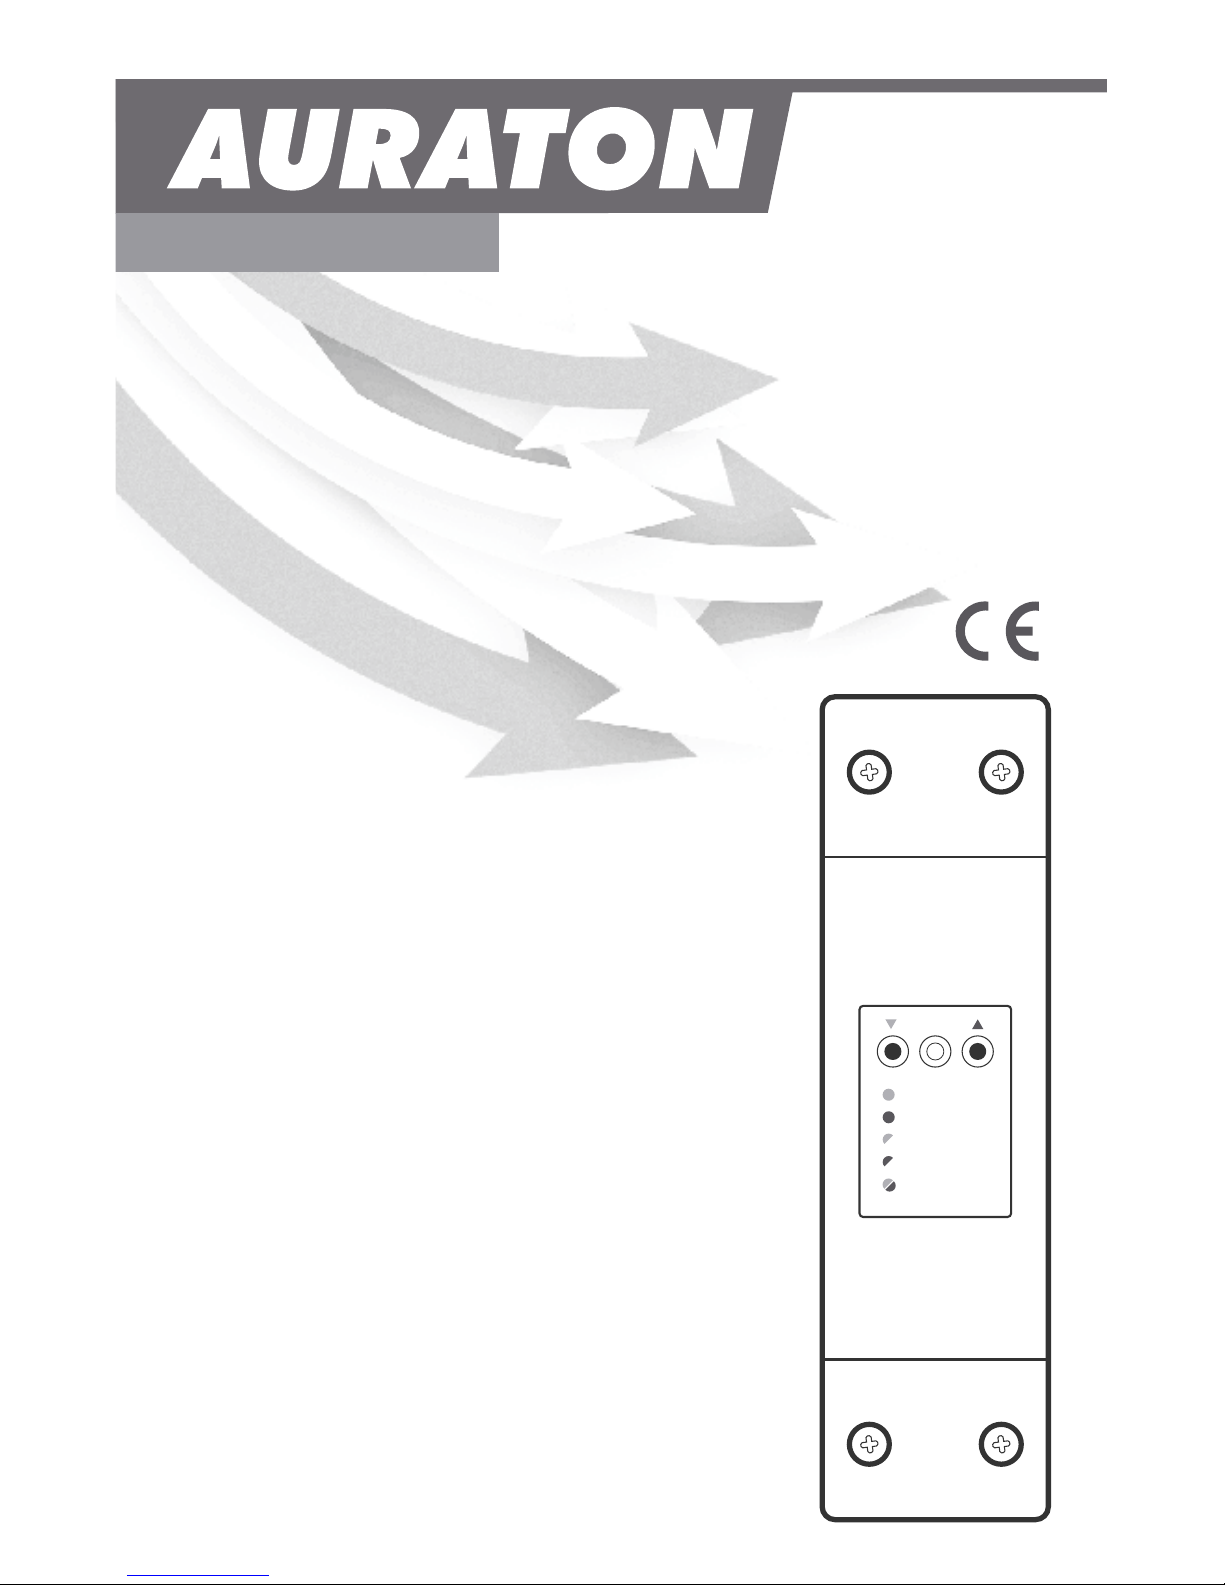
User’s Manual
RTH
www.auraton.pl
OFF
ON
IN
OUT
ALARM
RESET
2
Congratulations on your purchase of a modern AURATON RTH receiver
installed at the heating or air-conditioning device.
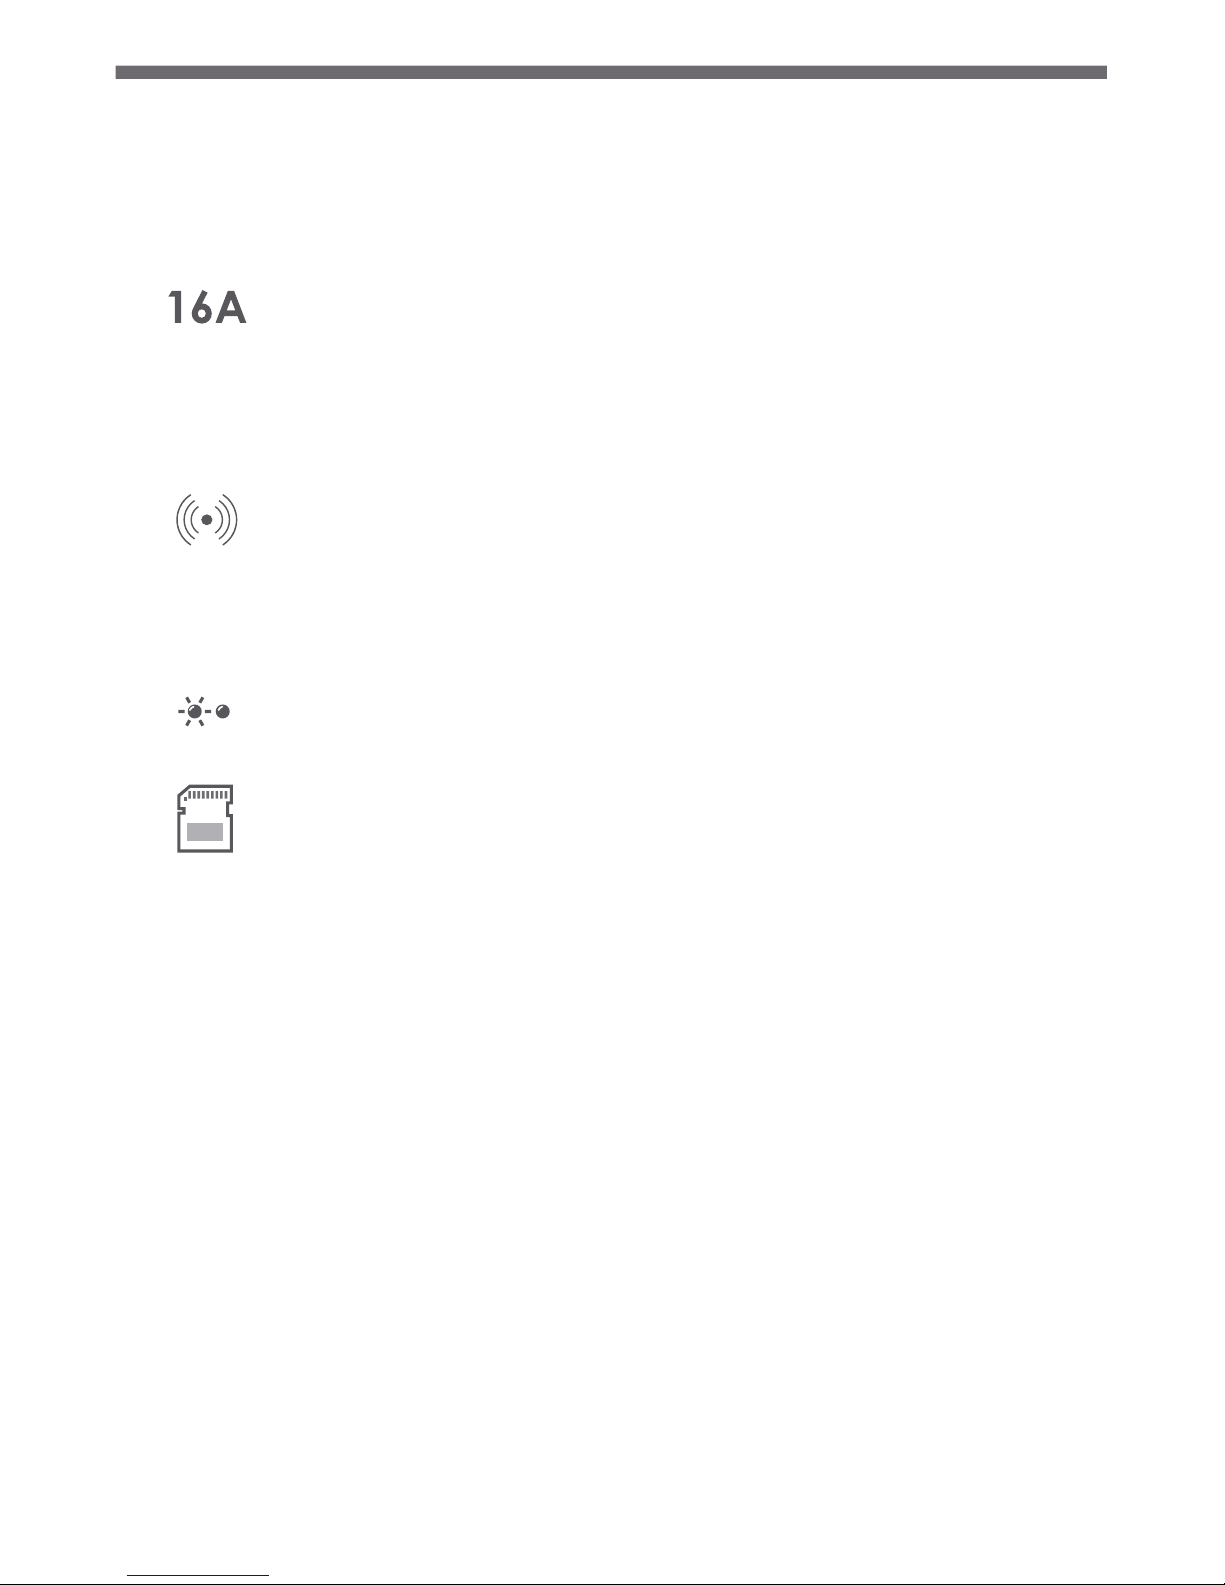
Operation with load up to 16A
The AURATON RTH receiver has been equipped with the
transmitter which may work with load up to 16A. Low-spark
technology of switching the voltage system causes minimal wear
of the transmitter's contacts.
Interruption-free communication between devices.
AURATON RTH communicate on the 868MHz frequency. Very short
encrypted transmission packets (ca. 0.004s) provide efficient and
interruption-free operation of the device.
LED diodes
LED diodes inform in a clear manner about the device operating
status.
ON / OFF cycles memory algorithm
The AURATON RTH receiver is equipped with a unique algorithm of
ON- OFF cycles analysis. The whole heating cycle from the last 24h
is saved in the memory of the RTH receiver. In the case of loss of
communication with the temperature controller and/or the T-2
thermometer, the RTH receiver will automatically perform the
remembered cycle of activations / shutdowns from the last 24h. It
gives time to restore the transmission (removal of interruption) or
repair the controller and/or the T-2 thermometer without
significant thermal comfort deterioration in the controlled facility.
Basic product characteristics
3
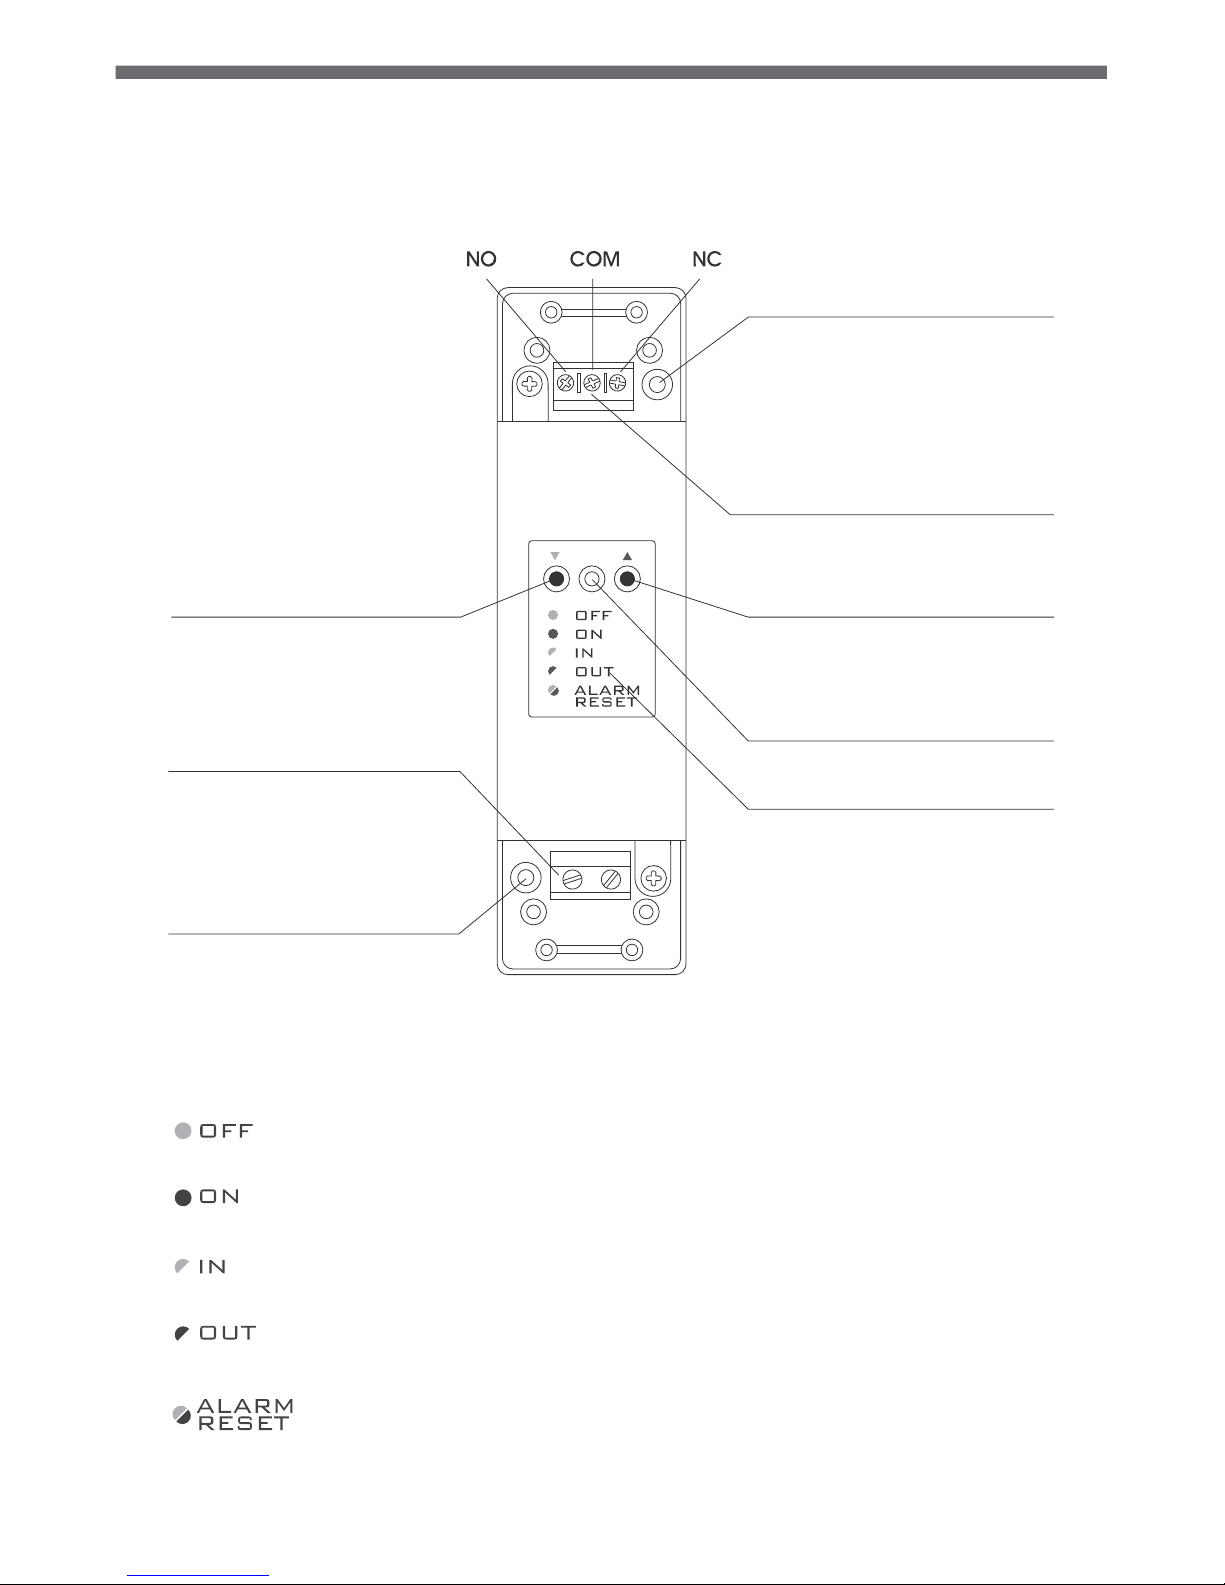
cable tie clamp
control connection terminal
(a terminal for fastening a two-core
cable of the heating or air conditioning
device to be controlled
button for deregistering
already paired devices
button for pairing devices
with the RTH receiver
LED indicating operation
of the device
cable tie clamp
power supply terminal
~230 VAC
legend
The LED light’s green – the output device is off (the contacts
COM and NC are closed).
The LED light’s red – the output device is on (the contacts COM
and NO are closed).
The LED flashes green – the RTH receiver awaits the device
to be paired.
The LED flashes red – the RTH receiver awaits the device
to be deregistered.
The LED flashes alternating red and green:
ALARM - the RTH receiver has lost connection with one of the
paired devices.
RESET - receiver deregisters all previously paired devices.
Legend - description of LED signalling
hole for fastening the receiver
to the wall with a screw
hole for fastening the receiver
to the wall with a screw
Description of the AURATON RTH receiver
The receiver is installed on the heating or air conditioning device and can
operate under the load of 16 A.
~230V AC
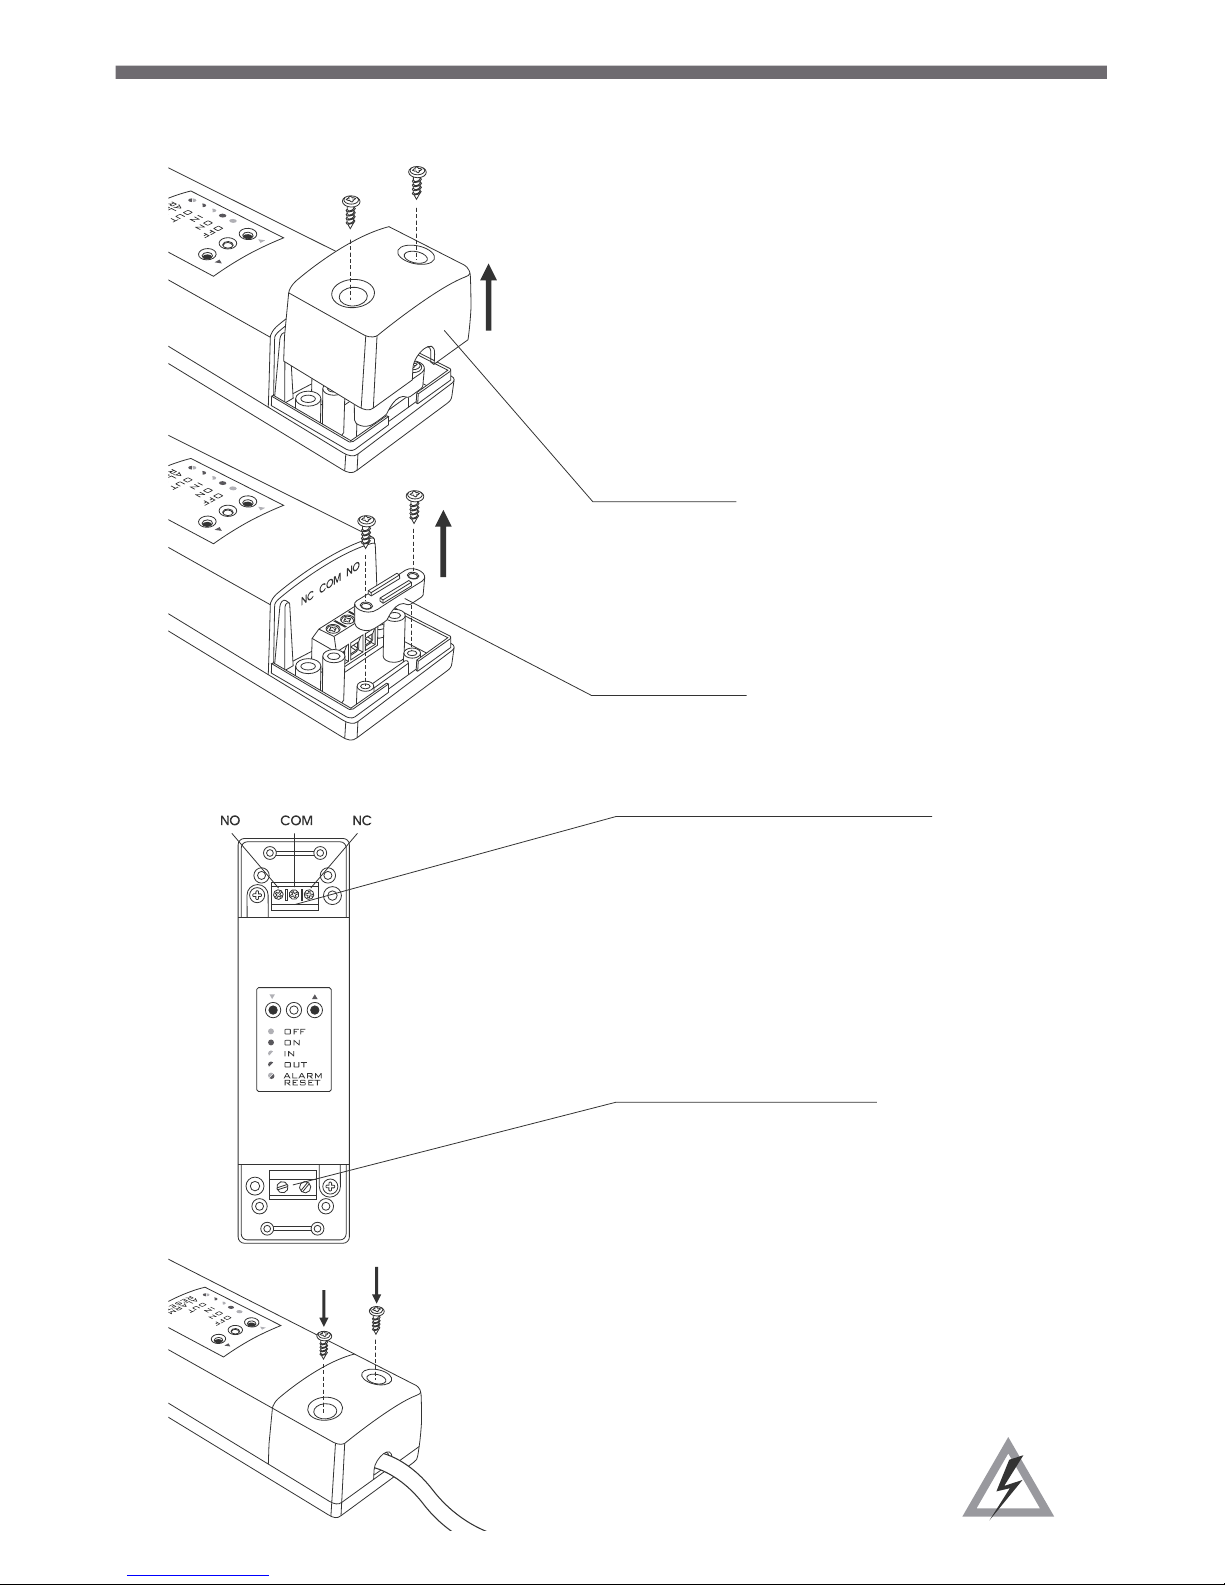
4
3. Connect the heating device to the
control connection terminals of the
AURATON RTH receiver.
Proceed in accordance with the service
manual of the heating device. Most
commonly, the COM (common) and NO
(normally open) terminals.
4. Connect power supply conductors to the
power supply terminals of the AURATON
RTH receiver, observing safety rules.
Fastening the RTH receiver
1. Take off protective covers from the lower
and upper part of the AURATON RTH
receiver.
2. Take off cable tie clamps from the lower
and upper part of the AURATON RTH
receiver.
protective cover
cable tie clamp
NOTE: When installing the AURATON RTH
receiver its power supply must be
disconnected. It is recommended that the
installation is performed by a qualified
specialist.
~230V AC
5. After connecting the conductors, they
must be secured with the cable tie
clamps and reinstall protective covers of
the AURATON RTH receiver.
NOTE:
The permanent electrical system
of a building must include a breaker
and an overcurrent protection.
5
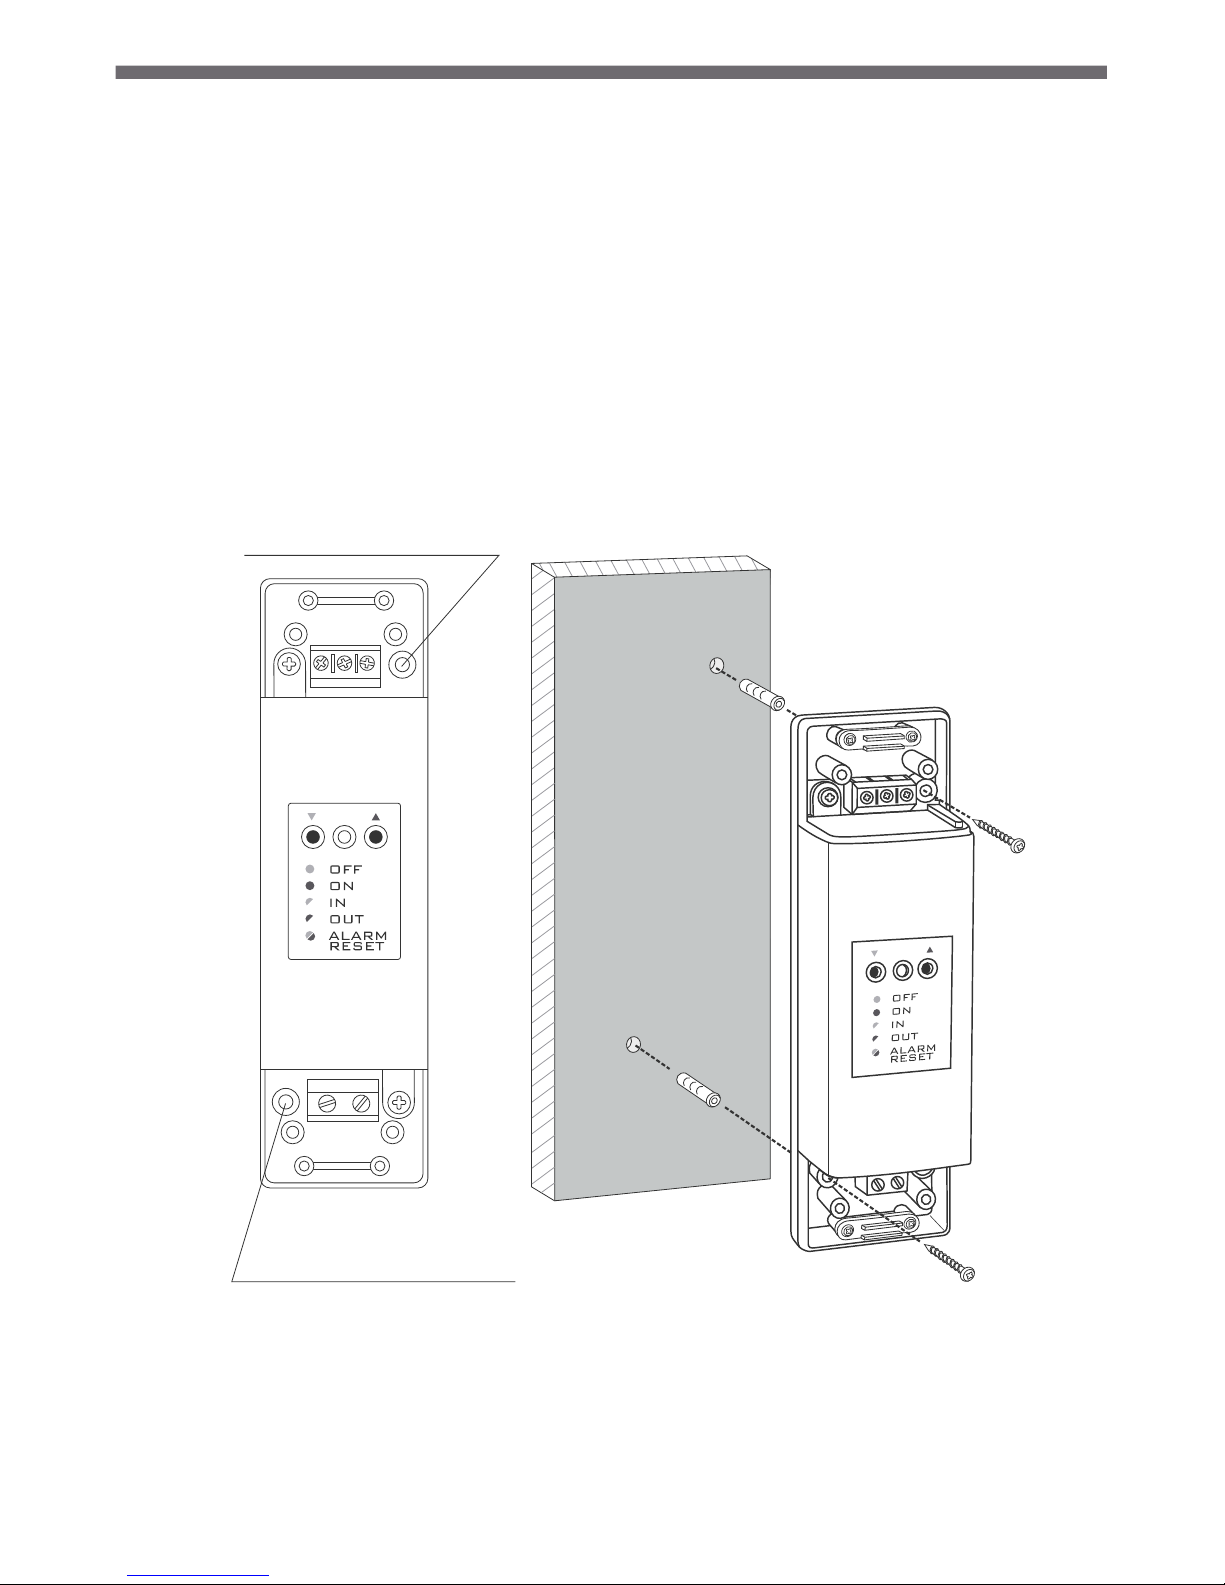
To fasten the AURATON RTH receiver to the wall:
1) Remove protective covers from the lower and upper part of the regulator.
(See chapter: “Fastening the RTH receiver”).
2) On the wall, mark the location of holes for fastening screws.
3) In marked places, drill holes of a diameter corresponding to the bundled
wall plugs (5 mm).
4) Insert wall plugs into the drilled holes.
5) Screw in the RTH receiver to the wall with screws, making sure they hold
thereceiver securely.
Fastening the RTH receiver to the wall
NOTE: If the wall is wooden, there is no need to use wall plugs. In such a case,
drill two holes 2.7 mm in diameter instead of 5 mm, and screw
the screws directly into the wood.
NOTE: The RTH receiver cannot be placed in metal containers
(e.g. an assembly box, a metal enclosure of a heater) in order to not to
interfere with its operation.
AURATON RTH
hole for fastening
the receiver to the wall with a screw
hole for fastening
the receiver to the wall with a screw
 Loading...