

Page 1

™
1265- 0111 | Rev. 1 | 011711 TME
WavePrism
WavePrism™ Installation Guidelines
The following instructions are provided to assist you in installing the WavePrism panels in a drop tile ceiling or on a wall. The most
effective installation is generally above or behind the critical listening position.
(2) WavePrisms (8) Mounting Screws (8) Wall Anchors (8) Mounting Blocks
Additional items you may need for this install (not included): level, pencil, drill, ladder, drywall screws.
Congratulations on purchasing WavePrism Diffusors! Acoustic sound diffusion keeps sound waves from grouping by
scattering the sound more evenly throughout the room. Make your room sound larger and more live by adding diffusion
to your space.
The Auralex WavePrism eliminates flutter echoes and other acoustical anomalies without removing acoustical energy
from the space. This design disperses sound evenly to create a more consistent listening or recording environment.
The WavePrism is sized to drop into a suspended ceiling grid or they can be installed using the supplied mechanical
fasteners. The bamboo material offers a more musical experience when tested against comparable products made from
hardened fiberglass or plastic.
www.Auralex.com | 1-800-959-3343 | auralexinfo@auralex.com | Total Sound Control
®
Page 2
W avePris m
WavePrism™ Installation Guidelines
™
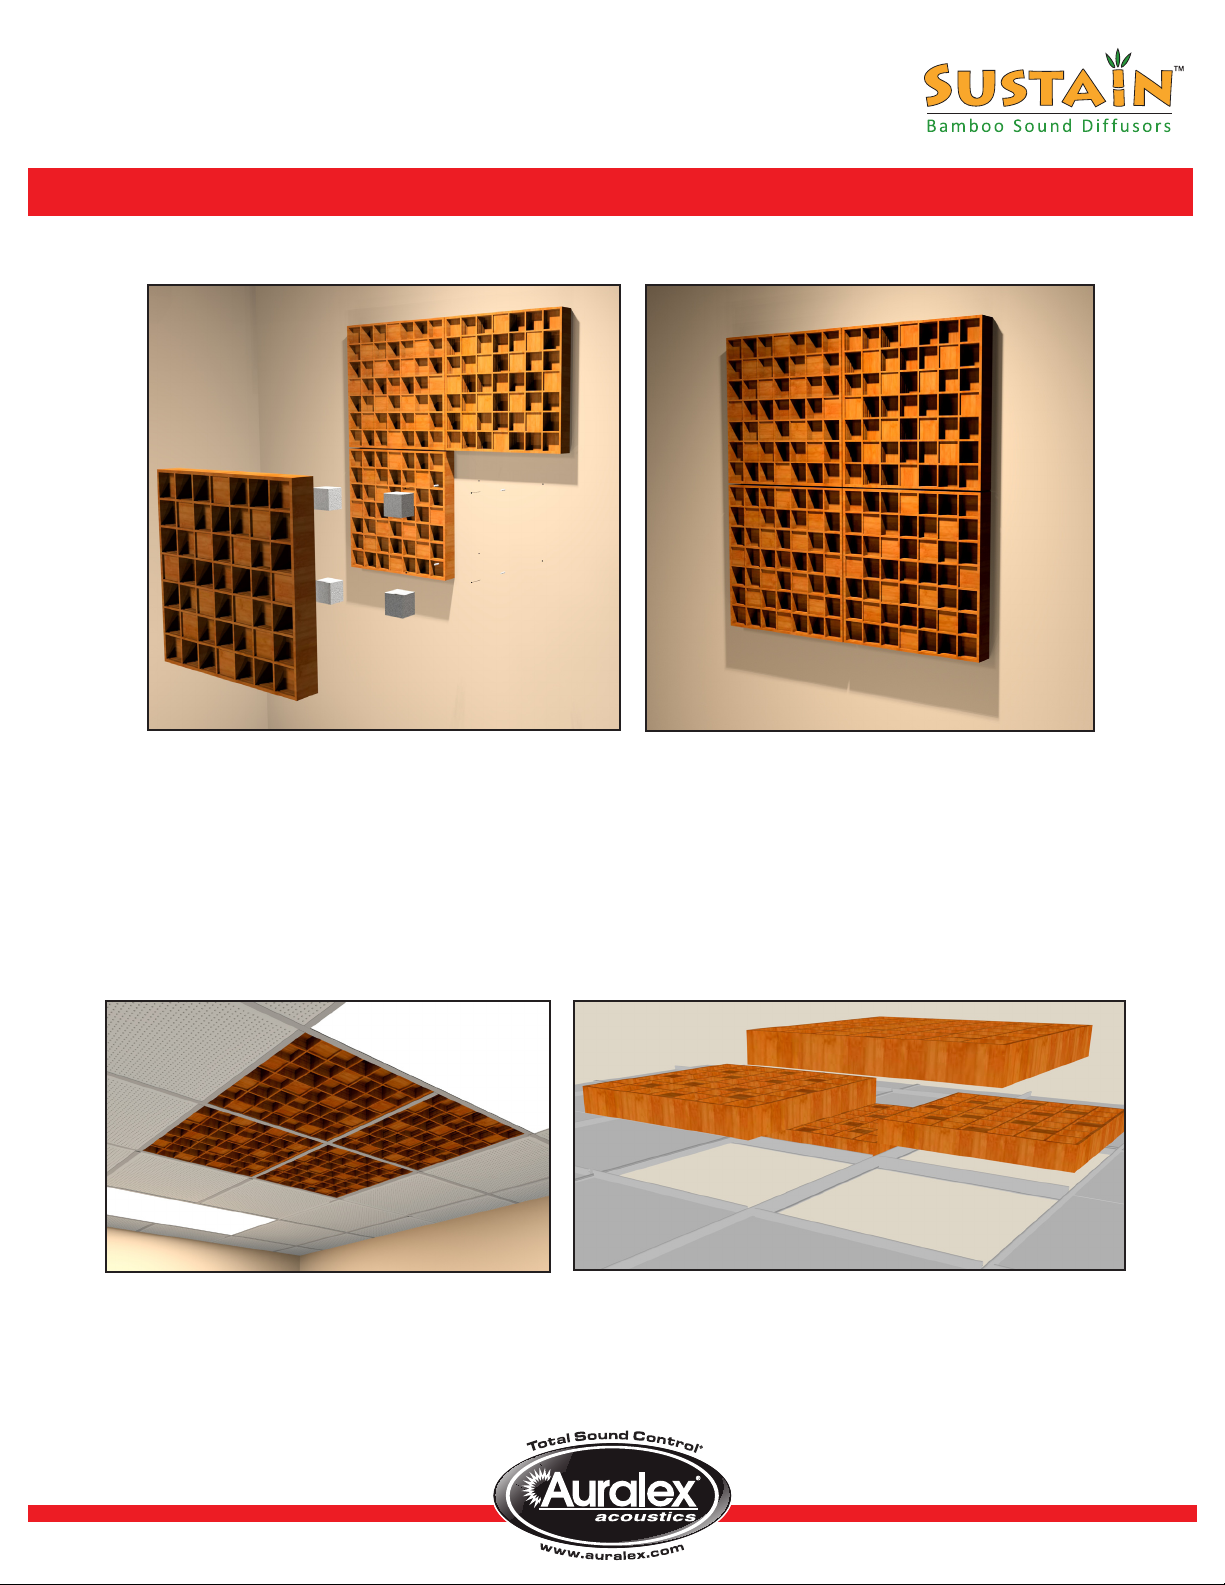
Wall installation
1. Using a level, locate where panels will hang. Place the panel on the wall and use a pencil to mark foam block
locations on the wall.
2. Remove product from wall and drill holes. Then insert plastic anchors.
3. Place foam blocks on wall and screw in place.
4. Fit WavePrism over foam blocks.
Ceiling installation
1. Drop panels into empty ceiling grid.
 Loading...